
Adobe Photoshop and Illustrator are popular tools for image editing, and understanding how to adjust the hue in these programs can help you achieve the desired results in your designs. Understanding image hue is an essential aspect of image editing. Hue refers to the color family of an image, and it plays a significant role in the overall visual impact of a design. Adjusting the hue of an image can change its mood, tone, and perception. This guide will explore the basics of image hue and how to adjust image hue in Photoshop and Illustrator.
The Primary Purpose of Adjusting Image Hue and Saturation
Changing the image hue can give your images a whole new look. The primary purpose of this adjustment is to selectively alter the colors in a photo to make them more visually appealing or to convey a specific mood or emotion.
Even though there are some differences between various tools, the overall steps for adjusting image hue and saturation are:
Step 1: Produce a Layer of Mask
To create a layer mask, select the layer you wish to modify. Then, locate and click the "Layer Mask" button within the Layers panel. It will generate a new layer mask for your selected layer. This will create a black-and-white mask that will selectively adjust the hue and saturation of specific image parts.
Step 2: Choose the Targeted Color
First, click the "Color Picker" tool to adjust the color. This will open a window where you can choose your target color by clicking on it. Once you select your desired color, you can make the necessary adjustments.
Step 3: Refine the Selection
The Hue/Saturation command can change the color, purity, and brightness of an entire image or parts with specific colors. Refine the selection by adjusting the hue and saturation sliders until you achieve the desired effect. Use the hue slider to create special effects or to add colors to a black-and-white image like sepia. Additionally, the Hue slider can adjust the range of colors in a specific part of an image.
Also, You can use the Saturation slider to adjust the intensity of colors in your Image. Moving the slider can make colors more vivid or less intense. For instance, if you want to make a landscape photo look more vibrant, you can increase the saturation of its colors.
Step 4: Save the Layer
To save your layers in Artboard, start by right-clicking on each layer and selecting the "Collect to Export" option. Repeat this step for all the layers you want to export. Once you have collected all the layers, go to "File," select "Export," and then "Export for Screens."
Step 5: Change the Color
Change the color by adjusting the hue and saturation sliders until you achieve the desired effect. There are different ways to choose a color for your design. One way is to enter the specific color component values in text boxes for HSB, RGB, and Lab. But another way is to use the color slider and color field.
To use the color slider and color field, you can click and drag the slider to choose one color component. Then, move the circular marker in the color field or click in the area to select the other two color components.
How to Change Image Hue in Illustrator?
You can use the following steps to change hue of image in Illustrator.
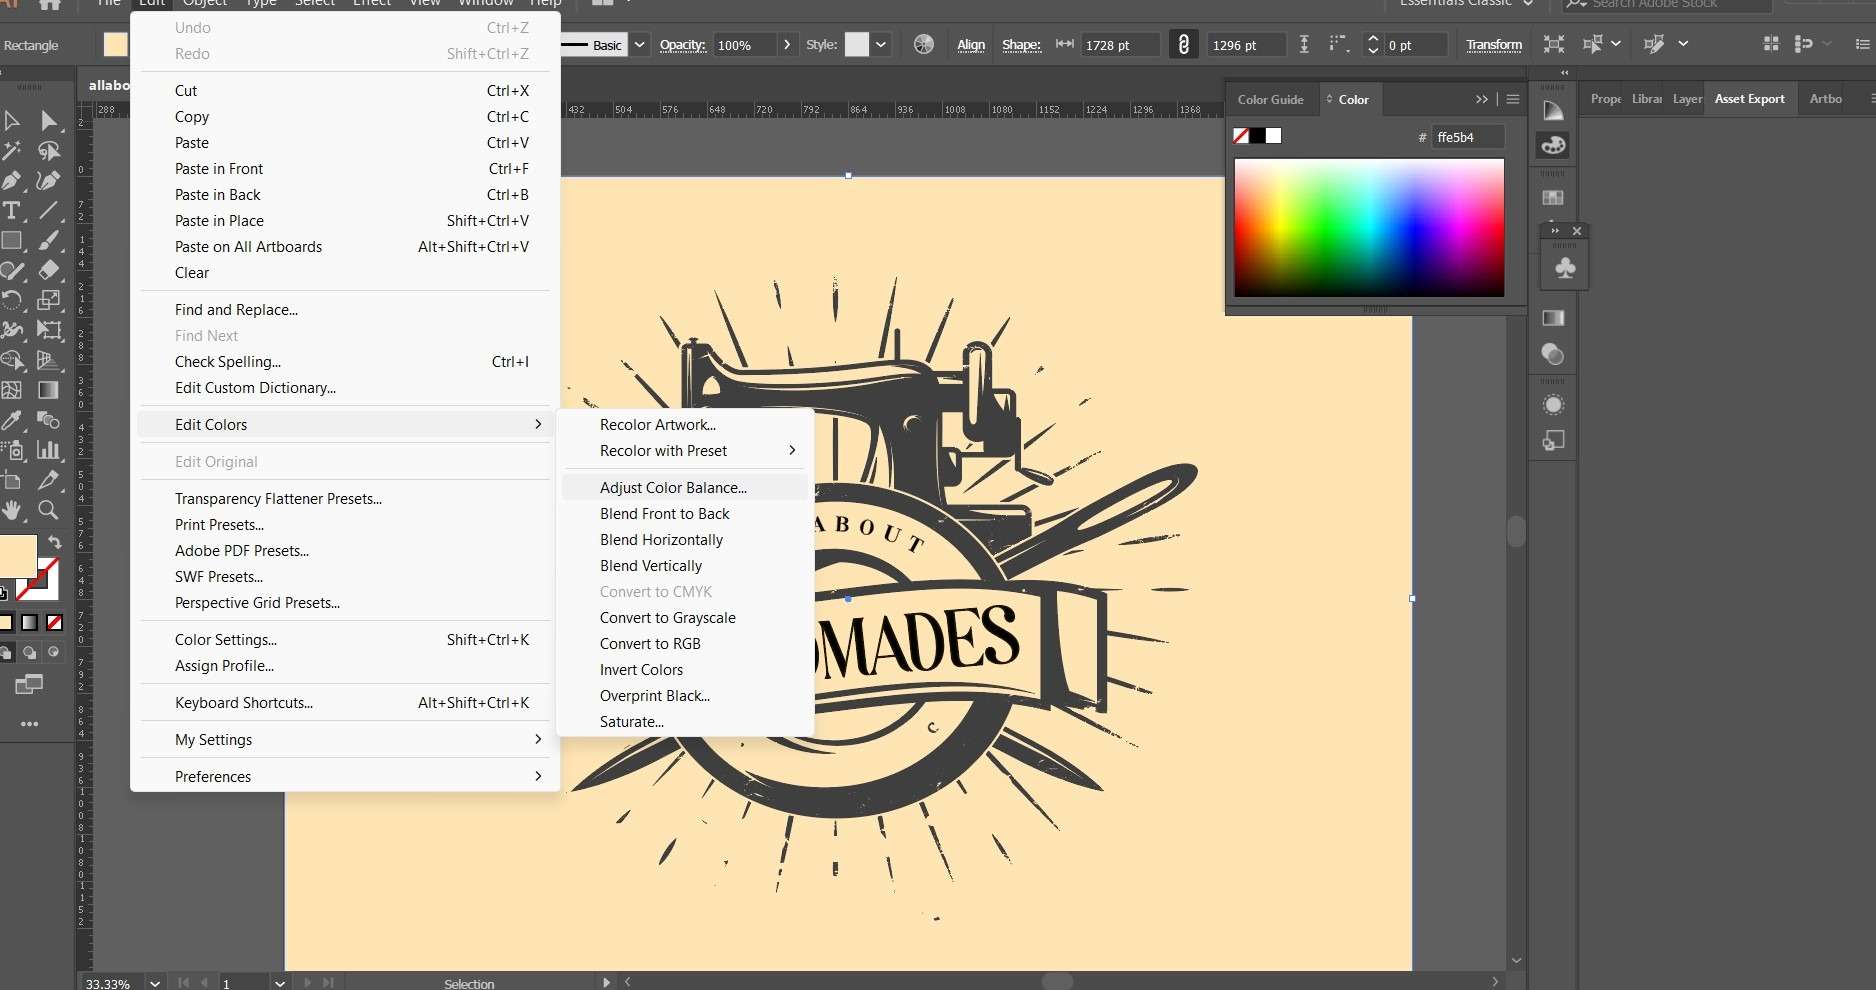
Step 1: Select the Image and Change the Image Color
Select the Image, then go to the "Edit Colors" option in the top menu bar. From there, choose the "Adjust Color Balance" option.
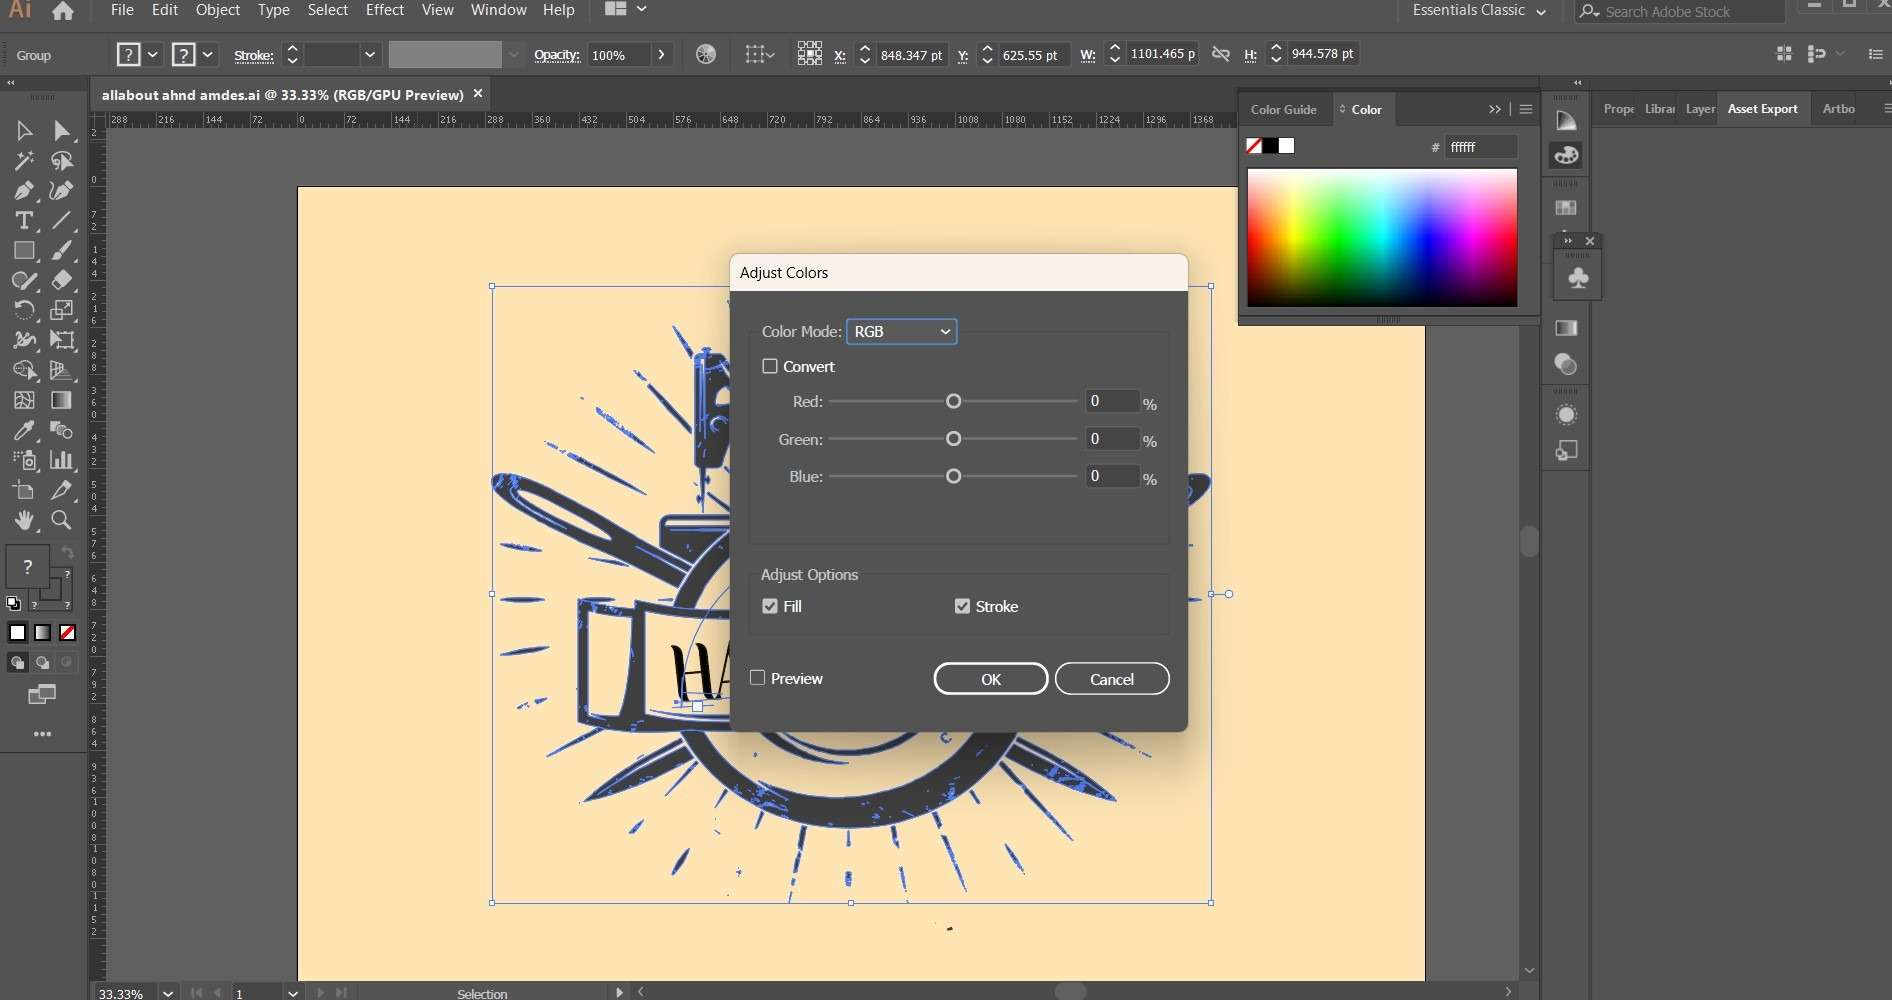
Step 2: Adjust the Color Balance
In the "Adjust Color Balance" window, you will see sliders for adjusting your Image's colors. Move the sliders to adjust the colors as desired.
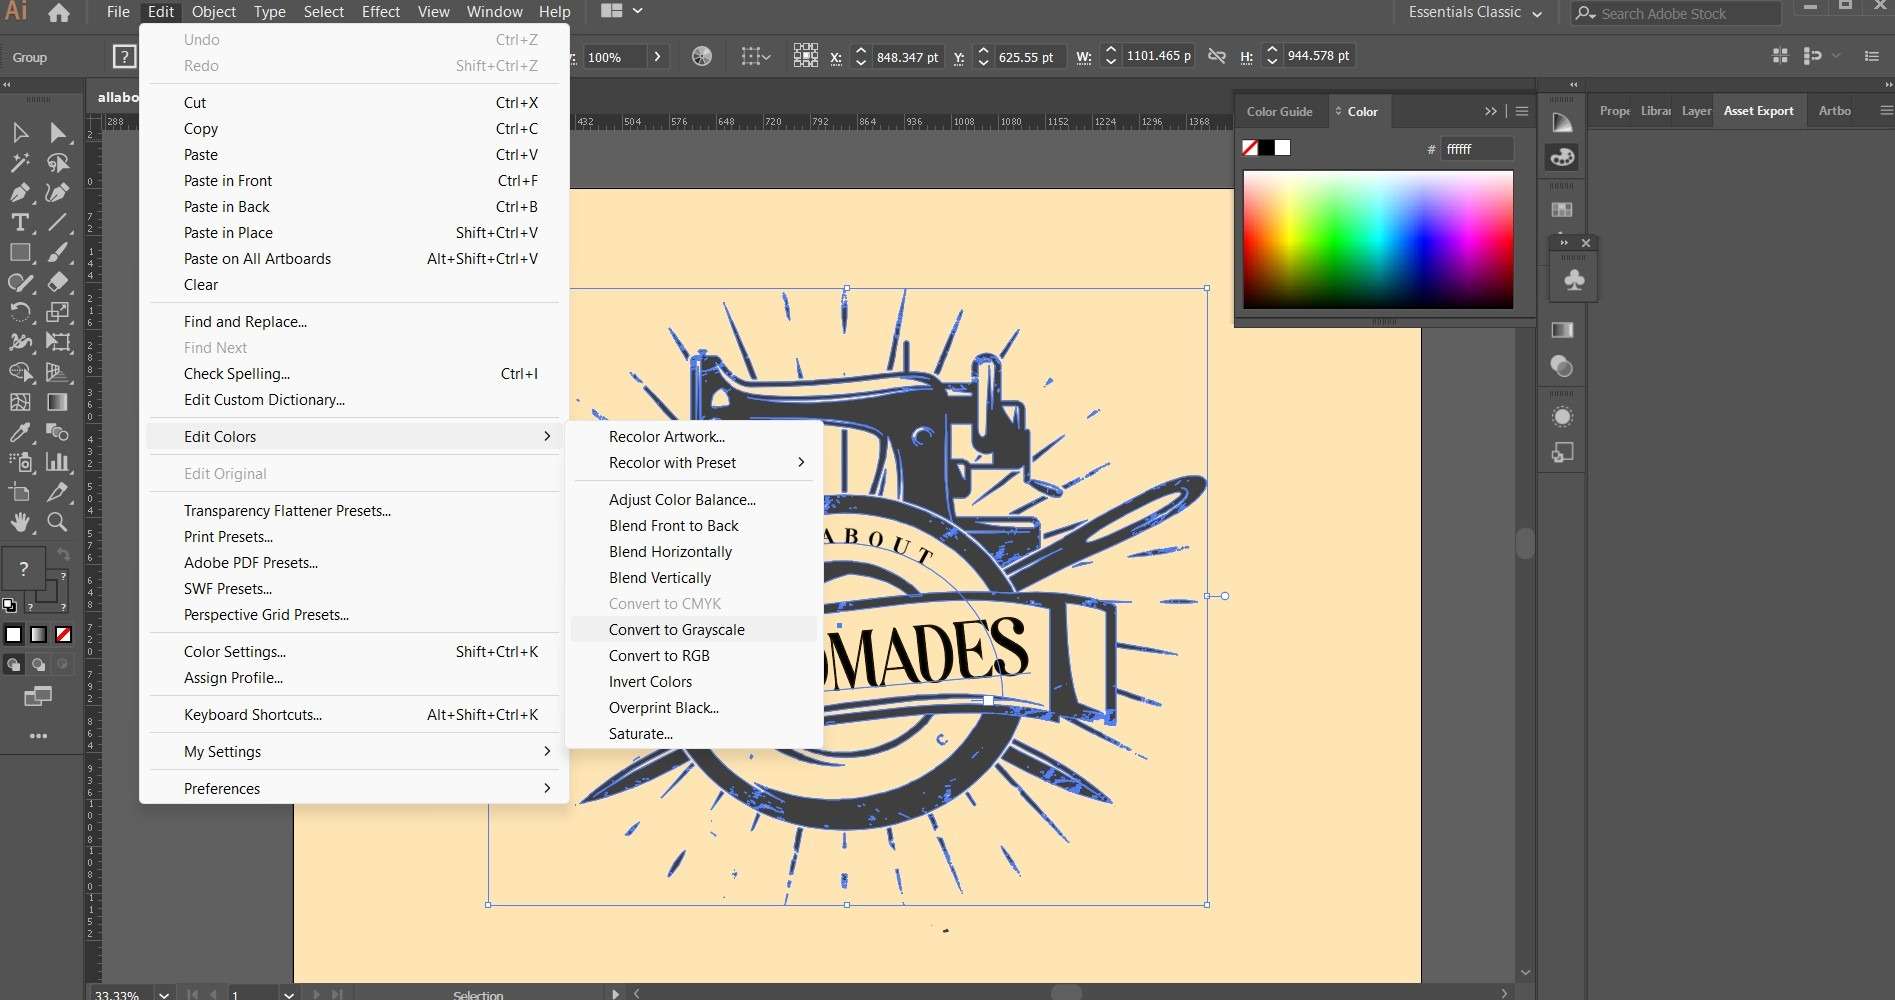
Step 3: Add the Color to the Grayscale
If your Image is grayscale, you must add color to it before you can adjust the hue. To do this, go to the "Edit" menu and choose "Edit Colors ."From there, select "Convert to Grayscale" and then "Add Color."
Step 4: Pick the Color you Want From the Color Panel
Once you have added color to your Image, you can select the color you want to adjust by selecting it with the "Direct Selection" tool and then opening the "Color" panel.
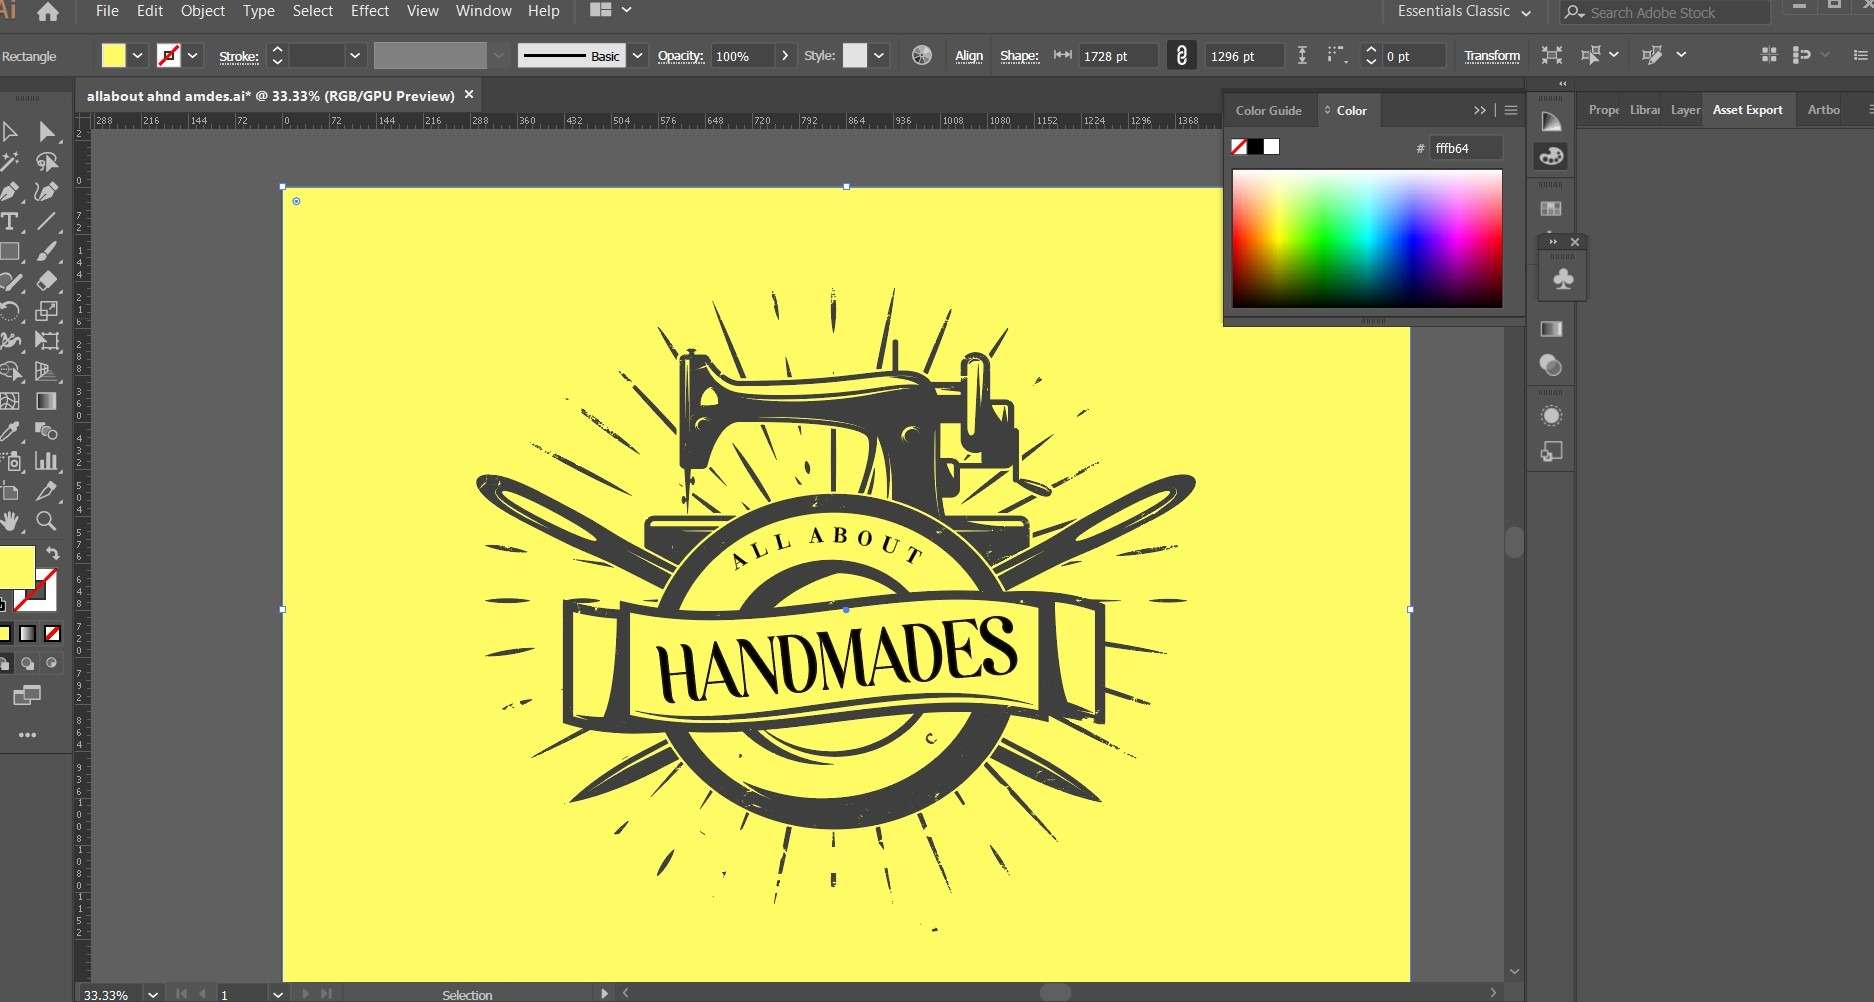
Step 5: Change the Color and Save
In the "Color" panel, you can adjust image hue of the selected color by moving the "Hue" slider. Once you have achieved the desired color, save your changes.
How to Change Image Hue in Photoshop?
Photoshop's hue and saturation adjustment is a common technique used in photo editing. It enhances the color balance and vibrancy of an image. Changing the image hue in Photoshop can give your pictures a new look. Here are the steps to follow:
Step 1: Select the Image and change the Image Color
To change the color of a specific object in your Image, go to the "Image" option in the top menu bar, then click "Adjustments," and select "Replace Color ."A pop-up window will appear, and you should leave it open. Use the dropper tool with the "+" icon to select the color you want to change. Click on the "Result" option at the bottom to capture the object's color you want to change.
Step 2: Adjust the Color Balance
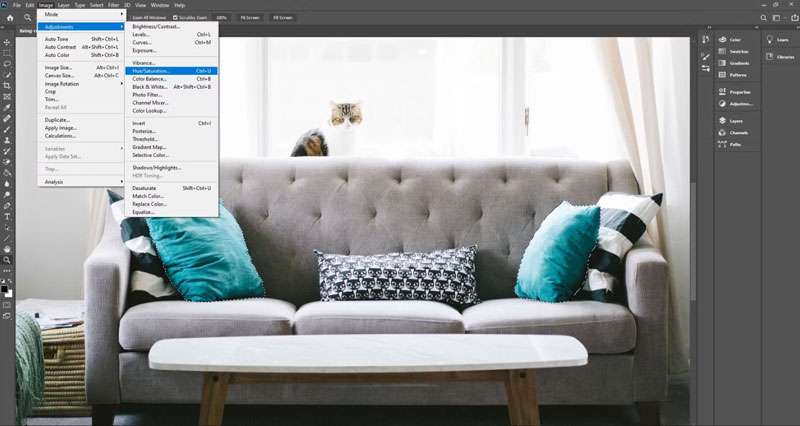
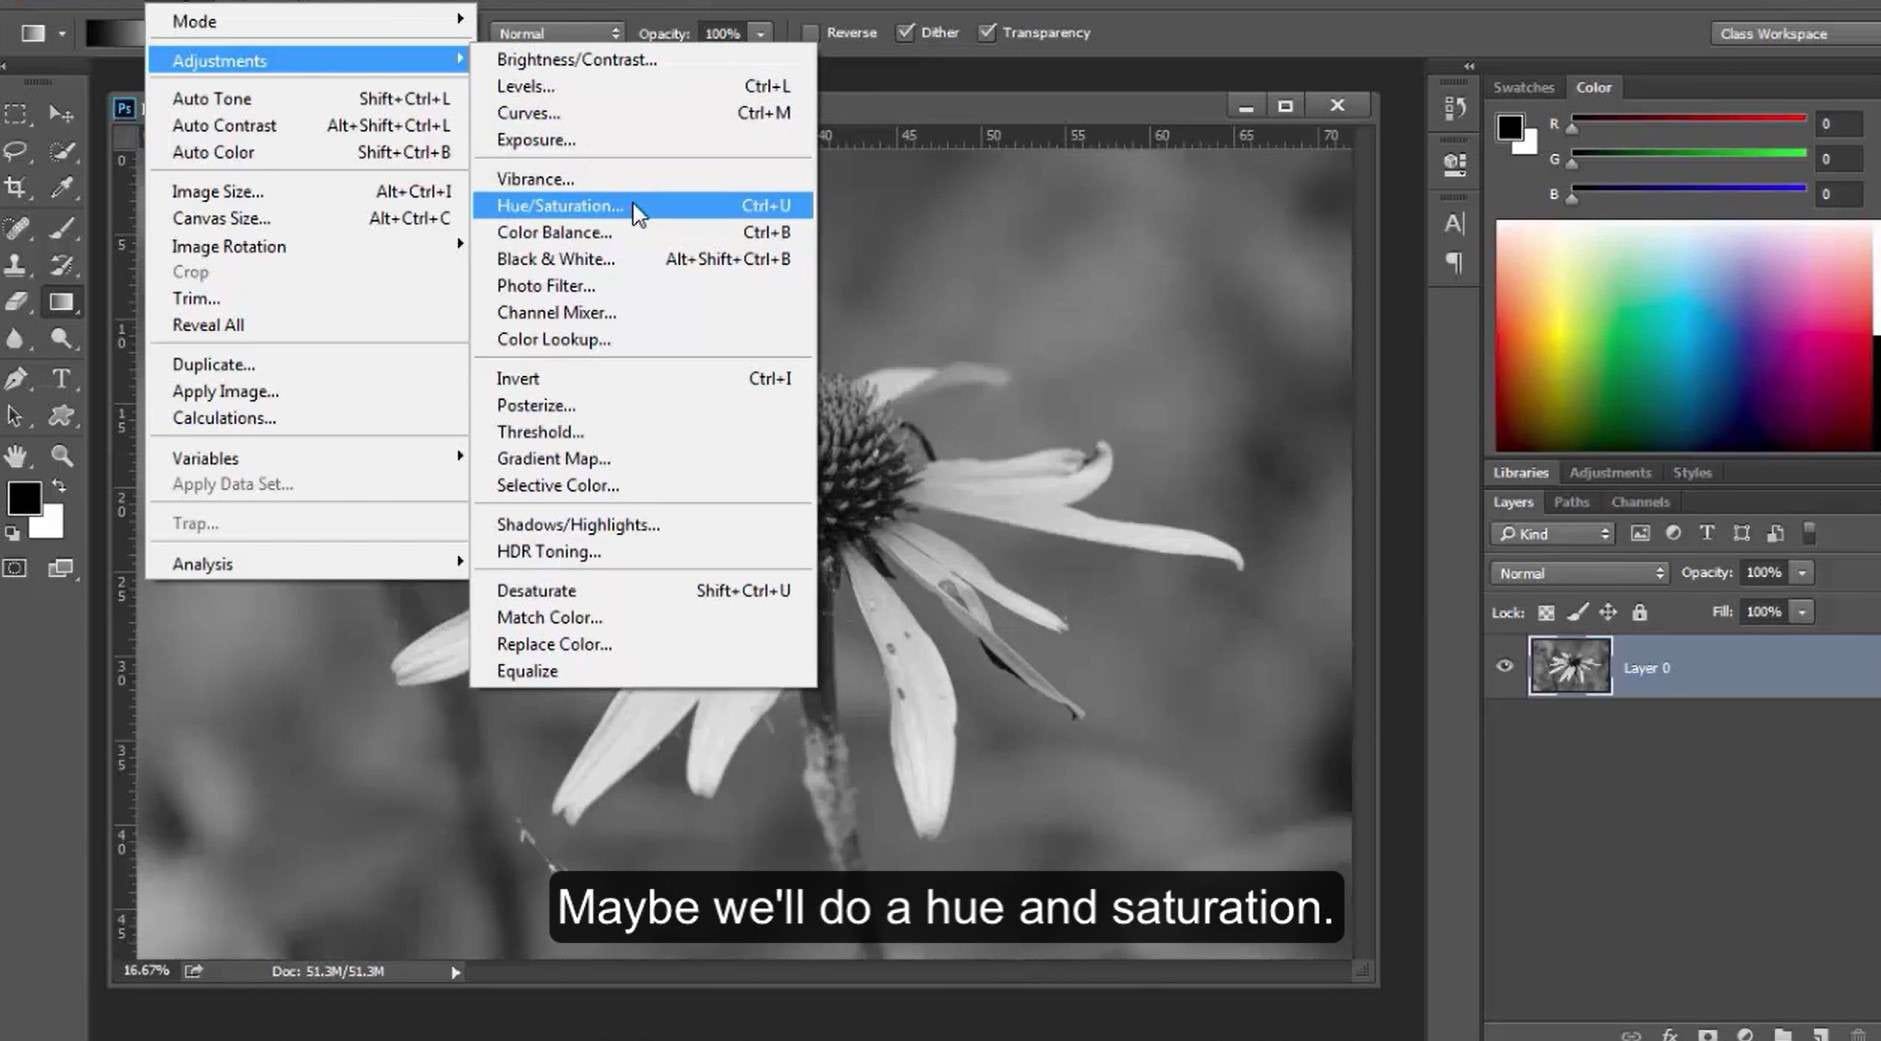
To change the color of an image in Photoshop. First, go to the "Image" menu and choose "Adjustments" and then "Hue/Saturation". In the pop-up window, there is a "Hue" slider that can adjust image hue .You can also change the saturation and lightness sliders to fine-tune the effect.
Step 3: Add the Color to the Grayscale
You can use the Hue/Saturation adjustment to add color to a grayscale image. Go to Image> Adjustments > Hue/Saturation or press Ctrl + U on your keyboard. In the Hue/Saturation window, check the "Colorize" box and adjust the sliders to achieve the desired color.
a
Step 4: Pick the Color you Want From the Color Panel
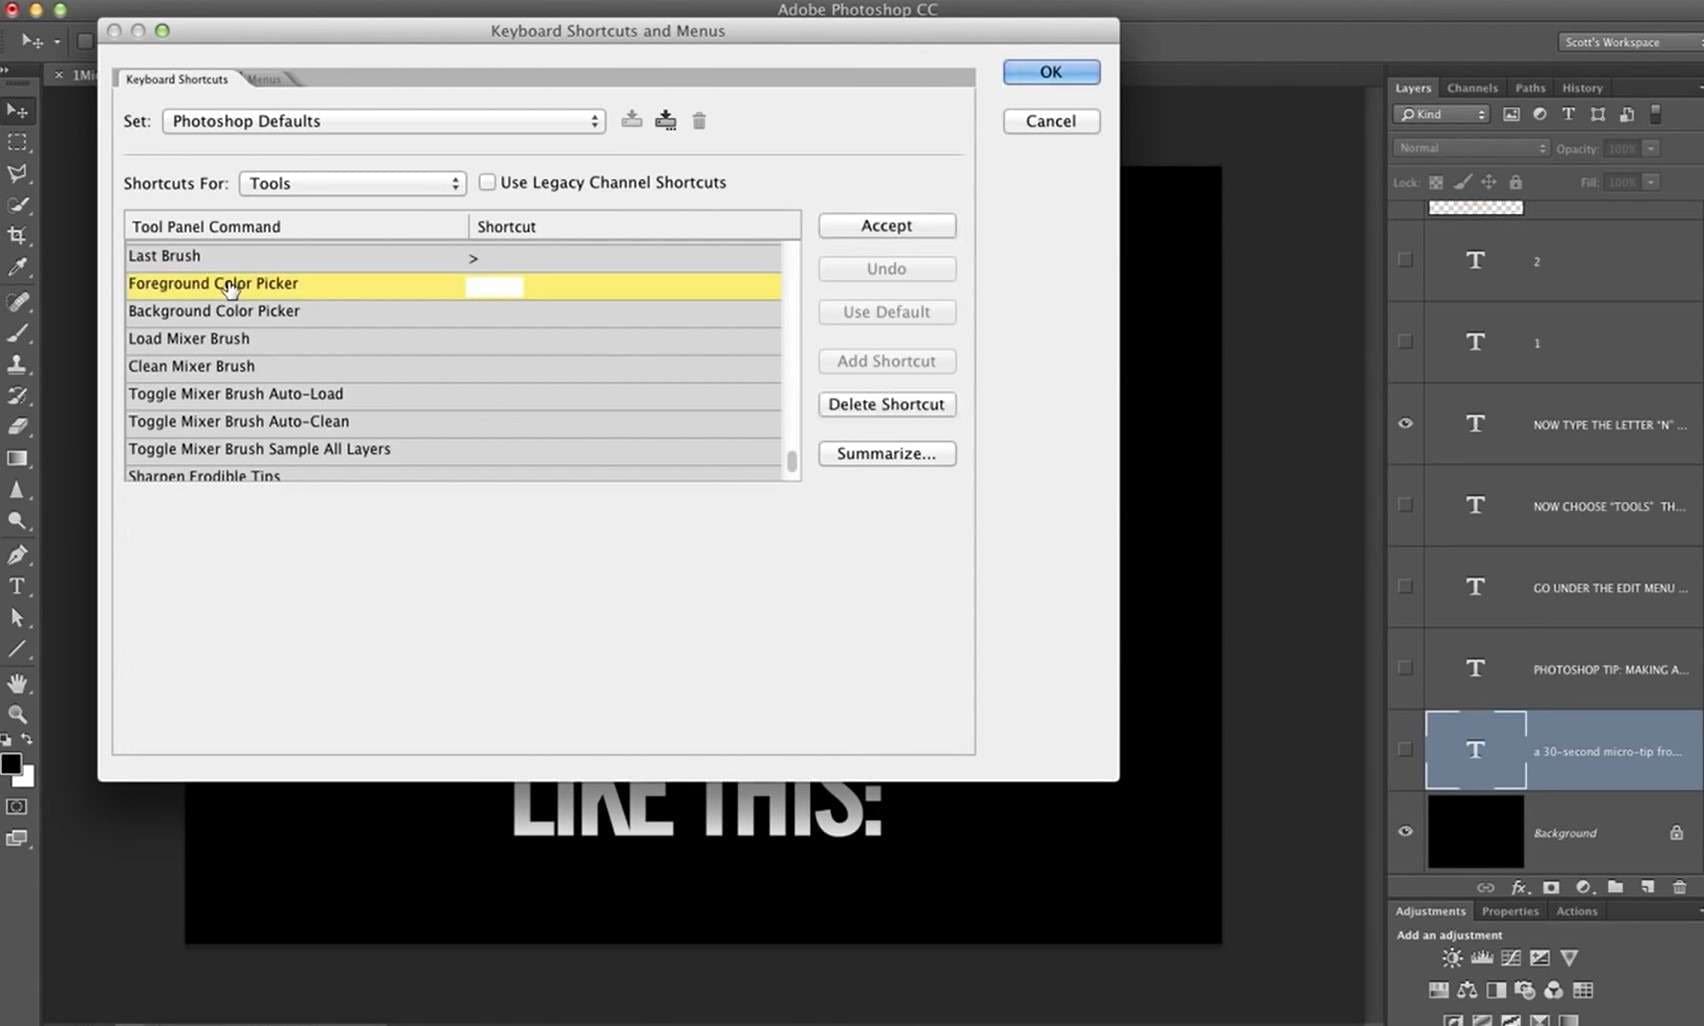
To select a particular image, click the "Color Picker" button. It is located in the "Hue/Saturation" dialogue box. Use the color wheel to choose your desired color, or enter the color values in the text fields.
Step 5: Change the Color and save
Once you have achieved the desired effect, click "OK" to apply the changes to your Image. Then save your Image by clicking "File" and choosing "Save As ."Give your Image a new name and select the desired file format before clicking "Save."
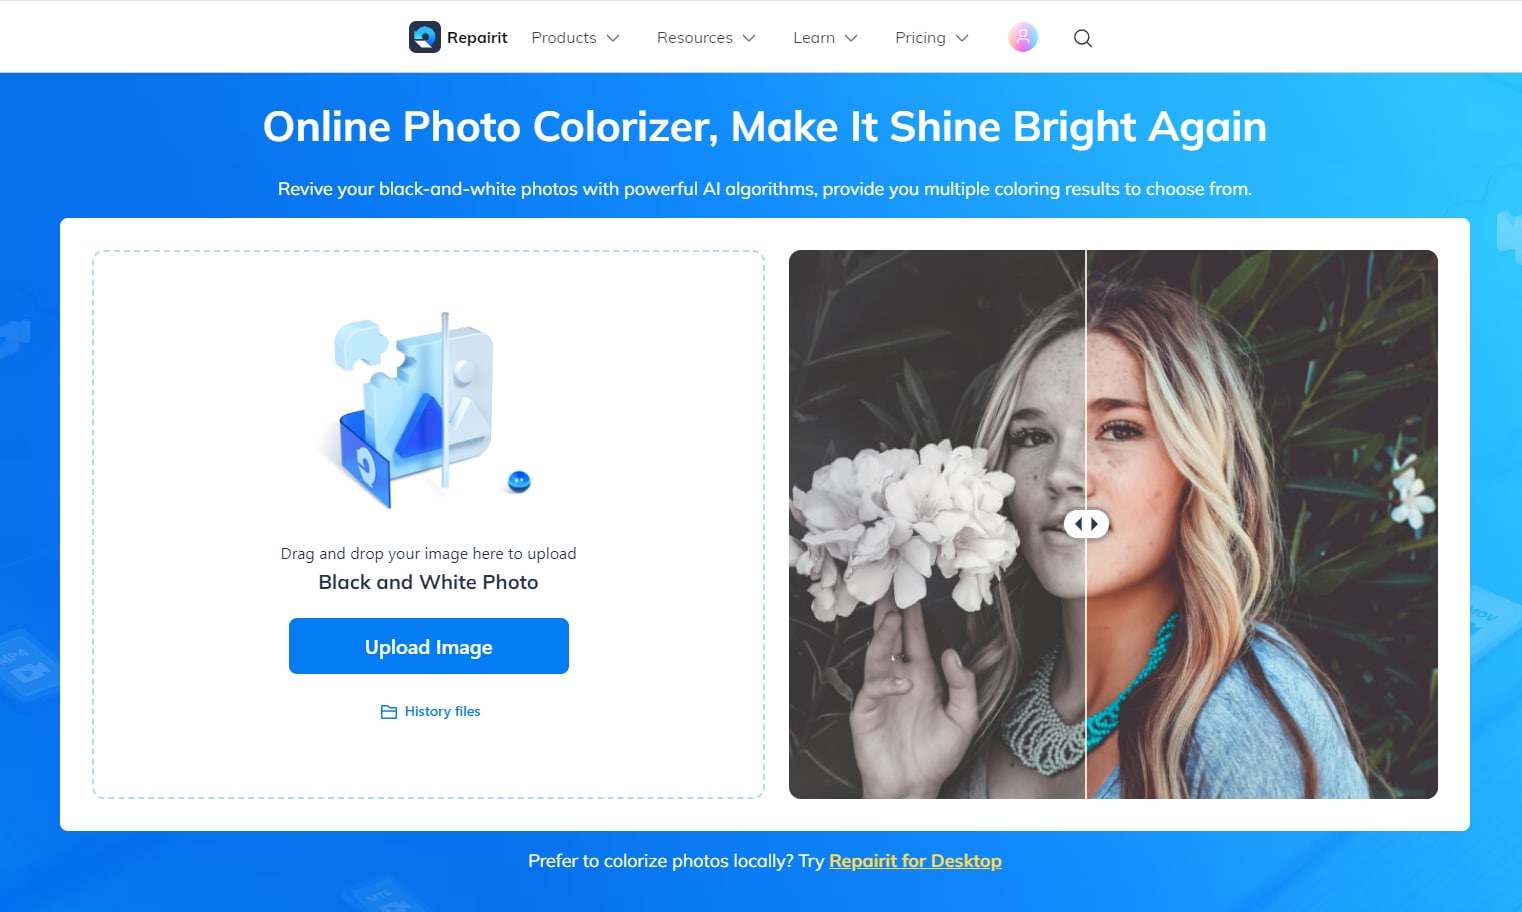
In addition to Photoshop, you can use Wondershare's Repairit AI Photo Colorizer to restore and colorize black-and-white pictures based on AI technology. Wondershare AI can restore old and damaged photos and make them look new. The tool can also add color to black-and-white images, accurately bringing them to life. Upload your pictures and enjoy the colorful results for free.
Conclusion
Adjust Image Hue and saturation of an image can greatly enhance its visual appeal and convey a specific mood or emotion. Whether it is Illustrator or Photoshop, you can use several steps to change an image's hue and saturation. By selecting the targeted color, refining the selection, and adjusting the hue and saturation sliders, you can achieve the desired effect and make your images more vibrant and eye-catching.
FAQ
-
What is the difference between hue, saturation, and brightness?
Hue refers to the color, and saturation refers to the intensity or purity of the color. Brightness refers to the overall lightness or darkness of the Image. Adjusting these three elements can help you create the desired color balance and tone in your images. -
How can I adjust the hue of an image in Photoshop?
To adjust the hue of an image in Photoshop, you can use the Hue/Saturation adjustment tool. This tool allows you to selectively adjust the hue, saturation, and brightness of specific colors in the Image. You can also use the Color Balance tool or the Selective Color tool to adjust the hue of an image. -
How can I adjust the hue of an image in Illustrator?
To adjust the hue of an image in Illustrator, you can use the Color Balance tool or the Hue/Saturation tool. These tools allow you to selectively adjust the hue, saturation, and brightness of specific colors in the Image.