There is a reason why people prefer Microsoft Word over every other software to make documents that can be used for formal, informal, personal and even professional purposes. There are a plethora of options that let you optimise your document so that you can enhance its quality. The readability takes an uphill trip whenever you choose the right tools to edit your text.
The formatting marks are those important additions to the Microsoft tools that help you in making your text better. These can include the paragraph editing tools, page breaks, bullet points, number lists, columns, margins and more. The most important thing here is that Microsoft usually keeps the Formatting marks hidden.
Don’t be surprised if you don’t find them on the page as soon as you launch Microsoft Word. It is not tough to bring them to light though. Here’s a complete guide that will tell you how you can show or hide formatting marks in documents that you are working on. Read on to know more!
In this article
Part 1:Basic Knowledge of Formatting Marks
If you don’t know what ‘Formatting Marks’ mean, then probably it will ring a bell when we call them ‘Non-Printing Characters’. That is what Microsoft used to call them initially. Before we dive in and see how to show or hide formatting marks in documents, let us see what they really mean and their actual purpose.
Formatting Marks are special codes or helpful tools that are usually hidden on Microsoft word. They decide how your text is going to look in the document. They usually align your text, decide their position, give a proper picture of the complete layout and appearance of your text. Please do not confuse them with fonts and colors. Those are basic assistance that you will find instantly. But paragraph alignment, text layout and overall designing of your page is made easier with these Formatting Marks. One of the most important areas where Formatting Marks can help you is the ‘Printing Issues’.
Where your Formatting marks options are will differ depending upon the version of Microsoft Word that you are using. You can enable your Formatting Marks feature by clicking on the paragraph icon that you will find on the taskbar. But if you are using an older version of Microsoft Word, let us say 2003 or 2007, then you will find them under the ‘View’ section (2003) or on the Home Tab (2007).
We will understand how to show or hide formatting marks in document more precisely in the next section.
Part 2:Show Formatting Symbols
If you are planning to show or unveil those Formatting Marks/Symbols on your Microsoft Word file, then you can either choose to do that temporarily or Permanently. Both of those steps are explained in detail below.
Temporarily
Notice that the steps that I am going to discuss are going to work for a short time only. If you plan to close your document and reopen it, then you will have to re-do these steps to see the Formatting marks again.
This process works well for MS Word 2007 and above. It is more or less the same in the previous version as well. Seeing how most of us are using MS Office 2007 or 2010, we are mentioning the steps that support these softwares.
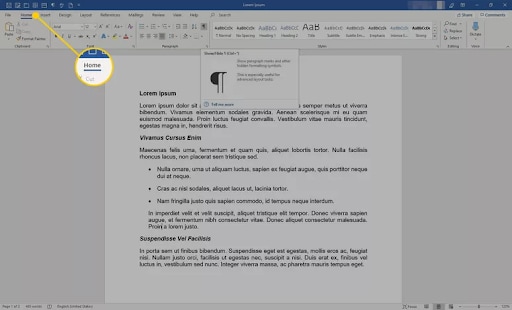
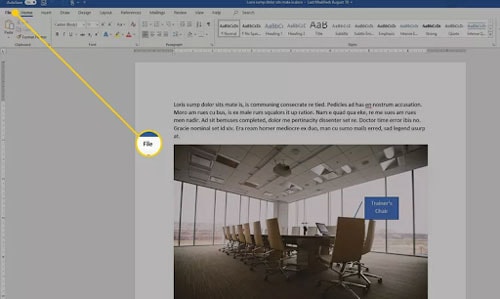
Step 1: On top of the page, on the blue ribbon, you will find the ‘Home’ Option. Click on that.
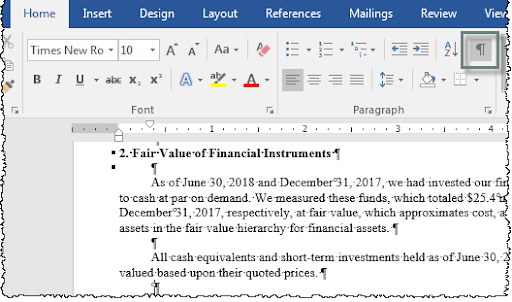
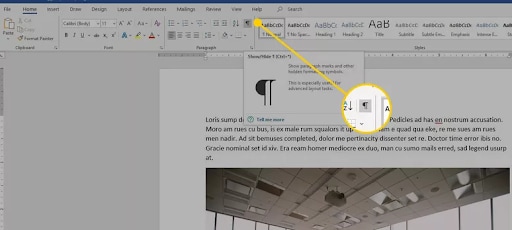
Step 2: In the options that will now spread out, find the ‘Paragraph’ section. Now you will find a Paragraph icon which is shaped like an inverted P. This represents the formatting marks feature. Click on it and the feature will be activated.
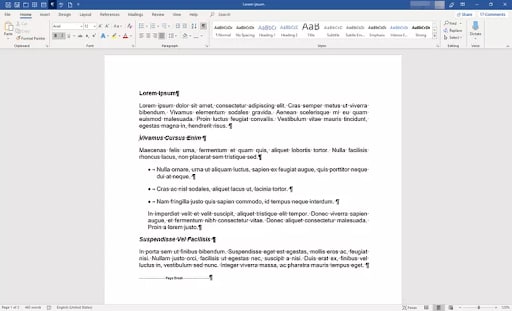
Step 3: The symbols will appear on the document and each of them have their own meaning - space display, arrows for tabs, dotted lines for the page breaks, and end of paragraphs is given with the Paragraph sign or inverted ‘P’.
Permanently
This is a boon in disguise for those who like to have the Formatting Symbols at their dispense to tweak the layout of their text document. Here’s how you see them permanently.
Step 1: On the upper blue ribbon, Select the ‘Home’ option and then choose ‘Files’ from the drop down list.
Step 2: Go for the ‘Options’ button.
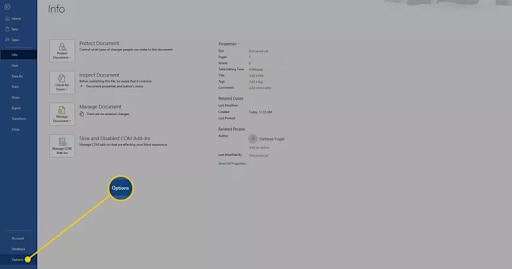
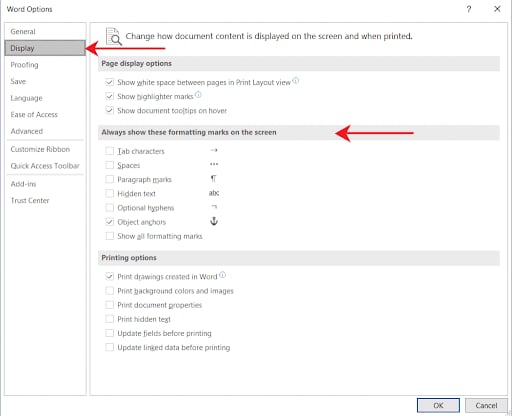
Step 3: Under the Word Options, choose the ‘Display’

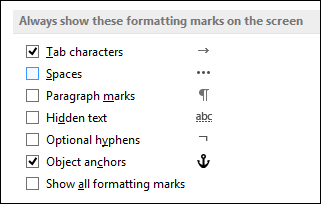
Step 4: Now you will be shown several settings options. You will find the ‘Always show these formatting Marks on the Screen’ option. Right below it, select ‘Show All Formatting Marks’.

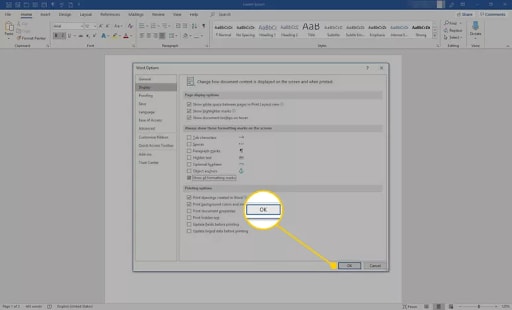
Step 5: Lastly, finalize your choices with ‘OK’.
In the next section, we will see how to hide these Formatting Marks in Document.
Part 3:Hide Formatting Marks
Just as easily as you’ve unveiled the Formatting marks, you can hide them too. It is going to be a little different between a Windows PC and a MAC device. While one requires you to take fewer steps, the other makes it mandatory to make individual choices where you can choose to see certain Formatting Marks and avoid the others. Let’s see how it goes.
For Windows
In a Windows PC, you can follow these steps to hide the formatting marks
Step 1: Go to the MS word document and choose ‘Home’ from the Blue ribbon. Then choose ‘File’.
Step 2: Choose ‘Display’ from the several options that are shown.
Step 3: Now you can unselect the ‘Show All Formatting Marks’ under the ‘Always show these formatting Marks on the Screen’ option.
Lastly, click on ‘OK’ to Save your choices.
For Mac
Mac also follows the same procedure to hide the formatting marks with very negligible differences. Here’s how you can do it on an Apple Mac Device
Step 1: From the ‘Word’ menu, select the ‘preferences’ option.
Step 2: Go with ‘View’
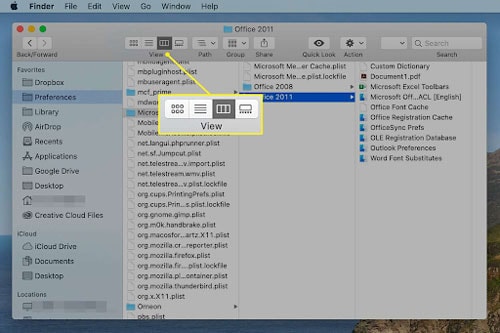
Step 3: Under the ‘Non-printing Characters’ option, uncheck the boxes that you don’t want to see or uncheck all boxes if you don’t want to see any marks. Go with OK at last.
One of the disasters that you don’t want happening to you is File corruption. This is quite common when you try to edit your layout or document appearance improperly. Or when you use unreliable apps for format conversions. We have an ideal solution to solve this problem and we will discuss the same in the next section.
What if my documents get corrupted– Using Wondershare Repairit
Now that we know how to show or Hide Formatting Marks in Document, we will go a step ahead and see how to deal with File corruption.
Wondershare Repairit is one of the leading softwares that will help you repair your Text documents on the Windows PC. Along with documents, you can edit Excel files, PDF files, and Powerpoint presentations as well.
The simple three-step process is convenient to work with. Here’s how to use this Application -
Step 1: Load your Files on Repairit
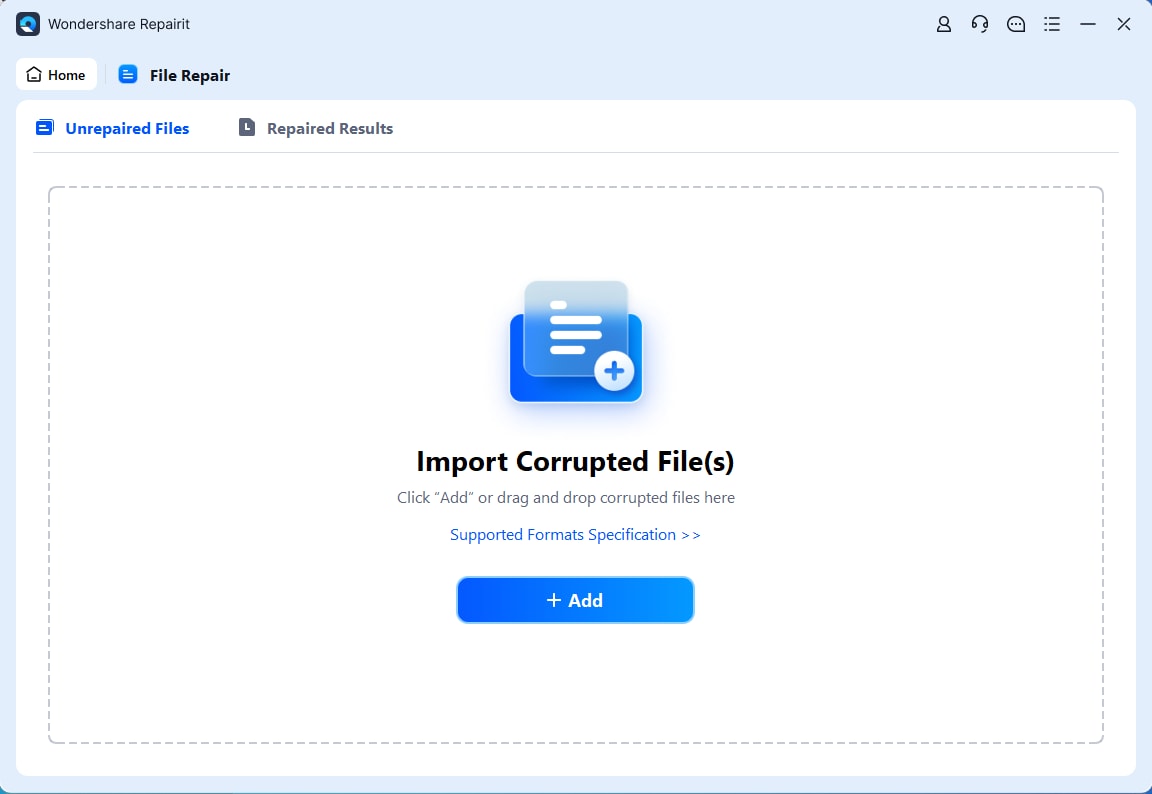
Firstly, download the Wondershare Repairit application and launch it on a Windows PC. You will find the ‘File Repair’ section from the side panel and then click on the ‘Add’ Button.
Now, a new windows browser will open. You can go to the location of the file that you want to repair and select it. If you want, you can select multiple files too. In case, there is any file that has unsupported file format, then Repairit will display the same immediately. Thanks to its filters!
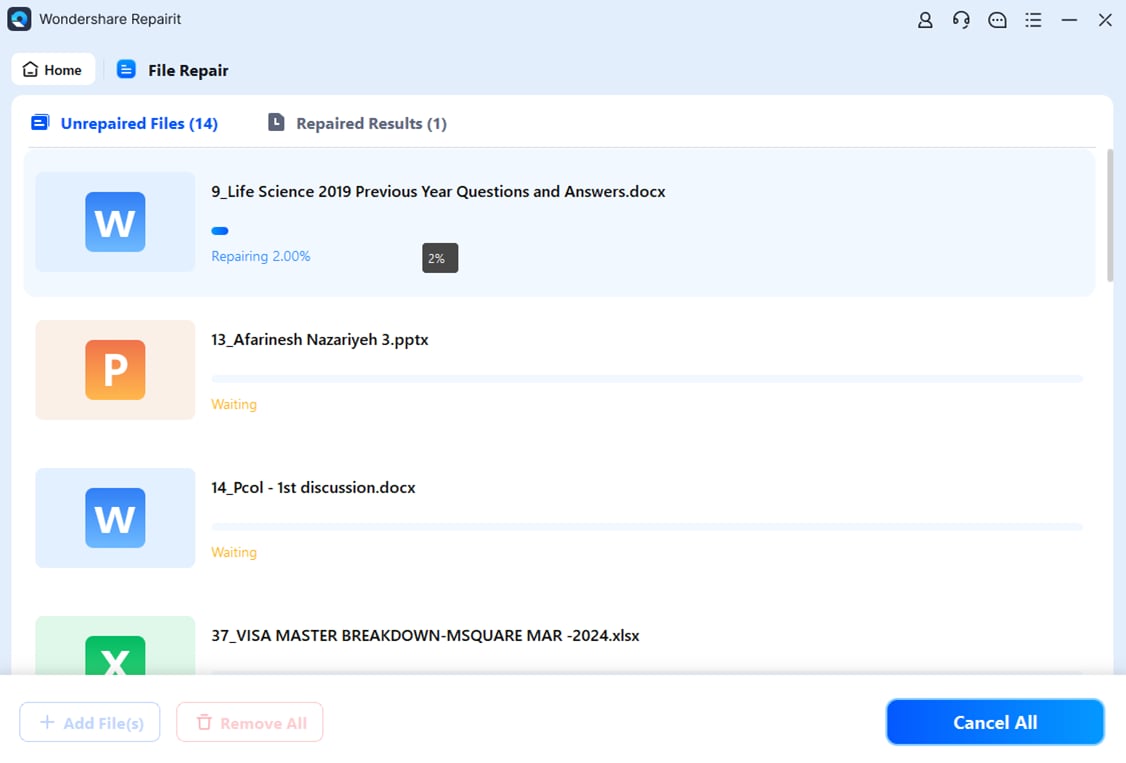
When you select your files, the status of these files will be displayed on the screen. You can easily follow the progress.
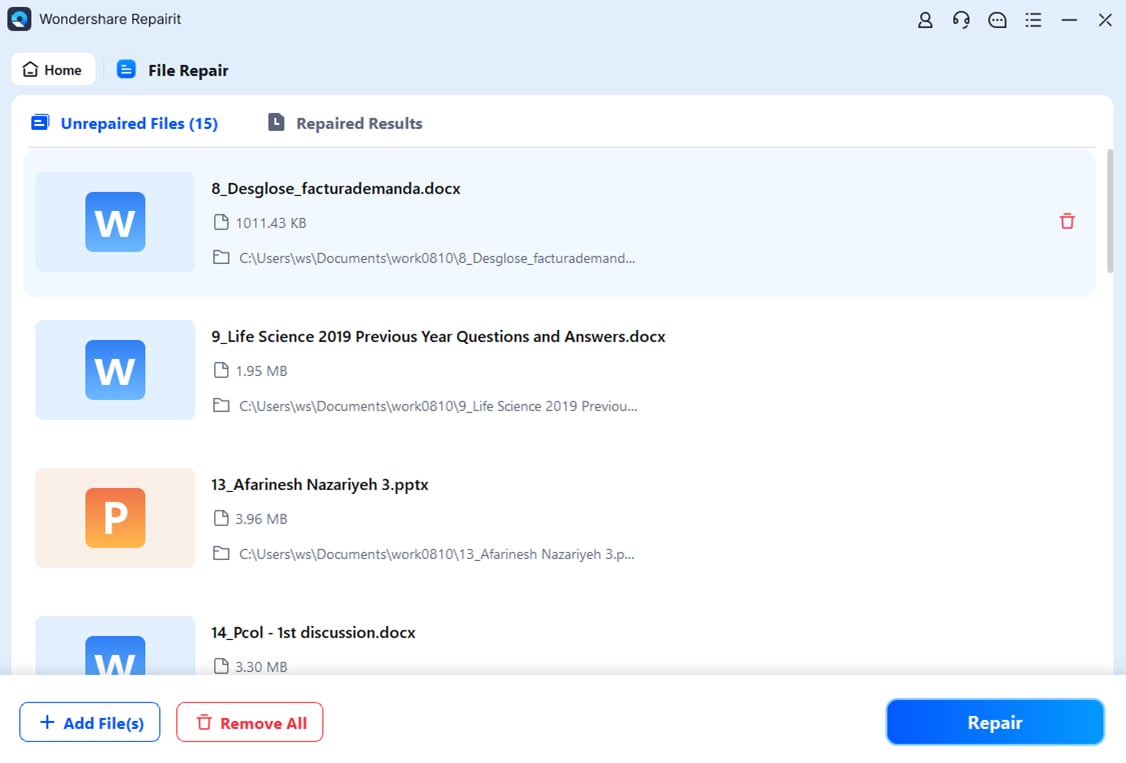
Once the files are loaded, Repairit will display all the files you’ve selected, the format of the files, name, size and where they are located on your computer. In case you’ve uploaded something that shouldn’t be there, you can delete them by using the ‘Trash’ icon next to the file. You can remove all of them at a time, choosing the ‘Remove All’ option. After that, you can use ‘Add’ button to attach new files.
Step 2: Start The Repairing Process
As soon as the files are successfully found, you can click on the ‘Repair’ option below. The files will immediately be repaired for the minor and major anomalies. The progress will be displayed on the screen, Going on, waiting to be repaired or complete repair.
Once the repair is done, you will see a prompt on the screen that the process is done.
Step 3: Preview and Save the Files
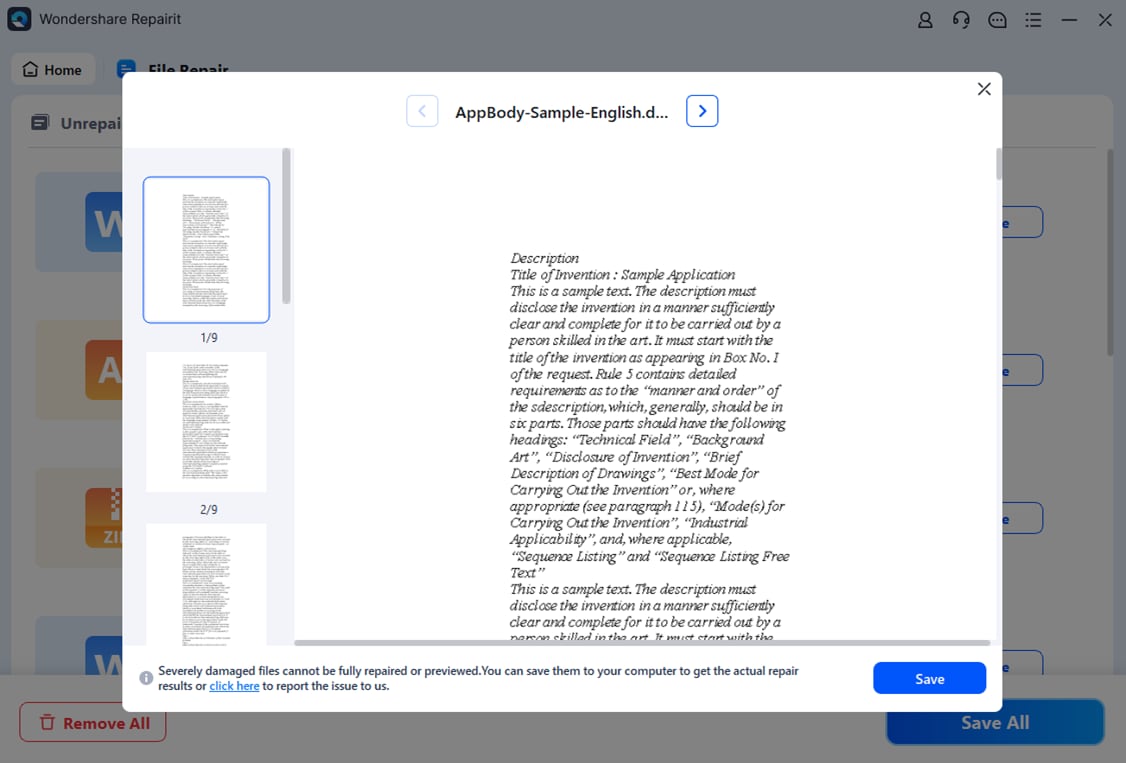
You will find the ‘Preview’ option right next to the files. You can check how the repaired files look through this option. Once you are happy with what you find, click on ‘Save’.
Wondershare Repairit is your perfect choice for repairing the text documents in case you end up damaging the files while tweaking their layout!
Further Reading:
Here are the useful articles to help you.
1. Repair MS Word File after Virus Infection.
2. Fix PowerPoint Found a Problem with the Content.
3. Ways to Repair Word Error This File Could Not be Found.
Wrap up
Editing your text document is very important to give the right kind of impression to the reader on the other end. If it is for professional purposes, then it becomes mandatory. We suggest that you rightly learn the tricks to show or hide formatting marks in the document so that those symbols will aid in proper layout finalization.
And in the process, if you end up damaging or corrupting your file, then Wondershare Repairit will be your savior in disguise. The software will not disappoint you!
FAQs
-
1. How do you show the formatting marks in the document and then hide them again?
The simplest way is to go to the Home section and follow this route. Home > Paragraph Section> enable/disable the Formatting Symbol which is usually present as a reversed P. Otherwise, you can go to display settings and choose to not see or see specific Formatting Marks/Symbols. -
2. What are the 4 types of formatting?
Paragraph Formatting, Document Formatting, Page Formatting and Font Formatting.