
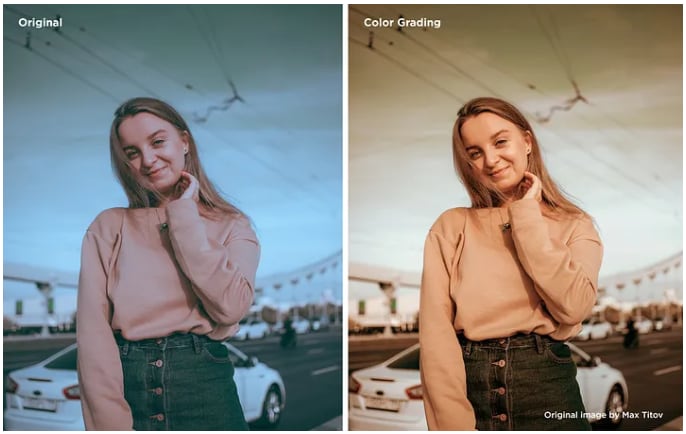
Have you ever found yourself frustrated by photos that don't quite capture the magic of the moment? Maybe a picture of a breathtaking sunset appears dull, or a cherished memory looks boring.
It's moments like these that call for the art of color grading!
Whether you're a pro photographer or just love capturing life's moments, color grading is your ticket to photogenic excellence.
In this article, we will tell you all about color grading photos, what tools to use, and some tips and tricks. We also have a little bonus point for you at the end!
So, let’s start!
In this article
Part 1: Understanding Color Grading and Color Correction
Color grading, often hailed as the "wizardry" behind remarkable photos and videos, is an art that can breathe life into your visuals. But what exactly is it?
In its simplest form, color grading is like being a painter for your pictures. Just as artists mix colors to evoke different moods and emotions, color grading lets you adjust the colors to create a specific look and feel.
You can enhance the vibrancy of colors or correct unwanted tints. You can even turn a daytime shot into a moody cinematic masterpiece. It essentially gives you creative control over your visuals.
Color Grading or Color Correct: What’s the Difference?
Color correction and color grading are two distinct processes of image and video enhancement. Color correction focuses on rectifying technical issues. It ensures that colors appear natural and accurate.
It corrects problems such as white balance, exposure, and color inconsistencies. In contrast, color grading is a creative step that comes after correction, involving the artistic manipulation of colors. In essence, color correction fixes, while color grading enhances and transforms.
Part 2: Which Software to Use for Color Grading?
When it comes to photo or video editing, there are many software out there. However, in this section, we have narrowed down some of the best ones you can use for color grading.
Adobe Photoshop is a heavyweight in the world of photo editing. Its Adobe Camera Raw feature allows you to adjust the color of an image and see how it will look in different scenarios.
You can find it by going to "File > Open." Find your Image in Adobe Camera Raw and click the desired adjustments tab (exposure, white balance, highlights). Change any of the settings. Choose "Save Images and Close" from Adobe Camera Raw's dropdown menu to save the image. Next up, we have GIMP.
GIMP is another practical tool for color grading, suitable for beginners and experts alike. This versatile tool, with over two decades of refinement, stands as a testament to user-friendliness.
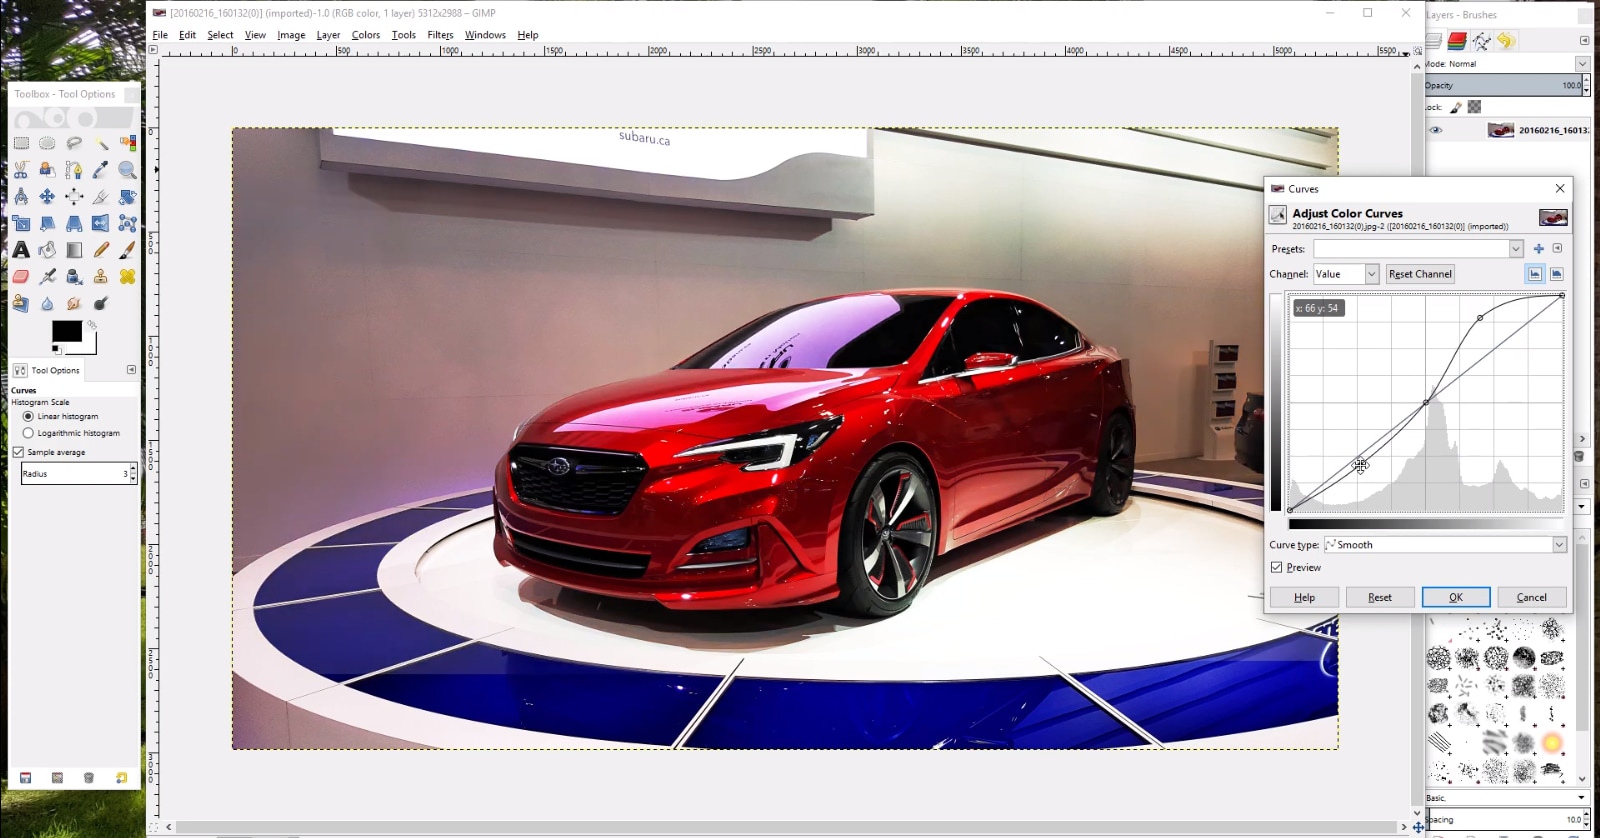
GIMP allows you to adjust colors in your images and videos without much hassle. Whether you want to tweak brightness with “Curves” or apply special effects like sepia with “Filters,” GIMP has you covered.
What's even more useful are the Plug-ins that extend its abilities to work with different file formats. The best part? It's completely free! Give it a shot and watch your photos and videos undergo impressive transformations.
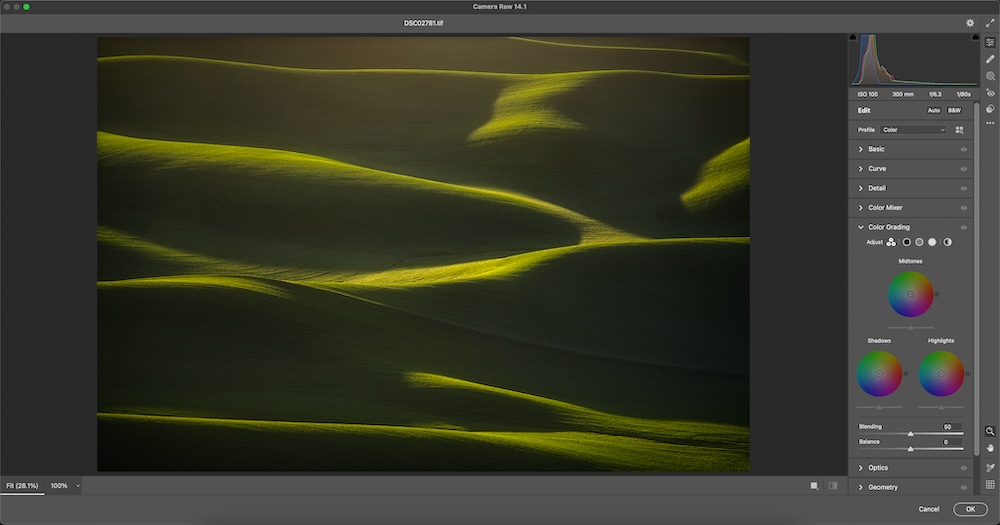
Skylar Luminar Neo is a handy image editing tool that provides color grading that makes your photos shine. The process begins by importing your image with a simple click on the "Import" button.
Before diving into color grading, Luminar Neo emphasizes the importance of adjusting exposure. Moreover, any other image edits, like cropping, should precede color grading in the editing process.
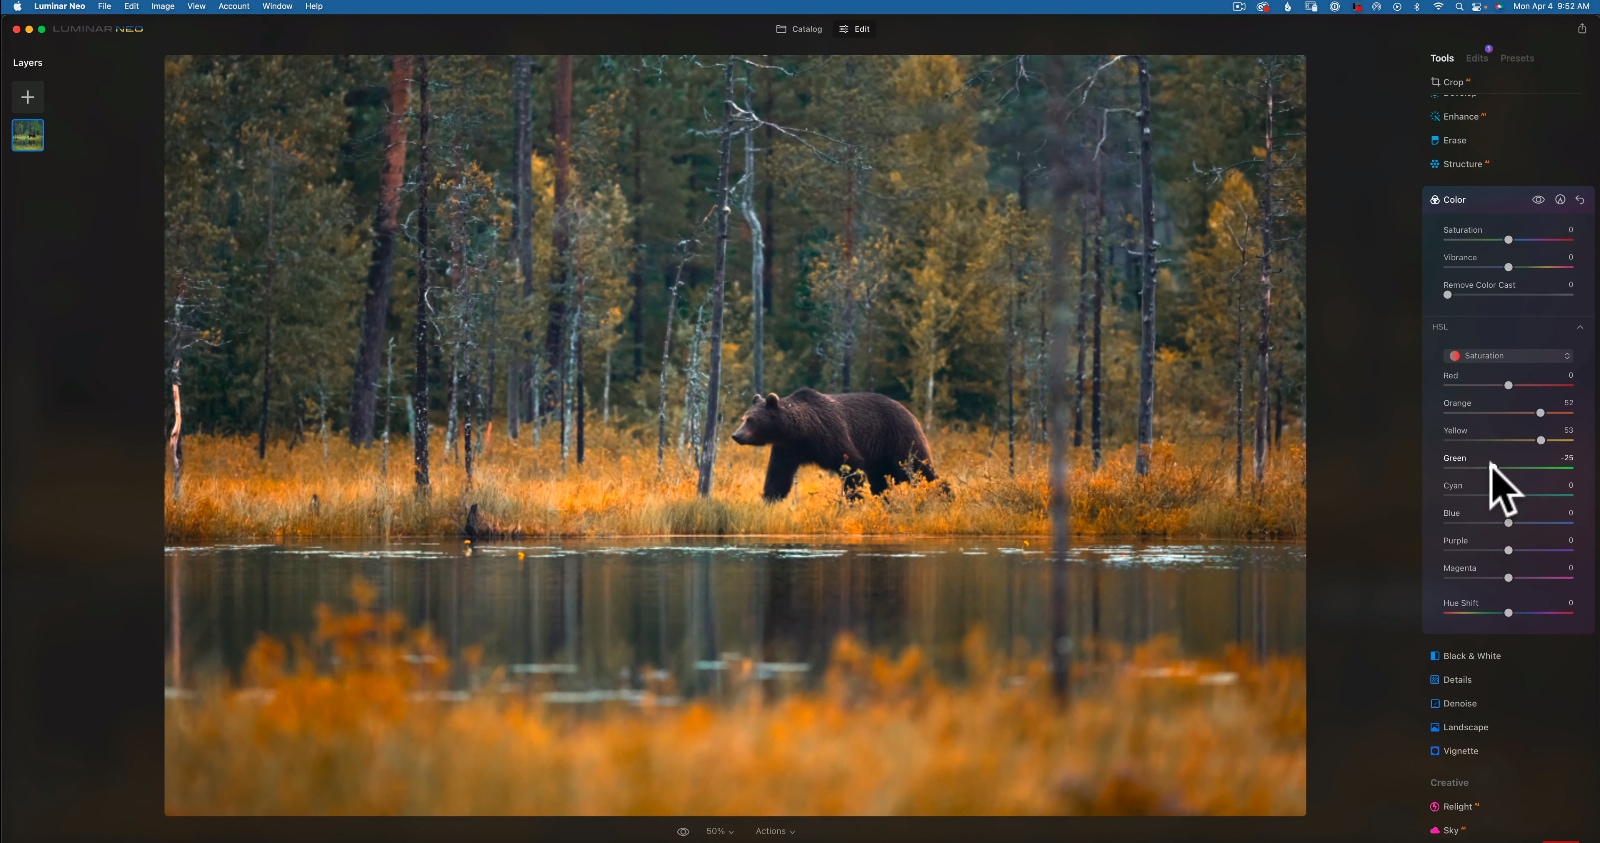
Luminar Neo offers a rich palette of color-grading tools. It has the user-friendly "Curves" and "Color" tools and the more advanced "Color Harmony" and "Mood" (LUTs) tools.
Each tool provides unique options for adjusting colors. It empowers you to select the one that best suits your image, whether you prefer simplicity or fine-tuned control.
Now, let’s take a look at some of the tips and tricks to color grade your photos perfectly.
Lastly, we have Adobe Lightroom. The color grading feature in Adobe Lightroom is one of those tools that allows you to control color temperature and saturation with just a few clicks.
Adjusting the Color Temperature and Tinting
Color grading involves making precise adjustments to the color temperature and tint of an image.
The color temperature sets the overall coolness or warmth, influencing the mood of the photo. For example, you can create a dramatic ambiance with warm tones in nighttime shots.
Tinting, on the other hand, changes the color of whites without affecting other hues. It offers a way to enhance contrast or create a cooler or warmer look.
Utilizing color sliders and individual channels in Lightroom allows you to fine-tune your photos.

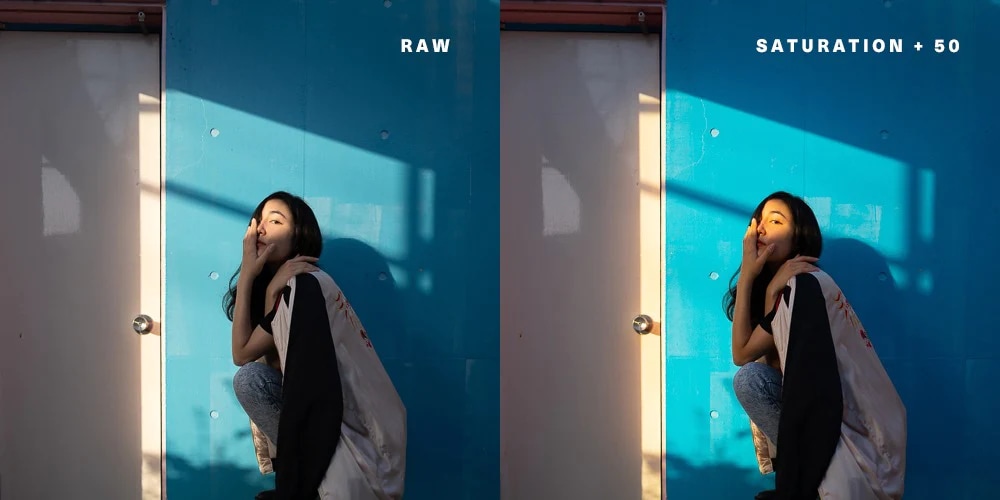
Adjusting Color Saturation
Now, let's dive into color saturation. Here, things get fascinating as color saturation influences both color and tone. It alters the intensity of colors and tones on your screen, but exercise caution, especially when working with images rich in colors like flowers.
Adobe Lightroom simplifies this process with dedicated sliders for greens and blues. These sliders automatically adjust these colors to match your preferences, making color edits a breeze.
How to Color Grade Photos in Lightroom?
For color grading images in Adobe Lightroom and how to use color grading features, like color overlay filters - here is how you can do it:
- Import your photo by choosing File>Import Photos and Video.
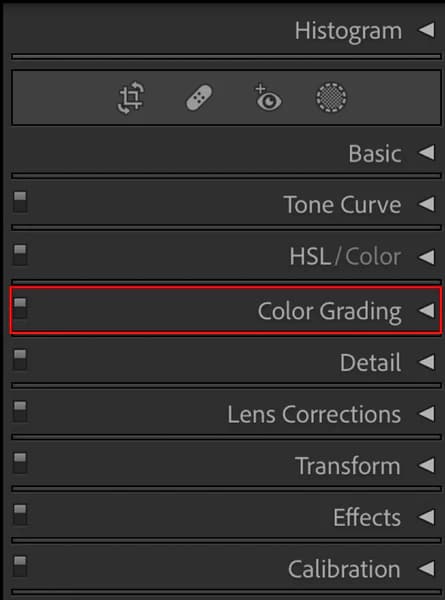
- In the Develop Panel, click on “Color Grading”.
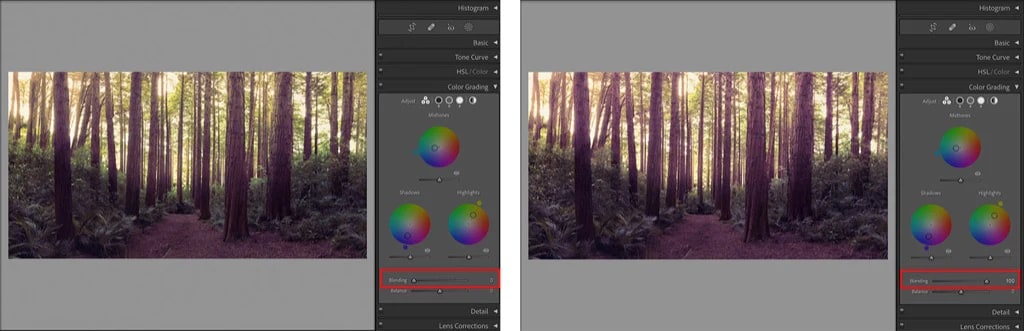
- Adjust the color wheels to color grade your photos.

- Use the sliders to blend and balance.
Once, you are satisfied with all the adjustments, save the photo.
Now, let’s take a look at some of the tips and tricks for color-grading photos.
Part 3: Tips and Tricks for Good Color-Graded Photos
If you want to take your photos from ordinary to extraordinary, color grading is the one. To master this art, here are 6 tips and tricks for you.
Tip # 1: Shoot in RAW Format
The first tip is about capturing the photo. If possible, shoot your photos in RAW format.
RAW files contain more image data, which gives you greater flexibility during color grading. You'll be able to make more precise adjustments without sacrificing image quality.
Tip # 2: Understand Color Theory
A grasp of color theory is your secret weapon. Learn how different colors work together and the emotions they evoke.
The color wheel is your friend. Experiment with complementary or analogous color combinations to enhance your photo's impact.
Tip # 3: Calibrate Your Monitor
Monitor calibration ensures that the colors you see on your screen are accurate.
A well-calibrated monitor guarantees that your color grading decisions translate consistently across different screens and prints.
Tip # 4: Start with a Properly Exposed Picture
Before diving into color grading, ensure your photo is well-exposed. Proper exposure sets the foundation for vibrant colors and avoids unwanted artifacts.
Use tools like exposure adjustments in your chosen software to fine-tune the lighting.
Tip # 5: Don’t Overdo It
Less is often more. Subtle color grading can have a significant impact. Avoid excessive saturation, over-contrasting, or extreme color shifts.
Strive for balance to retain the natural essence of your images.
Tip # 6: Practice and Seek Feedback
Continuous practice is the key to improving your color grading skills. Share your work with fellow photographers or seek constructive feedback online.
Learn from your own experiences and others. This will help you grow as a color-grading artist.
Apart from color grading tips, we have a bonus tip for you when it comes to editing images.
Part 4: Bonus Tip: How to Repair Corrupt Photos?
Sometimes, even the best photos can end up corrupted or damaged, leaving you frustrated. Well, we have just the solution for you. Welcome to the world of Wondershare Repairit!
Wondershare Repairit: AI-Powered Tool
Wondershare Repairit is a dependable solution for fixing corrupt or compromised photos. With its user-friendly interface, it efficiently handles multiple images at once. It allows you to remove those pesky red-eye problems swiftly.

Users benefit from a preview feature to assess and ensure repaired photos meet their standards. Compatible with all JPEG or JPG file types, it operates across a wide range of Mac and Windows versions. You can also avail the online version. This makes it a great choice for photo recovery.
Step-by-Step Guide to Fix Corrupt Photos
In order to fix your corrupted photos, follow the simple steps given below.
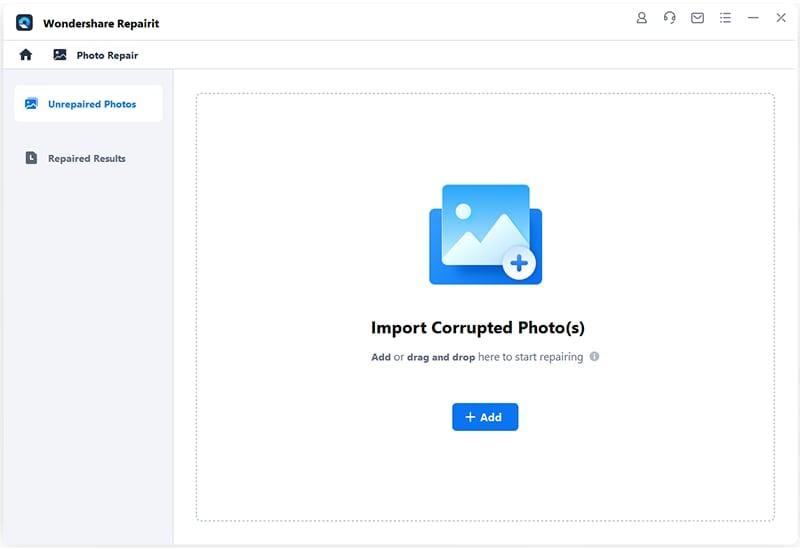
Step 1: Download Wondershare Repairit from the official website.

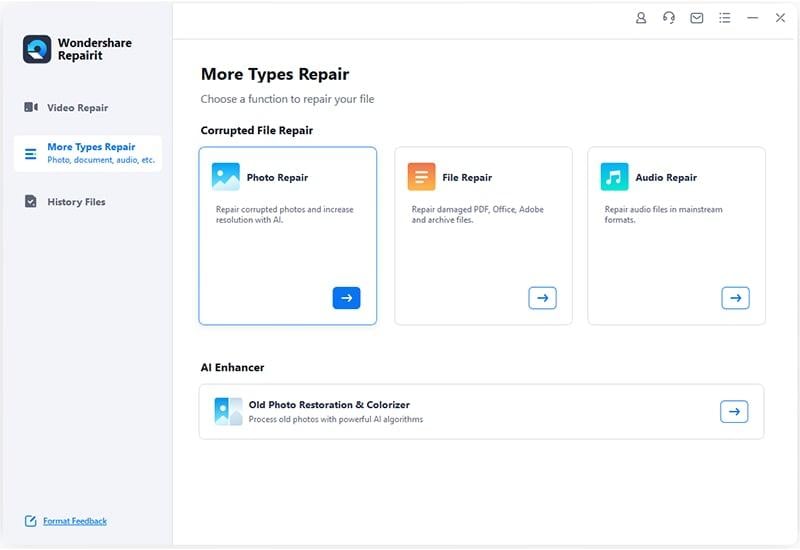
Step 2: Launch Wondershare Repairit and go to “More Types Repair” in the left panel. Then click on “Photo Repair.”
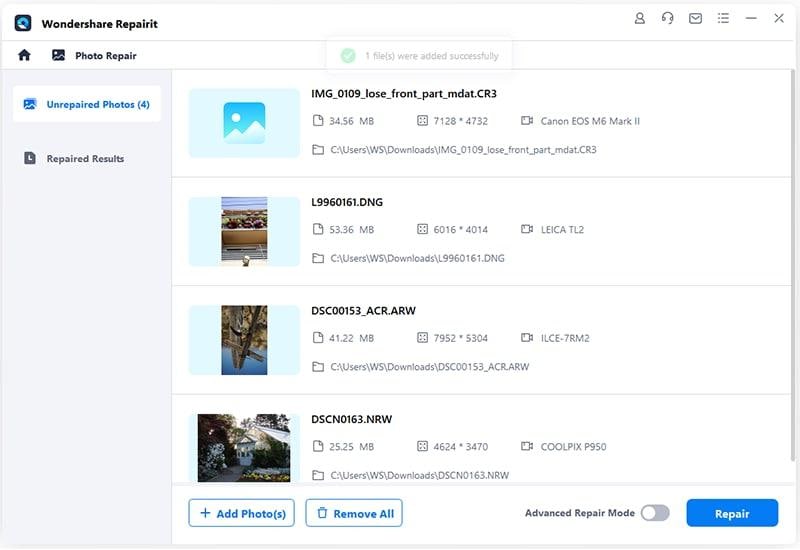
Step 3: Add your corrupted photos by clicking on “Add.”
Step 4: Click on the “Repair” button to begin repairing.
Step 5: Wait for the repair to be completed. Then, click on “OK.”
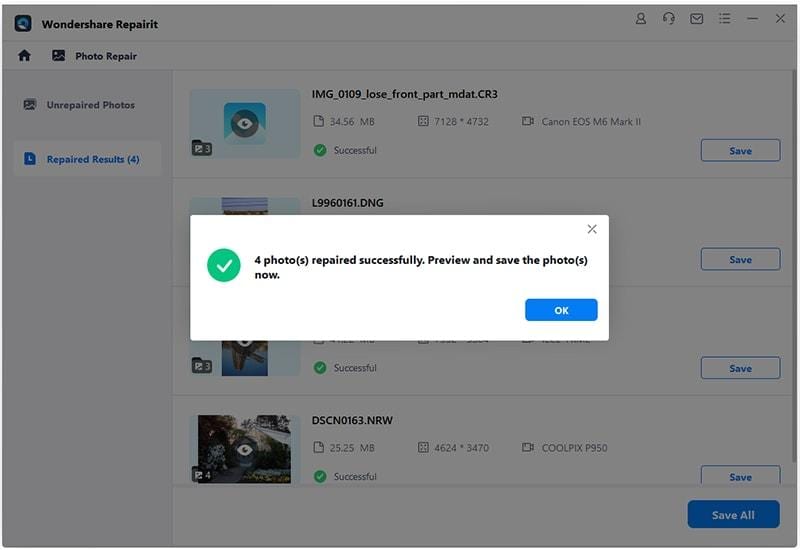
Step 6: Preview the results.
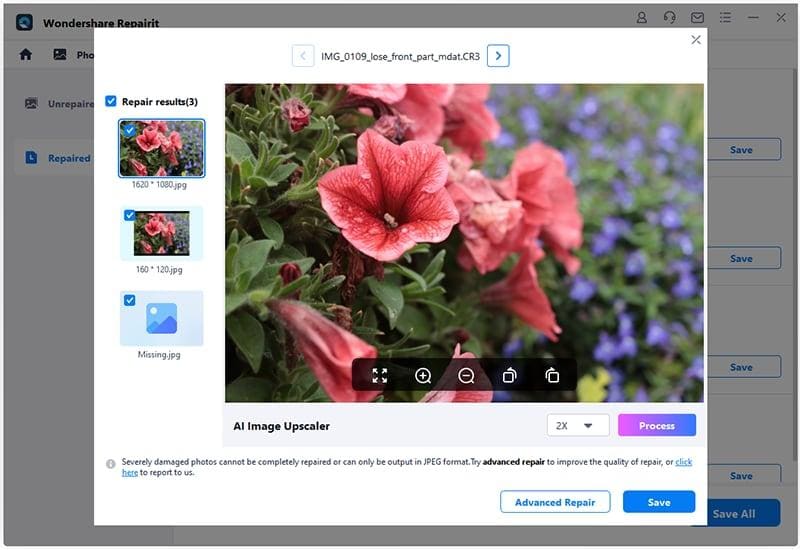
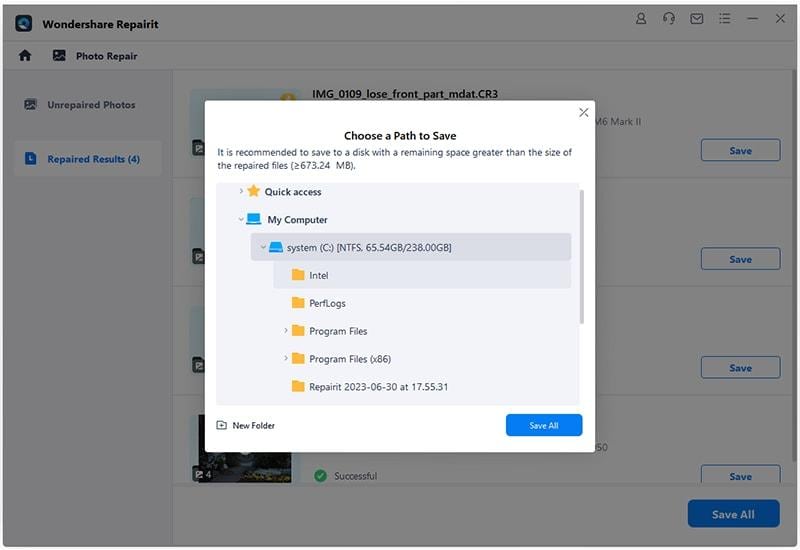
Step 7: Click on “Save” to save it on your computer.
So, Wondershare Repairit provides a simple and effective way to rescue your precious photos from corruption. It ensures that your memories remain intact.
Final Words
Photography can be like a magic trick, and color-grading photos are the secret sauce. Think of it as having a special set of tools in your creative toolbox.
To get started, you'll need software like Adobe Photoshop, GIMP, or Skylum Luminar Neo. These help you adjust colors and brightness and create different moods in your pictures.
You can tweak your photos until they look just right. And if something goes wrong, Wondershare Repairit is like the rescue squad, fixing your images without delay! So, with these tools at your fingertips, you're all set to create photographic magic!