

The colors of your designs, images, and other files matter, especially if you plan to print your designs and hand them out. However, the standard RGB color wheel may not get you the desired results, so you’re searching for ways to convert colors to CMYK.
This guide will show you how to convert to CMYK in Photoshop with two methods. It will also cover additional tips to help you ensure the smoothest transition journey.
In this article
CMYK Color System Explained
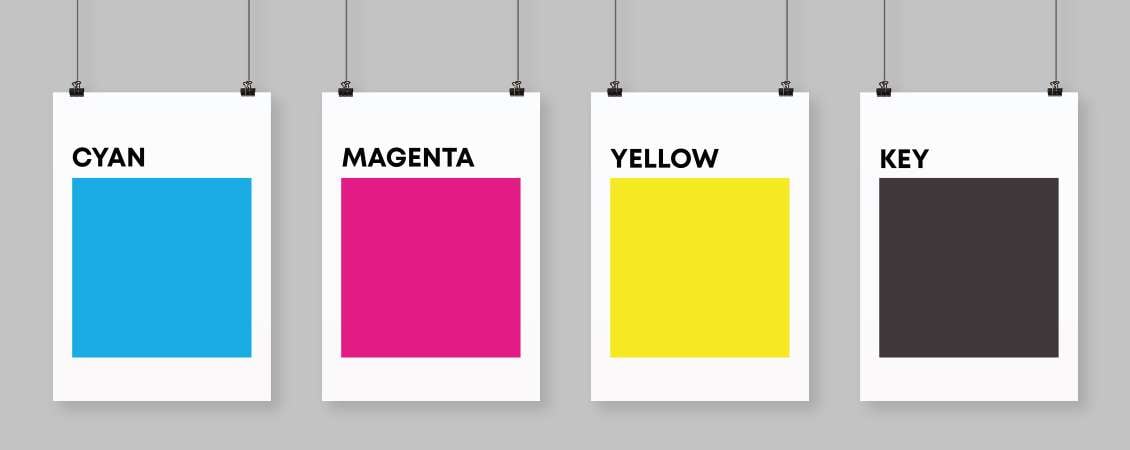
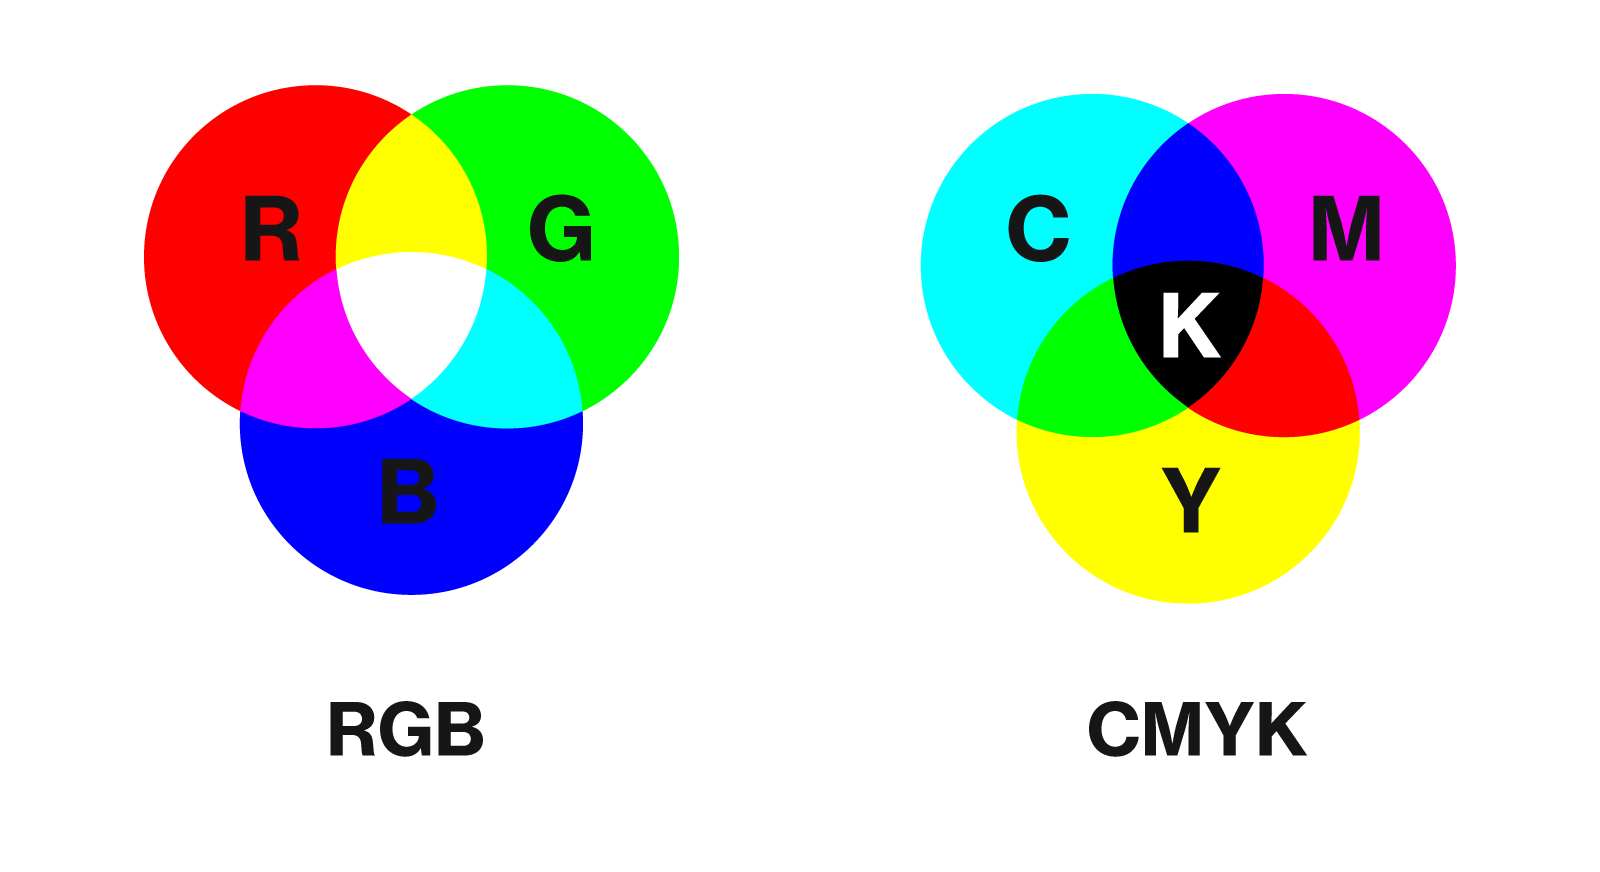
CMYK stands for Cyan, Magenta, Yellow, and Key (Black). This color model’s primary use is in printing, especially for professional printing services, such as magazines, book covers, etc. It represents four ink plates, each combining a specific percentage of the four colors to create the colors you want to print out.
Unlike the RGB model, its CMYK counterpart is subtractive, creating colors by subtracting light (using inks and toners). On the other hand, RGB uses the additive mode, meaning it creates colors by combining light sources.
When Do You Need to Convert Images to CMYK in Photoshop?
Several scenarios will require you to convert your images to CMYK. For instance, professional or private printing will require you to use the CMYK model. On the other hand, if you need to print something out and want it to have color, you must use the CMYK system, as it’s the only one that will transfer all the hues, shades, and tints to the paper.
Color accuracy is another common reason you may want to convert your images to CMYK. Before you print out your design, you can preview what it will look like, and the final product should be the same as the preview if you use the CMYK model.
How to Convert a Photo to CMYK in Photoshop
Below are the two most reliable ways to convert a photo to CMYK, depending on your needs.
Method 1. Converting the Whole Image
If you want your whole image to be in the CMYK model, you can follow the steps below for an easy conversion:
Step 1: Open your image in Photoshop.
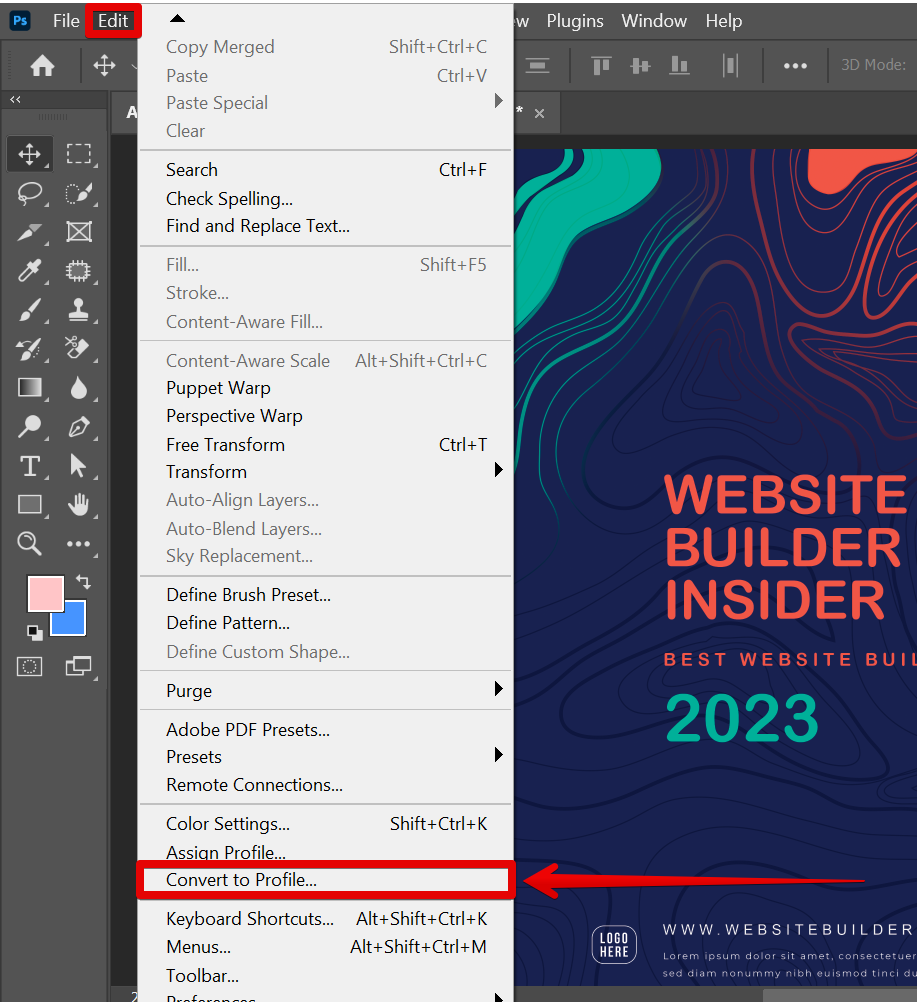
Step 2: Click the Edit button in the top bar.
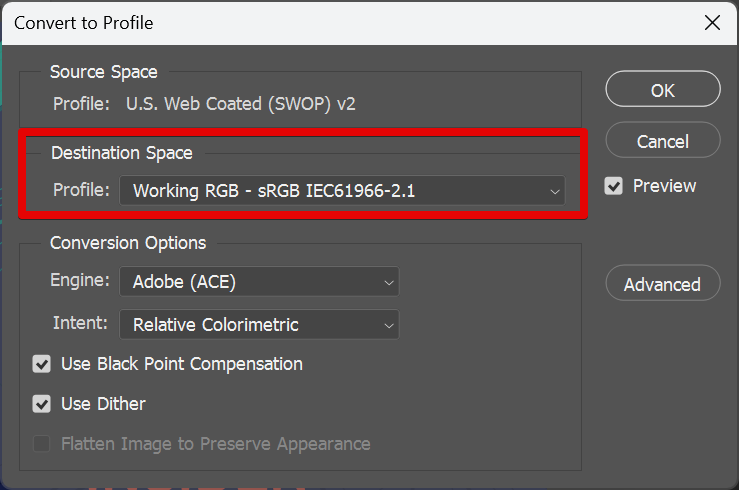
Step 3: Select Convert to Profile from the drop-down menu.

Step 4: Choose the CMYK model in the Destination Space.

Step 5: Click OK.
Method 2. Converting Parts or Layers of the Image
Converting parts or layers of your image to the CMYK model is similar to the guide above. The only difference is you must select the desired layer (any part of the image) to convert. Follow these steps:
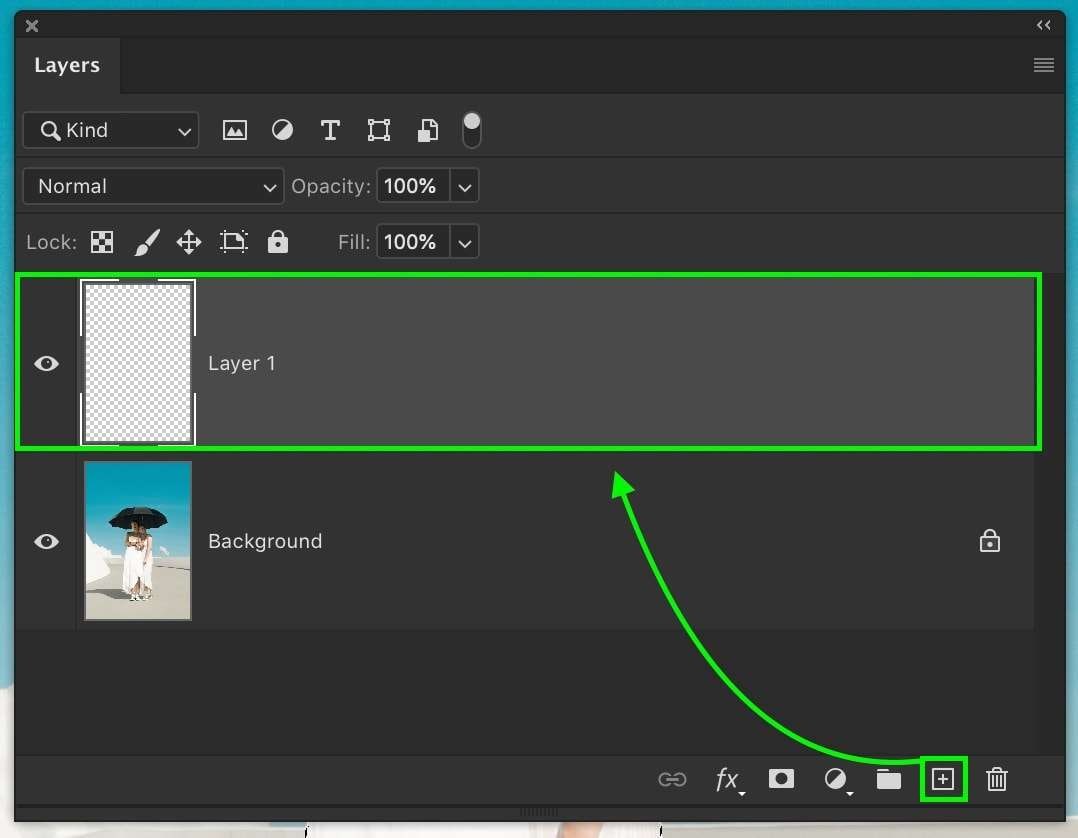
Step 1: Open your image in Photoshop.
Step 2: Select the layer or the part of the picture you want to convert.
Step 3: Click the Edit button in the top bar.
Step 4: Click the Convert to Profile option.
Step 5: Choose the CMYK model in the Destination Space.
Step 6: Click OK to apply the changes.
Additional Tips For Converting to CMYK in Photoshop
Follow the tips below to ensure everything flows smoothly and you don’t lose the image quality while converting it to CMYK.
Tip 1: Keep a Duplicate of the Copy Before Converting
Keeping a duplicate of the image will ensure everything goes smoothly in case of errors. Even if the colors don’t turn out how you want them to, you can still rely on the copy you’ve previously made. Don’t forget to take this step when editing your images because you’ll have the original to fall back on if the conversion doesn’t pan out.
You can also use external devices or cloud storage to protect your duplicates from corruption or other potential issues. That will ensure you can still access your images, even if things go downhill.
Tip 2: Understand How Different Colors Behave When Converted to CMYK
Since CMYK can be a rather complicated color model, understanding how it works is crucial for the best results. The system will mix different cyan, magenta, yellow, and black hues, tints, and shades, so you should experiment before making the final image result.
Moreover, the CMYK model may be limited and unable to produce some colors, such as those on the vibrant spectrum.
Tip 3: Understanding Your Color Needs
Before jumping into the CMYK system, you should understand what you need. Note down your color goals, and visualize the image with them. Then, find the appropriate mixtures and CMYK percentages to make your vision come to life.
This step also includes researching how colors work and finding the best combinations that fit your needs. Before applying the changes to your image, experiment to see how the colors mix and discover your ideal shades.
Tip 4: Use a Photoshop File Repair Tool in Case of Issues
Sometimes, things may go differently than planned, and you may have issues with your images. For instance, you may not have created a duplicate, and the draft you’re working on doesn’t seem to meet your color needs.
Once you notice that the image is “ruined,” panic may settle in. However, with the help of the right tools, you can fix your problematic drafts and make them as good as new. You’ll need a powerful third-party software solution like Wondershare Repairit to help you on the quest.
Wondershare Repairit is one of the best options on the market since it offers numerous features you won’t find anywhere else. Here are some of these unique functionalities:
- AI-enhanced repair solutions
- Support for multiple file formats and corruption scenarios
- Enhancing the image quality
- No file size limits
- A high success rate
- Enlarging images with the help of AI
Wondershare Repairit was one of the first tools to introduce built-in artificial intelligence systems to help you enhance image quality and improve performance. Therefore, download Repairit from the official Wondershare website and follow the steps below to solve any issues you may have with your CMYK images:
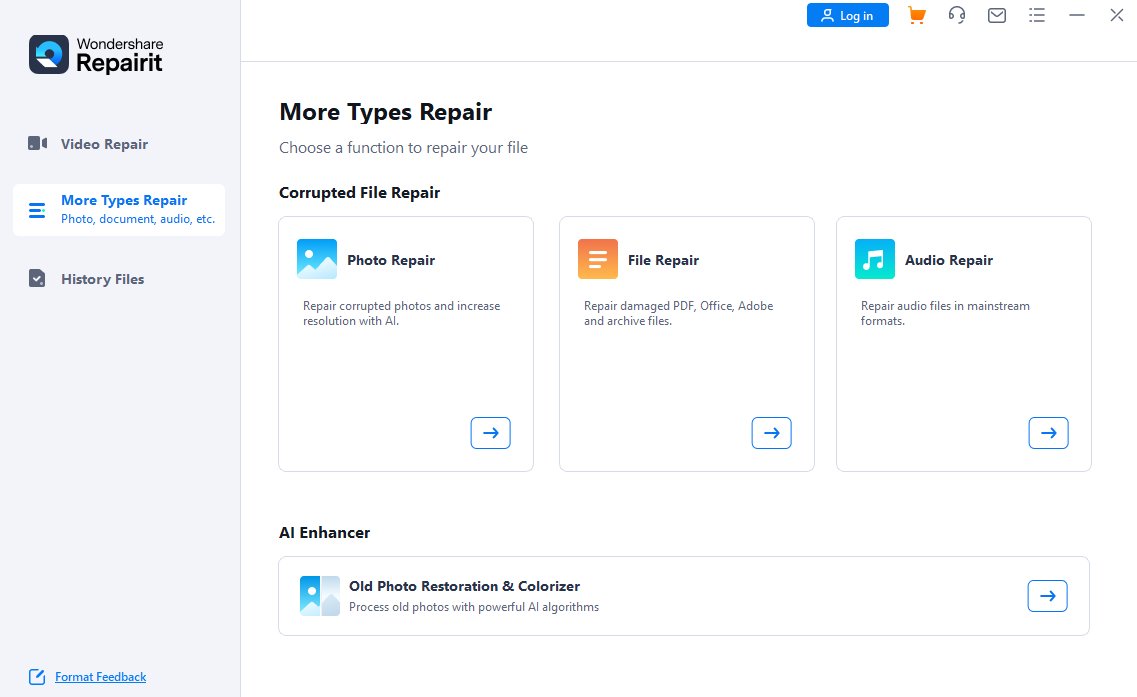
Step 1: Open Wondershare Repairit and head to More Types Repair.
Step 2: Click the Photo Repair option.
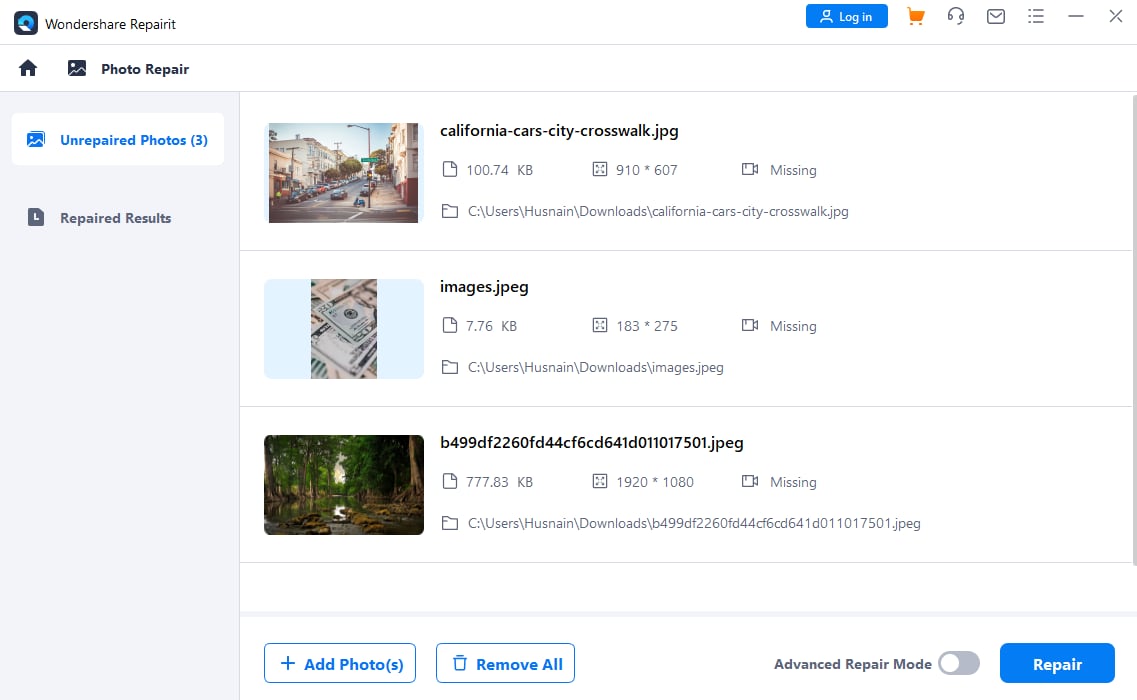
Step 3: Click the Add button to add your image.
Step 4: Click the Repair button to start the process.
Step 5: Once the program repairs your files, you can preview them. Click the Save button to continue.
Step 6: Choose where to save the files.
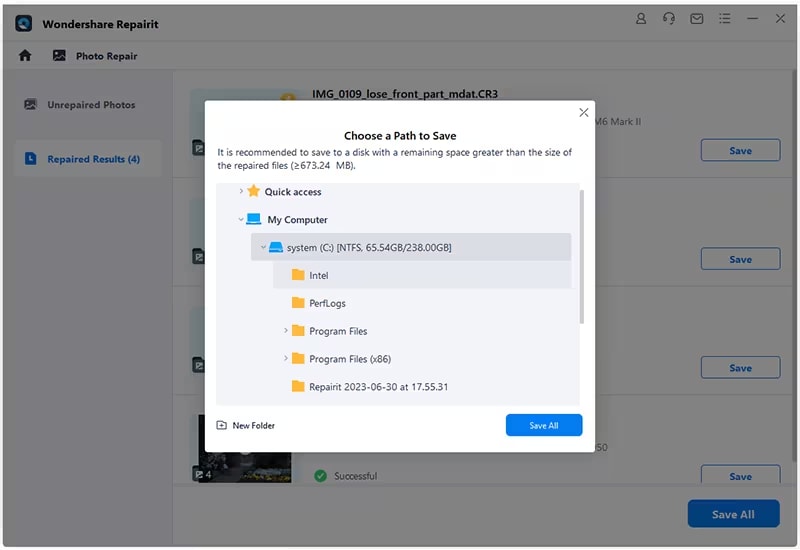
You’ll have your old image back in just a few moments. Wondershare Repairit is a fast and reliable solution for all sorts of issues, so you should download it as a backup plan. You can always rely on this tool to help you get the most out of your photography journey.
Conclusion
Creating professional images and designs is complicated, especially if you constantly encounter new issues on the way. For instance, you may have been unable to print your pictures due to the inappropriate color mode, so now you’re looking for ways to overcome this obstacle. This guide has shown you how to convert your images to CMYK in Photoshop quickly.
However, you must be careful during this process as the program may lag and cause unnecessary issues. Therefore, follow the tips above to avoid potential problems and understand how to solve an issue if it arises.