Interlaced scan is an older video technique that still appears in TV broadcasts, camcorder footage, DVDs, and archived web videos. If you have ever seen flickering motion, "combed" edges, or strange lines when editing, streaming, or playing a clip, you have probably run into interlaced video. Knowing how it works helps you export cleaner files, avoid artifacts, and decide when to convert or repair your footage for modern screens.
Repair Corrupted Files To Save Your Data
 Security Verified. Over 7,302,189 people have downloaded it.
In this article
What Is Interlaced Scan?
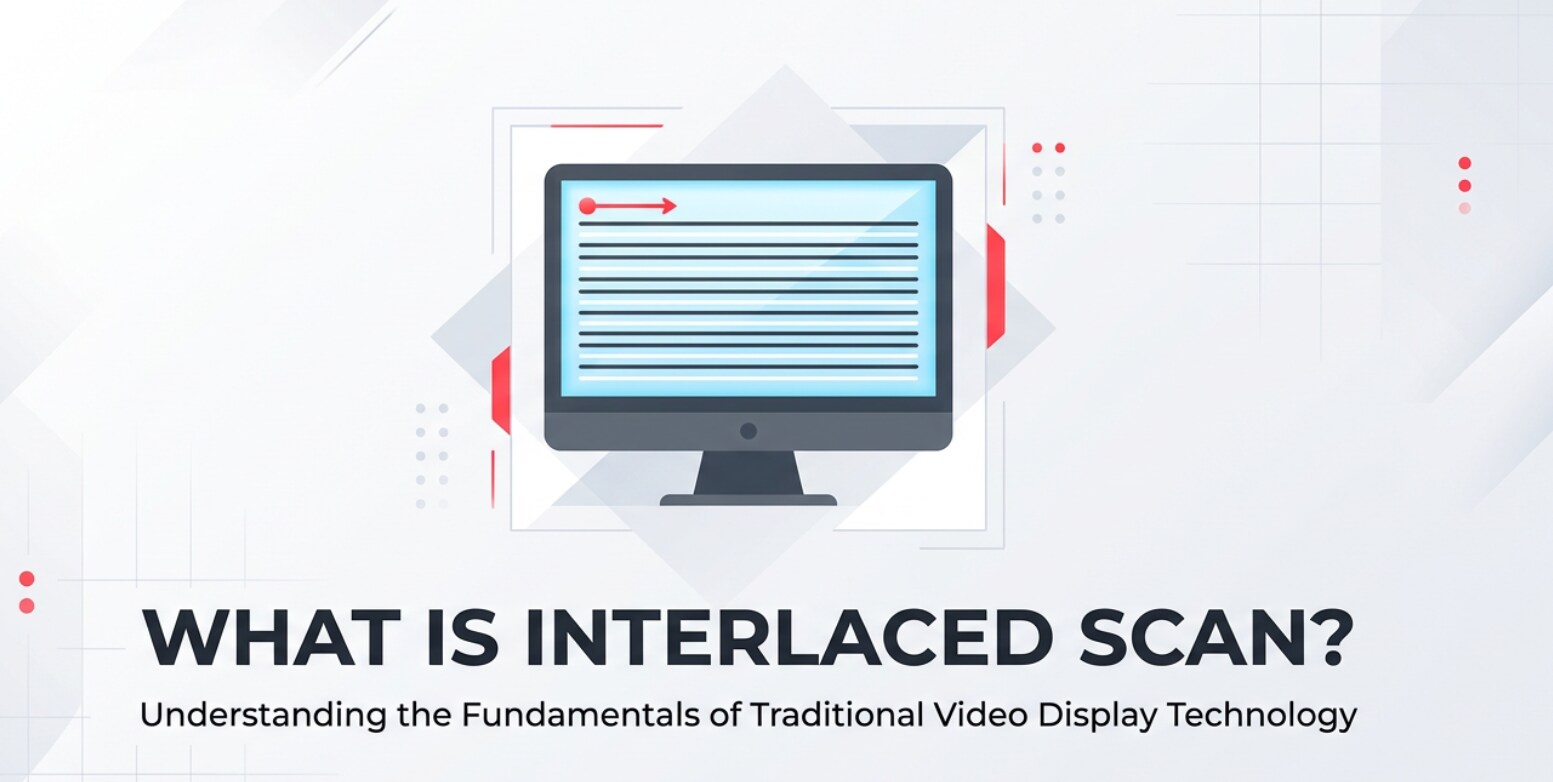
Interlaced scan is a video scanning method where each video frame is split into two "fields": one with the odd horizontal lines and one with the even lines. Instead of drawing a full frame at once, the display shows these fields alternately. This is a video scan type or video parameter that was created for analog TV to reduce bandwidth while keeping motion relatively smooth.
In practice, interlacing means the camera or encoder records and stores two separate time slices in every frame: field A (odd lines) at one moment, and field B (even lines) a fraction of a second later. On a CRT TV this looked fluid, but on modern progressive LCD, LED, and OLED screens it can reveal line artifacts, especially during fast motion or when you pause the video.
What Does Interlaced Scan Affect?
Quality, motion, and artifacts
The choice between interlaced vs progressive scan strongly affects how your video looks and feels:
- Perceived smoothness of motion: Interlaced formats like 1080i effectively show motion at twice the field rate (e.g., 50i or 60i), so movement can look smoother than low-frame-rate progressive video, especially on older TVs.
- Sharpness and clarity: On modern progressive displays, interlaced footage often looks softer after deinterlacing because fields are combined or interpolated into full frames.
- Visible video artifacts: Misaligned fields create "combing" (horizontal teeth on moving edges), line twitter, flicker on fine patterns (text, stripes), and jagged edges when paused or scrubbed.
- Freeze-frames and thumbnails: When a single interlaced frame is shown as a still image, the two fields reveal themselves as horizontal lines or double exposures, reducing perceived video quality.
Performance, compatibility, and workflows
Interlaced video also impacts how files behave across devices, platforms, and workflows:
- Playback compatibility: Most streaming platforms prefer progressive material. If you upload interlaced content, the platform may auto-deinterlace or re-encode it, sometimes producing soft or unstable results.
- Editing and exporting: NLEs (non-linear editors) like Premiere Pro, Final Cut Pro, and DaVinci Resolve need correct field order (upper/lower field first). A wrong setting can cause jittery or "bouncing" motion in exports.
- File size and bandwidth: Interlaced scan was originally used to cut analog bandwidth. In digital workflows, file size is driven more by resolution, frame rate, and codec, but interlaced material can be harder to compress efficiently without artifacts.
- Archiving and future-proofing: Archiving old tapes or broadcast captures in interlaced form can preserve motion characteristics, but you may need high-quality deinterlacing later for modern displays and editing.
How Does Interlaced Scan Work in Real Use?
In real workflows, video scan types appear in cameras, capture cards, editing software, and export presets. You will often see them marked as "i" for interlaced and "p" for progressive, such as 1080i50 vs 1080p25.
- Broadcast and TV production: Many legacy HD broadcast formats use 1080i. Studio cameras, switchers, and playout servers may still deliver interlaced feeds for compatibility with older infrastructure.
- Consumer camcorders and surveillance: Older DV, HDV, and some security systems record in interlaced mode to mimic TV broadcast standards and reduce processing needs.
- Capture and digitization: When digitizing VHS, Betacam, or other analog tapes, capture devices usually preserve the original interlaced structure to avoid losing temporal information.
- Editing software settings: In an NLE, you might see project or sequence settings like "Field Order: Upper First" or "No Fields (Progressive)". Choosing the wrong value for interlaced footage can introduce stutter or interline flicker.
- Export and streaming presets: Export dialogs may offer checkboxes such as "Interlaced" or "Progressive". For YouTube, social media, or mobile streaming, progressive output is usually recommended for cleaner playback.
Modern TVs and players typically deinterlace on the fly. Quality varies: cheap hardware can produce visible artifacts, while high-end devices apply motion-adaptive or AI-based deinterlacing for smoother results.
Common Mistakes and Quick Tips
Frequent misunderstandings
- Assuming all HD is progressive: many 1080i broadcasts and older Blu-ray extras are still interlaced.
- Thinking deinterlacing is optional: ignoring it leaves combing and flicker that look unprofessional.
- Mixing interlaced and progressive clips without care: mismatched scan types in one timeline can cause odd motion and export issues.
- Using low-quality deinterlacing: basic blend methods often blur details and text.
Quick tips for beginners
- In your editor, always check whether footage is flagged as interlaced or progressive before you start cutting.
- If the final destination is YouTube, social media, or mobile, export as progressive even if the source is interlaced.
- Use higher-quality deinterlacing methods (motion-compensated or "smart" deinterlace filters) when available.
- When capturing old tapes, keep the original interlaced master for archiving, but generate a separate progressive version for day-to-day viewing.
Key takeaways
- Interlacing is mainly a legacy technique but still appears in real projects.
- Handle field order and deinterlacing correctly to avoid ugly video artifacts.
- For most modern workflows, aim for progressive delivery even if the source began as interlaced video.
How to Use Repairit to Fix a Corrupted Video File
Why choose Repairit for damaged interlaced videos?
When your interlaced footage will not play, freezes, or shows severe glitches, file-level corruption may be the real problem. Repairit official website introduces a dedicated media repair solution from Wondershare that focuses on fixing damaged or unplayable photos, videos, and audio files. It works with clips from cameras, phones, and storage devices, so you can rescue precious recordings without digging into complex codecs or command-line tools.
Key features of Repairit
- Fixes various video corruption issues, including playback errors and video artifacts that break smooth viewing.
- Supports a wide range of video formats from cameras, phones, action cams, and removable storage devices.
- Provides a straightforward, guided repair process suitable for beginners and non-technical users.
Step-by-step: Repair a corrupted video file with Repairit
- Add corrupted video files
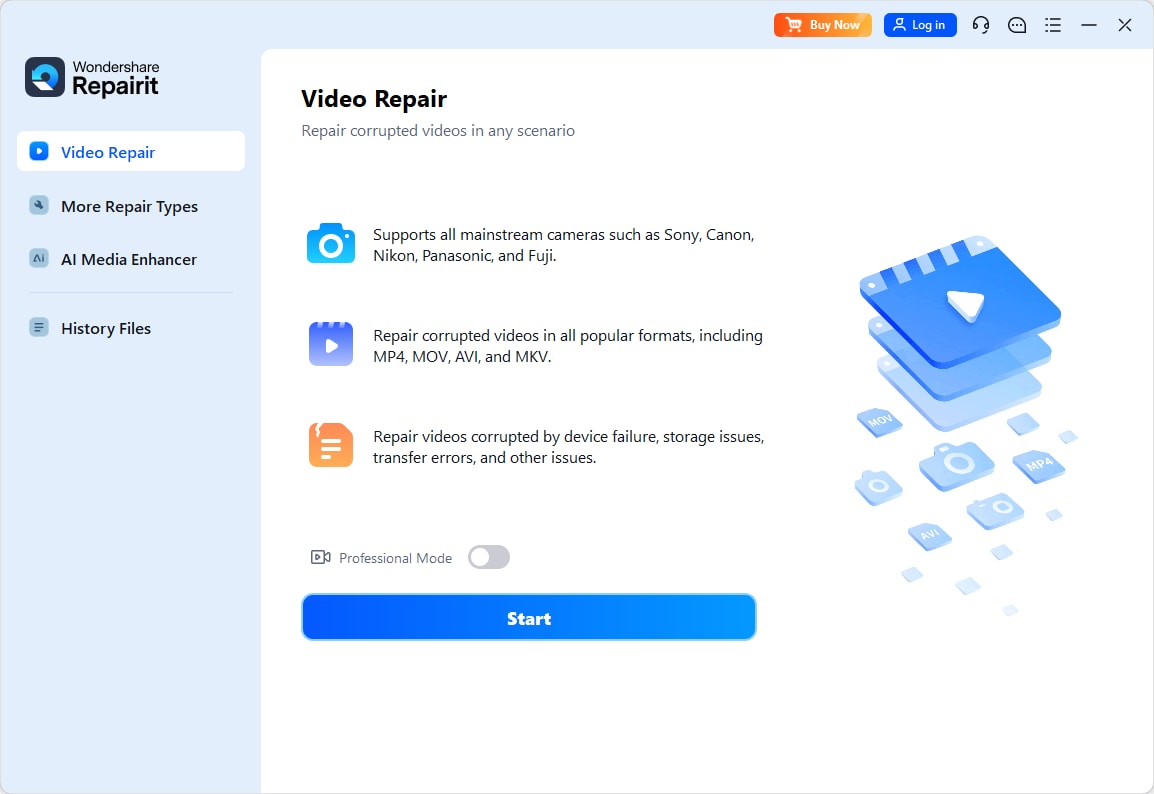
Install and open Repairit on your computer, then go to the Video Repair module. Click the "Add" button or drag and drop your problematic clips into the window. You can import interlaced recordings, progressive files, or any supported format that refuses to play, stutters, or displays errors.
- Repair video files
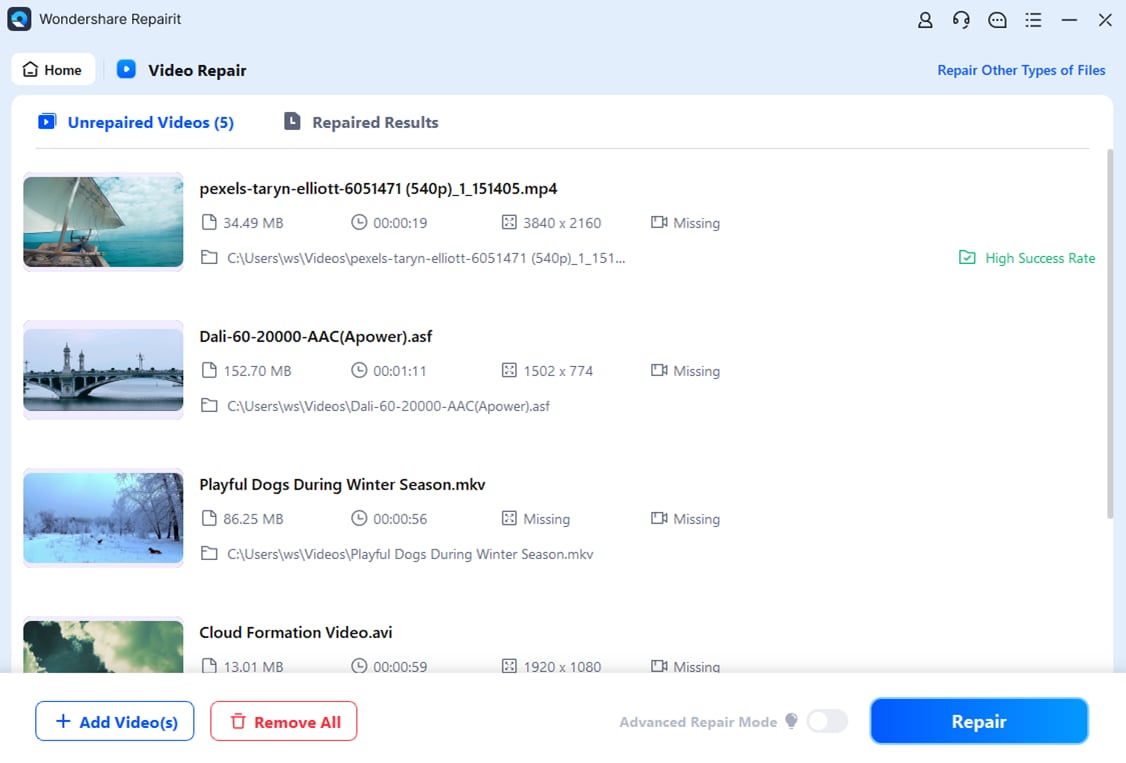
After the files load, select the clips you want to fix and click "Repair". Repairit will analyze the structure of each video, locate damaged headers, frames, or audio tracks, and then rebuild them automatically. When the process finishes, use the built-in preview to check that motion is smooth, audio is in sync, and your former glitches or artifacts are gone.
- Save the repaired video files
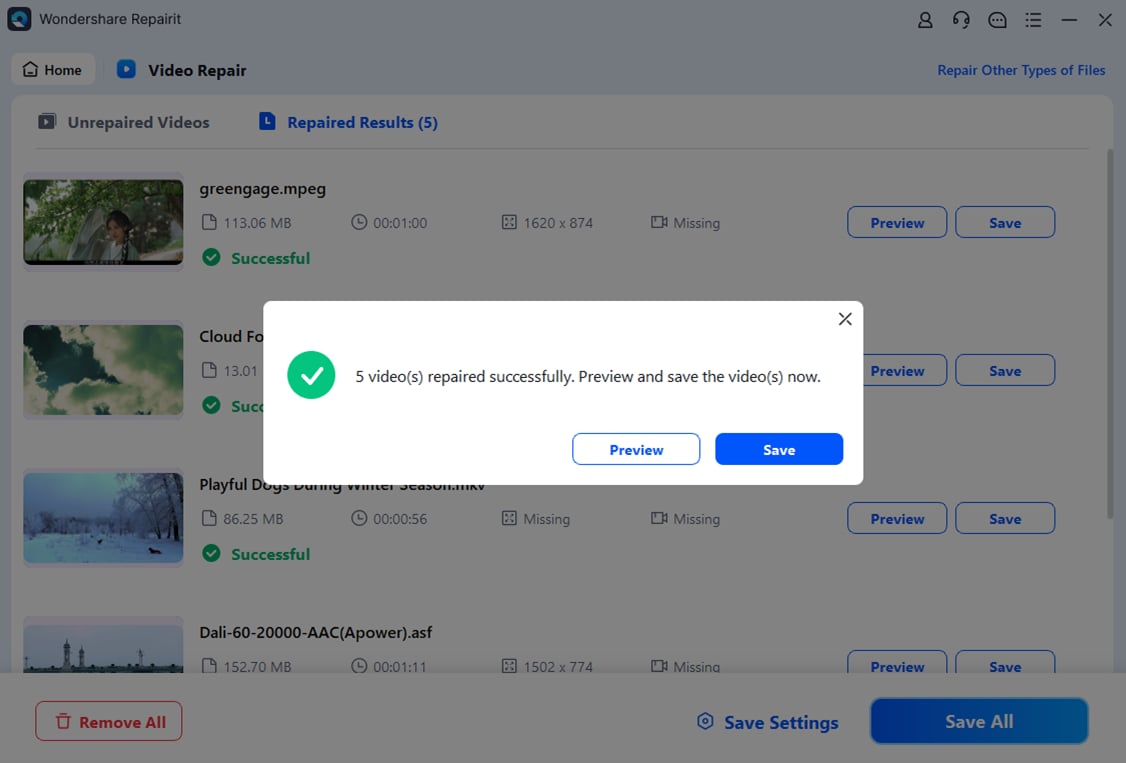
If the preview looks good, click "Save" or "Save All" to export your recovered clips.
Conclusion
Interlaced scan was designed to stretch limited broadcast bandwidth and early display technology, but it clashes with today's progressive screens. Understanding how interlaced vs progressive scan works makes it easier to spot combing, flicker, and motion issues, and to choose the right settings when recording, editing, encoding, exporting, or streaming video.
When your files are not only interlaced but also corrupted or unplayable, software alone cannot fix everything inside an editor. Tools like Repairit step in to repair broken video structures, restore smooth playback, and protect valuable recordings. With a clean, repaired master, you can then safely deinterlace or convert your footage to modern formats without losing it to file damage.
Next: What is Progressive Scan?
FAQ
-
1. What is interlaced scan in simple terms?
Interlaced scan is a method of displaying video where each frame is split into two fields: one containing the odd lines and one containing the even lines. The screen shows these fields one after another, which reduces bandwidth but can create horizontal line artifacts on modern progressive displays. -
2. Why do interlaced videos look bad on modern TVs and monitors?
Most modern screens are progressive, drawing full frames at once. When they show interlaced content, the two time-separated fields must be blended or reconstructed. If deinterlacing is poor, you will see combing, flicker, soft details, and jagged edges, especially in fast motion or paused frames. -
3. Can I convert interlaced video to progressive scan?
Yes. Many video editors and converters have a deinterlace option that turns interlaced fields into complete progressive frames. Higher-quality, motion-adaptive deinterlacing will usually give smoother, sharper results than basic blending, making your video look better on current devices and platforms. -
4. Is interlaced scan still used today?
Interlaced scan is less common but has not disappeared. It still appears in some broadcast standards, legacy TV systems, surveillance setups, and older camcorder footage. You will often encounter it when digitizing tapes, reusing archive material, or working with older HD broadcast recordings. -
5. How can I fix a corrupted interlaced video file?
First, copy and back up the corrupted file so you do not lose the original. Then open a repair tool such as Repairit, add the damaged clip, and run the repair process. Preview the result to ensure smooth playback and correct motion, and finally save the repaired version to a safe location before editing or deinterlacing it.