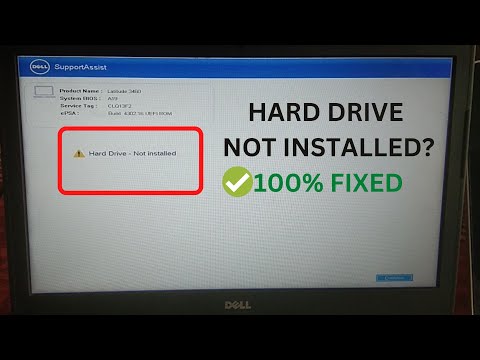
Seeing a “Hard Disk Drive Not Installed” error on a Dell laptop or desktop usually means the system cannot detect the internal HDD or SSD during startup. When that happens, Windows may fail to boot, and your files may become inaccessible.
This error does not always mean the drive is dead. In many cases, the cause is a loose connection, incorrect BIOS settings, boot mode mismatch, SATA/NVMe detection issue, or a failing drive that is only partially detectable.
If the drive contains important files, avoid repeated formatting, repeated reinstall attempts, or unnecessary write operations. Those actions can make data recovery harder. This guide starts with the safest checks first, then moves to hardware, BIOS, boot, and recovery-related fixes.
In this article
Part 1. First: Check If BIOS Detects the Drive
Before commencing complex fixes, check first if your Dell laptop or desktop detects the hard drive in BIOS. This will determine if the problem is hardware or software before trying other fixes.
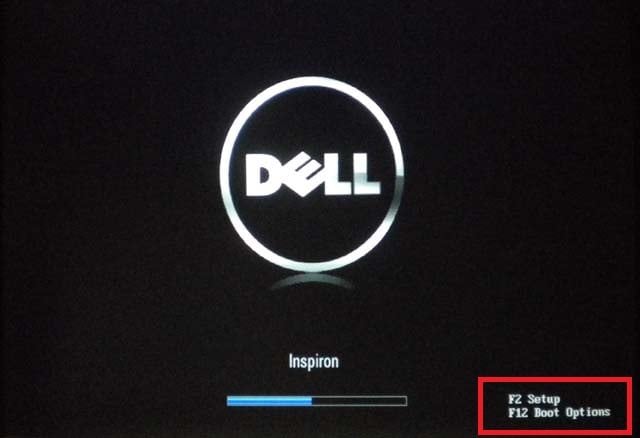
To check, restart your PC and press the BIOS key (F2, F12, or Del) during boot. Look for your HDD or SSD in the storage or system information section.
- If the drive appears in BIOS, the issue may be related to Windows or drivers.
- If it does not appear, the issue could be a loose connection, cable, or the drive itself.
Part 2. Quick Diagnosis: What Does BIOS Detection Tell You?
Use this simple table to decide what to do next.
This is the most important branch in the whole troubleshooting process. Do not jump into Windows repair steps before you know whether BIOS can actually see the drive.
Part 3. If BIOS DOES NOT Detect the Hard Drive
If BIOS cannot detect the drive, focus on hardware and firmware checks first.
Perform a Hard Reset
Sometimes, your system just needs a full power reset. A hard reset can help your computer rebuild the connection between the BIOS and hardware. Here’s how to do it:
Step 1: Press the Dell’s power button firmly for 10 seconds.
Step 2: Detach the AC adapter and, if your Dell device has a removable battery, remove the battery.
Step 3: Unplug USB drives, printers, webcams, and memory cards. Keep only the keyboard and mouse connected.
Step 4: Gently hold the Dell’s power button again for 15-20 seconds.
Step 5: Turn on your computer. If the issue isn’t fixed, try the next troubleshooting step.
Note: For laptops with non-removable batteries or select Dell Latitude models, check theDell User Guide or use forced ePSA recovery if needed.
Run Dell ePSA Diagnostics
If you see the Dell SupportAssist “hard drive not installed” error, you can use Dell’s built-in diagnostics to check your hardware. This works on Dell laptops, including Dell Latitude models.
You can use it to find any issues before trying bigger fixes. Here’s how to run Dell Diagnostics:
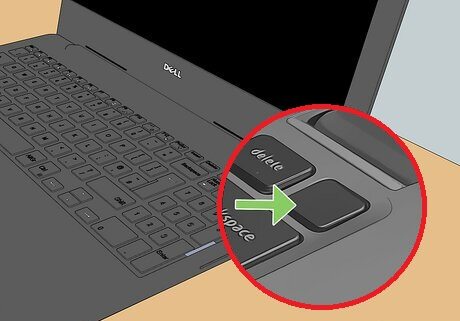
Step 1: Restart your laptop and press F12 repeatedly when the Dell logo appears.
Step 2: Pick Diagnostics to scan all hardware, including the hard drive.
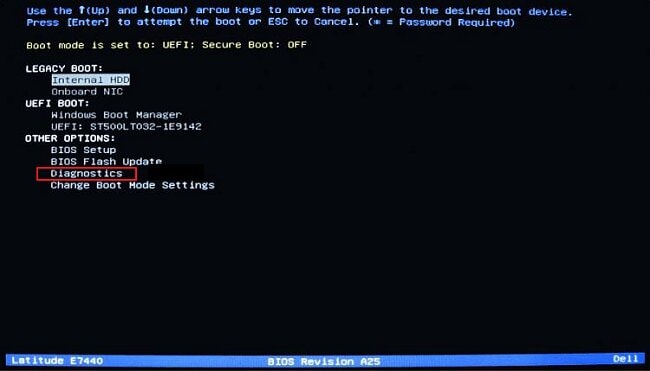
Step 3: If it shows an error code, write it down as you might need it for support or next steps.
Reseat the Drive
A drive that has shifted slightly out of place may disappear from BIOS.
⚠️ Warning: Only do this if you are comfortable opening the laptop or desktop. Power must be fully disconnected first.
Step 1: Power down your Dell laptop and unplug the AC adapter.
Step 2: Detach the battery if your laptop has a removable one.
Step 3: Open the back panel of your laptop to access the hard drive or SSD.
Step 4: Look for the drive and let go of any clips or screws holding it in place.
Step 5: Gently remove the drive from its slot.
Step 6: Reinsert the drive, making sure it’s fully seated and the clips/screws are secure.
Step 7: Close the back panel and reattach the battery and AC adapter.
Step 8: Turn on your laptop and check if the drive is now detected.
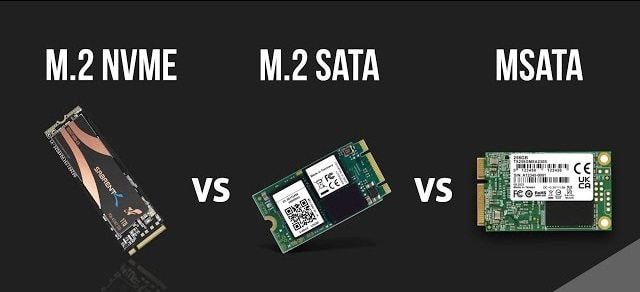
Check NVMe or SATA Connection
For both laptops and desktops, a disconnected or poorly seated NVMe or SATA drive can cause detection issues.
Step 1: Open the case or back panel (see your Dell manual).
Step 2: Find the NVMe (M.2 slot) or SATA (2.5"/3.5") drive.
Step 3: Check that the drive is fully seated in its connector.
Step 4: Remove and reinsert the drive to ensure a snug fit.
Step 5: For SATA drives, check that data and power cables are secure.
Step 6: Close the case, reconnect the power, and turn on the computer.
Step 7: Enter the BIOS to check if the drive is detected.
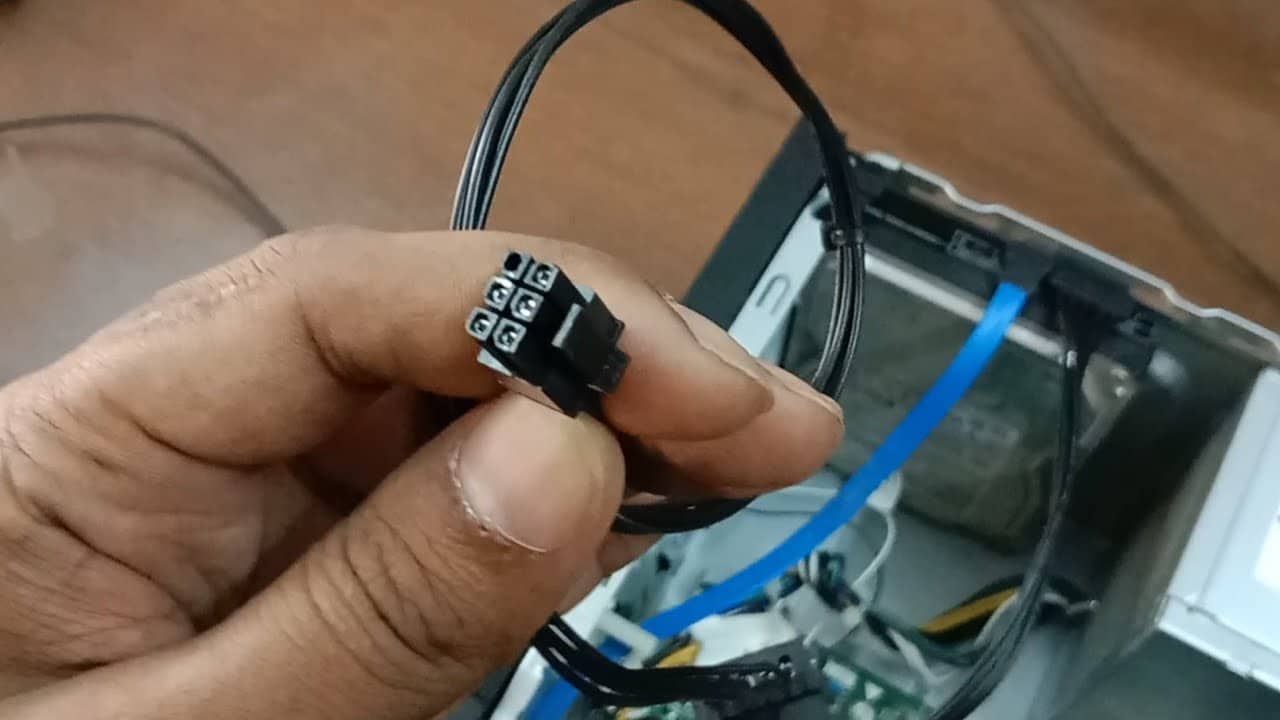
Replace SATA Cable
On desktops, a faulty SATA cable can prevent the BIOS from seeing your drive. Swap the existing cable with a new one and reconnect the drive. This fixes detection problems quickly.
Step 1: Turn off the PC, unplug it, and open the case.
Step 2: Disconnect the old SATA cable from the drive and motherboard.
Step 3: Connect a new SATA cable securely, close the case, and power on.
Step 4: Check BIOS to confirm the drive is detected.
Reset BIOS to Default
Sometimes BIOS settings can block the system from detecting a drive. Resetting the BIOS to default restores the proper communication between your motherboard and drive.
Step 1: Turn on or restart your Dell computer.
Step 2: Press F2 repeatedly as it boots to enter the BIOS setup.
Step 3: In the BIOS menu, look for an option like Load Defaults, Load Setup Defaults, or Restore Defaults.
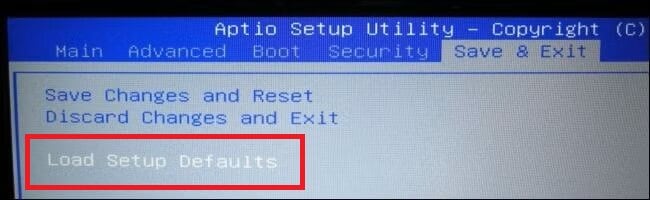
Step 4: Select it and confirm to reset BIOS settings to factory defaults.
Step 5: Keep the changes and exit the BIOS (F10). Your Dell computer will restart with the default BIOS settings.
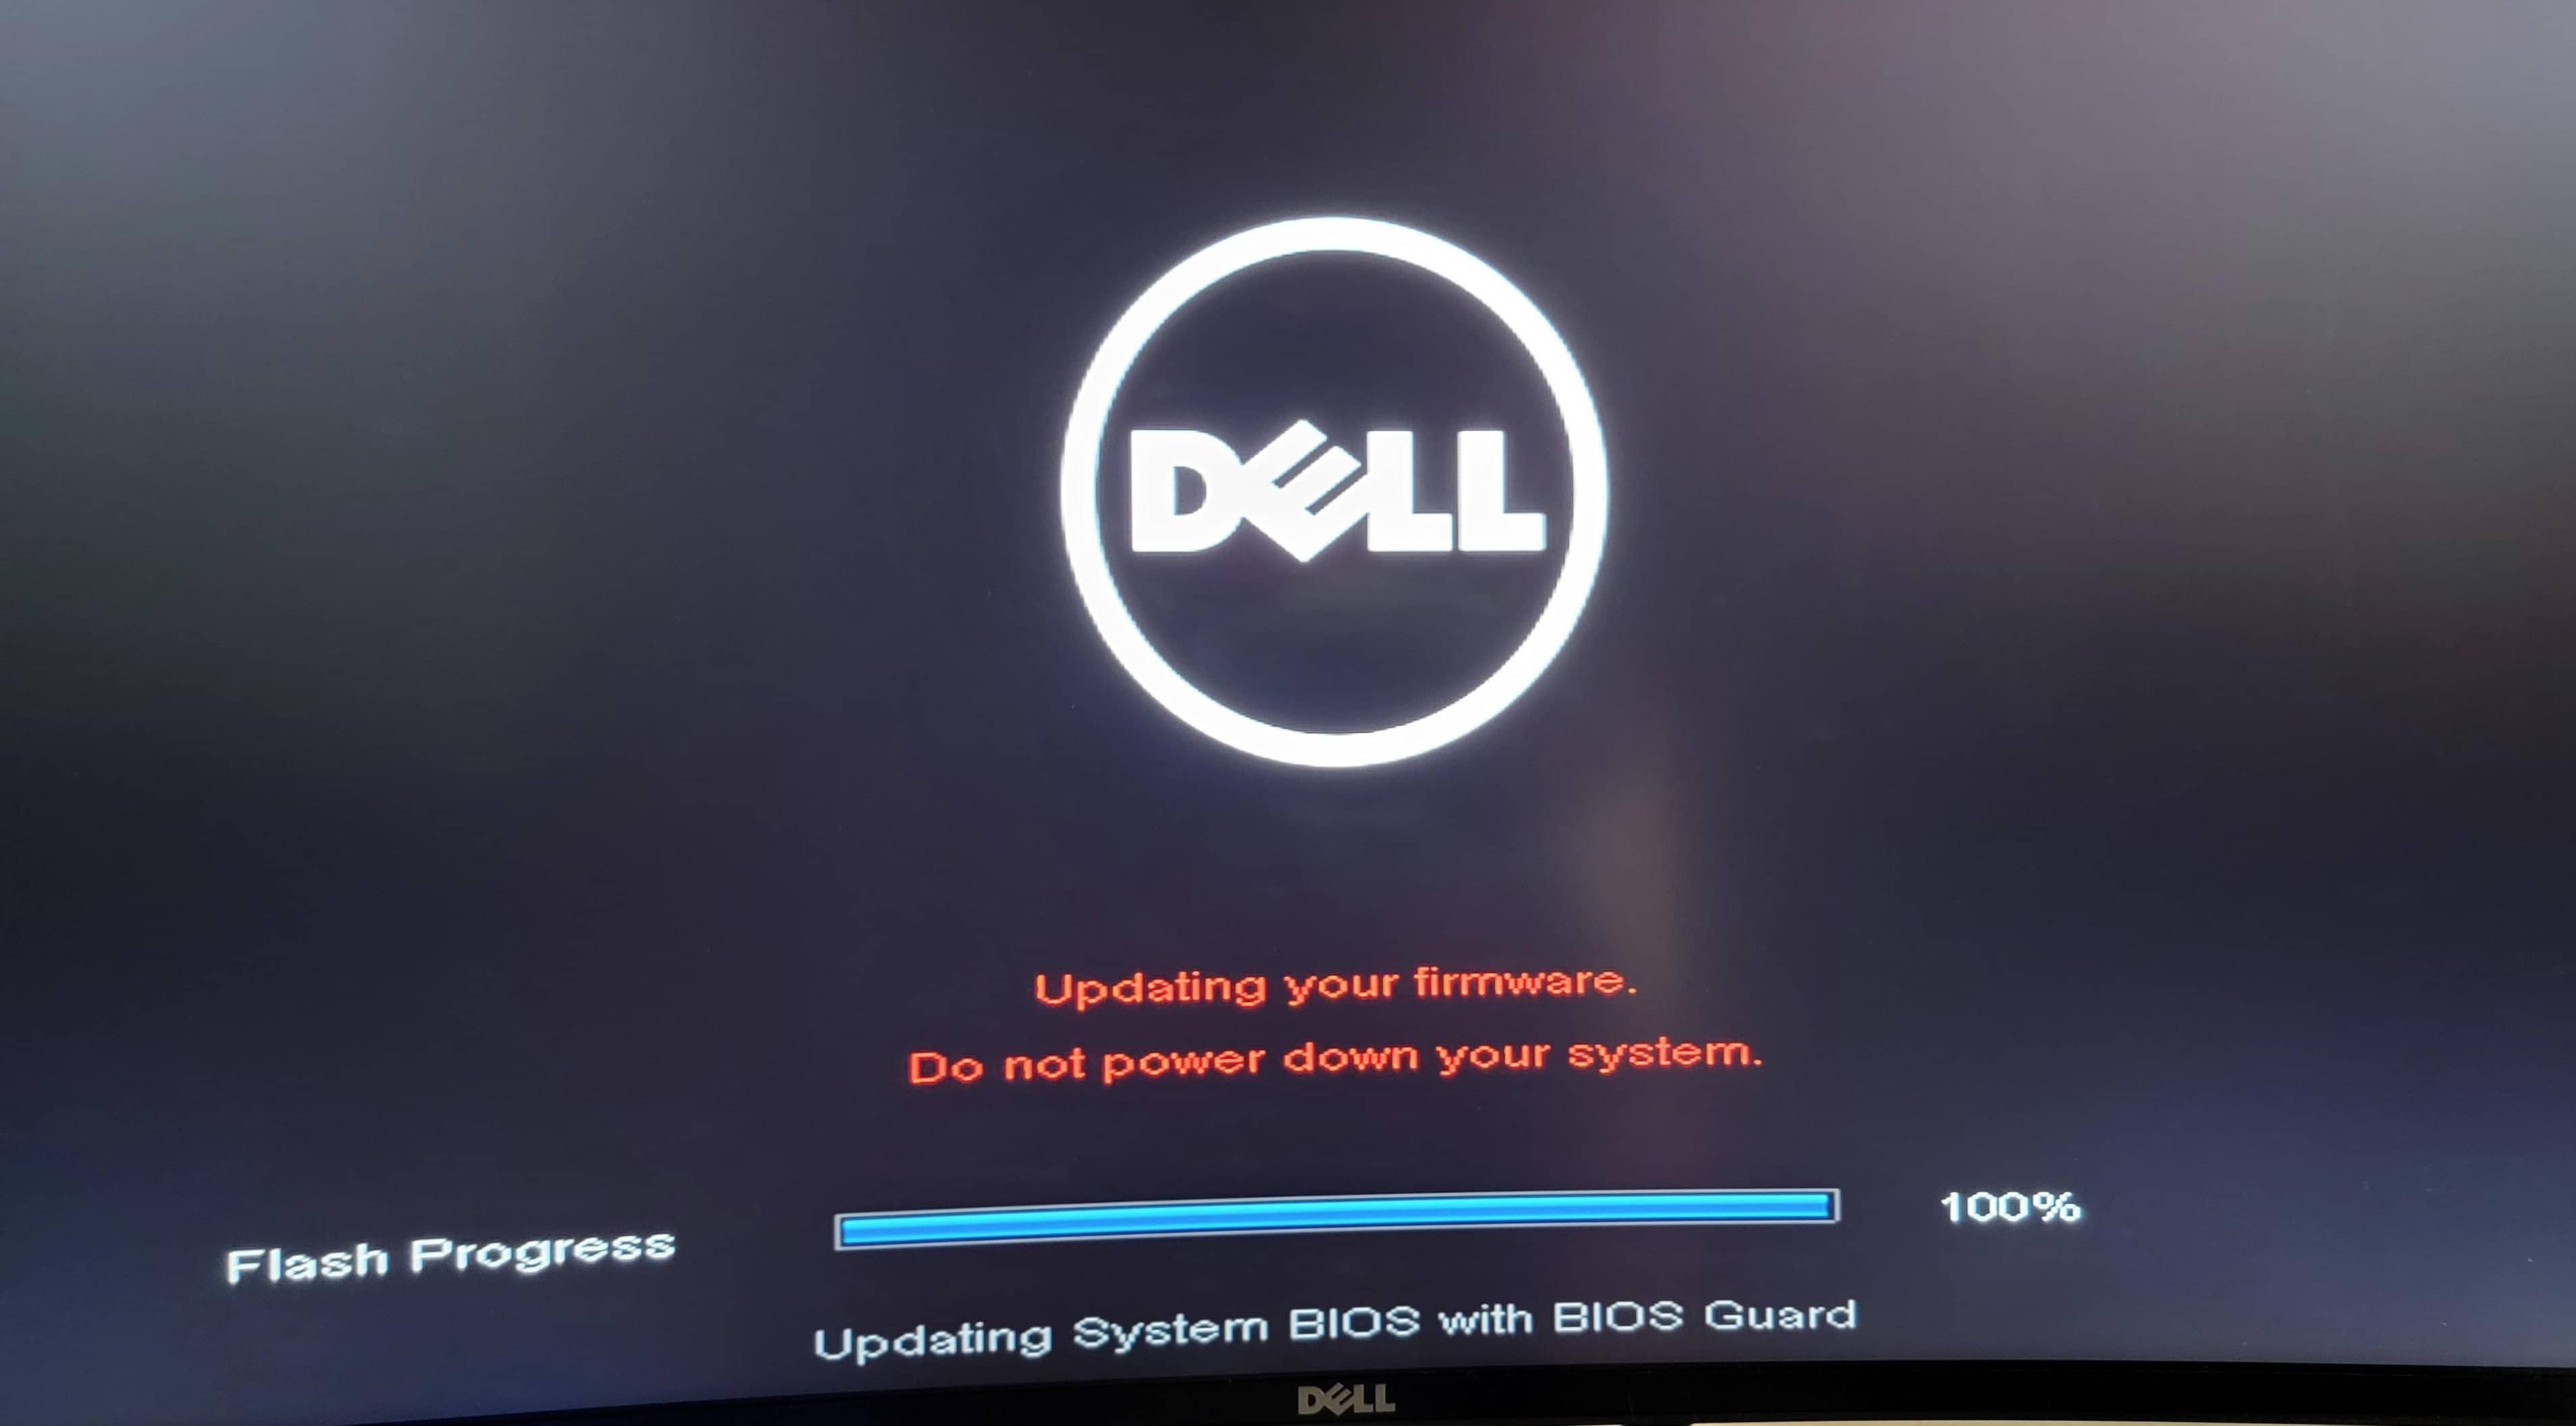
Update BIOS
An old BIOS can have hardware compatibility issues. Check yourDell support page for the latest BIOS update for your model. Follow the directions carefully, as upgrading the BIOS can solve detection problems and enhance system stability.
Step 1: Press F2 repeatedly as it boots to enter the BIOS setup.
Step 2: In the BIOS menu, look for an option like Load Defaults, Load Setup Defaults, or Restore Defaults.
Step 3: Select it and confirm to update BIOS settings to factory defaults.
Step 4: Maintain the changes and exit the BIOS. Your Dell computer will restart with the default BIOS settings.
Part 4. If BIOS Detects the Drive But Windows Won’t Boot
If BIOS sees the drive, but Windows does not start, the drive may still be healthy enough to detect. The problem is more likely related to boot configuration, startup files, or controller mode.
Check Boot Order
Windows may fail to load if your PC boots from the wrong drive. Check the boot order to ensure your Dell computer starts from the correct hard drive or SSD. If the wrong device is set first, your PC may fail to load Windows.
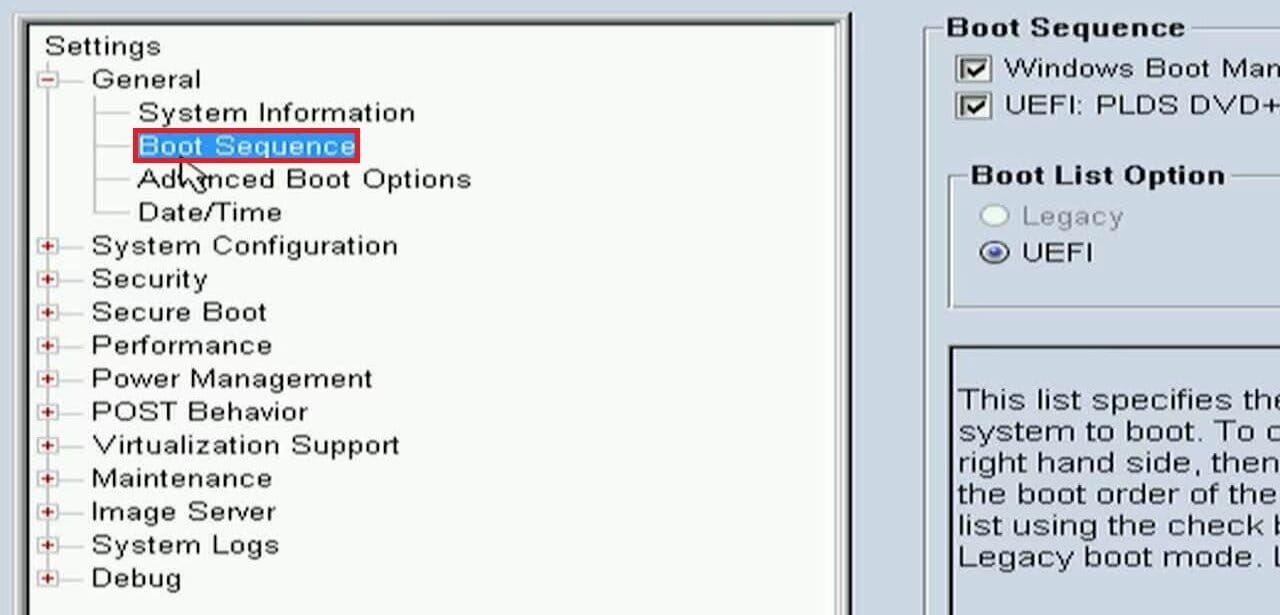
Step 1: Go to the Boot or Boot Sequence menu.
Step 2: Check that your hard drive or SSD with Windows is listed as the first boot device.
Step 3: If needed, move the drive to the top of the list.
Step 4: Press F10 to load the changes and exit. Restart the computer and see if Windows boots normally.
Switch UEFI/Legacy Mode
Some Dell systems need the correct boot mode to start Windows. In BIOS, check if your system is set to UEFI or Legacy mode. Switching modes can make Windows boot again, especially after reinstalling or upgrading.
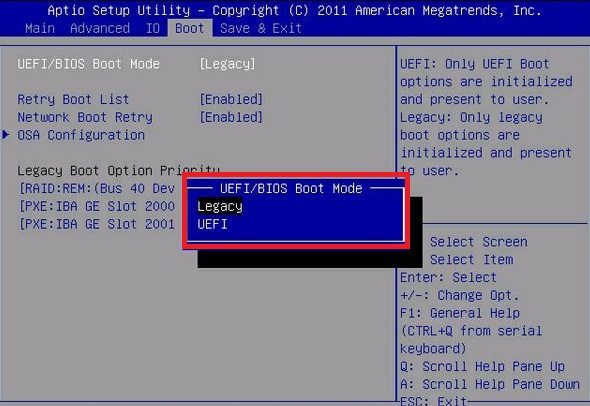
Step 1: Enter BIOS Setup and go to the Boot or Boot Configuration section.
Step 2: Find Boot Mode or UEFI/Legacy Boot.
Step 3: Select UEFI or Legacy mode.
Step 4: Press F10 to nail the changes and exit.
Change SATA Operation (AHCI vs RAID)
Incorrect SATA settings can prevent Windows from starting. In BIOS, look for SATA Operation or SATA Mode and switch between AHCI and RAID. This is needed if the drive was previously configured differently.
Step 1: Enter the BIOS Setup and go to the Storage or SATA Operation section.
Step 2: Find the SATA Mode setting.
Step 3: Change it to AHCI or RAID as needed.

Step 4: Load the progress and exit.
Run Startup Repair
If boot files are damaged, Startup Repair can sometimes restore normal boot behavior. Here’s how:
Step 1: Insert a Windows installation USB or DVD and restart your computer.
Step 2: Press F12 when the Dell logo appears and choose the USB/DVD from the Boot Menu.
Step 3: Select your language, then click Next.
Step 4: Click Repair your computer.
Step 5: Launch Troubleshoot, Advanced options, and Startup Repair.
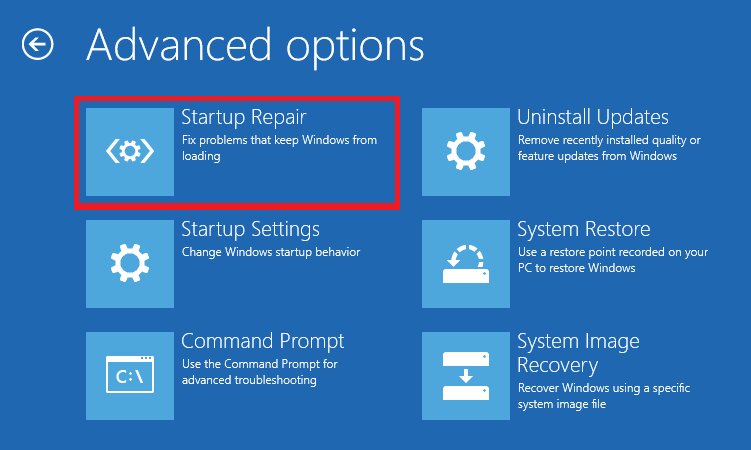
Step 6: Select your Windows system and let the tool fix startup problems.
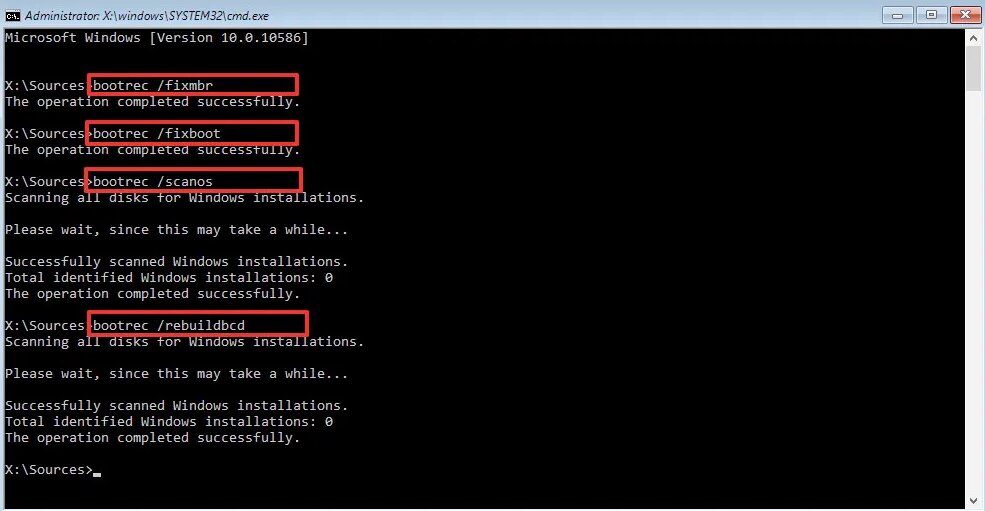
Repair Boot Files
Corrupted or missing boot files can stop Windows from loading. Use Command Prompt from the Windows recovery environment. Run commands like:
bootrec /fixmbr
bootrec /fixboot
bootrec /scanos
bootrec /rebuildbcd
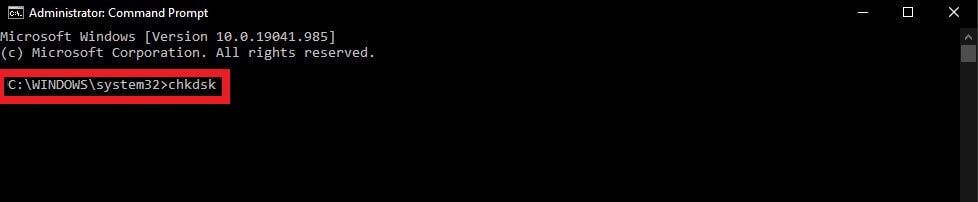
Check Disk (CHKDSK)
File system errors can sometimes prevent Windows from booting, but there are simple steps you can try. Open Command Prompt from recovery mode and run:
chkdsk C: /f /r
Replace C: with your Windows drive letter if different. This scans for bad sectors and fixes file errors that may block startup.
Part 5. When Should You Replace the Drive?
Not all hard drive issues mean it’s time to buy a new one. But some signs clearly show the drive is failing and needs replacement. Here are some:
- If the Drive Fails the ePSA Test
Dell’s built-in ePSA diagnostics checks your hard drive for hardware problems. If the test reports a failure, it means the drive is damaged and likely won’t work reliably. Replacement is the safest option.
- If SMART Shows Bad Sectors
SMART (Self-Monitoring, Analysis, and Reporting Technology) tracks your drive’s health. If it reports bad sectors or other warnings, your drive may fail soon. Back up your data and replace the drive before it stops working completely.
- If You Hear Repeated Clicking Noises
A clicking or grinding sound coming from your hard drive usually signals a mechanical failure. This is a strong warning that the drive could fail at any moment, so replace it immediately.
- If the Drive Appears Intermittently
If your system sometimes detects the drive and sometimes doesn’t, it’s likely failing. Intermittent behavior can lead to data loss, so replacing the drive ensures stability and safety for your files.
Part 6. Fix Heavily Damaged Files If the Dell Hard Drive Is Not Installed
Before replacing a failing drive, focus on the files that still matter. A damaged or unstable drive can corrupt documents, archives, project files, and media.
If files:
- won’t open
- open as blank
- show corruption errors
- were damaged after a crash or drive instability
then you may need file-level repair, not just hardware replacement. Repairit File Repair can help restore heavily damaged files safely. This software can fix corrupted documents, spreadsheets, PDFs, and more, letting you recover your data before replacing the drive.
What it can help with
- corrupted Word, Excel, PDF, PPT, ZIP, PSD, CAD, and other file formats
- unreadable or broken file structure
- damaged files recovered from an unstable or failing drive
What it cannot do
- make BIOS detect a dead drive
- fix a disconnected SSD/HDD
- repair a failed SATA cable or motherboard connector
- replace full data recovery from a physically dead disk
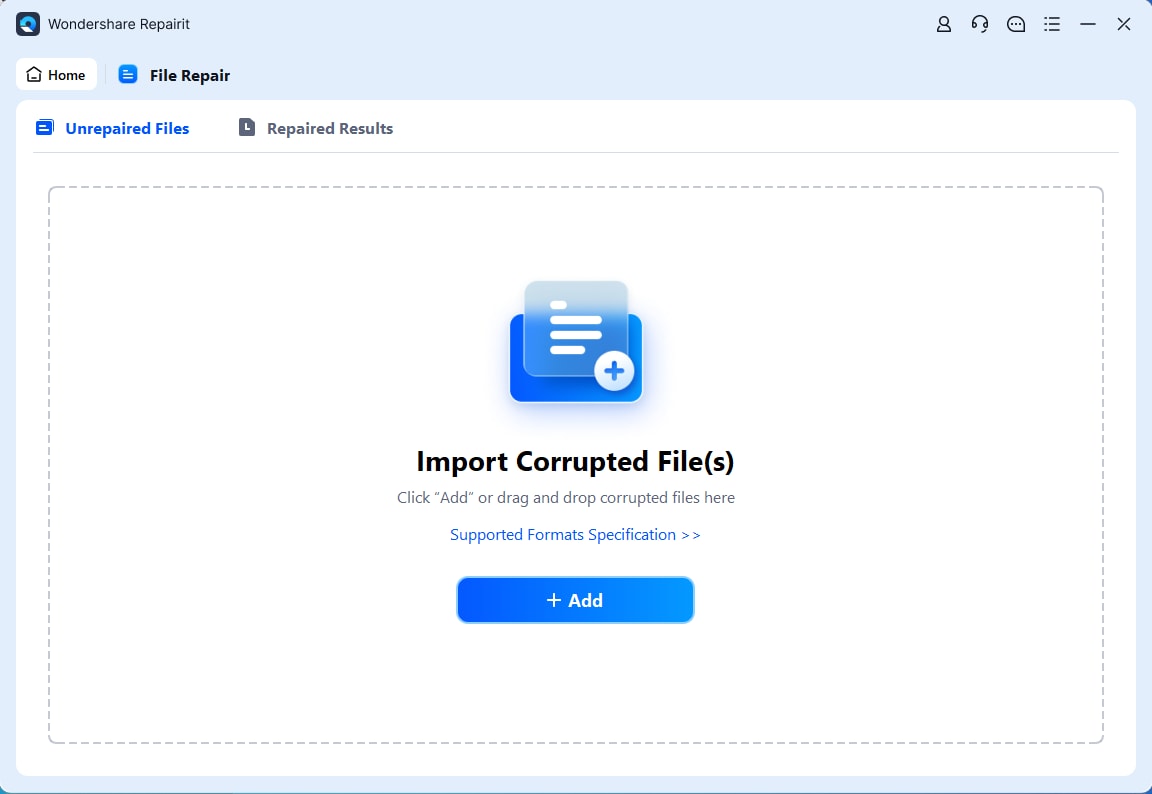
Step-by-Step Guide:
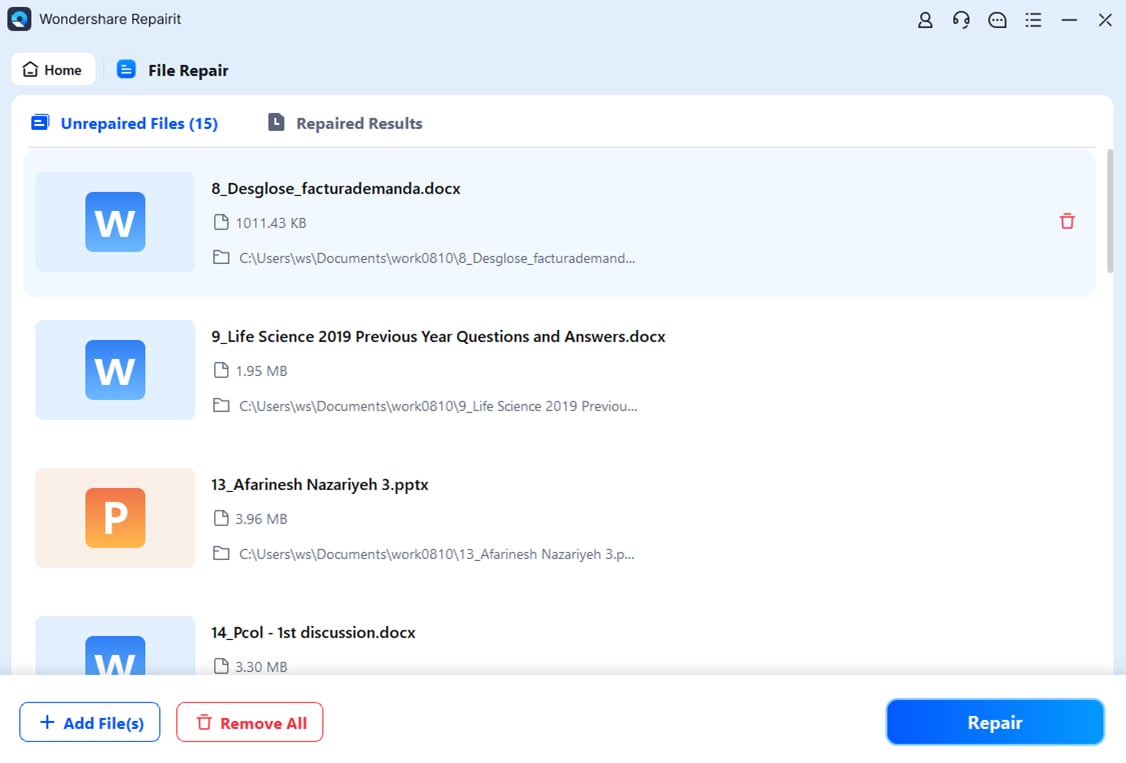
Step 1: Hit Add to upload your corrupted files if the Dell hard drive is not installed.
Step 2: Press Repair to begin fixing your files if the Dell hard drive is not installed.
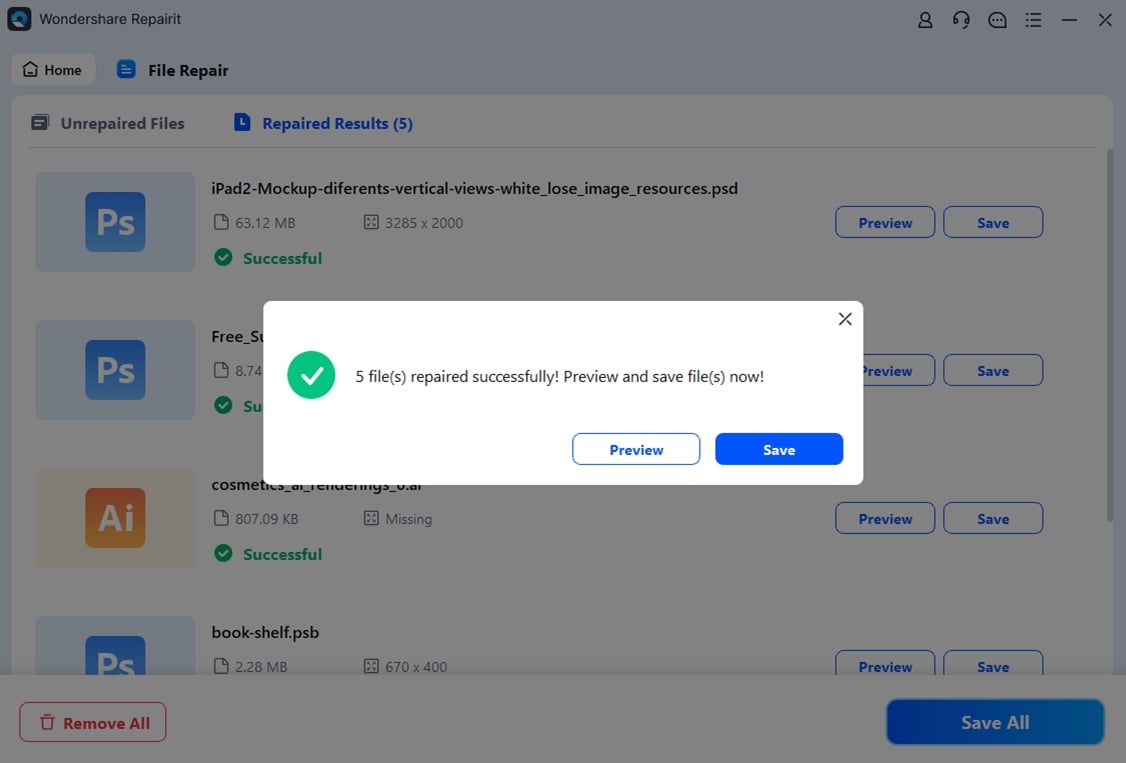
Step 3: Click Preview to check repaired files before saving. To save, click Save for individual files or Save All to export everything at once.
Part 7. Prevent Hard Drive Not Installed on Dell
Following these steps helps keep your Dell hard drive stable, reduces the chance of errors, and protects your data.
- Back up your data regularly. Always keep copies of important files on an external drive or cloud storage.
- Avoid sudden shutdowns. Don’t force your laptop to power off—this can damage the drive.
- Update BIOS carefully. Only install official updates and follow instructions to prevent system conflicts.
- Handle your laptop safely. Don’t drop or jolt your device; physical shocks can harm the hard drive.
- Monitor drive health. Use built-in tools or software to check for errors or bad sectors.
- Secure internal connections. Make sure HDD/SSD cables and slots are properly connected to avoid detection issues.
Conclusion
The “Hard Disk Drive Not Installed” error on Dell systems does not always mean the drive is dead. The most important first step is checking whether BIOS can detect the drive. That one check determines whether you should focus on hardware detection or Windows boot repair.
If BIOS does not detect the drive, concentrate on power reset, diagnostics, reseating, cables, BIOS defaults, and firmware. If BIOS does detect it, move to boot order, UEFI/Legacy mode, SATA operation, Startup Repair, boot file repair, and CHKDSK.
FAQs
Does replacing the “hard drive fix the hard drive not installed " error on the Dell laptop?
Yes, if the drive itself is failing or no longer detected reliably, replacing it usually solves the problem. But confirm the cause first using BIOS and Dell diagnostics.
Can Windows updates cause the “hard drive not installed " problem with Dell?
Sometimes. A Windows update can affect boot settings, storage drivers, or startup behavior, especially if BIOS settings also changed. But Windows updates do not usually make BIOS completely stop detecting a healthy drive.
Is it safe to keep trying boot repairs if the drive has important files?
Not always. If the drive may be failing physically, repeated boot repair, CHKDSK, reinstall attempts, or formatting can make recovery harder. Back up or recover important files first whenever possible.