
Learning how to sharpen an image in Photoshop is essential for improving photo clarity, defining fine details, and restoring soft focus. Whether you need to fix a blurry photo, clear up a pixelated low-resolution image, or precise sharpen edges for professional graphics, Photoshop offers versatile tools to make your pictures look sharp and clean.
In this comprehensive guide, you will learn how to make photos more clear in Photoshop using specialized techniques tailored to different image problems, as well as how to instantly repair low-quality images using AI image enhancers.
In this article
Part 1. How to Sharpen an Image in Photoshop (The Quick Way)
If you need a fast way to sharpen in Photoshop, the standard Unsharp Mask filter works across almost all types of images by increasing contrast along visible edges.
- Open your image in Photoshop and convert the image layer into a Smart Object (right-click layer > Convert to Smart Object) to allow non-destructive edits.
- Go to the top menu and select Filter > Sharpen > Unsharp Mask.
- Adjust the Amount (strength, usually 50%–120%), Radius (edge width, 0.5–1.5 pixels), and Threshold (prevents sharpening background noise).
- Click OK to apply the sharpness.
Part 2. Sharpening Images Based on Specific Problems
Different image quality issues require different solutions. Traditional sharpening filters may worsen grain or pixelation if applied incorrectly. Here is how to make an image more clear in Photoshop depending on your specific issue:
Scenario 1: How to Sharpen a Blurry Image in Photoshop
If your photo suffers from camera shake, motion blur, or soft focus, standard filters might create unwanted halos. Instead, use Smart Sharpen or Shake Reduction to restore blurriness.
Using Smart Sharpen for Soft Motion Blur:
- Go to Filter > Sharpen > Smart Sharpen.
- Set the Remove dropdown menu to Motion Blur or Lens Blur (instead of Gaussian Blur).
- Increase the Amount while adjusting the Angle dial to match the direction of the motion blur in your photo.
- Use the Reduce Noise slider to prevent digital grain from appearing.
Scenario 2: How to Sharpen Low-Resolution & Pixelated Images
A common question is: How to sharpen a pixelated image in Photoshop? Applying sharpening directly to low-res photos will amplify pixel blocks and artifacts. To fix a low resolution image, you must resample and interpolate pixels first:
- Go to Image > Image Size.
- Ensure Resample is checked, and select Preserve Details 2.0 from the dropdown menu.
- Increase the Width and Height resolution (e.g., set Resolution to 300 DPI).
- Adjust the Reduce Noise slider to smooth out pixelation while preserving details.
- After upscaling, apply a gentle Unsharp Mask to crisp up the reconstructed edges.
Scenario 3: How to Sharpen Edges in Photoshop
When retouchers want to sharpen edges in Photoshop (such as in portraits, architecture, or product photos) without sharpening smooth skin or backgrounds, the High Pass Filter is the best tool.
- Duplicate your image layer (
Ctrl+J/Cmd+J). - Navigate to Filter > Other > High Pass.
- Set the Radius to a low value (between 1.0 and 2.5 pixels) until only the outlines/edges are visible over a gray background, then click OK.
- Change the layer's Blend Mode in the Layers Panel from Normal to Overlay, Soft Light, or Hard Light.
Part 3. Standard Photoshop Sharpening Tools Compared
To help you choose the right tool to make photo more clear in Photoshop, refer to this quick reference guide:
| Method / Tool | Best Intent & Use Case | Ideal For |
| Unsharp Mask | General image sharpening; increases edge contrast. | Standard landscape, web, and print photos. |
| Smart Sharpen | Fixing mild motion blur, lens blur, and camera shake. | Blurry images and handheld portrait shots. |
| High Pass Filter | Isolating and non-destructively sharping outlines only. | Sharpening edges while keeping skin or sky smooth. |
| Preserve Details 2.0 | Upscaling pixel density before sharpening. | Low resolution & pixelated images. |
| AI Sharpening (Repairit) | Automatic feature reconstruction and noise reduction. | Severely blurred, old, or heavily pixelated photos. |
Part 4. How to Make Low-Res & Blurry Photos Clear with AI?
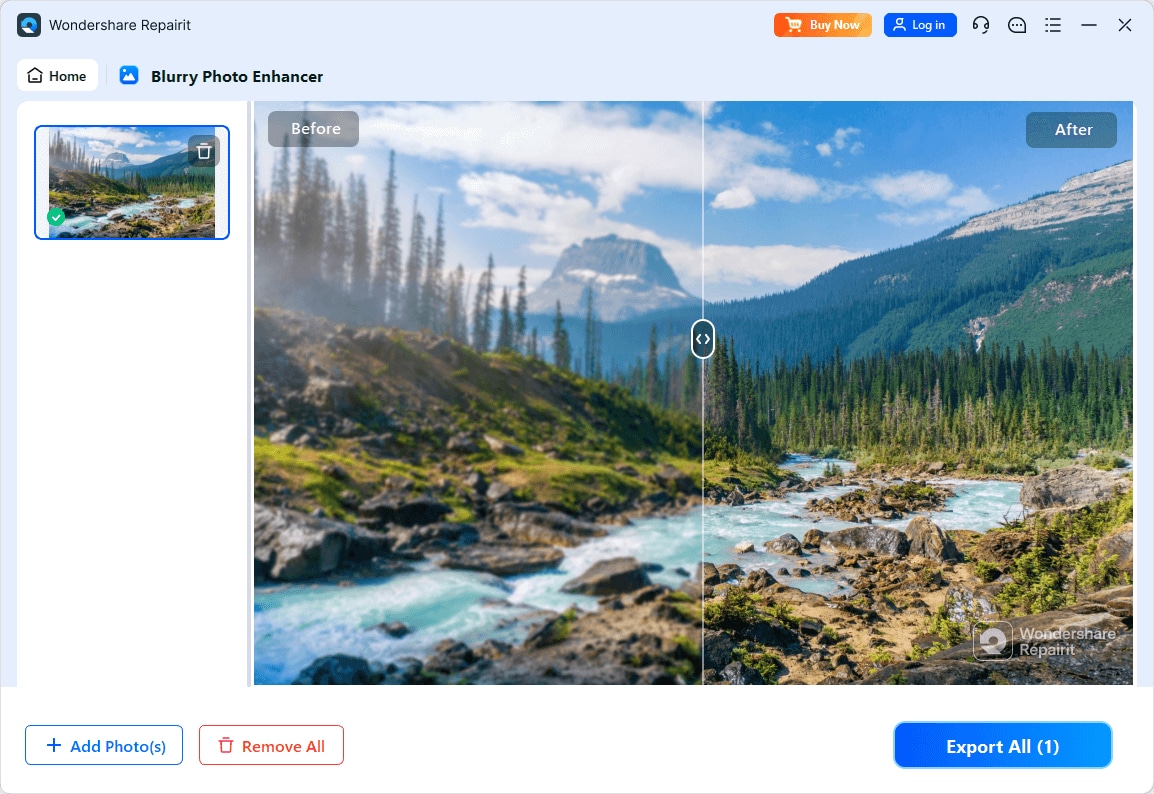
While Photoshop is ideal for manual editing, fixing extremely blurry, pixelated, or compressed photos manually can be extremely difficult and time-consuming. If Photoshop filters are causing harsh artifacts on your low-res image, an AI-powered tool like Wondershare Repairit Photo Enhancer offers a one-click solution.
Repairit uses deep learning algorithms to automatically reconstruct missing facial features, eliminate pixelation, and enhance textures without requiring manual adjustments.
Key Features:
- Fix Blurry & Pixelated Photos: Intelligently generates clear pixel data to fix low-resolution shots.
- Face Detail Recovery: Specifically trained to enhance eyes, hair, and skin clarity in portraits.
- One-Click Auto Enhancement: No need to adjust complicated sliders or layer masks.
Steps to Make Images Clear Using Repairit:
Step 1: Download and launch Repairit on your PC or Mac. Select AI Photo Enhancer and upload your blurry or low-res image.
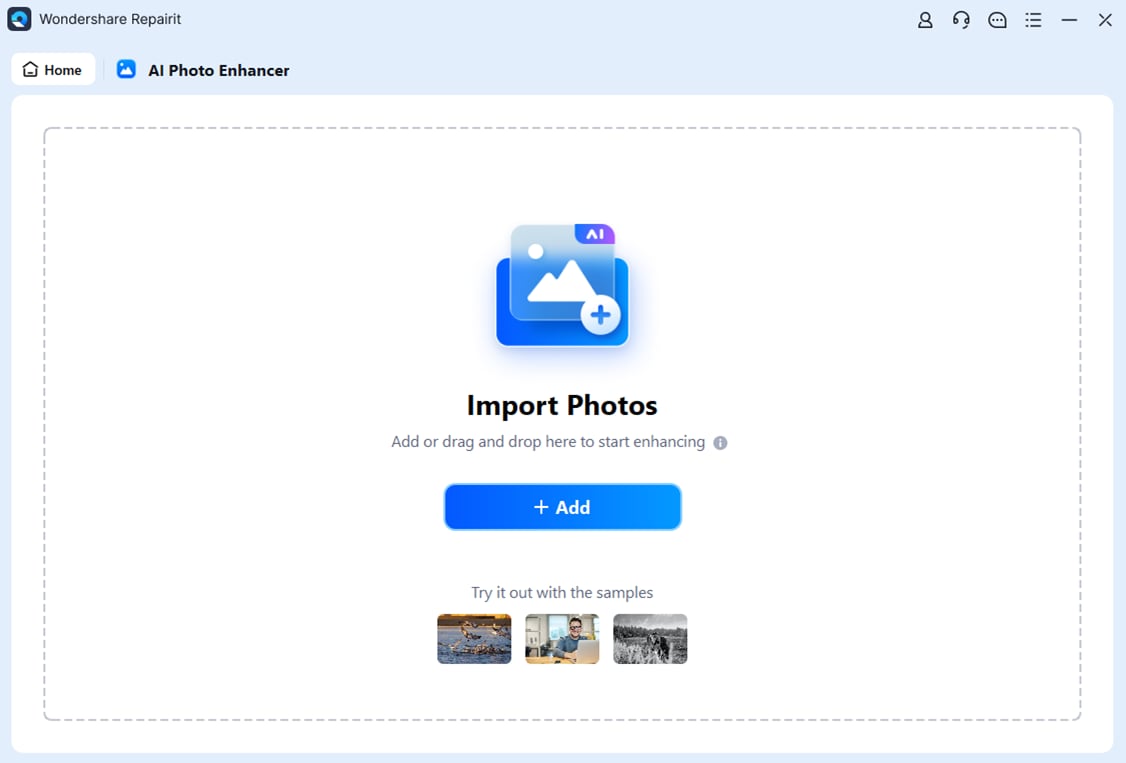
Step 2: Choose between the General Model or Face Model, then click Start Enhancing to begin AI reconstruction.
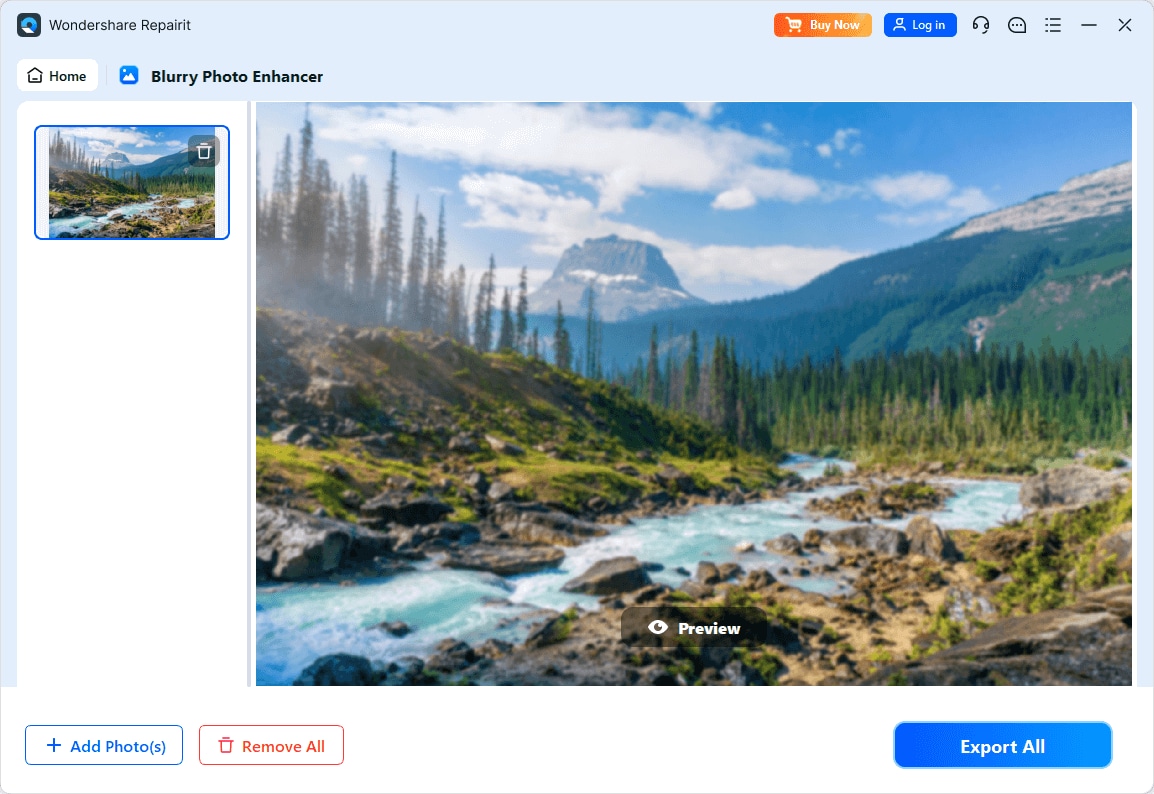
Step 3: Preview the side-by-side crystal-clear result and click Save to export your photo.
Sharpen & Clear Your Photos in Seconds
 Security Verified. Over 7,302,189 people have downloaded it.
Part 5. Conclusion
Knowing how to sharpen an image in Photoshop allows you to take control of your photo clarity. For general sharpening, Unsharp Mask and High Pass filtering give you crisp edges. For specific challenges like blurry photos or pixelated low-resolution images, upscaling techniques and Smart Sharpen provide targeted fixes.
When Photoshop filters reach their limit on severely damaged or blurry pictures, leverage AI tools like Wondershare Repairit Photo Enhancer to restore sharpness and make your photos look crystal clear effortlessly.
FAQs
-
Q1: How do you sharpen a blurry image in Photoshop without artifacts?
To sharpen a blurry image without halo artifacts, convert your layer into a Smart Object and use Smart Sharpen with the Remove setting set to Lens Blur or Motion Blur. Keep the radius low (under 1.5 px) and use the Reduce Noise slider to prevent grain. -
Q2: Can Photoshop sharpen a severely pixelated or low-resolution image?
Photoshop cannot create missing pixel data through sharpening alone. If you apply Unsharp Mask to a pixelated image, it will make the pixel edges harsher. You must first upscale the image using Image > Image Size > Preserve Details 2.0, or use an AI photo enhancer like Repairit to intelligently generate missing details. -
Q3: What is the best way to sharpen edges in Photoshop selectively?
The best technique is the High Pass Filter combined with a Layer Mask. Apply High Pass to a duplicate layer, set the Blend Mode to Overlay, add a Layer Mask, and paint with white over specific edges (like eyes, hair, or outlines) to apply sharpening only where needed. -
Q4: What is the shortcut to sharpen in Photoshop?
While there is no direct hotkey for sharpening, you can re-apply your last used filter (such as Unsharp Mask) using Ctrl+Alt+F (Windows) or Cmd+Option+F (Mac).