You return from a memorable trip with hundreds of clips ready for editing later. The locations looked stunning, but the assembled footage still feels flat and disconnected onscreen. A cinematic travel video gives those scattered moments structure, atmosphere, and emotional direction throughout.
A polished result depends more on preparation, steady shooting, and careful editing than costly gear. The sections ahead move from planning each shot through choosing suitable export settings.
In this article
Part 1. What Makes a Travel Video Look Cinematic?
Before spending on gear or presets, it helps to pin down what the word actually describes on screen. Cinematic quality is a set of deliberate decisions about framing, motion, pacing, and sound. The sections below break those into parts you can control on any camera.
Cinematic Travel Video vs. Regular Travel Video
A regular travel video documents what happened: the meal, the viewpoint, the hotel room. A cinematic travel video shapes that material into an experience with mood and rhythm, where shots are chosen rather than collected.
Story-Driven Travel Film vs. Random Clip Montage
A montage stacks attractive shots until the music runs out, and viewers drift away because nothing develops. Story-driven cinematic travel films give footage a direction, and arrival, discovery, and departure suit any destination. Adobe's travel video lesson begins at the same point.
A-Roll, B-Roll, and Establishing Shots
A-roll carries the narrative: dialogue, a piece to camera, or the main action. B-roll is everything around it, from hands and textures to streets and weather. Travel films lean on B-roll, so shot variety beats shot count.
Essential Elements of a Cinematic Travel Video
A cinematic travel video depends on more than beautiful locations. These 6 elements turn ordinary holiday clips into a polished, story-driven film:
| Element | What It Contributes |
| Story Structure | Direction, so viewers stay past the opening |
| Shot Variety | Wide, medium, close, and detail options later |
| Controlled Motion | Replaces handheld drift with movement that reveals |
| Consistent Exposure | Matched brightness, so cuts feel invisible |
| Unified Color | Ties cameras and lighting into one look |
| Layered Sound | Blends music with ambiance so scenes feel real |
Part 2. Plan Before You Shoot a Cinematic Travel Video
Having established what separates a film from a recording, the next gap sits before the trip rather than after it. Planning divides a folder of usable footage from a folder of near misses, and 20 minutes the night before saves hours in post.
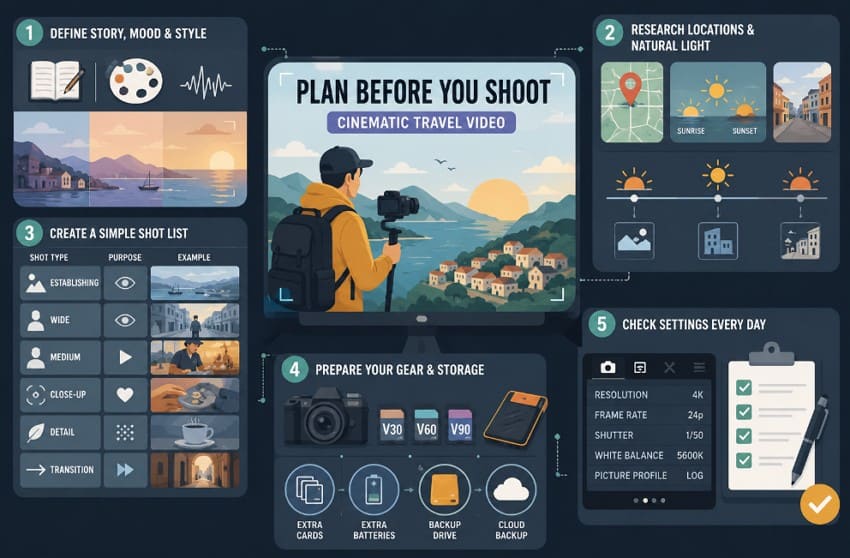
Define the Story, Mood, and Visual Style
Settle on one sentence describing the film before the trip. A line like "a slow morning in a coastal fishing town" sets your palette and tempo.
Research Locations, Weather, and Natural Light
Sunrise and sunset give softer light and longer shadows that flatter almost any subject. Build wide landscape shots around those hours and save interiors and shaded streets for harsh midday sun.
Create a Simple Shot List
A simple shot list keeps filming focused and prevents missed coverage. Group each entry by location, then note the purpose it serves:
| Shot Type | Purpose | Example |
| Establishing | Places the viewer | Aerial of the harbor at dawn |
| Wide | Subject in context | A traveler on an empty street |
| Medium | Subject to action | A vendor arranging fruit |
| Close-up | Emotion or focus | Hands counting coins |
| Detail | Texture between beats | Steam rising from a cup |
| Transition | Bridges locations | Camera passing a doorway |
Prepare Your Equipment and Storage
Memory cards fail more often than cameras, so carry spares. The SD Association rates minimum sustained writing through Video Speed Classes, where V30 guarantees 30Mbps. Required classes depend on bitrate, frame rate, codec, recording mode, and manufacturer guidance.
Check Your Settings Before Shooting
Cameras reset more often than people expect, especially after a battery swap. Confirm resolution, frame rate, shutter, white balance, and profile each morning.
Part 3. Best Camera Settings for Cinematic Travel Videos
With a story and shot list settled, attention shifts to the camera itself. Anyone working out how to shoot cinematic travel videos meets the settings menu first. The values below deliver a clean image on almost any body or phone:
Cinematic Travel Video Settings at a Glance
Use this quick reference to match each travel scene with the right camera settings:
| Setting | Value | Why It Matters |
| Resolution | 4K (3840 x 2160) | Room to crop and reframe |
| Frame Rate | 24 or 25 fps | Blur that reads as film |
| Slow Motion | 60 to 120 fps | Conforms cleanly to 24 fps |
| Shutter Speed | Double the frame rate | Natural blur, not stutter |
| Aperture | f/2.8 to f/5.6 | Separation, still sharp |
| ISO | Camera base ISO | Keeps sensor noise lowest |
| White Balance | Manual, per location | No color shift between clips |
| Picture Profile | Flat or Log | Retains highlight and shadow |
| Focus | Manual or single-point AF | Prevents hunting mid-shot |
| Stabilization | On handheld, off on tripod | No drifting tripod edges |
Resolution and Frame Rate
Record in 4K whenever storage allows, since the extra pixels leave room to punch in and reframe. At 24 fps, motion appears cinematic, while 25 or 30 fps may suit delivery standards.
Shutter Speed, Exposure, and ND Filters
Set shutter near twice your frame rate, such as 1/50 at 24 fps. Bright daylight requires an ND filter to maintain that speed.
Focus, White Balance, and Stabilization
Autofocus hunting can look distracting today. Use reliable autofocus or manual focus, set white balance deliberately, then disable stabilization on a locked tripod when appropriate.
Standard, Flat, and Log Color Profiles
Each color profile balances convenience and editing flexibility differently. Here's when Standard, Flat, and Log work best:
| Profile | Range | Best Suited To |
| Standard | Lowest | Fast turnarounds, no grading |
| Flat | Moderate | Light grading, forgiving |
| Log | Highest | Full grades, highlight recovery |
Log footage looks washed out from the camera and only comes alive after grading. Blackmagic Design's Resolve training covers the color management side.
Camera and Smartphone Settings
Some smartphones expose these controls through pro-video apps or cinematic modes. Where available, lock rate, shutter speed, focus, white balance, and exposure.
Part 4. How to Shoot a Cinematic Travel Video
Correct settings buy a clean image and nothing beyond it. Learning how to film a cinematic travel video means knowing what to point the camera at and when to press record. The following field techniques cover that:
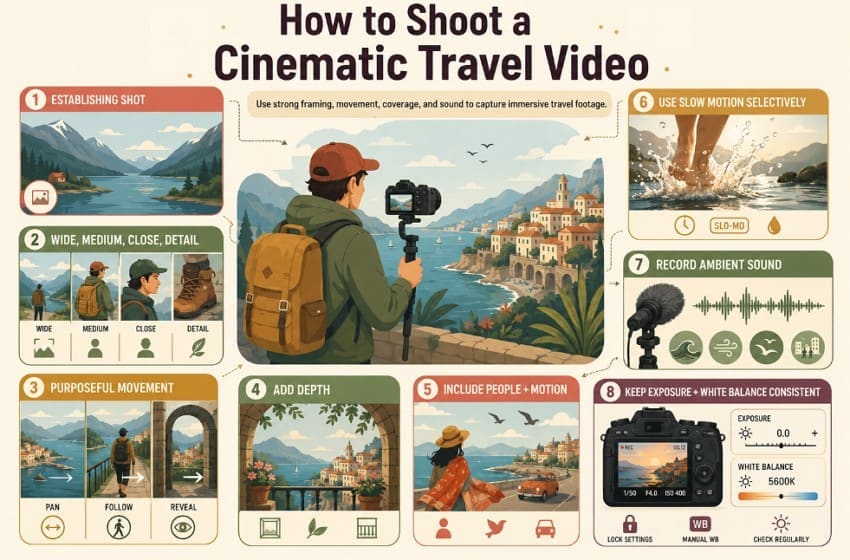
Technique 1. Start with an Establishing Shot
Open each location with a frame that shows viewers where the action occurs. Hold it long enough for the setting and important visual details to register.
Technique 2. Capture Wide, Medium, Close-Up, and Detail Shots
Film each subject at 4 distances before moving on. Detail shots get skipped most, yet they make a sequence feel considered.
Technique 3. Use Smooth and Purposeful Camera Movement
Every move should reveal a space, follow a subject, or redirect attention. Start recording before the movement begins, then hold the final frame briefly before stopping.
Technique 4. Add Depth Through Composition
Place a doorway, branch, or railing in the foreground to build layers. Depth separates a photograph from a shot you feel inside.
Technique 5. Include People and Natural Movement
A person within the landscape can communicate scale and create a human connection. Natural movement also gives an otherwise static composition more visual energy.
Technique 6. Use Slow Motion Selectively
Slow motion earns attention only when the rest runs at normal speed. Save it for water, fabric, crowds, or one gesture.
Technique 7. Record Ambient Sound
Natural location audio strengthens immersion and helps smooth transitions between clips. Record approximately 20 to 30 seconds of uninterrupted ambiance at each location.
Technique 8. Maintain Consistent Exposure and White Balance
Clips from the same location should maintain similar brightness and color. Check the histogram or zebras for exposure and use a fixed Kelvin or custom white-balance setting when the lighting remains consistent.
Part 5. How to Edit a Cinematic Travel Video
Footage on a card is raw material rather than a finished film. Knowing how to edit a cinematic travel video matters as much as anything you captured. Work the eight stages below in sequence, since each depends on the last:
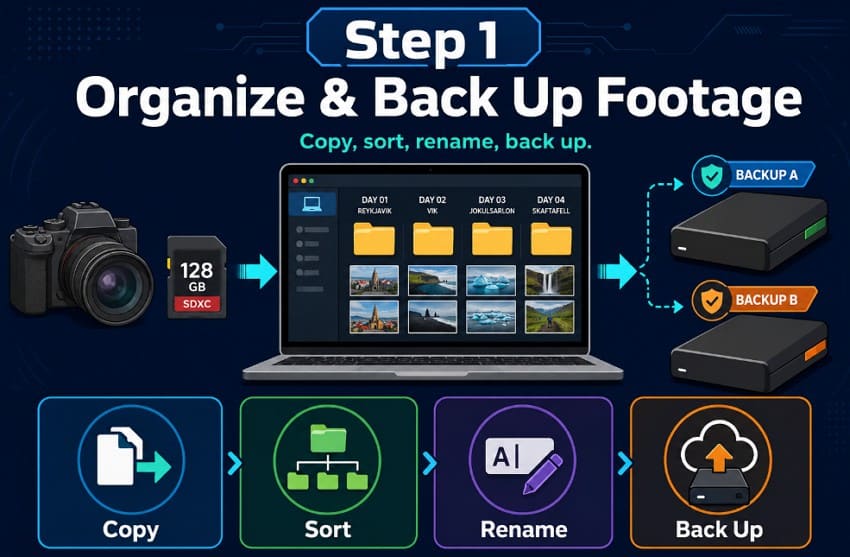
Step 1. Organize and Back Up Your Footage
Copy every card to two drives before deleting anything. Sort clips by day and location, then rename them to sort predictably.
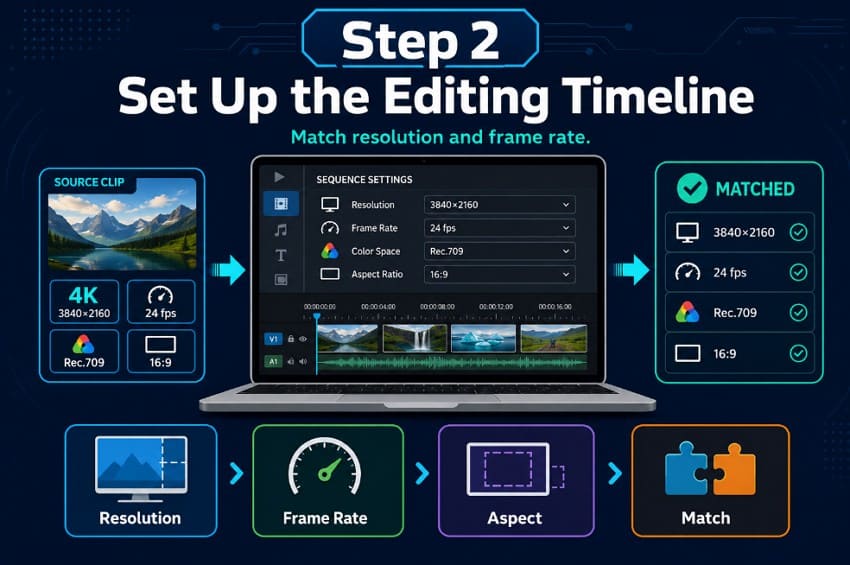
Step 2. Set Up the Editing Timeline
Create a sequence matching resolution and primary frame rate. Mixed footage may require scaling, interpretation, or deliberate frame-rate conversion.
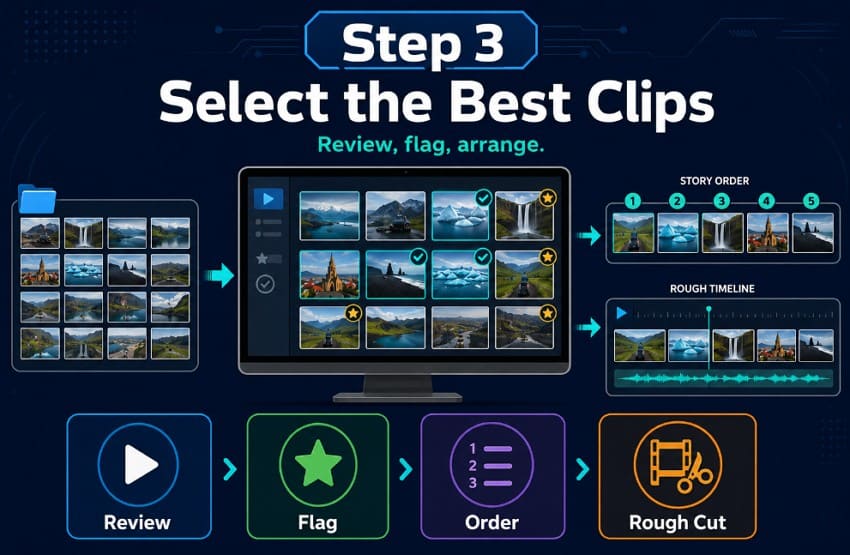
Step 3. Select the Best Clips and Build a Rough Story
Watch everything once and flag only shots you would defend. Lay those out in narrative order without trimming yet.
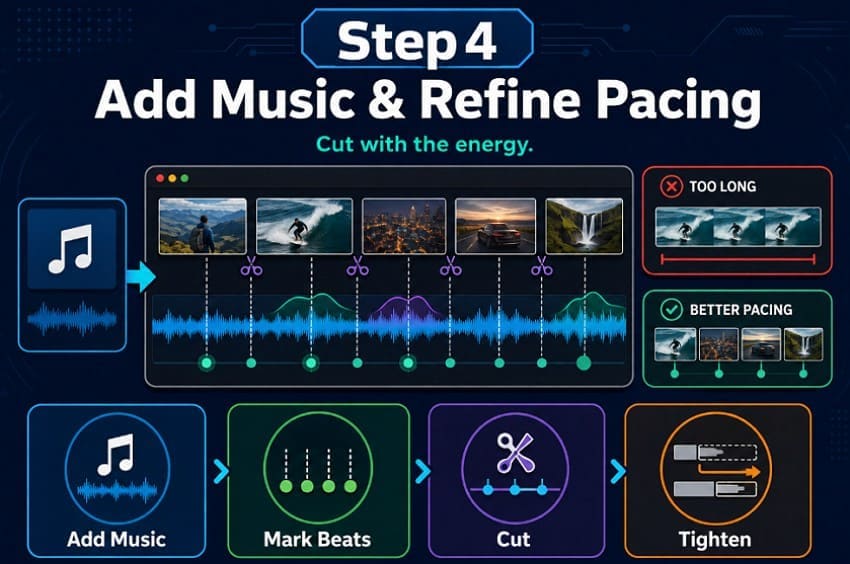
Step 4. Add Music and Refine the Pacing
Drop your track in, mark where the energy shifts, then cut so those shifts land on visual changes. Pacing problems come from clips held too long.
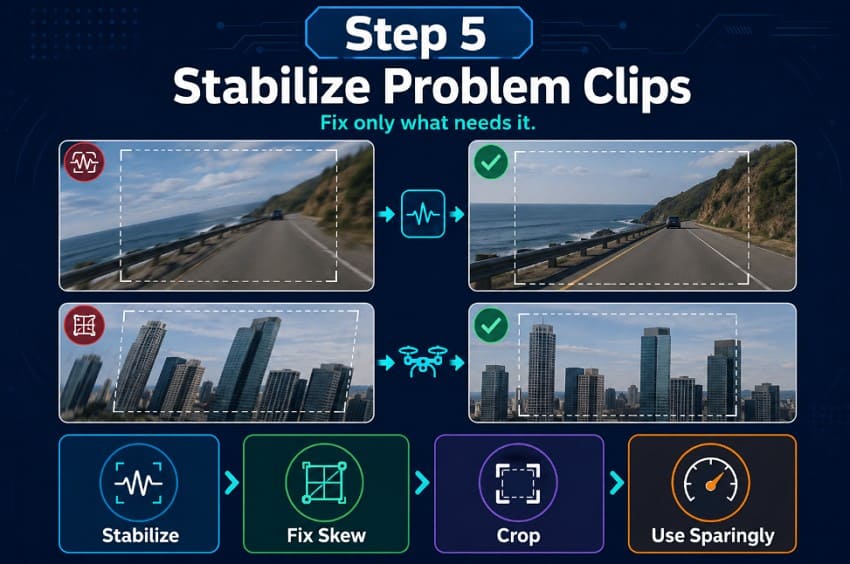
Step 5. Stabilize and Correct Problem Clips
Apply stabilization only where needed, since every pass crops the frame. Fix rolling shutter skew on the drone cinematic travel film footage here.
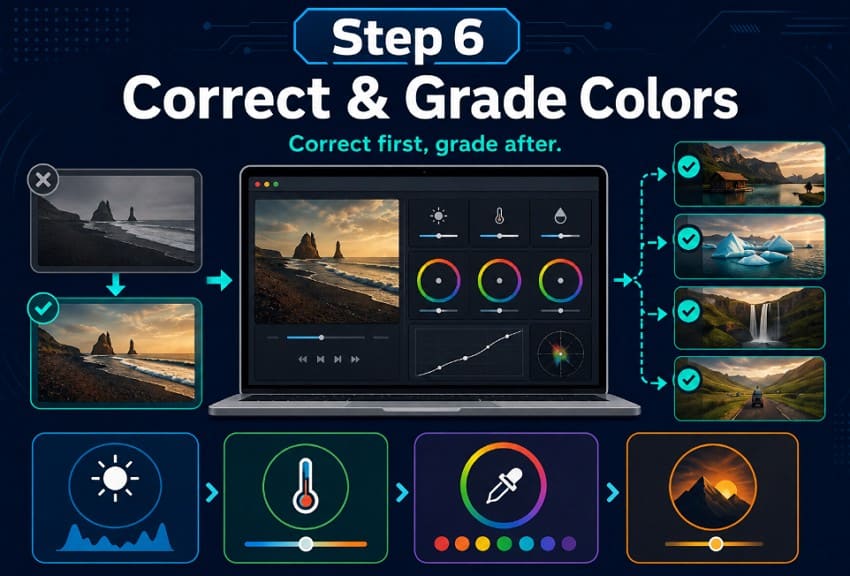
Step 6. Correct and Grade the Colors
Balance each clip first so exposure and white balance match. Apply the creative look after, as one grade above the timeline.
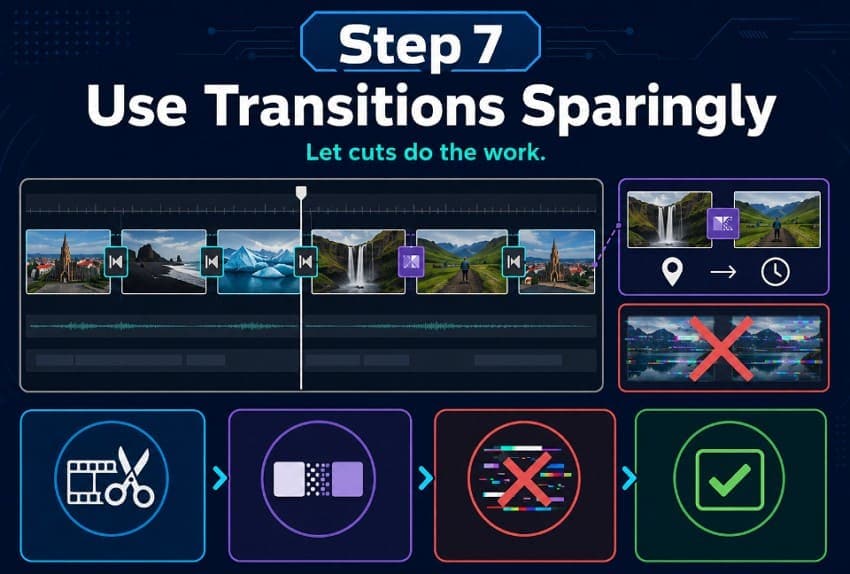
Step 7. Add Transitions and Effects Sparingly
Straight cuts carry almost every travel film. Reserve dissolves for real time or location jumps and skip glitch presets.
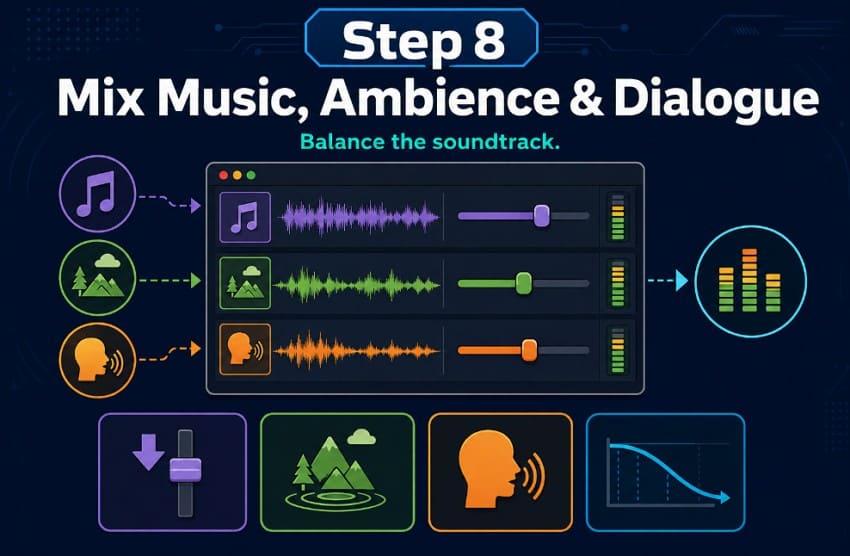
Step 8. Mix Music, Ambient Sound, and Dialogue
Set music lower than instinct suggests, then bring ambiance beneath it. Fade audio across cuts so nothing stops abruptly.
Pro Tip. Fix Damaged Travel Videos Before Editing
Every stage so far assumes your files open the moment you drag them onto a timeline. That assumption fails more often than travelers expect. This section explains why cinematic travel video footage breaks on the road and what to do about it.
When Travel Videos Become Corrupted
A corrupted clip may open black, freeze partway, or refuse to import. Severely corrupted files may not import, while damaged clips can remain editable after repair.
Common Causes of Video Corruption While Traveling
Even a carefully filmed cinematic travel video can become unreadable when storage, transfer, or recording problems occur. The following issues cause most corruption:
- Memory Card Errors: Recording to an underspecified card may stop recording or produce incomplete files, but it does not itself cause the card to develop bad sectors.
- Interrupted File Transfers: Pulling a card mid-copy leaves files partly written, so a clip reports normal size but holds broken data.
- Camera Shutdown During Recording: A camera stopping mid-clip never writes its closing index, leaving players no map to the frames.
- Drone Video Corruption: Drone recordings may become incomplete when a crash, forced shutdown, battery failure, or storage error interrupts file finalization.
- Camera Crash or Battery Failure: A depleted battery ends the write without warning, leaving the recording incomplete.
How to Repair a Damaged Travel Video Before Editing

Repairit - Video Repair Tool
Repair corrupted camera, drone, action camera, and travel video files before editing.
-
Quick and advanced repair. Rebuild damaged headers, indexes, frame references, and severe same-camera corruption.
-
Travel footage support. Repair videos from cameras, drones, action cameras, phones, and memory-card workflows.
-
Preview before saving. Check repaired clips before exporting copies for your editing timeline.
Repair belongs at the front of the edit, before you spend an evening cutting around a clip that will never render correctly. Repairit covers that stage with a dedicated Video Repair tool built for footage from cameras and drones written incorrectly. Travel files are the hardest kind to lose, because the location is behind you and a reshoot is rarely possible.
Furthermore, two repair modes address the damage a cinematic travel video may suffer while traveling. Quick Repair rebuilds broken headers, indexes, and frame references, while Advanced Repair uses a healthy same-camera sample to reconstruct files that other tools consider unreadable.
Key Features
- Gyroscope Data Repair: Restores corrupted motion-sensor data in GoPro footage for smoother stabilization in GyroFlow and GoPro Player.
- Aerial and Action Cam Footage: Handles files written by drones, gimbals, and helmet-mounted cameras.
- Ultra High-Definition Handling: Repairs 4K and 8K clips without downscaling the surviving footage.
Guide to Repair Travel Footage Before It Reaches Your Timeline
Repairit simplifies the process, taking damaged travel footage from upload to repair and final export in 3 guided steps:
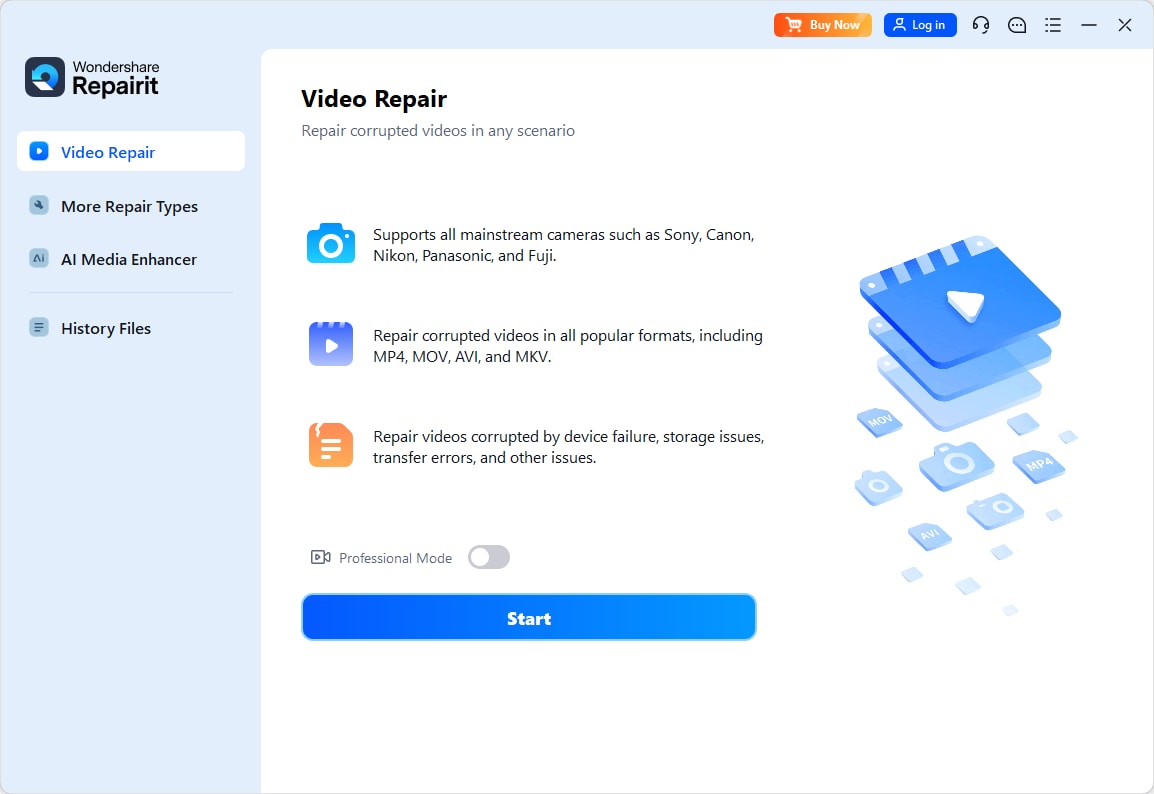
Step 1. Import Corrupted Videos
Choose Video Repair > press Add to import corrupted video files.
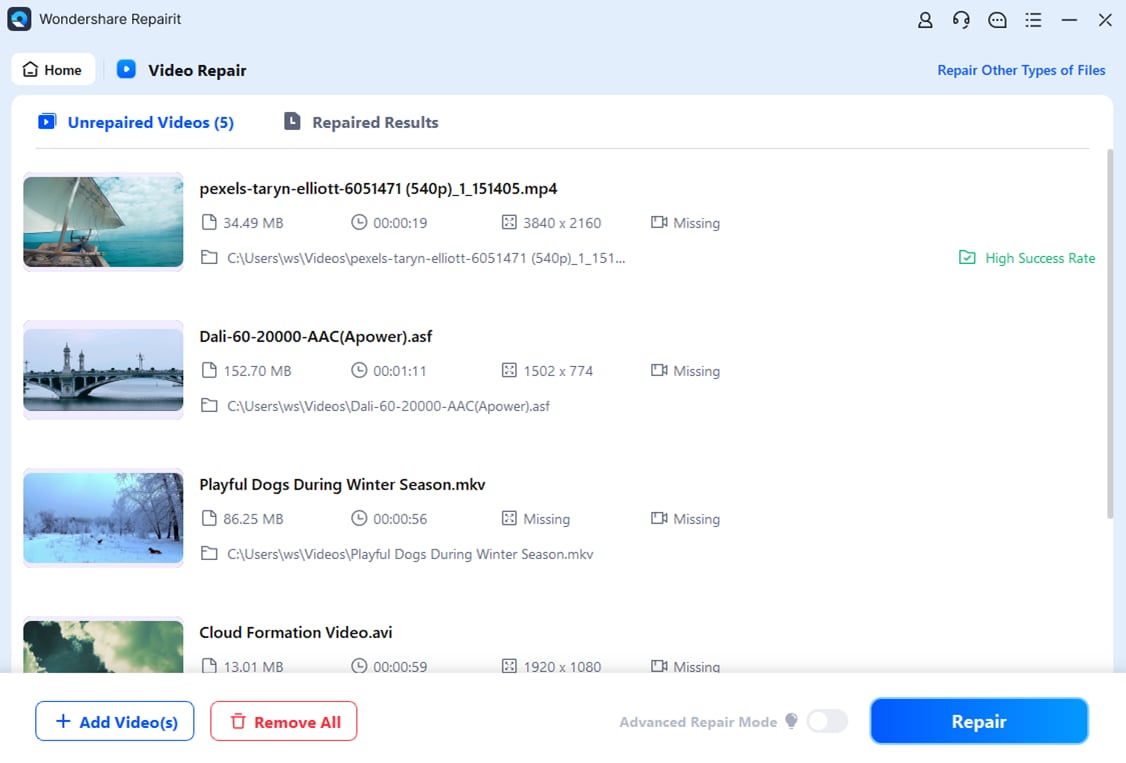
Step 2. Run the Repair Across the Whole Batch
Select imported clips > click Repair to begin the repair process.
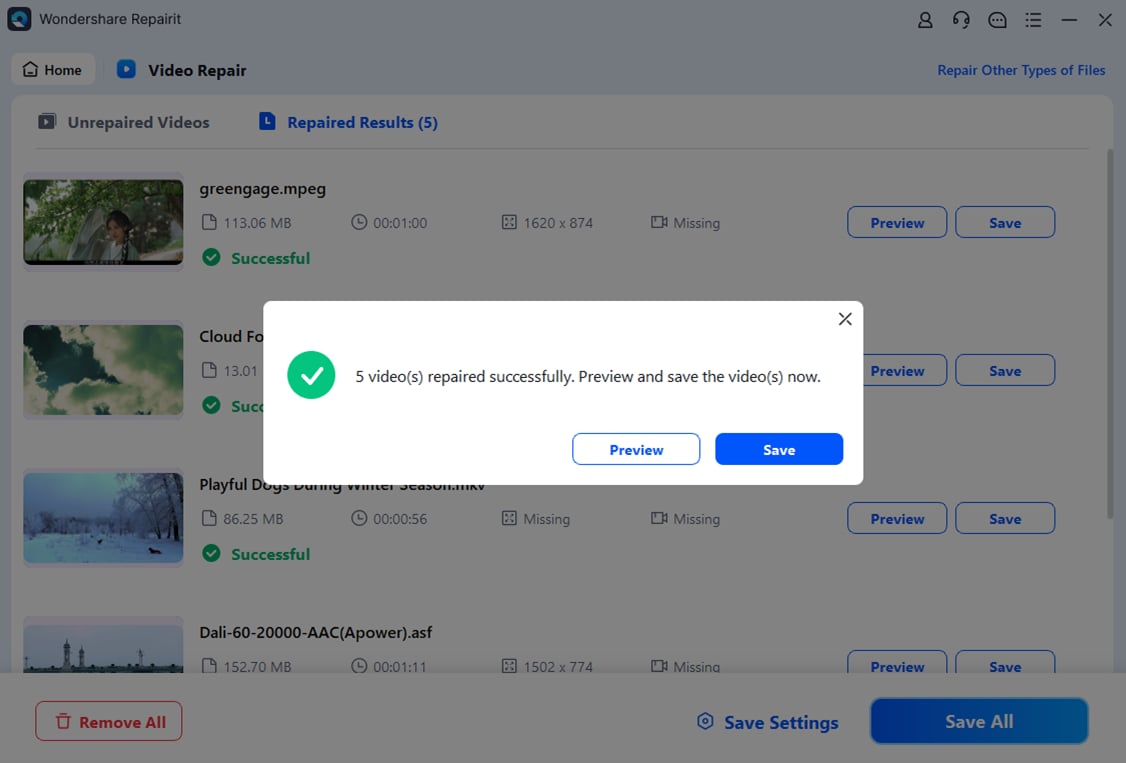
Step 3. Preview the Result and Save It for Editing
Check each clip with Preview > press Save to export files ready to edit.
Part 6. Why Your Travel Video Doesn't Look Cinematic
Sometimes the shoot goes well, and the edit still lands flat on playback. Most disappointing results trace back to a short list of nameable causes, and the table below pairs each with its correction:
| Problem | How It Shows | The Correction |
| Too Many Random Clips | Restless, goes nowhere | Keep only shots serving the story |
| Overused Transitions | Attention on the effect | Straight cuts, dissolves for jumps |
| Incorrect Frame Rate | Reads as video, not film | Shoot and edit at 24 or 25 fps |
| Poor Lighting Conditions | Flat, gray images | Shoot at sunrise or sunset, or find shade |
| Unstable Camera Movements | Drift and micro-jitter | Brace the camera or slow the move |
| Over- or Underexposed Footage | Blown skies, crushed shadows | Expose for highlights, watch the histogram |
| Inconsistent Color Grading | Skin and sky shift | Balance every clip, then one look |
| Weak Storytelling | Viewers leave in seconds | Give it an arrival, middle, and close |
| Low Audio Quality | Wind noise, muffled dialogue | Record clean ambient sound and use an external microphone |
| Exporting at Low Bitrate | Blocky details, compression artifacts | Increase export bitrate while maintaining codec settings |
Part 7. Export Settings for the Best Cinematic Quality
A finished timeline can still be ruined during its final ten minutes. Everything you built survives or dies inside the export dialog, so the 3 checks below protect the quality you spent the project creating.
Match the Export Settings to Your Timeline
Export settings should mirror the sequence you edited, not a preset copied from elsewhere. Changing frame rate here adds duplicate or dropped frames that ruin your motion.
Choose the Resolution, Codec, and Bitrate
H.264 inside an MP4 container remains the safest combination for online delivery. Google's encoding guidance asks for High Profile, a closed GOP, 4:2:0 chroma subsampling, and AAC-LC audio at 48 kHz.
Export Settings for Major Platforms
| Delivery Target | Resolution | Ratio | Bitrate |
| YouTube 4K, 24 to 30 fps | 3840 x 2160 | 16:9 | 35 to 45 Mbps |
| YouTube 4K, 60 fps | 3840 x 2160 | 16:9 | 53 to 68 Mbps |
| YouTube 1440p, 24 to 30 | 2560 x 1440 | 16:9 | 16 Mbps |
| YouTube 1080p, 24 to 30 | 1920 x 1080 | 16:9 | 8 Mbps |
| Reels, Shorts, TikTok | 1080 x 1920 | 9:16 | Highest preset |
| Vimeo or Portfolio | 3840 x 2160 | 16:9 | Match 4K figures |
Conclusion
Creating a cinematic travel video is more about thoughtful planning than expensive equipment. Start with a clear story, use the right camera settings, and capture a variety of wide, medium, and detail shots. During editing, focus on pacing, color consistency, and immersive audio. If any footage becomes corrupted before editing, repair it with Repairit first to preserve your travel memories and maintain the best possible video quality.
Frequently Asked Questions
-
Do I need a gimbal to shoot a cinematic travel video?
No, and many travel filmmakers deliberately leave one at home. In-body and phone stabilization handles walking shots if you move slowly. -
Can I mix drone, camera, and phone footage in one film?
Yes, provided you match frame rate at capture and balance color afterward. Matching exposure matters more than matching cameras. -
Why does my footage look grainy after color grading?
Grain appears when shadows get lifted hard, especially above base ISO. Expose brighter so you pull detail down rather than push it up. -
Can a video repaired with Repairit be edited and color graded normally?
Yes. After Repairit repairs and saves the file, you can import, trim, and grade it normally. Preview the result first, since permanently missing frames may remain unrecoverable.