
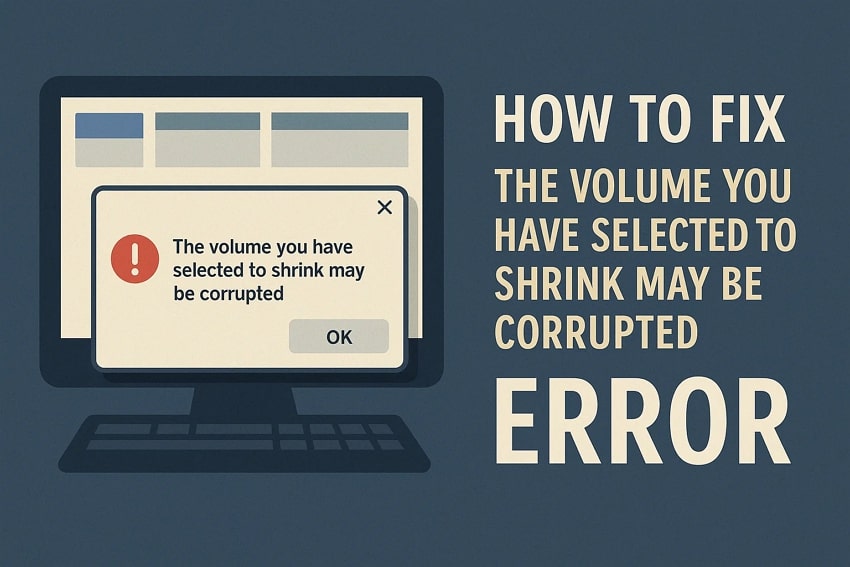
A message like “the volume you have selected to shrink may be corrupted” can be both surprising and concerning for any Windows user. This alert signifies that Windows has detected potential corruption within the volume, preventing it from being resized safely. However, once it occurs, recognizing this warning becomes the first step towards safeguarding your system.
It's even more important because proactive attention to such errors guarantees a reliable, well-maintained system. Instead of waiting for minor mistakes to turn into major problems, read the following guide and fix the issue using the workarounds outlined.
Table of Contents
Part 1. Overview of the "The Volume You Have Selected to Shrink May Be Corrupted" Error
The volume you have selected to shrink may be corrupted, which is a Windows Disk Management error. It appears that when you try to shrink a partition, Windows thinks there's a problem with that volume. Instead of allowing the resize, Disk Management blocks the operation and shows this warning, often adding "Use CHKDSK" to fix the corruption. The volume may still work for everyday use, but Windows has detected a risk.

Why This Error Occurs (Main Causes)
A basic understanding of the root cause not only helps fix the issue but also prevents similar problems in the future:
- File Layout Errors: Windows marks the volume as unsafe to change when there are errors in the organization of files and folders.
- Problem Areas on the Disk: When areas of the disk are damaged or hard to read, Windows won’t move data around to make space for shrinking.
- System Files Blocking Shrink: Essential system files are located at the end of the partition, which prevents Windows from shrinking it safely.
- Leftover Issues After Crashes: The PC was shut down or crashed, leaving problems on the disk that haven’t been repaired yet.
- Software or Driver Interference: Old storage or incomplete drivers can interfere with how Windows scans and manages the disk.
Part 2. How to Fix “The Volume You Have Selected to Shrink May Be Corrupted” Error
The section below covers both corrective measures and long-term benefits for the "the volume you have selected to shrink may be corrupted” error:
Fix 1. Run CHKDSK to Repair the File System
CHKDSK (Check Disk) is a built-in Windows utility that scans your drive for file system errors and repairs inconsistencies. In addition to correcting logical errors, CHKDSK identifies and marks bad sectors, guaranteeing data isn’t written to damaged areas. For more clarity, follow the tutorial and perform CHKDSK to restore the file system:
Instructions: Search for “Command Prompt” in your Windows search bar and choose “Run as Administrator.” In the Command Prompt window, type “chkdsk C: /f /r”, replacing “C” with the affected drive letter. Next, restart your PC if prompted, allowing CHKDSK to scan and repair the drive during boot.

Fix 2. Run System File Checker
For the "the volume you have selected to shrink may be corrupted” error, running SFC ensures that all essential OS files are secured. This pre-built Windows repair tool restores all system files that might have been altered to manage volumes without interruptions. To avoid this error happening again, run and repair broken system files through the guidelines:
Instructions: Run Command Prompt as an Administrator first, then type “sfc /scannow” in the space provided. Once done, press Enter and wait for the scan to complete; SFC will repair corrupted Windows system files. After this, reboot your computer and test shrinking the volume in Disk Management.

Fix 3. Defragment and Optimize the Drive
Fragmented files spread across the disk can prevent Windows from consolidating free space at the end of a partition. Defragmentation reorganizes these files into contiguous blocks, making it easier for Windows to manage disk space. The drive optimization ensures that free space is consolidated and that frequently accessed files are placed in optimal locations for faster access. Read the instructions to learn how to defragment and optimize the Drive:
Instructions: To proceed, open the File Manager, right-click the desired drive, and select the “Properties” option. After this, access the “Tools” section and navigate to the “Optimize” button. Once the optimization is completed, try the Shrink Volume operation again.

Fix 4. Ensure Volume Isn’t Locked by System Files
System files, such as the hibernation file and system restore points, are essential for system operations. For this reason, Windows prevents resizing to avoid instability or data loss, resulting in the "the volume you have selected to shrink may be corrupted” issue. Temporarily disabling, relocating, or managing these files frees up space, allowing Disk Management to shrink the volume. Follow the manual and make sure system files don't lock the volume:
Step 1. Search for Command Prompt, run it as Administrator, and type "powercfg.exe /hibernate off” to turn off hibernation files.

Step 2. Now, to disable the page file, access the "Systems" section from your Windows settings and navigate to the "About” section. Next, choose the “Advanced System Settings” option to reveal system properties.

Step 3. Next, open the “Advanced” section and press the “Settings” button in the Performance section.
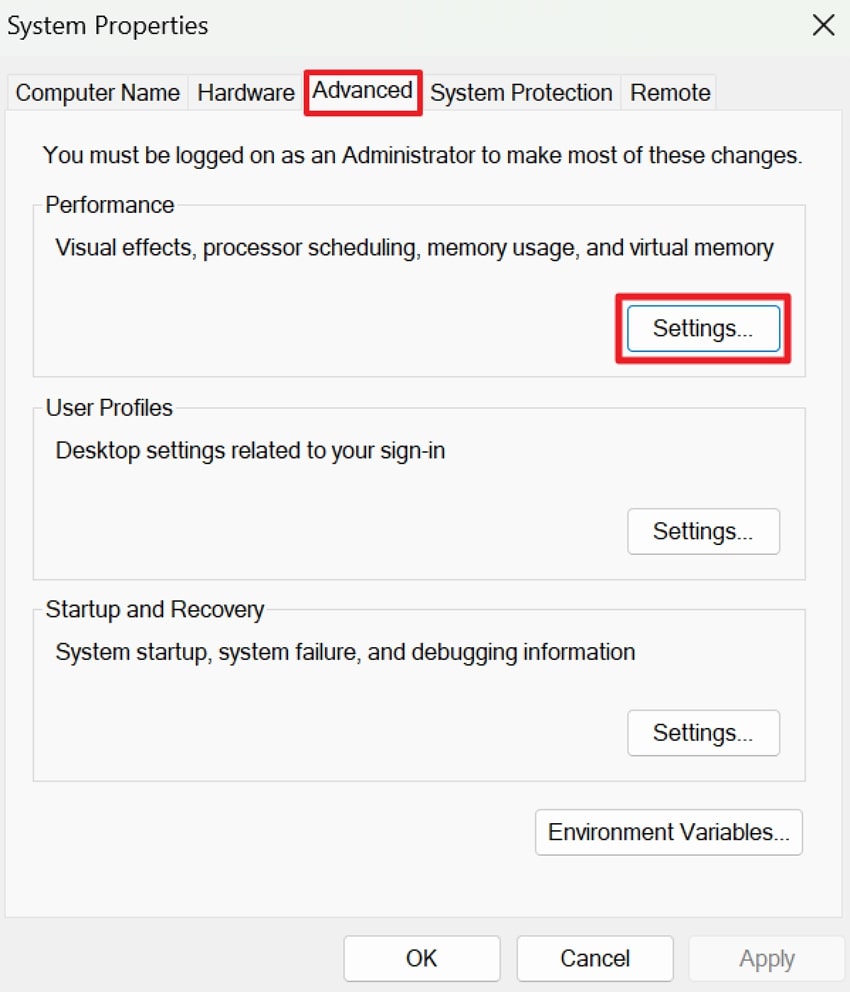
Step 4. From the Advanced section, press the "Change” button for Virtual Memory to alter further settings. Now, uncheck the “Automatically Manage Paging File Size for All Drives” and choose the “No Paging File” option. Finally, press the “Set” and “OK” to try re-shrinking the volume after reboot.

Fix 5. Shrink Volume in Safe Mode
Safe Mode starts Windows with only the essential system files, drivers, and services required for basic functionality. Attempting to shrink volume in Safe Mode allows Windows to resize the partition safely because it strips away all background utilities. Read the tutorial and run Disk Management in Safe Mode to increase the chances of a successful shrink operation:
Step 1. At first, press the “Windows + R” keys together on your keyboard to run a dialogue box. After this, type “msconfig” in the given space and click the “OK” button to proceed with the command.

Step 2. In the System Configuration window, access the “Boot” tab and tick the “Safe Boot” option. Once done, press the “Apply” button and then “OK” to boot your system in Safe Mode.

Step 3. Once done, enter the Disk Management window, locate the desired drive, and right-click it. Proceed ahead, choose the “Shrink Volume” option to resize the partition in Safe Mode.

Fix 6. Check for Bad Sectors
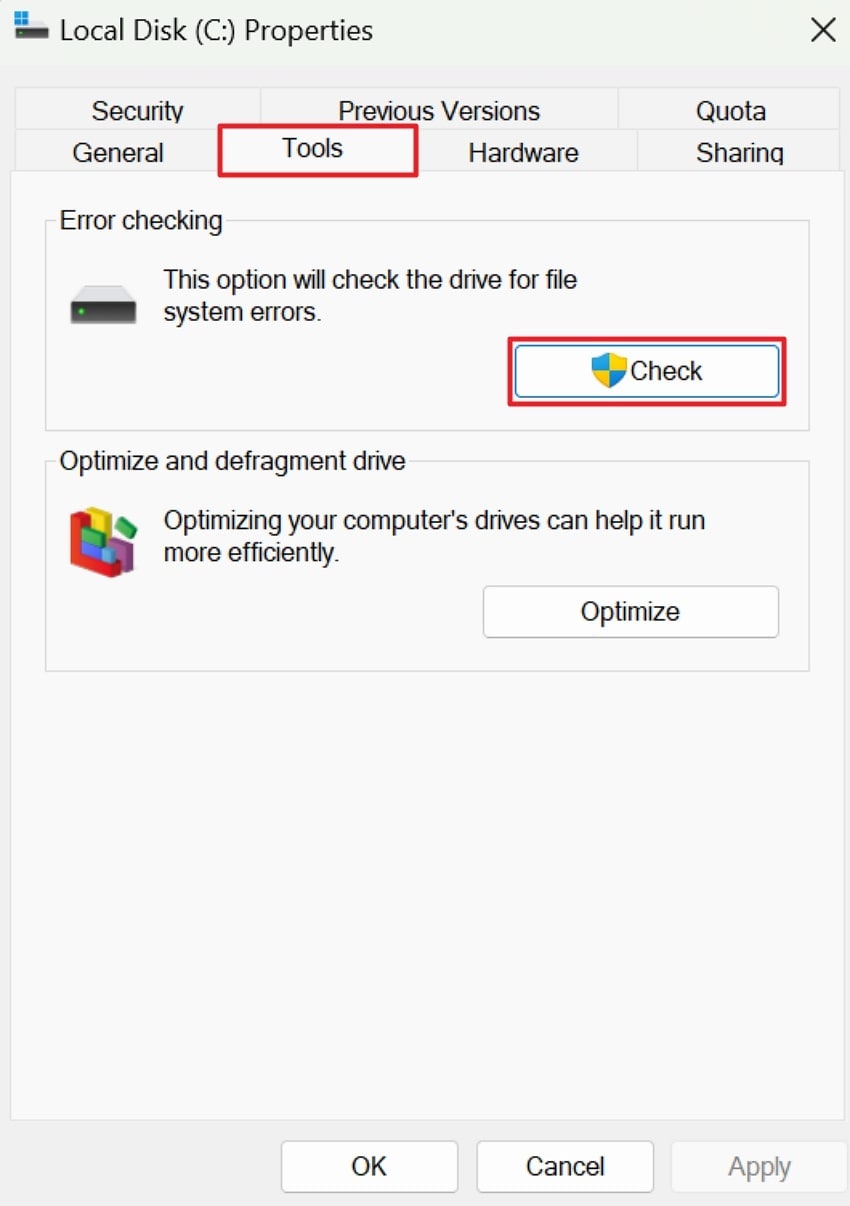
When a disk contains bad sectors, Windows cannot safely move or write data to those areas. This creates a hindrance to shrink, resulting in “the volume you have selected to shrink may be corrupted.” For this, review file properties to perform error checking, ensuring Windows does not access those damaged sectors. Dive into the tutorial and map out sectors that your system doesn’t need:
Instructions: Initially, right-click the problematic drive in your File Explorer and choose the "Properties” option. After this, access the “Tools” section and click the “Check" button to allow Windows to check the drive for file system errors.
Fix 7. Format the Partition (Last Resort)
Once and for all, formatting the partition becomes the final and most effective solution when everything else fails. This process wipes the drive clean, removes deeply embedded corruption, and rebuilds the file system from scratch. Since formatting resets everything, you can easily overcome “the volume you have selected to shrink may be corrupted.” For problem-free resizing, adhere to the instructions and format the partition:
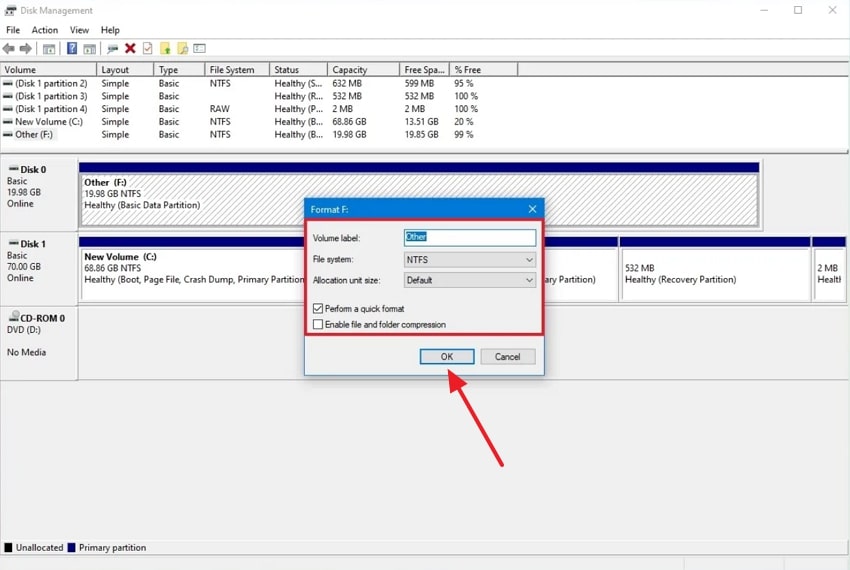
Step 1. Initially, open the “Disk Management” window on your PC and right-click the problematic volume. After this, choose the “Format” option from the menu to perform a quick format.

Step 2. In the “Value Label” field, type a new name for the storage and select “NTFS” from the File System menu. Next, choose the “Default" option for the Allocation Unit Size field and check the "Perform a Quick Format” option. Finally, press the “OK” to confirm the action and format the partition.
Pro Tip. Fix Corrupted Files Effortlessly with Repairit When Errors Lead to Corruption
Once system issues like “the volume you have selected to shrink may be corrupted” start appearing, file corruption is evident. This is where a program like Repairit comes in handy, addressing multiple corruption scenarios all at once. More impressively, the software supports more than 30 file formats at the same time during repair. Essentially, it facilitates lossless repair, fixing files while preserving their original integrity and format.
You’re allowed to repair files that are inaccessible and are completely unreadable for any reason. Not only that, but users can import multiple broken or incomplete files simultaneously for an instant repair. Besides, this innovative program fully supports both Windows and macOS with no feature loss across platforms. With its flexible access, you can choose between powerful desktop software and convenient online repair.
Key Features
Fixes Archive Files: The program restores corrupted ZIP, RAR, and even 7Z files in batch or over 1GB, keeping their structure intact.
Repairs PDF Documents: You can easily fix loading errors, corrupted pages, and unreadable PDFs without overwriting the original content.
Restores SketchUp Files: It excels in dealing with ".skp” files and restores your 3D models without any loss.
Detailed Guidelines to Repair Corrupted Files with Repairit
As soon as disk-related issues escalate into file corruption, following the provided tutorial becomes even more important:
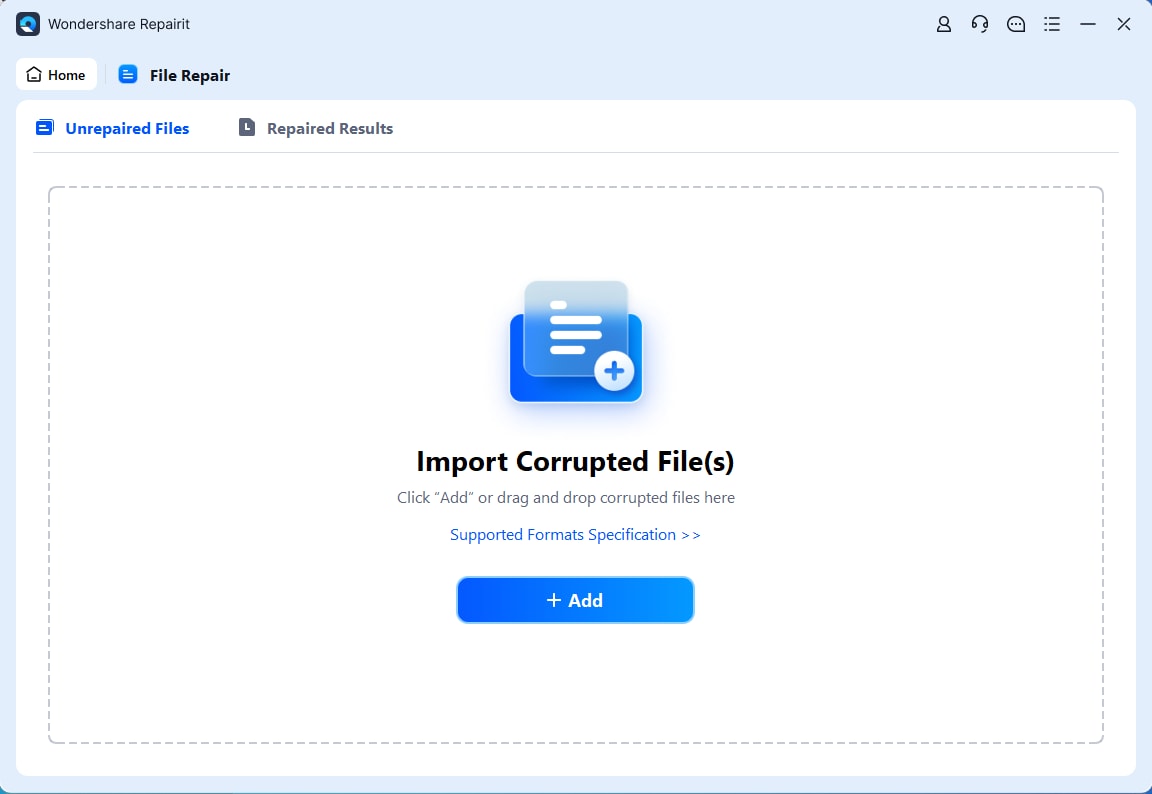
Step 1. Enter the Document Repair Tool & Add Corrupted Files
To do so, expand the “More Types Repair” tab and click the “Start” button for Document Repair. After this, click the “+Add” button to incorporate all the corrupted files into the tool.
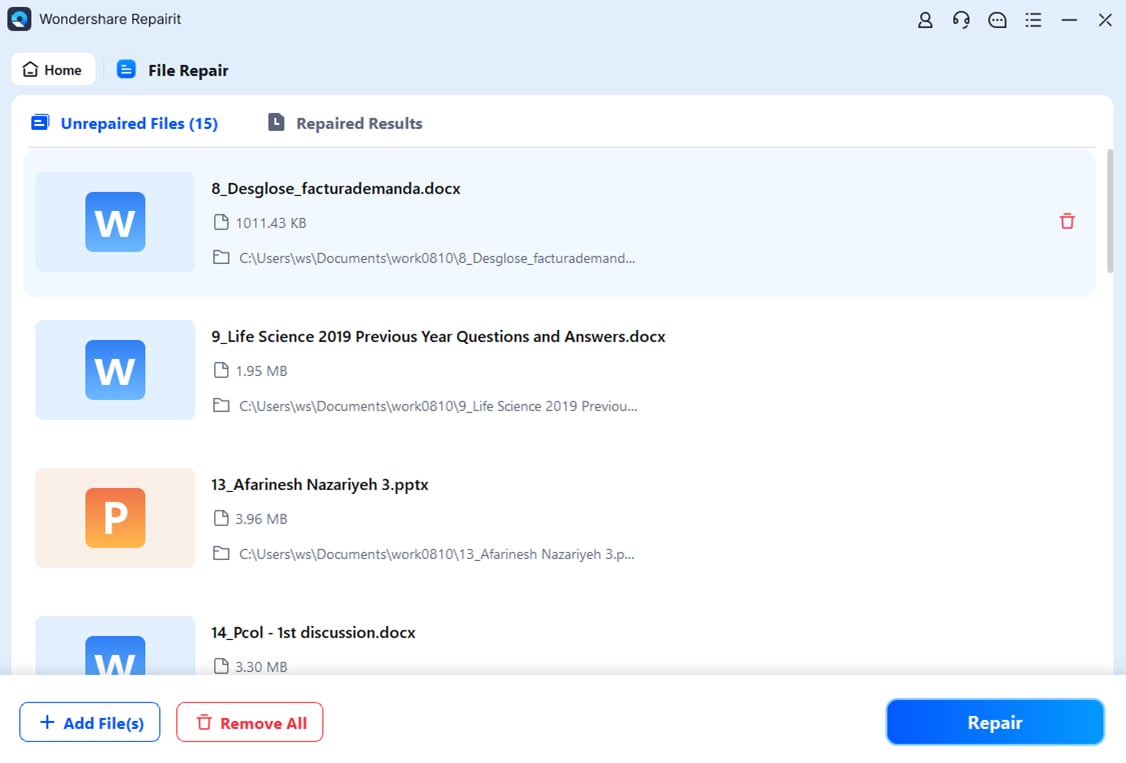
Step 2. Initiate the Repair Process for Damaged Documents
Once done, click the “Repair” button to repair all your inserted files at once.
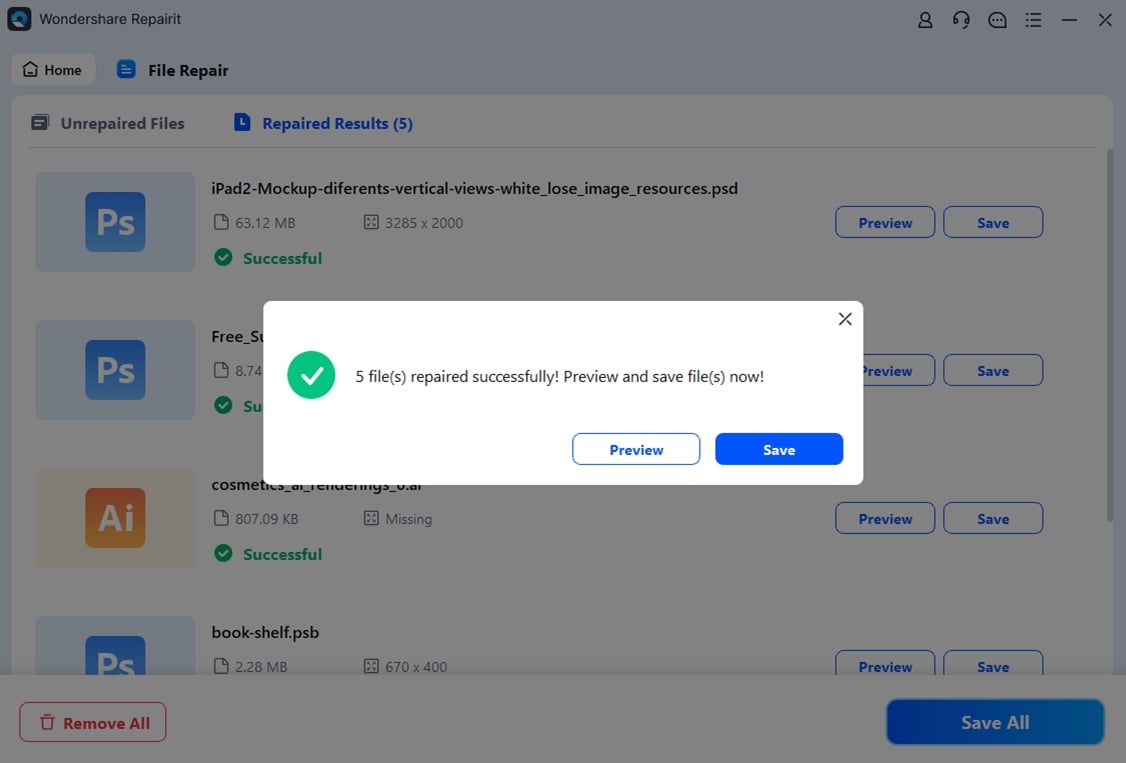
Step 3. Examine & Save the Repaired Files to the Device
When the process completes, press the “Preview” button in the prompt window to review and save the files.
Repair Your Corrupted Files
 Security Verified. Over 7,302,189 people have downloaded it.
Conclusion
In summary, an unexpected “the volume you have selected to shrink may be corrupted” error is an important reminder that your disk needs immediate attention. Through possible causes and applying all the right fixes, you can restore your drive’s integrity and safely proceed with resizing. Not addressing the issue on time might lead to file corruption, thereby needing Repairit for a complete repair.
Frequently Asked Questions
-
Q1. Is it safe to continue using the drive after this error?
Only temporarily, because your PC might keep functioning, the error signals underlying issues that could worsen over time. For this, it's best to run CHKDSK and scan for bad sectors as soon as possible. Additionally, continuous use without repair may increase the risk of file corruption or other unexpected errors. -
Q2. Will shrinking a corrupted volume cause data loss?
Yes, if the drive is corrupted or has unreadable sectors, shrinking increases the risk of file corruption. For this reason, it's important to fix the corruption first and back up sensitive data before considering resizing. -
Q3. Does this error happen more often on HDDs or SSDs?
This “the volume you have selected to shrink may be corrupted” error is more common on HDDs because they’re prone to fragmentation. Anyway, SSDs can experience it too, but only when system files or hidden partitions block the shrink operations.
