
Adobe Acrobat is one of the most popular document processors for PDF files across the globe, yet it often shows multiple errors. Among the many errors, the “Acrobat failed to load its core DLL” error is perhaps the most frustrating since it stops you from accessing the reader altogether. If you are also unable to access Adobe Acrobat or Acrobat Reader due to the "Acrobat failed to load core DLL” error, then we have the right solutions to fix it. In the article, you can find effective solutions to get your Acrobat Reader up and running in easy steps.
In this article
Part 1: What is the "Acrobat Failed to Load Core DLL" Error?
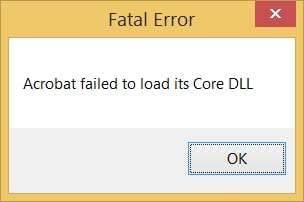
The “Acrobat failed to load its core DLL” is an error message displayed when you launch the Adobe Acrobat or Acrobat Reader application on your system. This error happens when the application is unable to access or use its required Dynamic Link Library (DLL) files.
Here are some of the common reasons for the Acrobat failed to load its core dll error message:
- The most typical reason for the error is due to a missing or corrupted system or Acrobat DLL files.
- Another common cause can be an incorrect file path, such as when the reader is unable to locate the DLL files in the given location.
- Sometimes, if there is any mismatch in the Acrobat versions, the error can also occur because of the incompatibility.
- If the Acrobat has insufficient permission or restricted permission to access the required DLL files, it can also cause the error.
- If the system is affected by a virus or malware that can corrupt or interfere with the smooth operation of the Acrobat DLL files.
Part 2: Fixes to Solve Acrobat Failed to Load Core DLL
Now that you know what the "Adobe failed to load core DLL" error is and the various reasons that caused it, you can apply the right fix to troubleshoot the error. The fixes can include repairing corrupt files to ensure the correct file path.
Here are the following easy fixes to resolve Acrobat Adobe failed to load its core DLL error:
Fix 1: Repair Acrobat Reader
A missing or corrupted DLL file is one of the most common causes of the “Adobe failed to load its core DLL” error. Therefore, by repairing the Acrobat installation, you can often easily resolve the error by replacing the damaged or corrupted files with fresh ones.
Step 1. First, simultaneously press the “Windows and I” keys on your keyboard to launch the “Settings” app on your system.
Step 2. Select the “Apps” option from the list and click on “Apps & features” to view the list of installed apps.
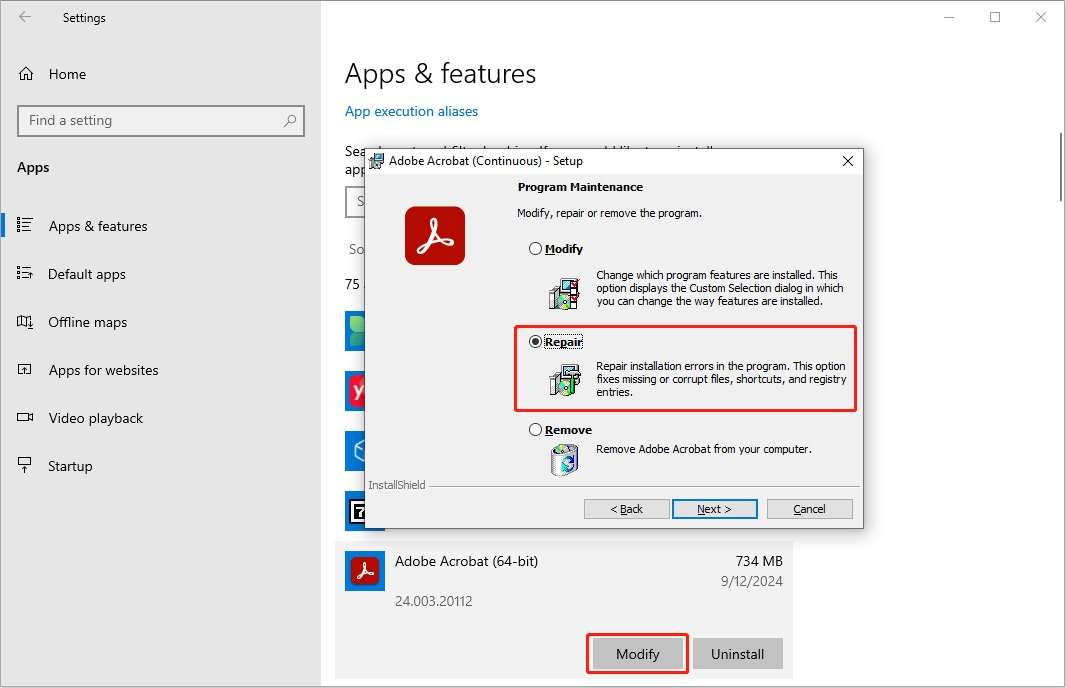
Step 3. Locate and select the “Adobe Acrobat or Acrobat Reader” app from the list and click on the “Modify” option.
Step 4. On the new pop-up window, select the “Repair” option and click on the “Next” button to continue.
Step 5. Next, click on the “Update” option to start repairing the installation process.
Fix 2: Disable Protected Mode
Sometimes, the 'Acrobat failed to load core DLL' error is due to permission problems. While the protected mode feature of Acrobat Reader is intended to keep malicious files from causing harm to your system, in a few cases, this feature could lead to compatibility issues or prevent you from using critical system functions. Thankfully, you can disable this feature if needed to fix the Adobe Acrobat failed to load core DLL error.
Step 1. First, open the Acrobat Reader on your system and click on the “Edit” tab at the top.
Step 2. Click on the “Preferences” option from the drop-down menu. On the new window, select the “Security (Enhanced)” option from the left side panel.
Step 3. Next, under the “Sandbox Protections” section on the right panel, ensure to disable the “Enable Protected Mode at Startup” checkbox option.
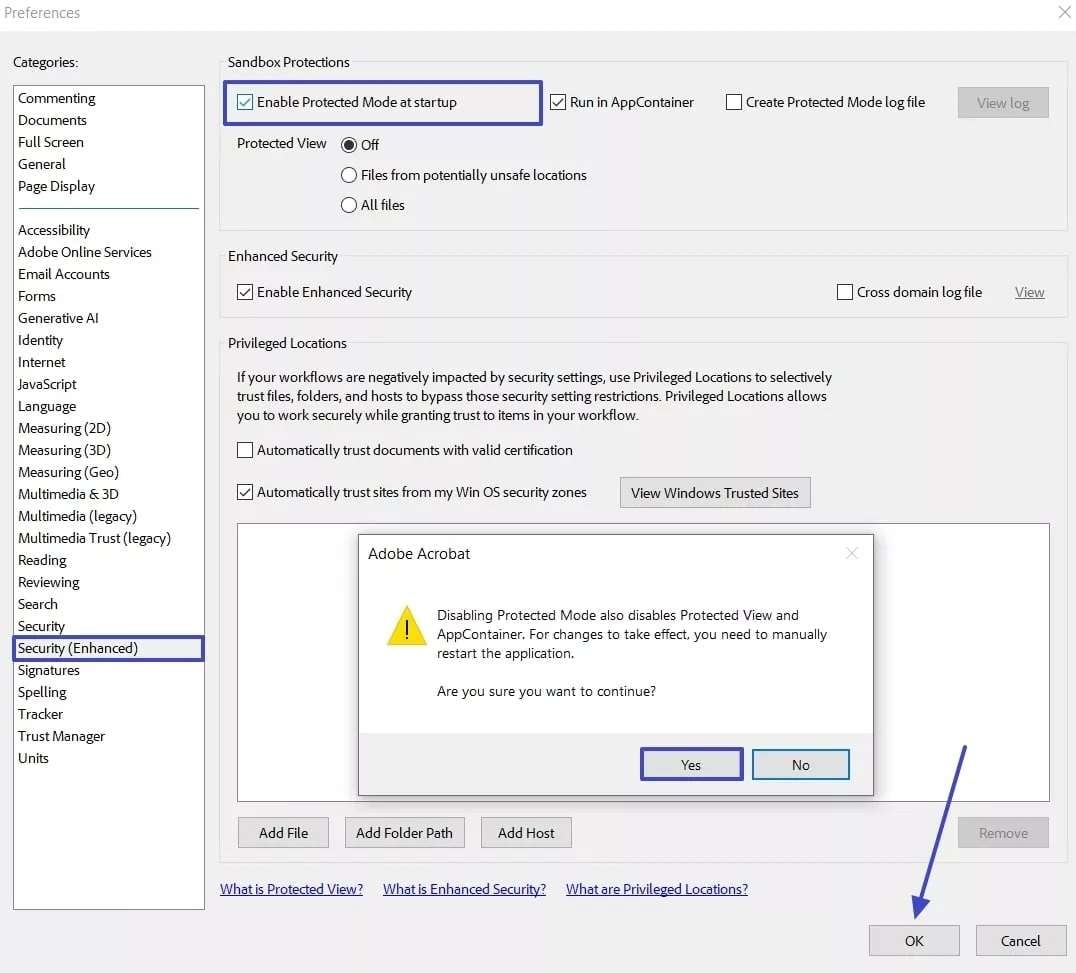
Step 4. Click on the “Yes” option when prompted to confirm and click on the “Ok” button to continue.
Step 5. Restart Adobe Acrobat or Adobe Reader and check if the error is resolved.
Fix 3: Check the Acrobat Installed Location
To prevent issues like the “Adobe failed to load its core DLL” error, please ensure that Adobe Acrobat or Adobe Acrobat Reader is installed directly on your computer's main hard drive (the local system drive). If Adobe Acrobat is installed on a mapped drive, then it is not supported and can cause errors. Therefore, you must check and ensure that the application is installed at the right location.
Step 1. First, enter “Adobe” into the “Search box” on the taskbar of your system to search for the application.
Step 2. Next right-click on the “Adobe Acrobat” option on the search result and select the “Open File Location” option from the drop-down menu.
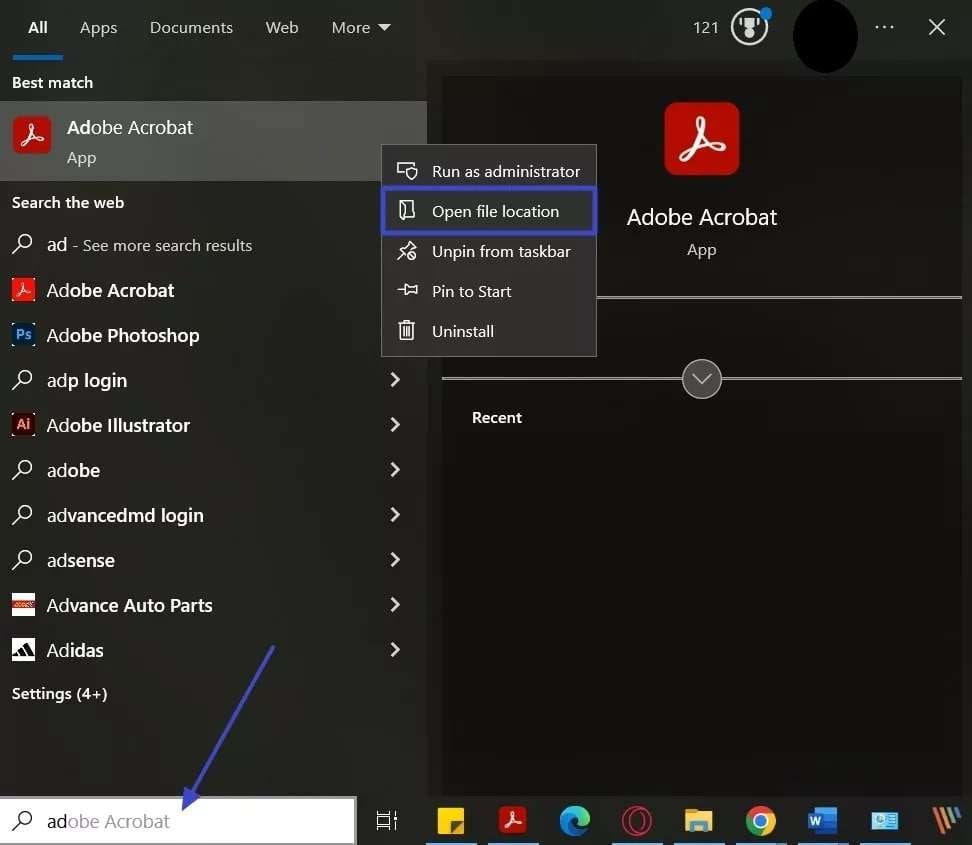
Step 3. Now, on the “File Explorer”, check if Adobe Acrobat is installed on the main drive of your system.
Fix 4: Reinstall Acrobat
If none of the above solutions fixes the Acrobat failed to load core DLL error, then as a final resort, you can consider reinstalling the application on your computer. This approach helps to eliminate any root cause that might be causing the app to fail. You can uninstall the application through Settings or Control Panel. Then, navigate to the installation location to confirm there are no leftover files. After that, download Adobe Acrobat to reinstall it. Ensure that Adobe Acrobat or Adobe Acrobat Reader is installed on your local hard drive.
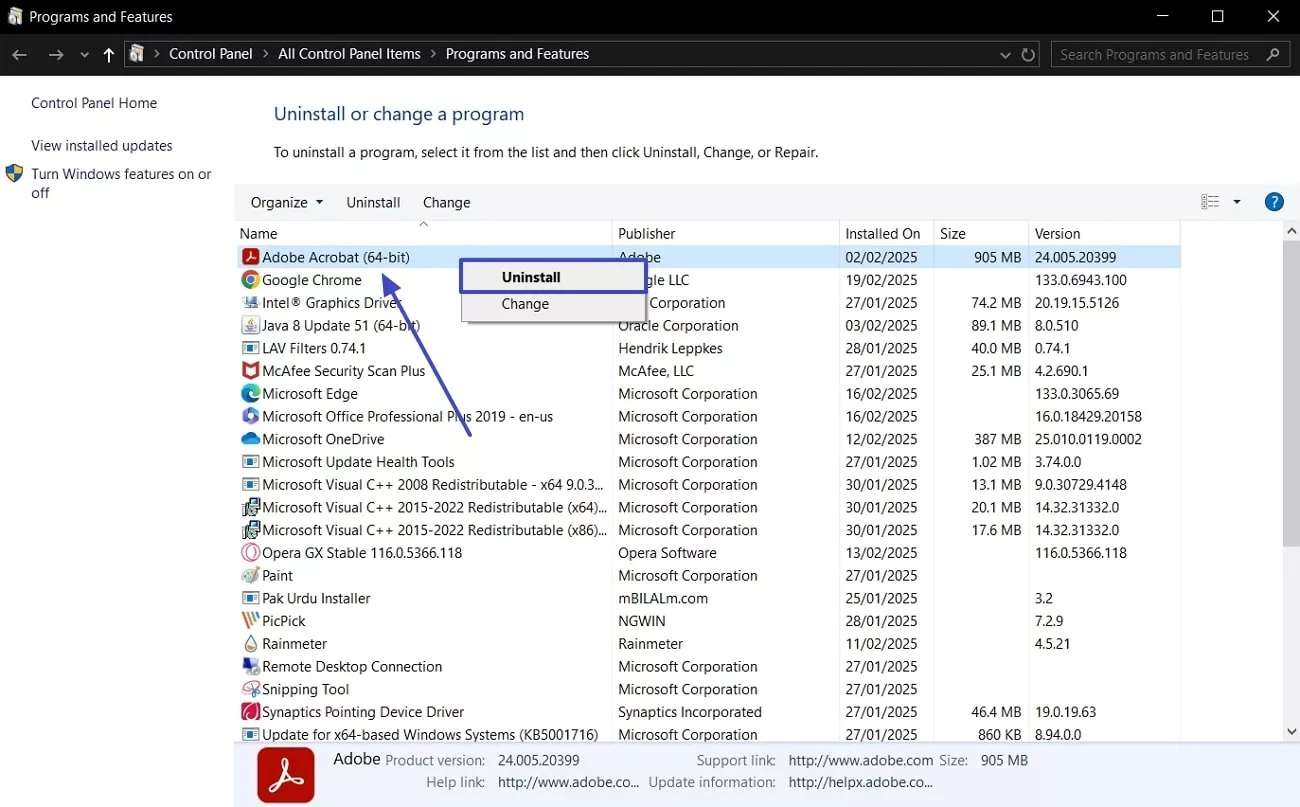
Step 1. Launch the “Control Panel” on your system and click on the “Programs and Features” option.
Step 2. Select “Adobe Acrobat” or “Acrobat Reader” from the list and click on the “Uninstall” option from the top. Follow the onscreen instructions to completely uninstall the application from your system.
Step 3. After the uninstallation is completed, close all the windows on the system. Download the latest installation file of Adobe Acrobat from the official website and reinstall the app from the installer.
Part 3: An Easy Way to Repair Damaged/Corrupt Files Effortlessly
Now that you can easily solve the Adobe Acrobat failed to load core DLL error following the above-provided solutions, what if you want to fix other corrupted files? In that situation, you can use a reliable and effective file-repairing tool such as Repairit File Repair.
It is an effective solution for addressing file corruption in a variety of file types, such as photos, videos, and documents. It uses complex algorithms to restore the original state of your files, retaining both quality and functionality. This tool makes the recovery process for all types of data effortless with a user-friendly interface and simple steps.
Some of the key features of the Repairit File Repair application:

-
Repair damaged files with all levels of corruption, including blank files, files not opening, unrecognizable format, unreadable content, files layout changed, etc.
-
Support to repair all formats of PDF, Word, Excel, PowerPoint, Zip, and Adobe files.
-
Perfectly repair corrupted files with a very high success rate, without modifying the original file.
-
No limit to the number and size of the repairable files.
-
Support Windows 11/10/8/7/Vista, Windows Server 2003/2008/2012/2016/2019/2022, and macOS 10.10~macOS 13.
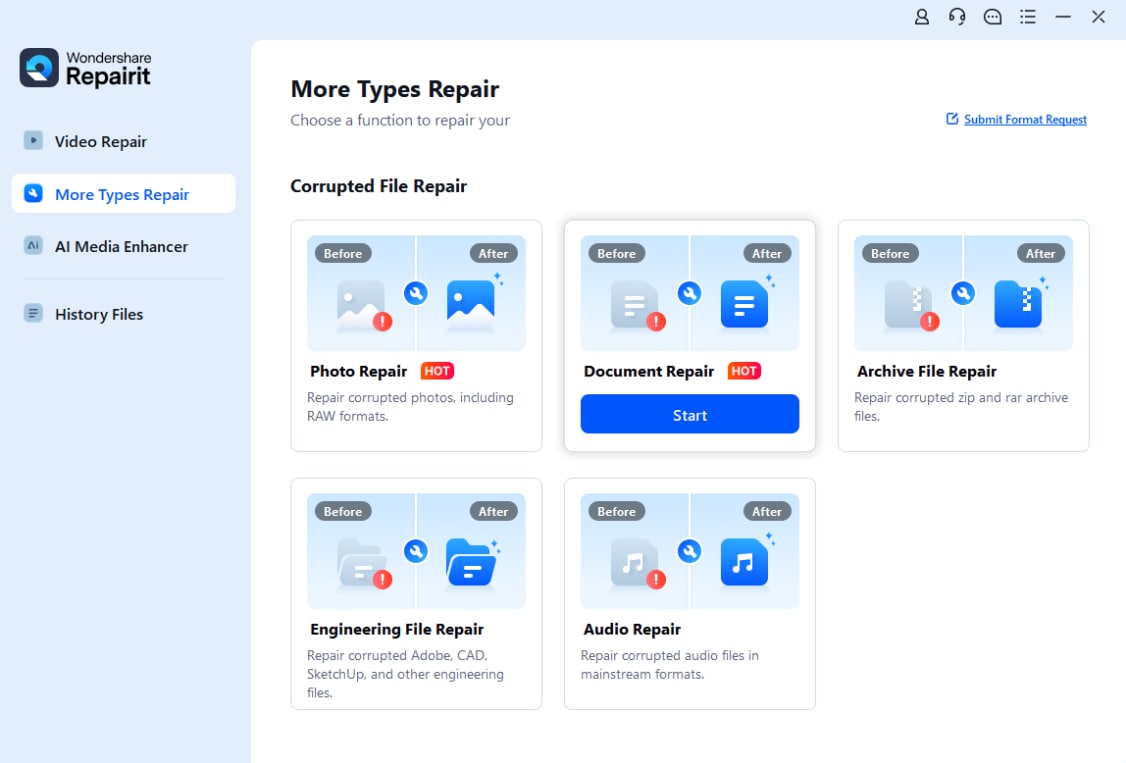
Step 1. Select the “More Types Repair” option on the side left bar on the main screen and click on the “File Repair”.
Step 2. Next, click on the “+Add” button to add your corrupted files. And click on the “Repair”.

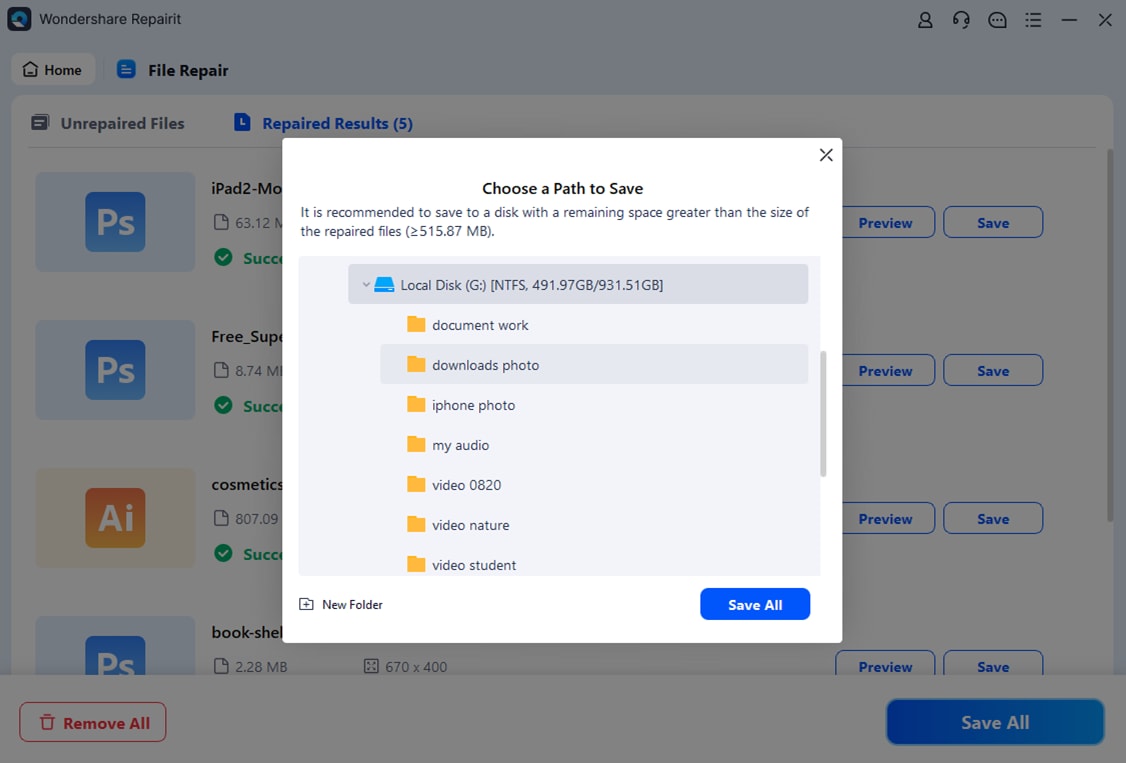
Step 3. Click on the “Save” option to save the repaired file to your system.
Repair Corrupted Files
 Security Verified. Over 7,302,189 people have downloaded it.
Conclusion
While the “Adobe failed to load core DLL” error can be extremely annoying, especially when you need to access your important PDF files, it is also easy to solve. You can fix the problem by following the above-given methods in an easy-to-understand step-by-step guide. However, if you want to fix other corrupted files on your system, then we recommend using Repairit File Repair to restore them effortlessly.
FAQs
-
How do I fix Adobe Acrobat's failed to load core DLL?
You can fix the Adobe Acrobat failed to load core DLL error using many different solutions. Some of the easy solutions include Repair Acrobat installation, disabling Protected Mode, ensuring it's on the local drive, or reinstalling. Check file permissions and run malware scans. These steps often resolve the "Acrobat failed to load core DLL" error. -
How to fix core.dll error?
For program-specific DLL errors, reinstalling the application often replaces the faulty file. This is a primary troubleshooting step. In addition, you can follow other solutions, such as repairing or reinstalling the affected program. Run a system file check (SFC) scan. Ensure your OS and drivers are updated. Check for malware. Re - register the DLL using regsvr32. -
Why is Adobe Acrobat not loading files?
Adobe Acrobat might fail to load files due to corruption, outdated software, insufficient permissions, or conflicts with other programs. Large files or low system resources can also cause loading issues. Security settings, like Protected Mode, may sometimes interfere. To fix the issue, you can update Adobe Acrobat if needed, then restart it after closing background programs. Also, scan the PDF for malware, as Acrobat might be blocking it for security.
