

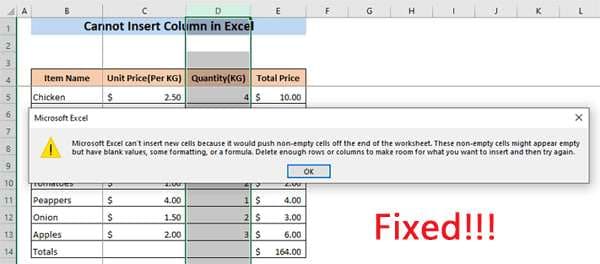
Have you been struggling lately to add new cells in your MS Excel Workbook? Sometimes, Microsoft Excel can't insert new cells. This becomes even more frustrating when you're trying to do meaningful work.
When Excel doesn't let you add new cells, it disrupts your workflow and creates unwanted stress. Moreover, it can have a substantial negative impact on your productivity. So, in situations like these, you must first understand why you're unable to add new cells and then work towards fixing the issue. If you're facing this issue, this is your guide on repairing Excel can't insert new cells.
In this article
Part 1. Reasons Why MS Excel Can't Insert New Cells
When using MS Excel regularly, you may want to add new cells if you run short of space to enter new information. However, there are numerous reasons why you may not be able to insert new cells.
Some of the common reasons on why you are getting Excel can't insert new cells error are as follows:
- Cell protection is enabled in MS Excel.
- You merged some cells or columns.
- The MS Excel file has a long file path.
- The MS Excel file you're using is corrupted.
- You had mistakenly formatted the entire row or column.
- The data in the last column or row was misplaced.
- The freeze pane feature is on.
Part 2. How to Fix MS Excel Can’t Insert New Cells?
It can be frustrating when you can't add new cells to MS Excel. You must first understand the reason and then move ahead and remove the unwanted features.
Here are some of the key ways through which you can fix Microsoft Excel can't insert new cells:
Method 1: Repair Excel File With Repairit
If you are getting the Excel can't insert new cells error, it is probably because your file is corrupted. Therefore, consider repairing the file using a reliable tool such as Repairit. Compatible with Windows OS and Mac OS, Repairit can help fix the Excel file in no time.
You can download the software in your system and start the repair. Unlike other tools, you don't have to spend much money. You can just opt for the free trial initially with Repairit to understand the convenience. The tool is highly convenient and can be essential in handling large files.

-
It can repair unreadable and unrecognizable files instantly.
-
Repairs all kinds of data stored in damaged Excel files, such as tables, charts, formulas, comments, images, etc.
-
Support all formats of Excel files: XLSX/XLSM/XLTX/XLTM/XLS
-
Perfectly repair corrupted files with a very high success rate, without modifying the original file.
-
No limit to the number and size of the repairable files.
-
Support Windows 11/10/8/7/Vista, Windows Server 2003/2008/2012/2016/2019/2022, and macOS 10.10~macOS 13.
-
Apart from Excel, Repairit also supports all formats, including PDF, Word, Excel, PowerPoint, ZIP, and Adobe files.
Whether you have a significant or minor issue with your MS or Excel, Repairit will leave no stone unturned in fixing the problems. Once you have downloaded and installed Repairit in your system, you can follow the steps given below to fix the Microsoft Excel can't insert new cells error in the file:
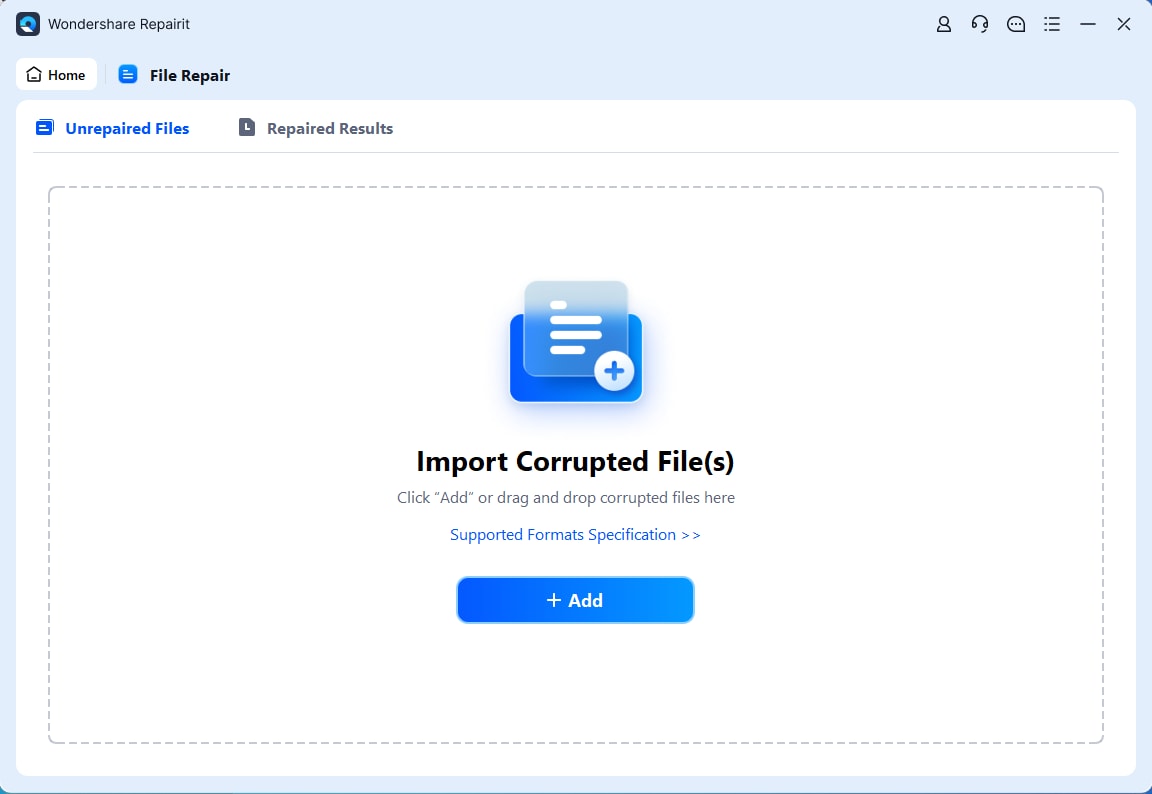
Step 1. Open Repairit and visit the File Repair module from the sidebar. Add the Excel can't insert new cells.
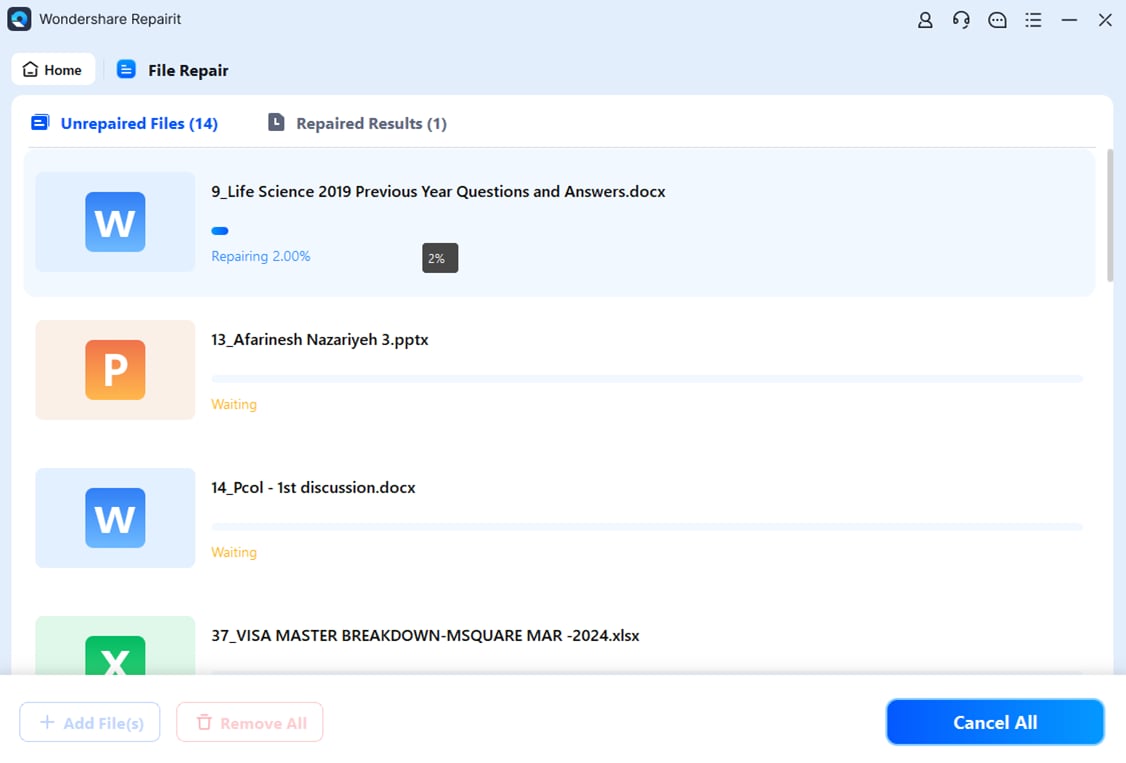
Step 2. Start repairing the corrupted file.
Step 3. If the files have been repaired appropriately, click the “Save All” button.
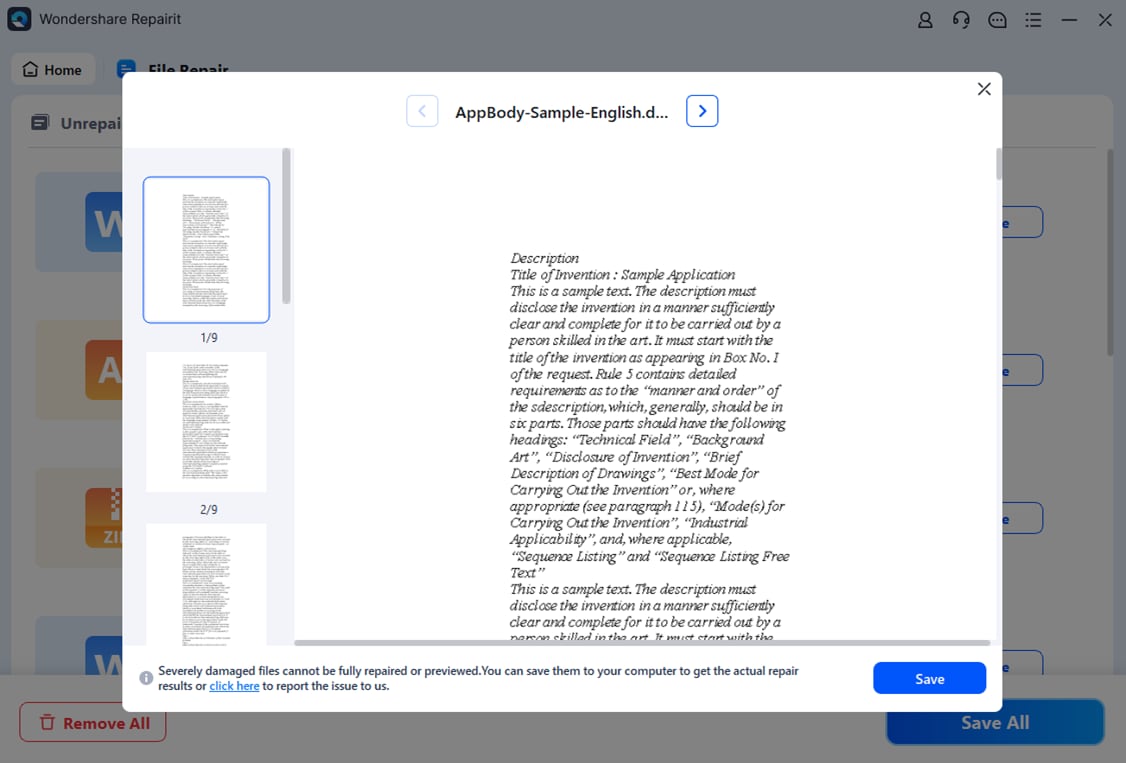
You can now open your repaired Excel files and try adding the new cells, rows, or columns to continue doing your work.
Fix Microsoft Excel Can't Insert New Cells
 Security Verified. Over 7,302,189 people have downloaded it.
Method 2: Disable the Cell Protection Feature
When the Cell Protection feature is enabled in Excel, you won't be able to make any significant changes. Although this feature is meant to keep the information safe, sometimes it can be a hindrance as well. You must turn off this feature if you want to add new cells to your Excel sheet.
Follow the steps given below to turn off the cell protection feature to fix Microsoft Excel can't insert new cells:
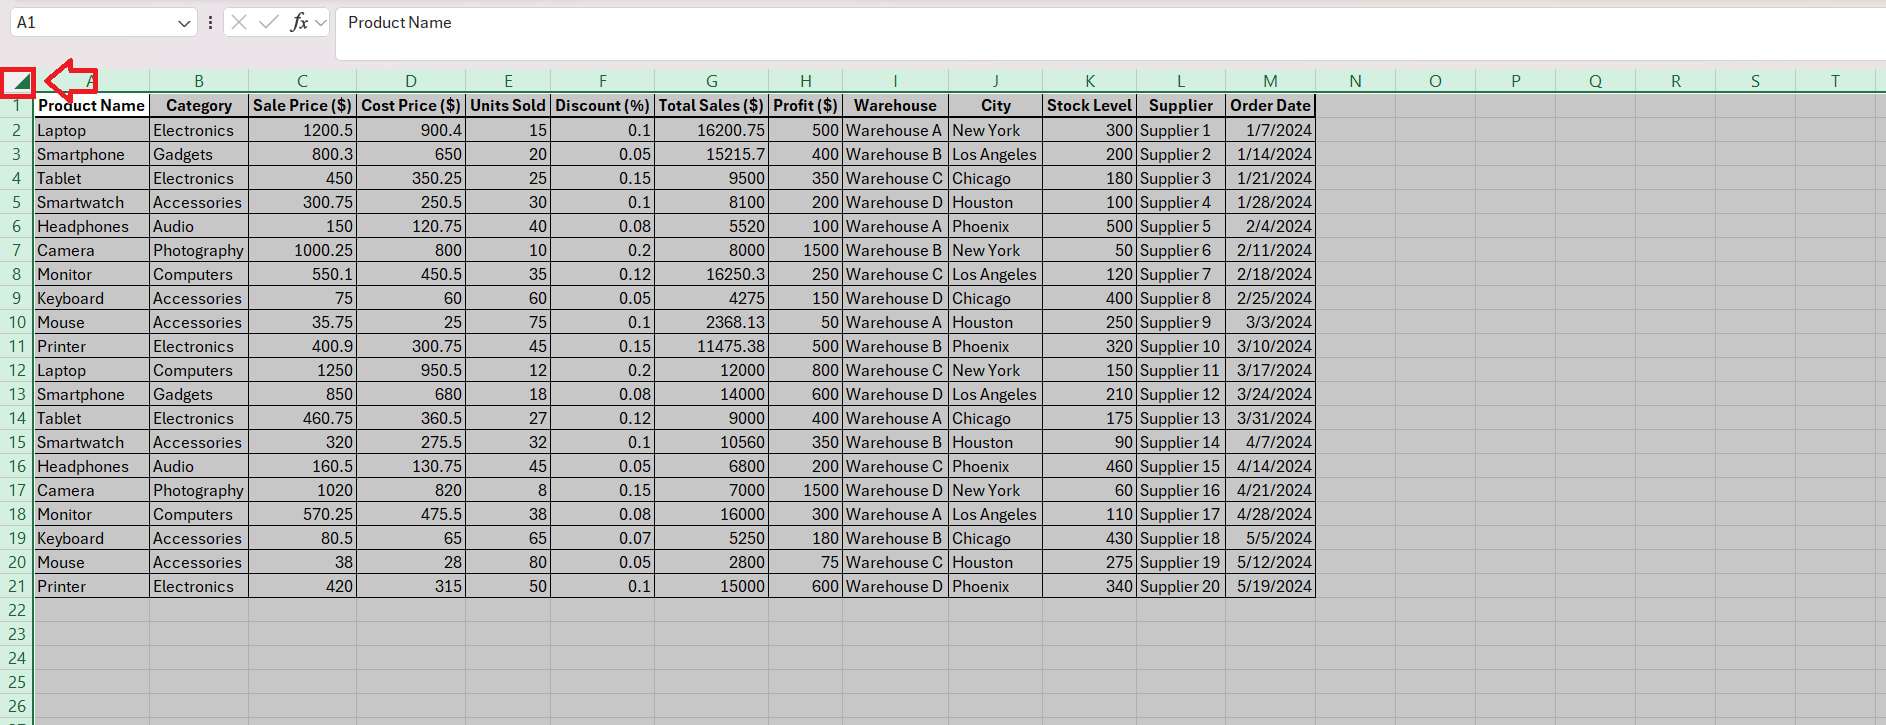
Step 1. Open your Excel Workbook and press Ctrl+A keys to select all the cells.
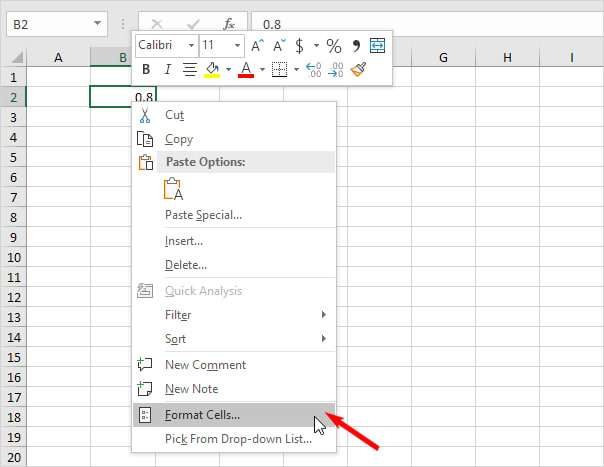
Step 2. Visit the Home tab and then click on Format.
Step 3. Choose Format Cells under the Protection section from the given options.
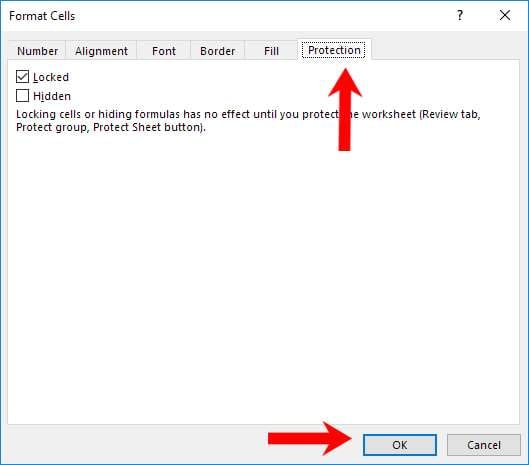
Step 4. Visit the Protection tab. Then, uncheck the Locked box and click on the OK button.
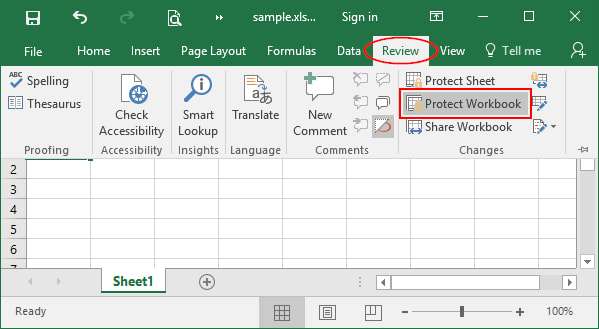
Step 5. Now, visit the Review tab and click Protect Workbook or Protect Sheet.
Step 6. In the given box, you must type the selected password to remove the protection from the workbook.
Step 7. Press the Ctrl+S keys together so that you can save the file. Close the File.

Step 8. Open the Excel document and follow the generic steps to add a new column or row. You should be able to do it easily now.
Method 3: Unfreeze Panes
One of the easiest ways to fix Excel's inability to add new cells is to unfreeze the panes. These frozen or locked panes can often make it challenging to keep up with the work. The Freeze pane feature usually prevents you from inserting new rows or columns or making significant changes.
You can unfreeze the panes following the steps given below to fix Excel can't insert new cells:
Step 1. Launch MS Excel in your system.
Step 2. Once you have opened the Workbook, click on the View tab.
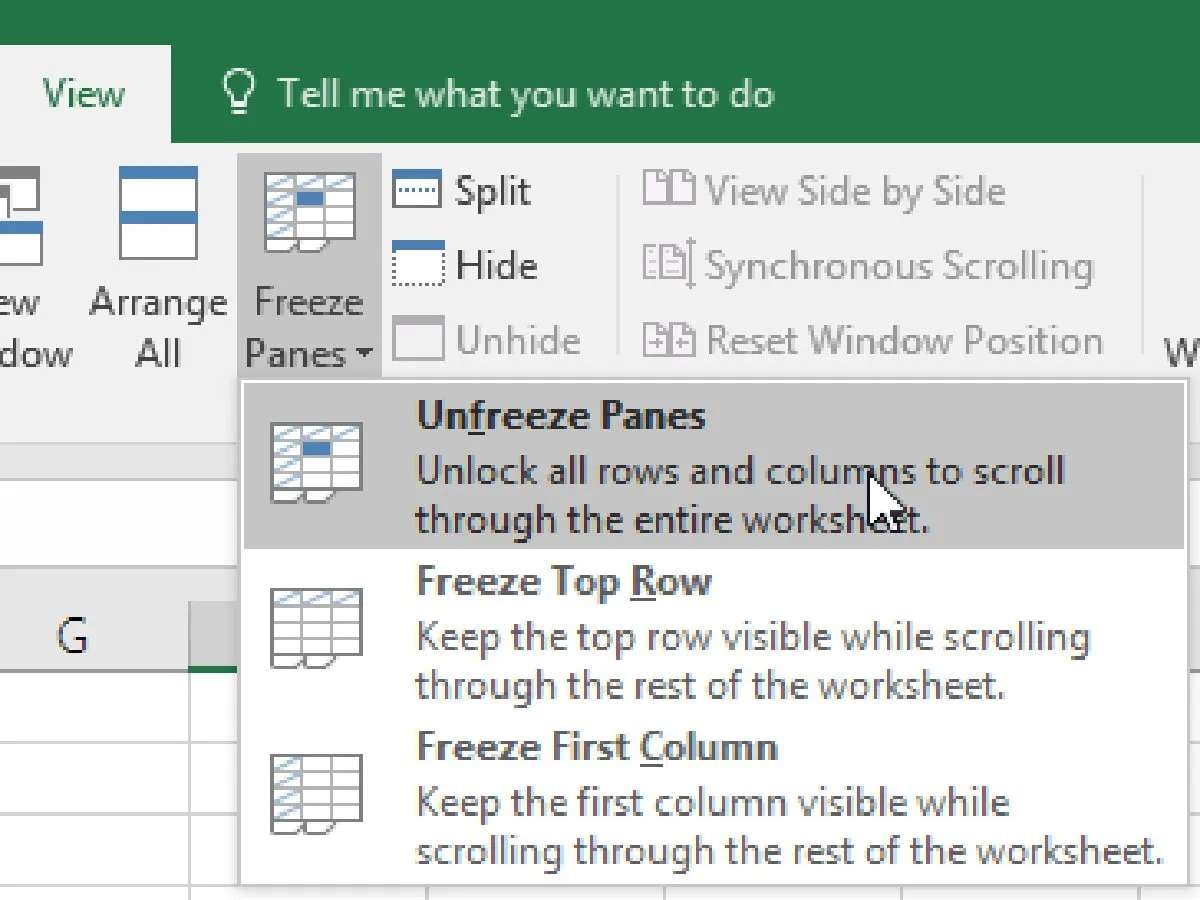
Step 3. The Freeze Panes feature is available on the tab with a drop-down arrow. Click on it.
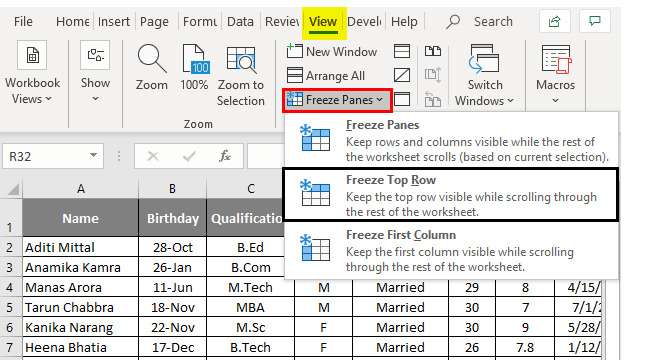
Step 4. From the available menu, select Unfreeze Panes.
Step 5. After unfreezing the panes, save the file and close it.
Step 6. Wait for some time and then open the Excel document again. You should now check if you're able to add any new cells to it or not.
Method 4: Unmerge the Rows or Columns
When you merge the rows and columns, you will face the error that Microsoft Excel can't insert new cells. In this case, you will be unable to create another column. On the other hand, when you combine all the columns, you will be unable to add another row.
All you have to do is unmerge the rows and columns so that you can fix the Excel can't insert new cells. You can follow the steps given below to unmerge the rows or columns:
Step 1. Open the Excel sheet and check through it all to find the merged columns and rows.
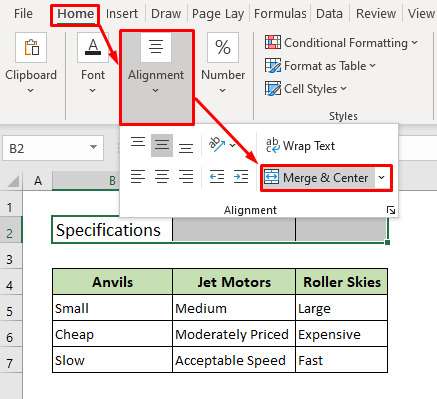
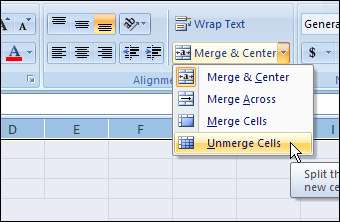
Step 2. Select the column header and click the Home tab if there are merged columns. Now, choose Alignment and click on the Merge and Center options.
Step 3. If your file has more than one merged column, select the other merged columns and follow the above-mentioned step.
Step 4. As for the merged rows, you'll have to click on the row header and then visit the Home tab. From there, select the Merge and Center. From the drop - down click on Unmerge Cells.
Step 5. The step mentioned above may be repeated for other merged rows.
Step 6. Once the rows and columns have been unmerged, click on the Ctrl+S keys to save the file and close it.
Step 7. Reopen the fixed Excel workbook and check if you can add the new cells.
Method 5: Convert A Table to a Range
Sometimes, you may be unable to add new cells to your MS Excel Workbook because you've been working with Table. Using a Table in MS Excel can prevent you from accessing many functions, especially adding or removing columns and rows. In this case, you must convert a Table to Range to fix the issue.
You must convert the Table to Range in your Excel sheet to access the files without problem. You must follow the steps given below to convert the Table to Range to overcome Microsoft Excel can't insert new cells:
Step 1. Click on any cell or elsewhere in your Excel workbook.
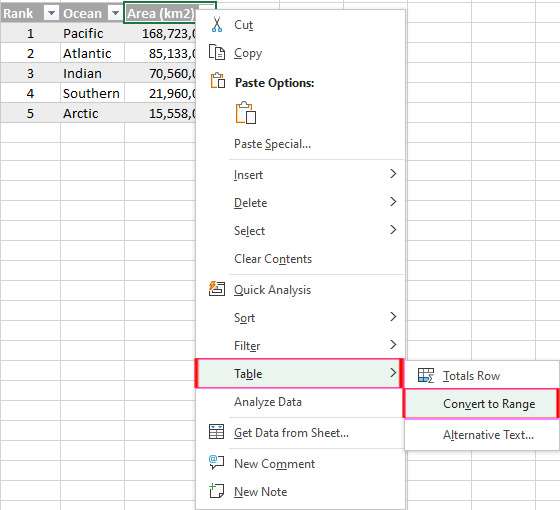
Step 2. Visit the Table Tools section and choose Design from all the options.
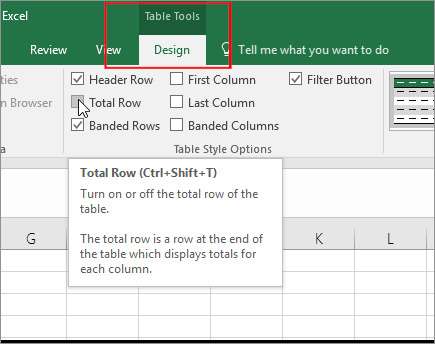
Step 3. From the drop-down menu, click on the Table, and from the tools group, select Convert to Range.
Step 4. Save the file using the general method to save files or click on Ctrl+S keys. Close the file after saving it.
Step 5. Launch the Excel file you fixed recently and see if you can add new cells.
Method 6: Use Visual Basic for Applications (VBA)
Visual Basic for Applications (VBA) is a programming language used in MS Excel only for applications. Apart from applications, it also helps solve various issues, including MS Excel, which can't insert new cells. However, you must use VBA the right way to overcome your problem.
Follow the steps given below to use VBA to fix the Excel can't insert new cells issue:
Step 1. Open the Excel worksheet that does not let you add new cells.
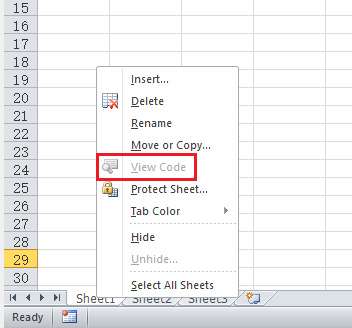
Step 2. Right-click anywhere on the worksheet tab.
Step 3. Click on the View Code option.
Step 4. Press the Ctrl+G keys to open the Immediate Window file.
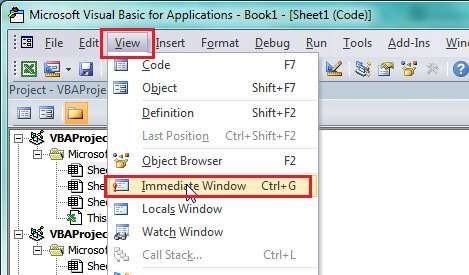
Step 5. In the appearing dialog box, type Used Range and then press the Enter button.
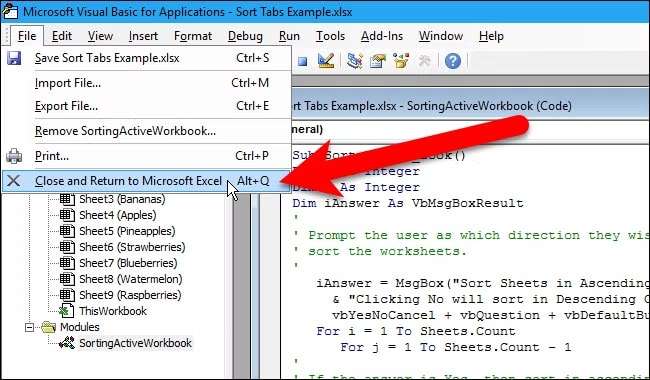
Step 6. Click on the File tab. From all the available options, choose Close and Return to Microsoft Excel.
Step 7. Save and close the file.
Conclusion
Microsoft Excel can't insert new cells can be very annoying. You may face several challenges, but you must follow the right approach. First, you understand the causes and then work towards fixing them. Repairit can play an essential role in repairing the damaged files. Make sure that you follow the proper steps and fix all the issues.
FAQ
-
Can I repair a broken Excel file?
You can repair a broken Excel file using a third-party software, Wondershare Repairit. Repairit is one of the most reliable tools that helps to fix the problem. -
How do you solve the problem of Microsoft Excel can't insert new cells?
If you're unable to add new cells in Microsoft Excel, you must unfreeze the panes and turn off the cell protection feature in your system. The files may not open due to corruption, so repairing them using Wondershare Repairit is advisable. -
Why can't I start a new line in MS Excel?
You may be unable to start a new line in MS Excel because you have enabled the cell protection feature. Furthermore, if you have merged all the cells, even then, you won't be able to start the new lines in MS Excel.
