
Lossy compression shows up whenever you save JPEG photos, upload images to social media, stream videos, or share files by email. It shrinks media files by throwing away some visual or audio information so they are faster to upload, download, and store. Understanding how this form of image compression works helps you balance photo quality against file size, avoid over-compressing important shots, and recognize when a damaged picture is caused by compression versus real file corruption.
Repair Corrupted Files To Save Your Data
 Security Verified. Over 7,302,189 people have downloaded it.
In this article
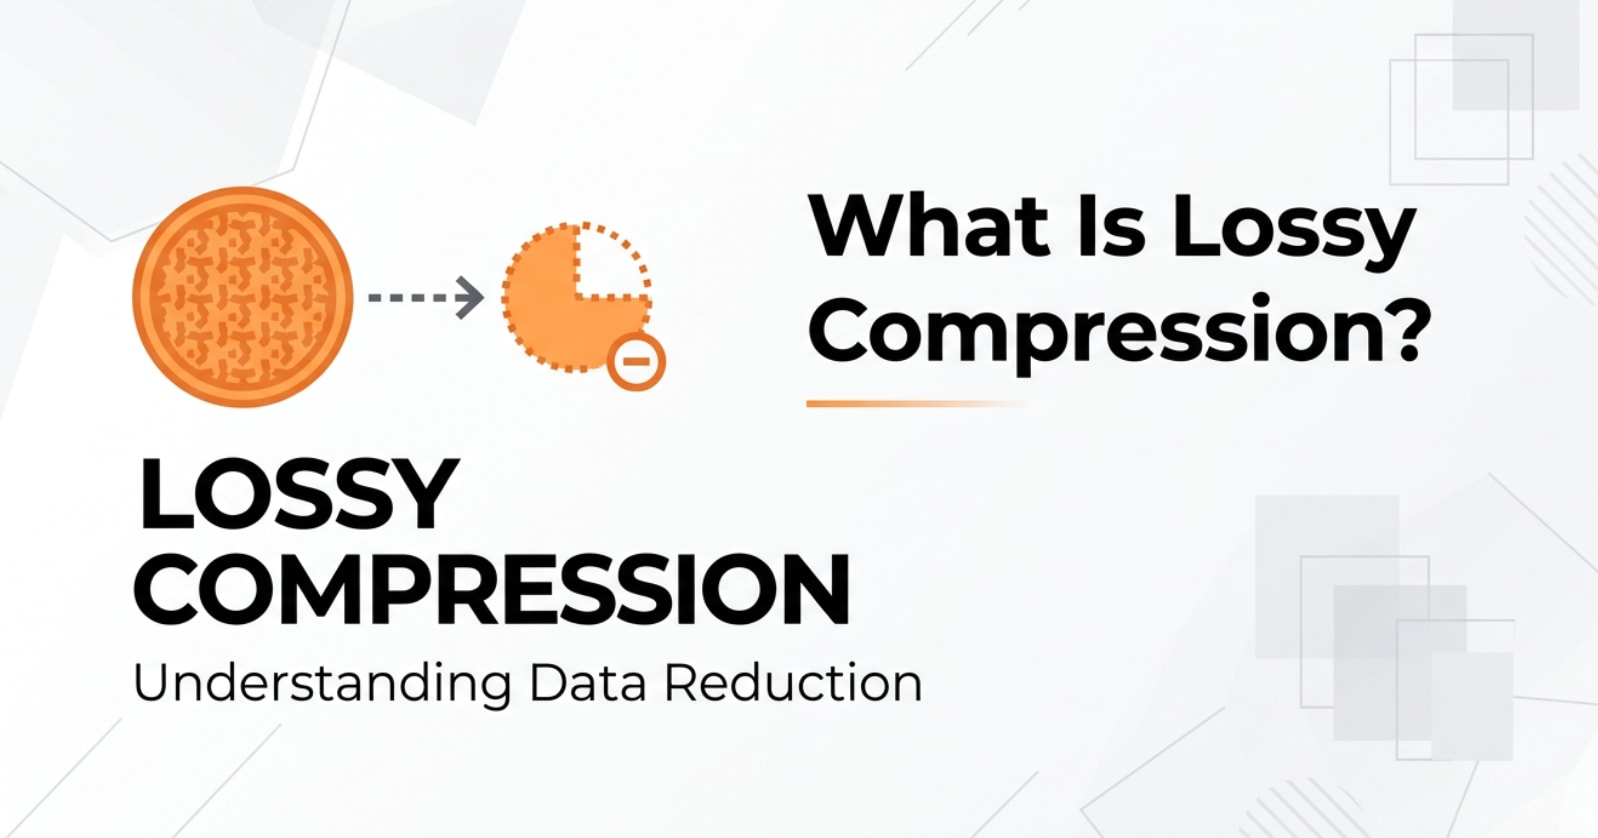
What Is Lossy Compression?
Lossy compression is a type of compression method used for images, audio, and video to reduce file size by permanently discarding some data. It is the technique behind common formats such as JPEG compression for photos, MP3 for audio, and many streaming video codecs.
In plain English, lossy compression looks for details that are less noticeable to human eyes or ears and throws them away, then stores a simplified version of the picture or sound. Because this data cannot be fully restored, lossy compression is different from lossless compression, which keeps every bit of original information.
In photography and imaging workflows, lossy compression is mainly an encoding and export setting that controls how aggressively a file is squeezed down when saving or sharing. You will see this as a "quality" slider, "compression level," or similar option when saving JPEGs or exporting images from your camera, phone, or editing software.
What Does Lossy Compression Affect?
The main things that compressed images are affected by include:
- Image quality and detail: Higher compression (lower quality setting) removes more information, which softens fine textures like hair, grass, and fabric and can smear subtle gradients such as skies or skin tones.
- File size reduction: Strong file size reduction can make photos dramatically smaller, speeding up uploads, downloads, and backups, and saving storage on phones, memory cards, and cloud services.
- Visible artifacts: Over-compressed JPEGs often show blocking, banding, halos, or mosquito noise, especially around edges, text, and high-contrast areas.
- Editing flexibility: Starting heavy edits (color grading, retouching, compositing) from a highly compressed JPEG instead of a RAW or lightly compressed file leaves less data to work with and can amplify defects.
- Playback and loading performance: Smaller files open faster in apps, load quicker in galleries and websites, and stream more smoothly on slow networks.
Choosing too aggressive a photo quality reduction sacrifices sharpness and natural color transitions, while choosing too mild compression may produce beautiful images but bloated files that are slow to share or host online. The ideal setting balances acceptable quality with the smallest practical size for your purpose.
| Compression level | Typical real-world result |
|---|---|
| Low compression (high quality) | Large files, very clean details, ideal for printing and editing |
| Medium compression | Smaller files, minor quality loss, good for web and social media |
| High compression (low quality) | Tiny files, clear artifacts and softness, best for quick previews or thumbnails |
How Does Lossy Compression Work in Real Use?
Lossy Compression in Cameras and Editing Software
On digital cameras and smartphones, image compression is often set automatically when you choose JPEG or HEIF/HEIC instead of RAW. Many devices offer quality levels like "Fine," "Normal," or "Basic" that control how aggressively the photo is compressed.
Inside the JPEG process, the image is split into small blocks, transformed mathematically, and simplified by rounding off less important data. This is why heavily compressed photos can look blocky or patchy when zoomed in: each block is using an approximation of the original detail.
In editing software such as Photoshop, Lightroom, or mobile editing apps, you typically control lossy compression at export time via:
- A "Quality" slider or percentage for JPEG export (for example, Quality 90 vs 60).
- Options like "Optimize for web" that favor smaller compressed images for faster page loading.
If you repeatedly open a JPEG, edit it, and save over the same file at a lossy setting, each save compresses it again. This cumulative compression can noticeably degrade quality, even if each individual save uses a fairly high quality setting.
Lossy Compression in Exporting, Sharing, and Platforms
When exporting and sharing, lossy compression appears in many places:
- Websites and blogs: Content management systems and image optimization tools compress photos to load faster, sometimes more aggressively than you expect.
- Social media platforms: Sites like Instagram, Facebook, and messaging apps re-compress uploads to save bandwidth and storage, which can add another layer of artifacts on top of your original JPEG compression.
- Email and messaging: Many services automatically downscale and recompress large images so they send more quickly, trading away detail, especially in darker areas and gradients.
- Cloud galleries and backups: Some cloud services offer "storage saver" or similar modes that store only compressed versions of your original files.
For cross-platform compatibility, JPEG remains widely supported across cameras, phones, editing tools, and web browsers. However, newer formats like HEIF/HEIC or WebP also use lossy compression (and sometimes lossless modes) to pack better quality into smaller files, which can be helpful for modern web and mobile workflows.
Common Mistakes and Quick Tips
- Mistake: Saving over the same JPEG many times. Every new save adds another round of JPEG compression, which compounds artifacts and softens details.
- Mistake: Using extreme compression for everything. Over-optimizing for small file size can leave important images looking muddy or blocky, especially if printed or viewed on large screens.
- Mistake: Blaming compression for true corruption. Compression artifacts (blocks, banding, halos) are not the same as file corruption (file will not open, shows half an image, or crashes the viewer).
- Mistake: Exporting web images much larger than needed. Oversized dimensions force extra compression to keep the file small, and users still have to download more pixels than they can see.
Quick tips for beginners
- Keep a high-quality master file (RAW or high-quality TIFF/PNG) and export separate JPEGs as needed.
- For general web use, a JPEG quality of about 70–85 often balances clarity and file size reduction.
- Avoid re-editing and re-saving the same JPEG; edit the original and export fresh versions instead.
- Check how your website or platform recompresses uploads and adjust your export settings to avoid double compression where possible.
- For critical work (prints, clients, archives), use lower compression or lossless formats and only apply lossy compression to viewing copies.
Key takeaways: lossy compression is powerful and useful, but it is permanent. Decide how much quality you can afford to lose for each use, and always keep a better-quality original when the photo matters.
How to Use Repairit to Fix a Corrupted Photo File
Why Use Repairit for Corrupted Photos?
While lossy compression can soften or degrade images in a predictable way, real corruption is different: photos may refuse to open, appear only half visible, or show strange colors and patterns. When this happens, you need repair, not just re-exporting. Repairit from Wondershare is designed exactly for that job. It scans damaged media, fixes underlying file structure problems, and lets you preview results before saving, so you can rescue pictures that were broken during transfer, storage, or editing. Learn more on the Repairit official website.
Key Features of Repairit
- Photo repair capabilities that restore visibility, fix distortions, and recover as much detail as possible from damaged image files.
- Support for repairing both photos and videos in multiple popular formats, helping when your camera card, drive, or backup has mixed media issues.
- A simple, guided workflow with repair previews so even beginners can scan, repair, and save files with confidence.
Step-by-Step: Repair a Corrupted Photo File with Repairit
- Add corrupted photo files
Install and open Wondershare Repairit on your computer, then go to the Photo Repair section. Click the Add button and browse to the folder where your problematic pictures are stored. Select one or multiple corrupted photo files to load them into the repair queue.
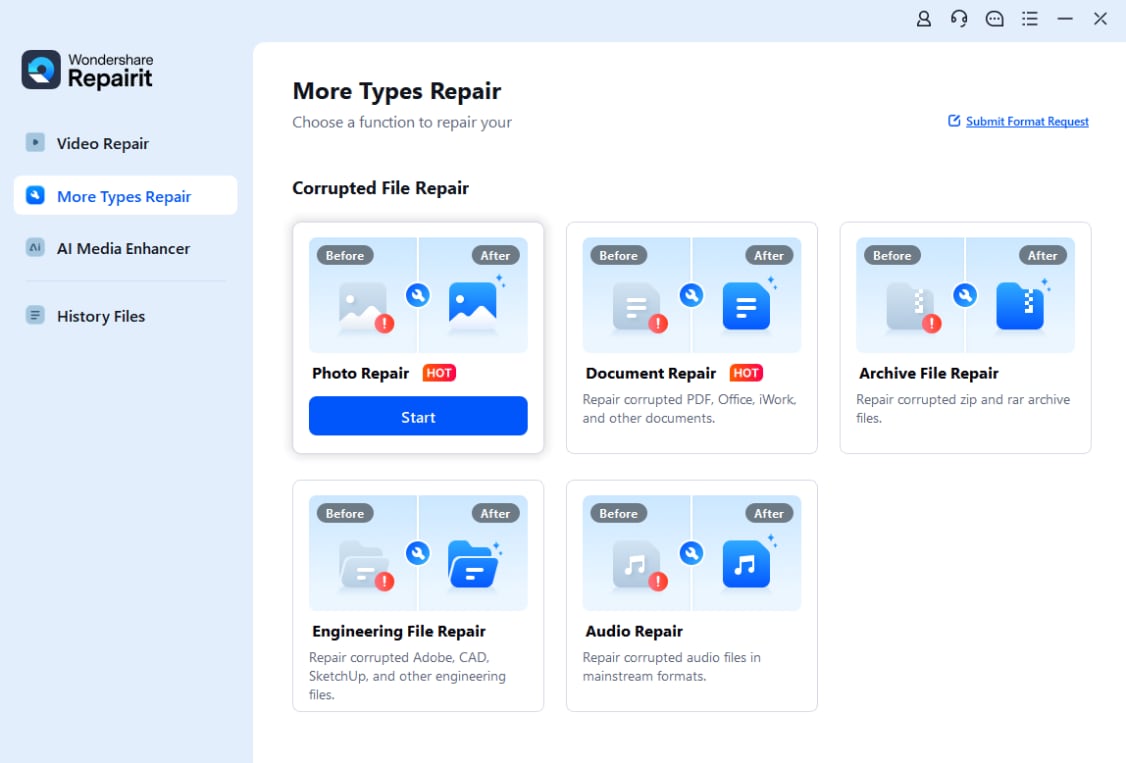
- Repair photo files
After the photos are added, start the repair process with a single click. Repairit will analyze each file, detect structural errors that prevent normal viewing, and automatically apply targeted fixes. You can monitor progress in the interface and wait while the software reconstructs readable image data.

- Save the repaired photo files
When the repair finishes, preview the recovered photos inside Repairit to confirm they display correctly. If the result looks good, choose a safe destination folder that is different from the damaged source location, then click Save to store your repaired photos for long-term use and backup.

Conclusion
Lossy compression is a practical way to keep photos small enough to store, upload, and share easily. By discarding less noticeable data, it reduces file size while preserving most of the scene, which makes it ideal for web images, social media posts, and everyday snapshots.
At the same time, pushing image compression too far or repeatedly saving the same JPEG will visibly harm photo quality and introduce artifacts. For important photos, keep a high-quality master file and only apply compression to viewing copies. If your images become corrupted rather than just over-compressed, a repair tool like Wondershare Repairit can often restore them so you do not lose valuable memories or work.
Next: What is Image Color Temperature?
FAQ
-
1. Is lossy compression reversible?
No, lossy compression is not reversible. Once data has been discarded during compression, you cannot perfectly reconstruct the original file. You can only approximate it by saving at a higher quality or starting from an uncompressed or less compressed source. -
2. When should I use lossy compression for images?
Use lossy compression when you need small files for websites, social media, email attachments, or quick previews and a slight loss of quality is acceptable. For important work, printing, or heavy editing, keep a higher-quality or lossless version as your master. -
3. Why do my JPEG images look blocky or blurry?
Blocky or blurry JPEGs usually result from high levels of JPEG compression or repeatedly editing and saving the same file. Each save adds more artifacts and softens details. To avoid this, work from a RAW or high-quality master and export fresh JPEGs when needed. -
4. What is the difference between lossy and lossless compression?
Lossy compression removes some information permanently to reduce file size, which can cause visible quality loss at strong settings. Lossless compression keeps all data intact so the file can be decompressed back to its exact original state, usually resulting in larger files than lossy formats. -
5. Can I repair a file that is compressed but also corrupted?
Yes. While you cannot undo lossy compression itself, you can often repair structural damage that stops a file from opening or displaying correctly. Tools like Wondershare Repairit are designed to fix corrupted photos and videos so they become viewable again, even if they were originally saved in a compressed format.
