
 TL;DR:
Resolve the "There was a problem with NVIDIA app" error on Windows 10 and 11 by launching the software as an administrator, updating display drivers via Device Manager, terminating background tasks, clearing cache directories, or temporarily disabling real-time antivirus protection.
* Avoid installing NVIDIA 572.xx drivers during the update process, as developers warn they cause known instability issues that affect RTX 30, 40, and 50 series graphics cards.
* Force the application to build clean data structures by pressing Windows + R to access `%USERPROFILE%\AppData\Local\Temp`, opening the NVIDIA directory, and deleting all files inside the `GLCache` and `DXCache` folders.
* If standard troubleshooting fails, the persistent crashes are likely caused by corrupted operating system components or recent Windows 11 updates, which requires a dedicated data restoration tool like Wondershare Repairit to fix.
Ask AI for a summary
 ChatGPT
 Perplexity
 Gemini
 Claude
 Grok
Grok
The NVIDIA App is a revolutionary tool for gamers and creators using modern PCs. It performs well, and there are occasional issues with it during normal operation. Many users report seeing an error message saying there was a problem with the NVIDIA app.
This specific issue prevents you from accessing your essential graphics card settings. NVIDIA has been plagued by significant driver instability issues with its RTX 30/40/50 series cards, according to GamersNexus. To address this concern, you will learn easy ways to get your software running again.
In this article
Part 1. What does "There Was a Problem With NVIDIA App" mean? Why Does it Occur?
This error message says that your software cannot communicate with the hardware. It usually stops all graphics optimization and prevents gaming sessions. Thus, finding a reliable NVIDIA app not working fix is essential for every PC gamer. These errors may appear in the software due to various reasons. The most common errors occurring on your system are as follows:
Older Drivers: Graphics drivers are too old to launch this modern application. Such legacy files create a compatibility gap between the hardware and the application.
Permission Issues: The software lacks the necessary authority to modify your GPU settings. It prevents essential operations, causing errors or incomplete loading behavior.
Corrupted Files: Damaged files disrupt components required for the NVIDIA app to launch. Missing or broken data causes the app to stop responding during initialization.
Antivirus Blocking: Security programs may flag NVIDIA app files as threats. This false detection blocks processes and prevents the app from running.
Cache Errors: Stored cache data may become corrupted and interfere with app processes. These corrupted temporary files create conflicts that stop normal performance.
According to Windows Latest, Windows 11 updates have caused NVIDIA gaming issues recently.
Part 2. Fix "There Was a Problem With NVIDIA App" in Minutes - 5 Ways
If you face the NVIDIA app error on Windows 11, quick fixes can restore functionality. Follow the upcoming 5 solutions to restore application stability and gaming performance:
Way 1. Run NVIDIA App as Administrator
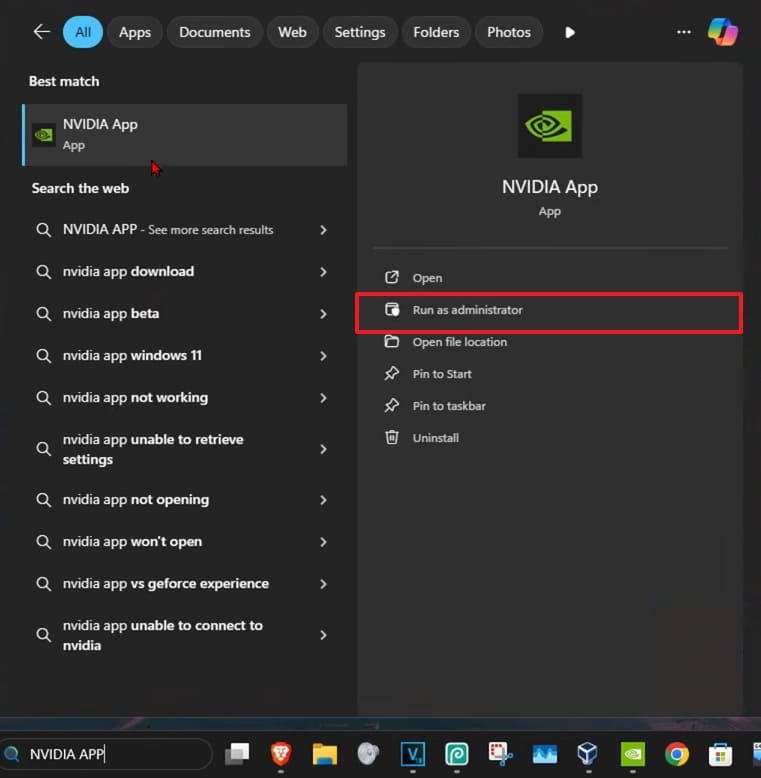
Standard user accounts often lack the necessary permissions to run complex tasks. It is good practice to use the app as an administrator, as this grants full access to the system. This simple method serves as a reliable NVIDIA app crashing on startup fix. It allows the program to bypass restricted folders and modify your hardware settings. So, follow these clear instructions to launch your software with administrative power:
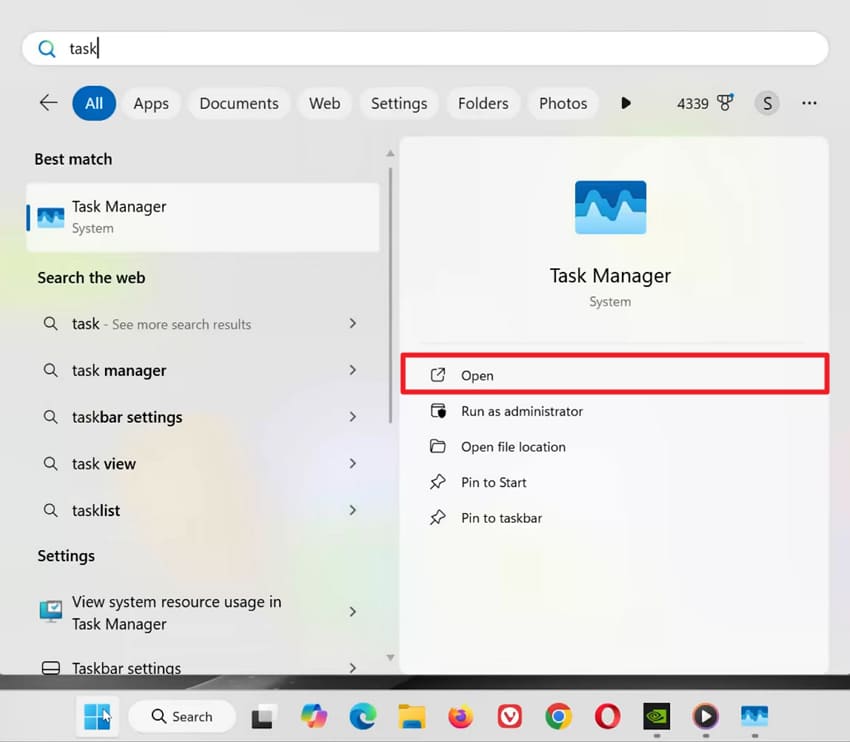
Instructions. When you search for "NVIDIA App," opt for the "Run as Administrator" option.
Way 2. Update NVIDIA Drivers
Outdated graphics drivers also create compatibility problems affecting NVIDIA app performance. You should try to update them to improve communication between hardware and software services. Many users experiencing "there was a problem with NVIDIA app" resolved issues afterward. Tom's Hardware mentioned that game developers warn against installing NVIDIA 572.xx drivers due to instability. So, review these simple instructions to download and install the newest drivers:
Step 1. You need to access "Display Adapters" upon running the "Device Manager" app. After that, right-click your display driver and pick the "Update Driver" option.
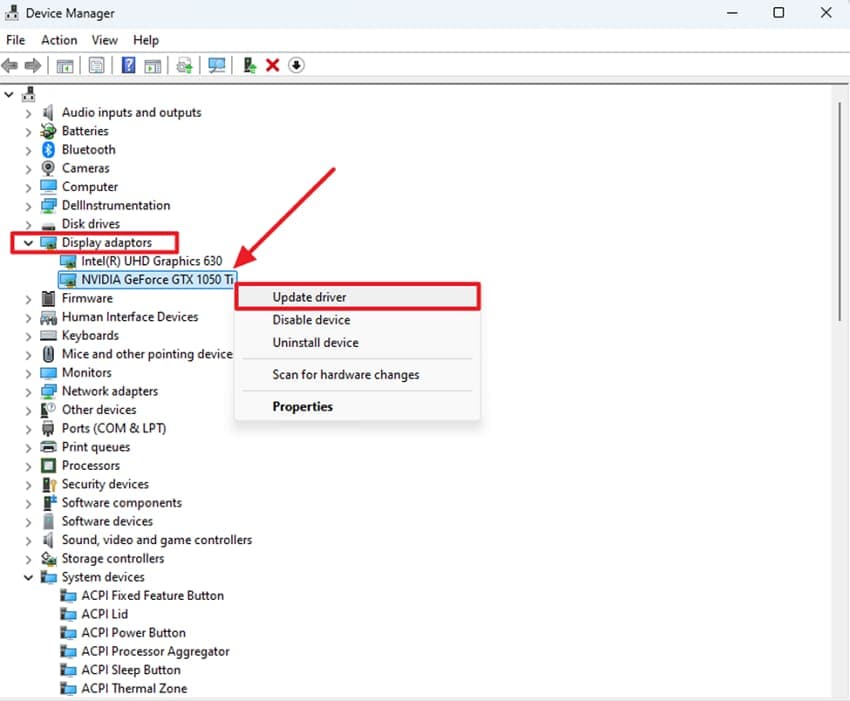
Step 2. The next screen will appear where you click the "Search Automatically for Drivers" option. Once the latest version is installed, restart your machine for the updates to apply.

Way 3. End NVIDIA App Background Processes
Several hidden NVIDIA processes sometimes continue running and create conflicts afterward. These background tasks consume memory resources, affecting overall software responsiveness. Therefore, closing inactive services works as an effective NVIDIA app not working fix for users. It ensures that a fresh version of the app can start without interference. Take guidance from these steps to close all background processes on your machine:
Step 1. Begin by typing "Task Manager" and clicking the "Open" option. Once the utility is launched, you can monitor all active background processes.
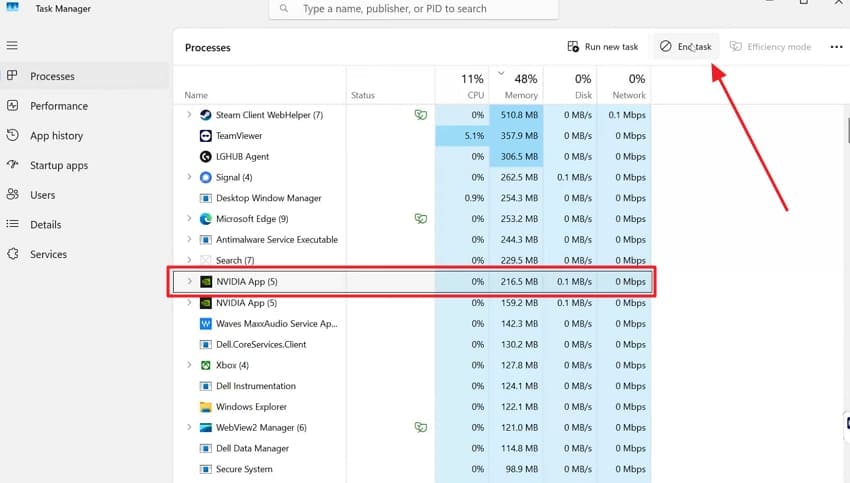
Step 2. Next, locate the running "NVIDIA App" from the list of processes displayed on the screen. Select the app and click the "End Task" button to close the program.
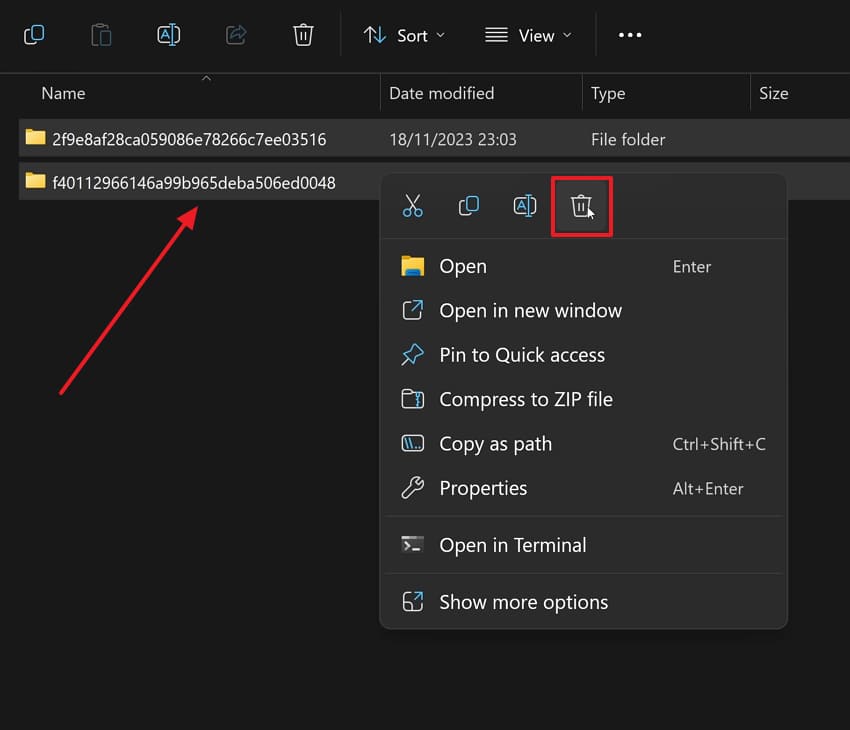
Way 4. Clear NVIDIA App Cache Files
Temporary data files can sometimes become corrupted, causing various software glitches. This easy method helps you resolve the common NVIDIA app error on Windows 11. Deleting these old files forces the program to create clean new data structures. It removes any broken information that stops the software from loading. Thus, go through these simple directions to clear your software cache files right away:
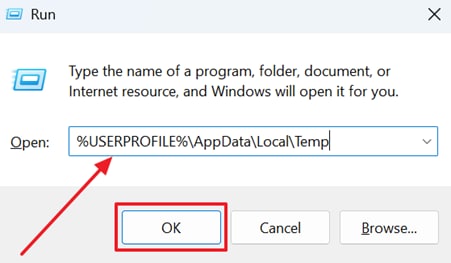
Step 1. Enter "%USERPROFILE%\AppData\Local\Temp" as you press the "Windows + R" keys. Upon doing this, click "OK" to access the temporary files folder.
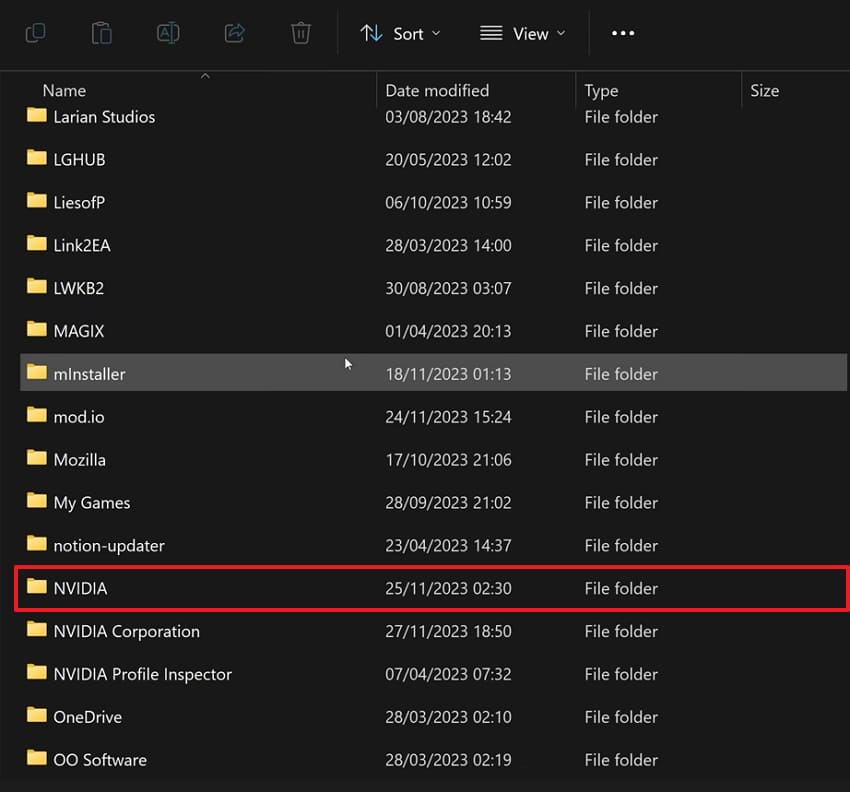
Step 2. Once the "Temp" directory opens, locate and open the "NVIDIA" folder.
Step 3. Inside the folder, navigate to the "GLCache" folder to view the cache files.

Step 4. Highlight all the files in the folder to the right and click on "Delete." Then repeat the procedure with the "DXCache" folder and complete the cleanup.
Way 5. Disable Antivirus Temporarily
Active security programs sometimes block legal applications by mistake during their launch phase. This temporary adjustment acts as a helpful NVIDIA app crashing on startup fix. It allows you to check if your firewall is causing a technical error. Disabling the guard also ensures that no security rules interfere with your graphics software. Use these clear instructions to turn off your antivirus software on your computer:
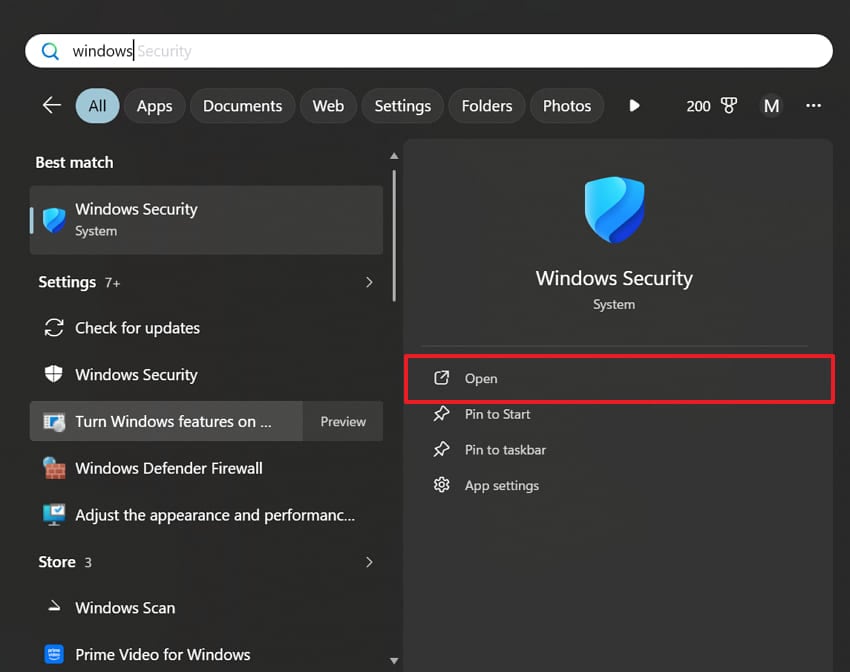
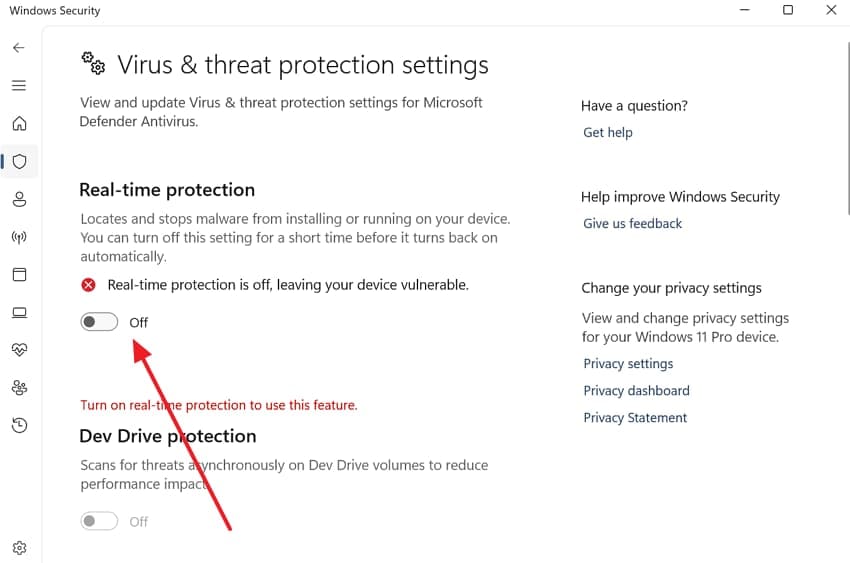
Step 1. Use the "Open" option when you search for the "Windows Security" app.
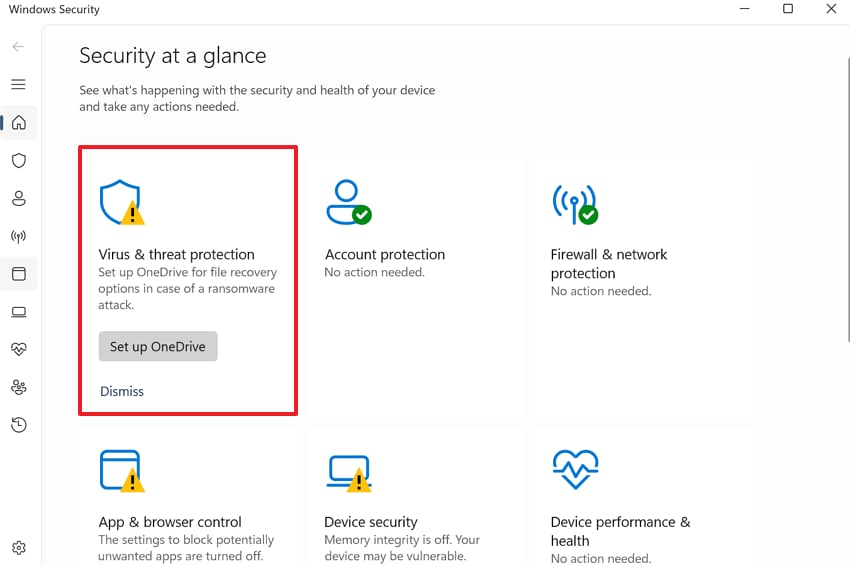
Step 2. After accessing the security dashboard, navigate to the "Virus & Threat Protection" section.
Step 3. Next, scroll down to click the "Manage Settings" option under the protection settings category.
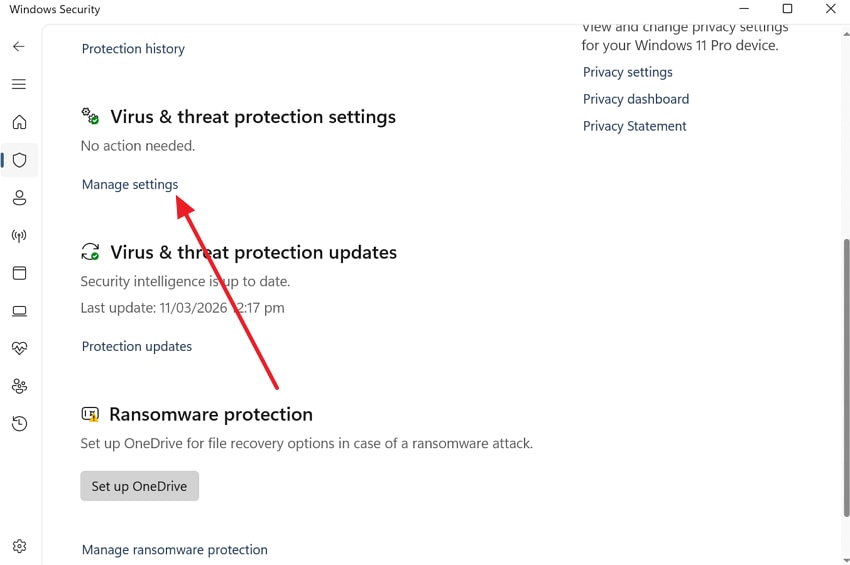
Step 4. When the new settings screen appears, toggle off the "Real-time Protection" feature.
Pro Tip. Use Repairit If Corrupted System Files Cause NVIDIA App Errors
Many times, the methods above fail to resolve your persistent NVIDIA app error on Windows 11. This is because corrupted system files can silently damage essential components. These deep internal problems require a specialized tool to restore your operating system. To cater to this need, tools like Repairit are one such solution for fixing badly damaged or broken files.
This powerful software scans your damaged system files to identify every single hidden error. It effectively restores various document types, including essential system logs and configuration files. The tool supports advanced repair modes for handling complex data corruption cases. Alongside that, you can preview all repaired items before saving them back to your computer.
Key Features

-
Corrupted File Repair: Repairs damaged files that may contribute to NVIDIA app errors and affect overall system performance.
-
Advanced Repair Support: Handles severely corrupted files using enhanced repair modes when standard fixes fail to resolve issues.
-
Local File Restoration: Restores supported damaged files that may indirectly impact system stability and NVIDIA app functionality.
Guide to Use Repairit If Corrupted System Files Cause NVIDIA App Errors
Using a file repair tool ensures your system recovers from deep technical errors. So, adhere to these three simple steps to use the software on your local computer:
Step 1. Access the Program to Fix System Files
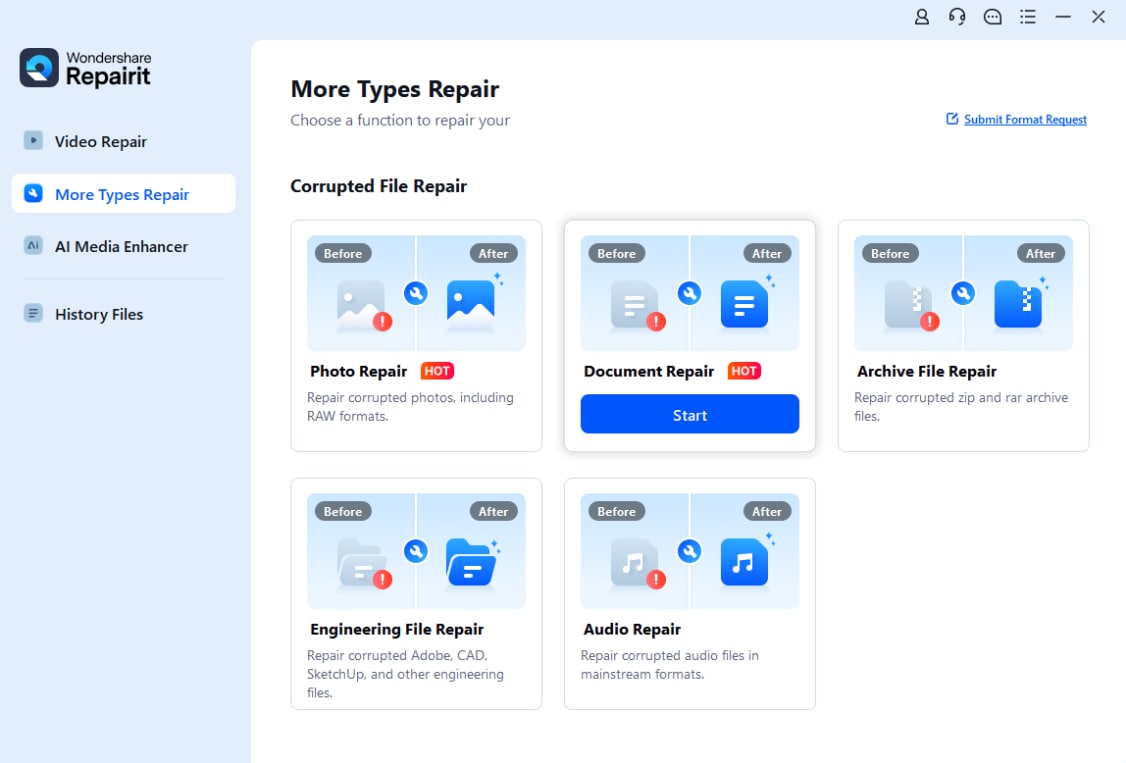
Choose the "Document Repair" feature by pressing "Start" from the "More Types Repair" section. After selecting it, import your corrupted system files as you click the "+Add" button.
Step 2. Fix the System Files After Importing
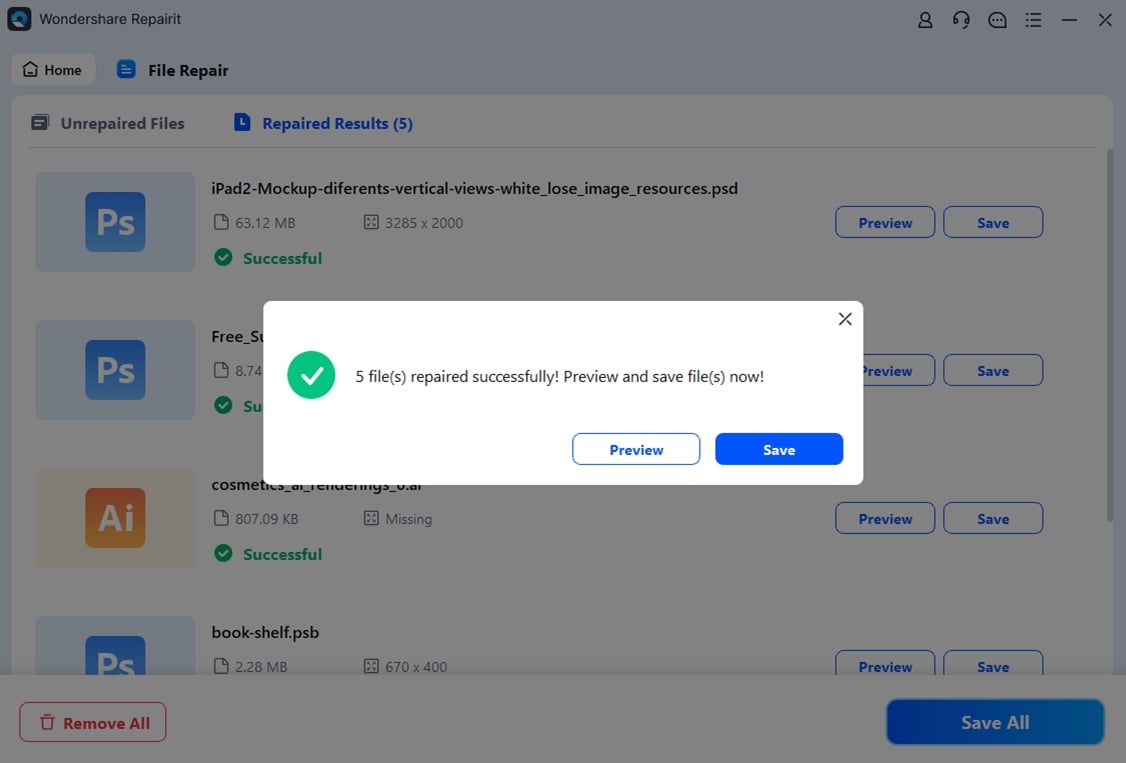
Once all corrupted system files are uploaded, press the "Repair" button. The program will scan the files and restore any missing or damaged system data.
Step 3. Check and Save the System Files
After the repair finishes, click the "Save All" button to export the restored files. Choose your desired storage location and save the repaired system files.
Repair Corrupted Files
 Security Verified. Over 7,302,189 people have downloaded it.
Conclusion
In conclusion, addressing your graphics problems is a crucial aspect of effortless gaming. This guide has explored effective ways to fix your software on modern computers. Most users can solve the error when there was a problem with NVIDIA app. Apart from that, try software such as Repairit if the software keeps crashing due to deep system corruption.
Frequently Asked Questions
-
Is the NVIDIA app compatible with older versions of the Windows OS?
This is a modern application that's designed to work with Windows 10 and 11. Installing on older systems will result in technical issues straight away. Therefore, you must upgrade your operating system to access the latest graphics control features. -
How often should I check for new updates within the NVIDIA application?
The weekly updates will keep you up to date with the latest performance optimizations. These are made regularly to address identified bugs that make the software break. Maintaining current versions provides the best experience for gaming and highly creative work. -
Why does the app continue to crash after I updated my drivers?
Driver updates might not resolve issues caused by corrupted operating system components. These damaged internal files require professional tools to restore your computer to health. In such cases, you can use programs like Repairit to repair broken system files.
