
Image resampling quietly shapes how your photos look when you export them from a camera app, edit them in Photoshop, upload them to a website, or prepare them for print. You will see options like "Resample," "Scale Image," or "Resize with interpolation" in most editors. Understanding what those choices actually do helps you balance detail, file size, and sharpness so your images look clean on every screen and page.
Repair Corrupted Files To Save Your Data
 Security Verified. Over 7,302,189 people have downloaded it.
In this article
What Is Image Resampling?
Image resampling is a digital imaging process that changes how many pixels an image contains and how those pixels are calculated. It is an image parameter and technical setting that you will find in photo editors, export dialogs, and some camera utilities. When you resample, the software either removes pixels (downscaling) or invents new pixels (upscaling) using math called interpolation methods, such as nearest neighbor, bilinear, or bicubic. This is different from a simple size change on screen; resampling literally rewrites the bitmap data of the file.
What Does Image Resampling Affect?
Quality and visual detail
Because image resampling changes the pixel grid, it strongly affects perceived photo quality:
- Downscaling (reducing pixels) can make images look cleaner and more compact, but too much shrinkage throws away fine detail and may blur textures.
- Upscaling (adding pixels) makes images larger for print or high-resolution displays but cannot create real detail; heavy upscaling often causes softness, halos, or blocky edges.
- The chosen interpolation methods influence artifacts: nearest neighbor can look jagged, while bicubic or more advanced AI-based methods usually look smoother.
File size, performance, and compatibility
Resampling also touches file size, performance, and how well an image fits different platforms:
- File size and bandwidth: Fewer pixels usually mean a smaller file. This speeds up web page loads and makes sharing easier over slow connections.
- Editing and playback performance: Very large bitmaps strain RAM and GPU, slowing retouching, compositing, or real-time previews. Reasonable resampling keeps workflows responsive.
- Screen and print matching: Adjusting pixels alongside DPI and dimensions helps match requirements for social networks, online galleries, or print labs.
- Cross-platform compatibility: Some legacy devices and apps handle huge images poorly. Thoughtful image resizing and resampling reduces crashes and display glitches.
| Action | Main Effect |
|---|---|
| Downscaling an image | Less detail, smaller file, faster loading |
| Moderate upscaling | Larger size, mild softness, acceptable for casual viewing |
| Heavy upscaling | Noticeable blur, artifacts, potential banding or halos |
How Does Image Resampling Work in Real Use?
You encounter image resampling across many photo workflows, from recording to exporting and playback.
- In camera apps and capture tools: Some smartphones and cameras offer different resolution settings or in-camera resizing, effectively resampling the sensor data to smaller pixel counts for quicker sharing.
- In editing software: Programs like Photoshop, GIMP, and Lightroom include "Resample" checkboxes in their Image Size dialogs. You choose a target width/height in pixels and pick interpolation methods like nearest neighbor (for pixel art), bilinear, or bicubic (for photos).
- For web and social media: Creators resample images to platform-friendly pixel sizes (for example, 1200 px wide for blog headers) to balance photo quality and loading speed. Many CMS tools auto-resample uploads for thumbnails and previews.
- For printing: When sending a file to print, designers align pixel dimensions with the printer's target DPI (such as 300 dpi). Resampling either adds or removes pixels so the final print size and clarity match expectations.
- For archiving and sharing: Photographers may keep a master full-resolution file and export resampled versions for email, client proofs, or online portfolios, simplifying long-term storage and compatibility.
Common Mistakes and Quick Tips
Common misunderstandings about image resampling
- Thinking image resizing and resampling are always the same thing; resizing can change print size (via DPI) without changing pixel count.
- Assuming upscaling will restore detail to a low-resolution or blurry photo.
- Ignoring the choice of interpolation methods and leaving poor defaults for detailed photos.
- Constantly resampling the same image multiple times instead of keeping a high-quality master.
Quick tips for better results
- Downscale once from a clean original instead of in repeated small steps to avoid cumulative softening.
- Use bicubic or similar methods for most photographic images; reserve nearest neighbor for icons or pixel art.
- Avoid extreme upscaling; if you must enlarge, do it moderately and preview at 100% zoom.
- Match pixel dimensions to the actual display or print needs to prevent automatic, unpredictable resampling by platforms.
- Always keep an uncompressed or minimally compressed master copy as your source file.
Key takeaways
- Image resampling changes the pixel structure, not just the on-screen display size.
- It directly affects sharpness, artifacts, and file size.
- Thoughtful settings and methods protect image detail in real-world exports.
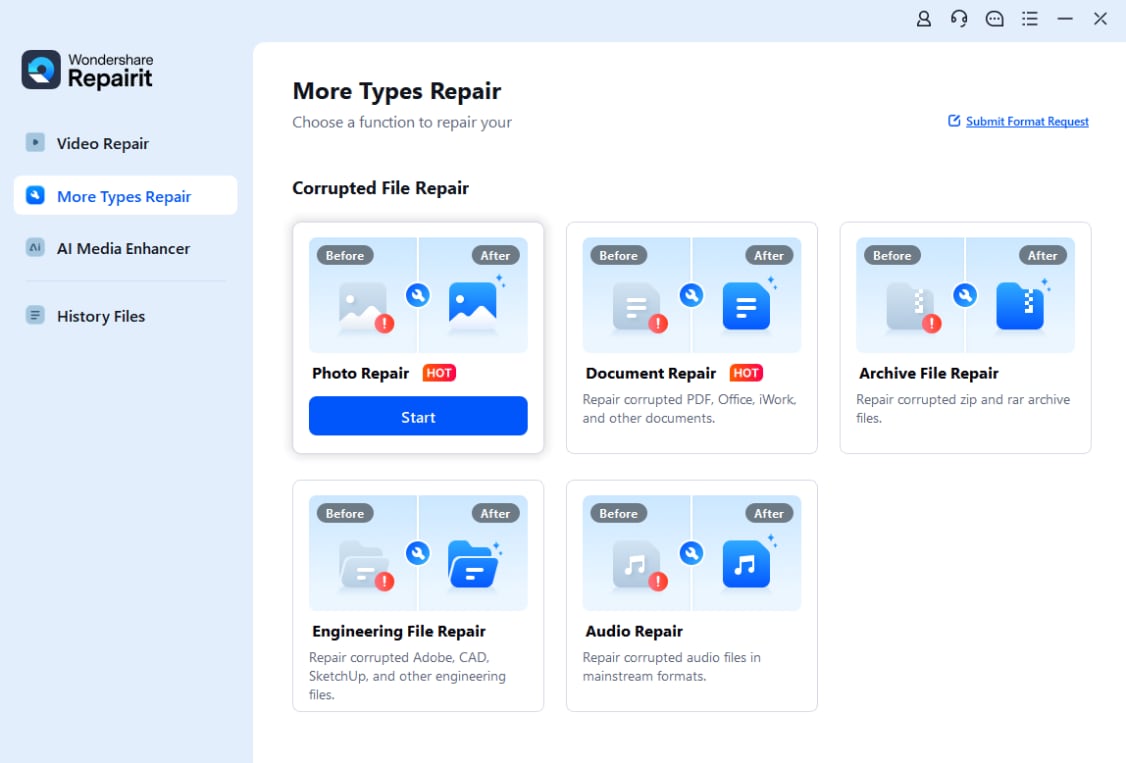
How to Use Repairit to Fix a Corrupted Photo File
Repairit introduction
Even with perfect image resampling habits, photo files can still become corrupted by bad storage, transfer errors, or software crashes. Wondershare Repairit is designed specifically to restore photos, videos, and documents that refuse to open or show visual glitches. With both online and desktop tools available from the Repairit official website, you can quickly diagnose damage and repair files that traditional editors cannot fix.
Key features of Repairit
- Repairs corrupted or unreadable videos, photos, and other everyday file types with a guided process.
- Handles multiple formats at once and supports batch repair so you can restore whole shoots or folders together.
- Offers clear previews of repaired photos before saving, giving you confidence that corruption issues are resolved.
Step-by-step: Repair corrupted photo files
- Add corrupted photo files
Start by opening Wondershare Repairit on your computer and choose the Photo Repair feature from the main screen. Click the add button or drag and drop the damaged image files into the window. You will see each photo listed with basic details like name, size, and format so you can confirm you selected the right items.
- Repair photo files
Next, select the corrupted photos you want to process and click the Repair button. Repairit analyzes the structure of every image, looks for common damage patterns, and automatically fixes detected errors. When the quick repair is done, browse through the previews to check that colors, sharpness, and overall photo quality look normal again.

- Save the repaired photo files
If the previews look correct, click Save and choose a safe destination folder that is different from where the broken files are stored. Repairit will export clean copies of your repaired images to that location. You can then open, edit, resample, or share these photos in your usual software without running into corruption errors.

Conclusion
Image resampling is more than just stretching or shrinking a picture; it rewrites the pixel data that defines your image. By understanding how pixel counts, DPI, and interpolation methods interact, you can control photo quality, avoid unwanted blur or artifacts, and deliver images that load quickly while still looking sharp.
Pairing solid resampling practices with reliable tools such as Wondershare Repairit gives you a safer workflow. You not only export images in the right size for web, print, or playback, but also stay prepared to repair corrupted photos that would otherwise be lost.
Next: What is Lossless Compression?
FAQ
-
1. What is the difference between resizing and resampling?
Resizing changes how large an image appears on screen or on paper, often by adjusting dimensions or print resolution (DPI). Image resampling changes the actual number of pixels in the file, either adding or removing pixels through interpolation. You can resize without resampling if you only change DPI while keeping the same pixel count. -
2. Does image resampling always reduce quality?
Not always. Gentle downscaling with a good interpolation method can make photos look cleaner, and moderate resampling is usually fine at normal viewing distances. Quality problems appear when you resample too aggressively, especially during heavy upscaling, which tends to soften edges and reveal artifacts. -
3. Which interpolation method should I choose for photos?
For most photographic work, bicubic or other advanced algorithms are recommended because they preserve smooth gradients and minimize jagged edges. Nearest neighbor is better suited to pixel art or simple graphics where you want hard, blocky pixels instead of smooth blending. -
4. When should I avoid upscaling my images?
Avoid strong upscaling when the original is already small, noisy, or out of focus. Adding lots of pixels cannot restore lost detail and often makes flaws more visible. If enlargement is unavoidable, increase size moderately, inspect at 100% zoom, and consider AI-based upscaling tools for better perceived sharpness. -
5. Can image resampling repair corrupted or damaged photo files?
No. Image resampling only changes pixel structure for display, editing, or print. It does not fix file-level corruption, missing data, or broken headers. If an image will not open or shows severe glitches, use a repair solution such as Wondershare Repairit or restore the photo from a clean backup.
