

Image transparency shows up everywhere from logo files and UI icons to product photos and social media graphics. It decides which parts of an image are solid and which are see-through, so your visuals sit cleanly on any background. Understanding how image transparency works helps you avoid white boxes, fuzzy edges, and format issues when recording, editing, exporting, or displaying images across different devices and platforms.
Repair Corrupted Files To Save Your Data
 Security Verified. Over 7,302,189 people have downloaded it.
In this article
What Is Image Transparency?
Image transparency is an image parameter that defines how visible each pixel is, from completely solid to fully see-through. In technical terms, transparency is usually stored in an extra channel called an alpha channel, which sits alongside the red, green, and blue color channels.
Instead of every pixel being opaque, transparency allows an image to let the background show through. This is what makes a logo appear to float cleanly on top of a website, or UI icons blend seamlessly over photos and gradients, without any colored boxes or hard edges.
It is a core concept in modern image editing, graphic design, web design, and UI/UX work, and it also affects how images are encoded and displayed across browsers, apps, and operating systems.
What Does Image Transparency Affect?
Changing or choosing image transparency affects several practical aspects of your visuals and workflow.
| Area | How transparency affects it |
|---|---|
| Appearance and edges | Controls whether an image has clean, feathered edges or hard, boxy borders against backgrounds. |
| Background blending | Lets images sit naturally on different colors, gradients, or photos without visible rectangles. |
| File size and format choice | Formats that support alpha (like PNG transparency and WebP) often have larger files than JPEG, especially with many semi-transparent pixels. |
| Compatibility | Older tools or platforms may ignore or misread transparency, showing unwanted white, black, or gray backgrounds. |
| Editing flexibility | Transparent areas let you composite and reuse assets (icons, logos, stickers) in many layouts with minimal rework. |
Quality and appearance. Proper transparency removes halos and jagged outlines, especially around hair, glass, smoke, or soft shadows. Poorly handled transparency can create hard pixels, color fringing, or visible matte colors around objects.
Performance and file size. Transparent PNGs can be heavier than JPEGs. If you export everything with full alpha, your site or app may load slower, especially on mobile or low bandwidth connections. Using transparency only where necessary helps control performance.
Usability and user experience. Assets with clean transparent background behave predictably when designers place them into different layouts. Designers spend less time masking, recoloring, or re-exporting if the transparency was set correctly from the start.
How Does Image Transparency Work in Real Use?
In real workflows, image transparency shows up at several stages: capturing, editing, exporting, and displaying images across tools and platforms.
Transparency in common image formats
Different formats handle transparency in different ways, which impacts encoding, exporting, and platform compatibility.
- PNG with alpha (RGBA). Supports full png transparency using an 8-bit alpha channel (256 levels of transparency). Ideal for logos, icons, UI elements, and graphics with clean edges or soft shadows.
- WebP. Modern format that supports lossy or lossless compression plus transparency. Good for web use when you need smaller files than PNG but still want an alpha channel.
- GIF. Supports a single transparent color (on/off transparency only). No smooth semi-transparent pixels, so edges can look jagged.
- SVG. A vector format where shapes can have transparent or semi-transparent fills and strokes. Excellent for sharp icons and logos that scale without quality loss.
- JPEG/JPG. Standard JPEG does not support transparent pixels. Any "transparent" look is usually faked using a solid background color that matches the page or app.
When exporting from a design or photo tool, your transparency survives only if you choose a format that supports alpha (like PNG, WebP, or SVG). Exporting to JPEG will flatten your transparency onto a solid background permanently.
Transparency in editing, exporting, and platforms
In real editing and publishing workflows, image transparency appears in several key areas.
1. Editing in graphics or photo tools.
- In tools like Photoshop, GIMP, Figma, or Canva, transparent pixels are usually shown as a gray-and-white checkerboard.
- Layers with masks or erased areas reveal that checkerboard, indicating a transparent background.
- Layer opacity and brush opacity control how strongly each stroke or element appears against layers below.
2. Exporting for web, apps, and presentations.
- Exporting a logo or icon: choose PNG or WebP with transparency, and ensure background layers are turned off.
- Exporting product cutouts: use alpha for soft shadows and edges so images look natural on light or dark themes.
- Exporting for PowerPoint or Keynote: transparent PNGs let icons and badges sit smoothly on slides without visible boxes.
3. Displaying across platforms and devices.
- Most modern browsers and operating systems correctly support PNG and WebP with alpha.
- Some older tools, email clients, or messaging apps may flatten transparency, show incorrect backgrounds, or convert images to JPEG.
- Dark mode vs light mode: transparent assets are more flexible, but halos appear if the original design baked in a light or dark matte color around edges.
4. Recording and exporting in creative workflows.
- Screen recordings or motion graphics exports sometimes use image sequences (e.g., PNG with alpha) so editors can layer them over video without backgrounds.
- 3D renders and compositing software export frames with transparency to allow later blending over footage or UI layouts.
- In streaming overlays, transparent PNGs or WebP files are used for frames, alerts, and badges so they sit nicely over live video.
Common Mistakes and Quick Tips
Common mistakes with image transparency
- Exporting as JPEG and wondering why the background is no longer transparent.
- Leaving a white or colored background layer visible when exporting a "transparent" logo.
- Using GIF transparency and getting jagged, pixelated edges on curves or text.
- Not checking images on both dark and light backgrounds, causing halos or color fringes.
- Assuming every app, CMS, or platform respects alpha channels the same way.
Quick tips for better transparent images
- For logos and icons, use PNG transparency or SVG for sharp, scalable results.
- Turn off or delete background layers before exporting assets that should have a transparent background.
- Use soft brushes and layer masks for natural edges around hair, fabric, or smoke.
- Test your transparent image on both dark and light backgrounds to spot halos.
- Optimize file size with WebP where supported, especially for web and mobile use.
- Keep a layered source file (PSD, .afphoto, .fig, etc.) so you can re-export with different transparency settings later.
Key takeaways
- Image transparency is about pixel visibility, not just "removing" the background.
- The alpha channel only survives in formats that support it (PNG, WebP, GIF, SVG).
- Clean transparency improves visual quality, flexibility, and consistency across platforms.
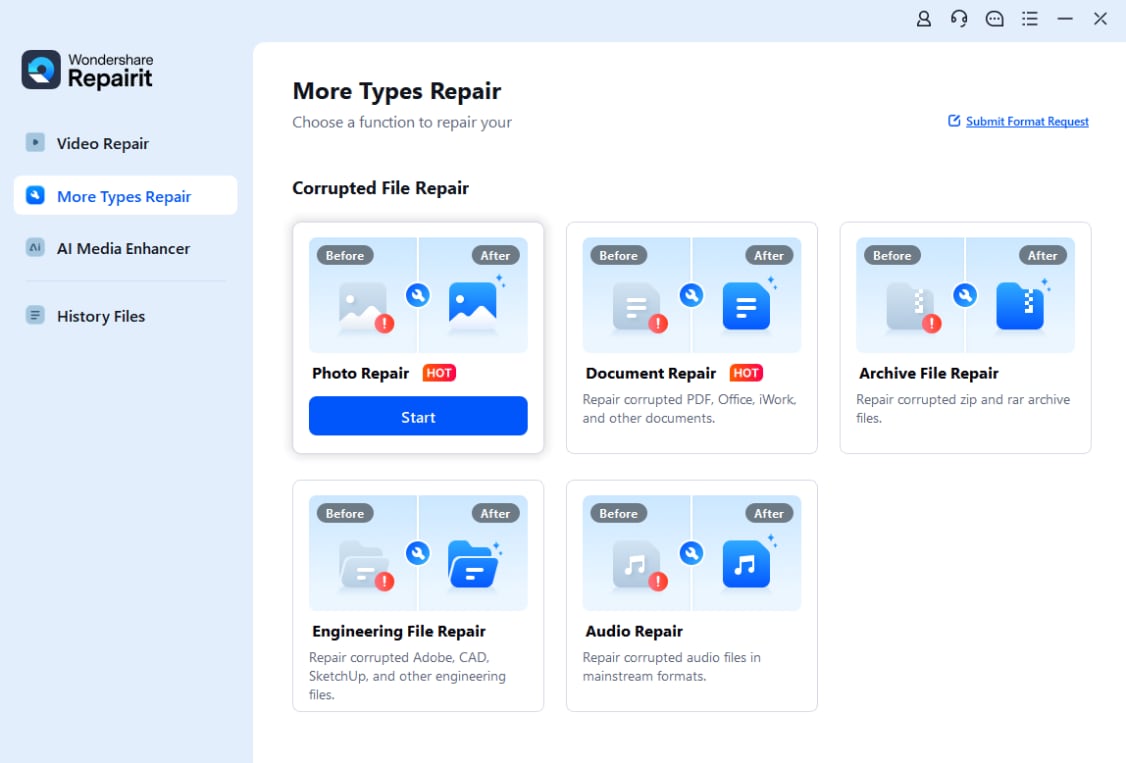
How to Use Repairit to Fix a Corrupted Photo File
Why use Repairit for damaged transparent images
When images become corrupted, they may lose their transparent background, refuse to open, or display with strange colors and artifacts. Repairit official website offers Wondershare Repairit, a dedicated media repair tool that can scan and fix damaged photos, including files that should contain image transparency or an alpha channel. Its guided workflow is designed for non-technical users, so you can repair multiple problem images and restore them for editing, exporting, or publishing again.
Key features of Repairit for photos
- Repairs corrupted photos and videos from cameras, phones, and computers.
- Supports batch repair for multiple damaged media files at once.
- Offers a clear preview before you save repaired files to your device.
Step-by-step: repair corrupted photo files with Repairit
- Add corrupted photo files
Download and install Wondershare Repairit, then open the program and switch to the Photo Repair module. Click the add button and browse to the folder that contains your problematic images, such as PNGs with missing image transparency or photos that will not open. Select all the files you need and load them into the repair list.
- Repair photo files
After the photos are listed, start the repair process. Repairit analyzes the file structure and attempts to fix header damage, data inconsistencies, and errors that cause blank previews or broken alpha channels. When the quick repair completes, use the built-in preview to check that your images open correctly and look visually consistent.

- Save the repaired photo files
If the preview looks good, choose a safe output folder on a local or external drive. Click Save or Export to store the repaired photos separately from the originals. You can now reopen them in your favorite image editing or graphic design software, re-apply a transparent background if needed, and export them again for websites, apps, or social media.

Conclusion
Image transparency is a fundamental part of modern visual design, controlling how pixels blend with whatever is behind them. By understanding formats that support an alpha channel, choosing the right export options, and testing assets on different backgrounds, you avoid white boxes, halos, and compatibility surprises.
From logos and UI icons to layered layouts and streaming overlays, clean image transparency gives your graphics a professional finish. And when photo files become corrupted or stop displaying properly, pairing smart format choices with a reliable repair tool like Wondershare Repairit helps you recover, maintain, and reuse your visual assets with confidence.
Next: What is Image Metadata?
FAQ
-
1. What is image transparency in simple terms?
Image transparency is the ability of an image to have see-through areas. Instead of a solid rectangle, parts of the image can be fully or partly invisible so the background behind it shows through. -
2. Which formats support transparent backgrounds?
Common formats that support a transparent background include PNG, WebP, GIF (limited), and vector formats like SVG. Standard JPEG does not support real transparent pixels and always has a solid background. -
3. Why does my transparent PNG show a white box?
This usually happens when the file was exported without an alpha channel, the background layer was left turned on, or the software/platform you are using converts or displays the image incorrectly, often flattening it onto white. -
4. How can I make my logo background transparent?
Open the logo in an editor, remove or mask the background until you see the checkerboard pattern, make sure the canvas supports transparency, and then export as PNG, WebP, or SVG instead of JPEG. -
5. Can I repair an image that lost its transparency?
If the loss of transparency is due to corruption, you can often fix the file using a media repair tool like Wondershare Repairit and then re-export it with transparency. If it was flattened to JPEG earlier, you will need to cut out the subject again or return to the original layered source file.
 ChatGPT
 Perplexity
 Google AI Mode
 Grok
Grok

