
If you work with digital video, you may have heard editors or codec docs mention residual data without a clear explanation. This concept shows up whenever a camera, NLE, or encoder compresses footage for delivery or streaming. Understanding what residual data is and how it behaves helps you make better choices about export settings, avoid blocky or smeared frames, and keep your videos looking clean across different devices and platforms.
Repair Corrupted Files To Save Your Data
 Security Verified. Over 7,302,189 people have downloaded it.
In this article
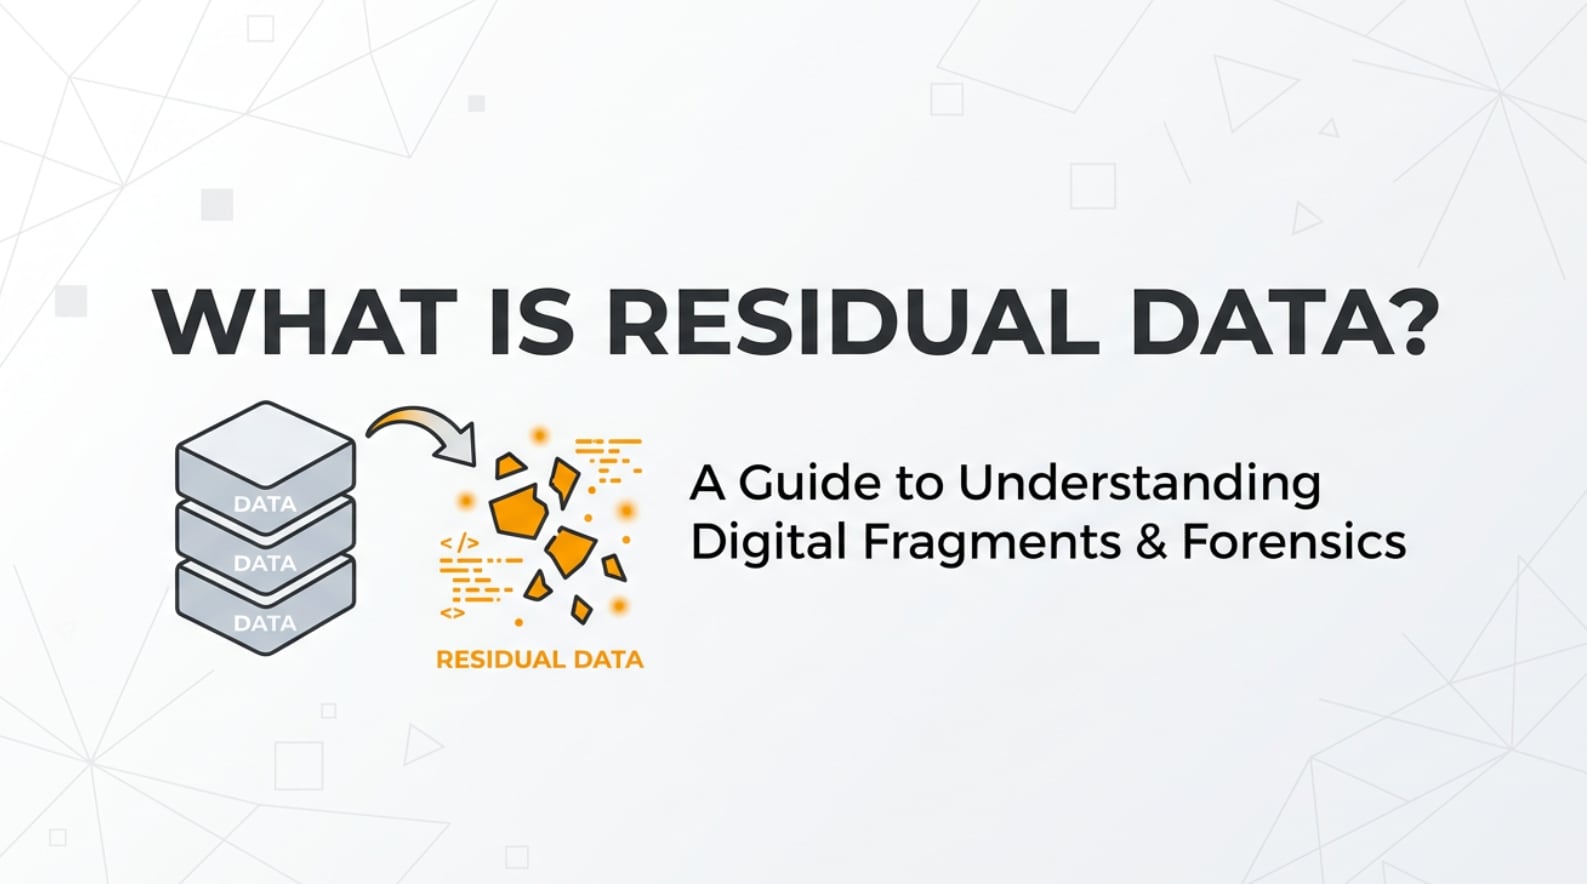
What Is Residual Data?
In modern video codecs such as H.264, HEVC, and AV1, residual data is the part of the image that remains after prediction. During compression, the encoder first tries to predict what each block of pixels should look like using nearby pixels (intra prediction) or motion-compensated blocks from other frames (inter prediction). The difference between the actual block and this prediction is called the prediction error or residual data.
Residual data is not a frame type or a separate video track; it belongs to the category of prediction error signals within block-based video compression. Its basic role is to capture fine detail and corrections that prediction alone could not reproduce. The encoder then compresses and stores this residual so the decoder can reconstruct a frame that closely matches the original when you play or edit the video.
Why Is Residual Data Important in Video Compression?
Bitrate, quality, and motion detail
Residual data exists to solve a core compression problem: predictions are never perfect. When motion estimation or spatial prediction gets close but not exact, the video would look blurry, blocky, or ghosted if we stored only the prediction. By encoding the residual, the codec can correct these errors and restore detail.
The size and complexity of residual data directly affect bitrate efficiency and file size. If predictions are good, the residual is small and simpler to compress, so you get smaller files and smoother streaming at a given bitrate. If predictions are poor (fast motion, noise, film grain, handheld camera shake), the residual becomes larger, so the encoder must spend more bits to keep quality, or accept quality loss if the bitrate is capped.
Residual data controls how well textures, edges, and fast motion are preserved. More accurate residuals mean sharper frames, less banding, and fewer artifacts when you scrub footage in an NLE or play it back on TVs and mobile devices. However, larger residuals also increase decoding complexity a bit, which can matter for low-power hardware or very high resolutions.
Benefits and limitations of residual data
Main benefits of residual data include:
- Preserving subtle detail that prediction cannot capture by itself.
- Allowing encoders to achieve high visual quality at relatively low bitrates.
- Improving motion rendering and texture reproduction across different platforms.
Key limitations and trade-offs:
- Highly detailed or noisy footage produces large residuals, increasing bitrate.
- Aggressive compression (too low bitrate) forces the encoder to quantize residual data heavily, causing blocking, ringing, and smearing.
- Complex residuals can make decoding slightly heavier for older devices, especially at 4K or higher.
How Does Residual Data Work in the Encoding Workflow?
During recording, editing, encoding, exporting, or streaming, the same basic pipeline occurs inside the codec, whether you use FFmpeg, x264/x265, OBS, HandBrake, Adobe Premiere Pro, Media Encoder, or a hardware encoder in a camera or GPU.
Typical workflow with residual data:
- 1. Input frame preparation: The raw or decoded frame is divided into blocks (macroblocks or coding tree units). Color is often converted to YUV and subsampled (4:2:0, 4:2:2).
- 2. Prediction: For each block, the encoder predicts pixel values. Intra prediction uses neighboring pixels in the same frame; inter prediction uses motion vectors from reference frames. This is the motion compensation stage you see mentioned in codec settings.
- 3. Residual calculation: The encoder subtracts the prediction from the actual block. The remaining difference is the residual data. This step happens automatically; you do not toggle residual on or off in user-facing tools.
- 4. Transform and quantization: Residual blocks go through transforms (like DCT/DST variations) and quantization to reduce redundancy and precision. Bitrate controls, CRF, and quality sliders strongly affect how heavily this residual is quantized.
- 5. Entropy coding and bitstream: The quantized residual coefficients are entropy-coded (CABAC, CAVLC, or other methods) and stored along with prediction info and headers.
- 6. Decoding and reconstruction: On playback, the decoder rebuilds the prediction from motion data or intra directions, then adds the decoded residual back to reconstruct the final pixel values you see on-screen.
In tools like FFmpeg or HandBrake, you indirectly influence residual behavior by changing CRF/quality, bitrate, presets, tune grain, or noise reduction. Higher bitrates or lower quantizers preserve more residual detail; aggressive compression discards more of it. In OBS or live streaming encoders, presets like "faster" vs "slower" affect how carefully motion is predicted and therefore how large or efficient the residual becomes.
When Should You Care About Residual Data? Common Mistakes and Quick Tips
If you are a video editor, colorist, streamer, compression engineer, or content creator exporting lots of footage for YouTube, social media, or OTT platforms, residual data directly affects your results even if you never see the term in the UI.
When it matters most:
- When encoding fast-action sports, handheld vlogs, or noisy low-light footage where residuals naturally grow large.
- When choosing export bitrates for 4K, HDR, or grainy film scans that depend heavily on well-preserved residual detail.
- When optimizing for streaming on limited bandwidth or older mobile devices, where bitrate and decoding complexity must be balanced.
When it matters less:
- For short, simple clips with minimal motion and clean graphics, where predictions are extremely accurate and residuals remain small.
- When using visually lossless mezzanine codecs (e.g., ProRes, DNxHR) mainly for editing, where compression pressure is lower.
Common misunderstandings:
- Thinking residual data is "noise" that can simply be removed. In reality, it carries necessary detail; removing too much causes visible artifacts.
- Assuming higher resolution alone fixes artifacts. If bitrate is too low, residuals are over-quantized and quality still suffers.
- Believing that turning on heavy noise reduction is always good. It may shrink residuals and bitrate but can erase texture and realism.
Quick practical tips:
- For grainy or detailed content, allow more bitrate or use a lower CRF to keep enough residual detail.
- Use "film" or "grain" tuning in encoders (where available) so the codec treats residuals more gently on textured content.
- Test exports on the same devices and platforms your audience uses to ensure your residual-heavy scenes still look clean at streaming bitrates.
- If you see blocky motion or smeared edges, it often means the residual data has been compressed too aggressively: raise quality or bitrate.
How to Use Repairit to Fix a Corrupted Video File
Repairit overview
Even when residual data and other codec elements are carefully encoded, videos can still become corrupted due to transfer errors, storage failures, crashes during recording, or incomplete downloads. When that happens, you may get files that refuse to open, freeze, or show heavy artifacts. Repairit official website offers a dedicated repair solution that focuses on fixing damaged video structure and data so you can recover valuable recordings without needing deep technical knowledge of codecs or bitstreams.
Key features of Repairit
- Repairs corrupted videos from many popular formats and devices, including cameras, phones, memory cards, and external drives.
- Supports advanced repair modes to deal with severe damage such as broken headers, index issues, and playback errors.
- Provides a simple, guided interface where you can preview the repaired video before saving it to a safe location.
Step-by-step: repair a corrupted video
- Add corrupted video files

Launch Repairit on your computer and go to the Video Repair section. Click the button to add files, then browse to the folder where your broken videos are stored. Select one or multiple corrupted clips and confirm; they will appear in the list with basic details like format, resolution, and duration.
- Repair video files

After loading the damaged videos, start the repair process with a single click. Repairit analyzes the file structure, container, and encoded data to fix issues that cause playback errors. For severely damaged clips, you can switch to an advanced repair mode if prompted, which may use a sample file from the same device to guide the reconstruction.
- Save the repaired video files

When the repair is complete, preview the results directly inside Repairit to verify that video and audio play correctly. If you are satisfied, choose a safe destination folder and click to save the repaired versions. It is best practice to store them on a healthy drive and keep backups, especially for important projects or once-in-a-lifetime recordings.
Conclusion
Residual data is the hidden workhorse of modern video compression, capturing the difference between predictions and the actual image so codecs can keep sharp detail at manageable bitrates. Whether you are recording, editing, exporting, or streaming, the way encoders handle residuals directly shapes your final viewing quality and file sizes.
By understanding how residual data fits into prediction, bitrate, and quality settings, you can make more informed decisions for demanding content like fast motion or grainy footage. And when something goes wrong at the file level, tools like Repairit help you recover damaged videos so your hard work does not disappear because of corruption or playback errors.
Next: What Is Inter Prediction and How Does It Work in Video Compression?
FAQ
-
1. Is residual data visible in my video files or timeline?
Residual data is not a separate track you can see or edit directly. It exists inside the compressed bitstream as part of the codec’s internal math. Your NLE or player decodes it automatically to reconstruct frames during playback or editing. -
2. Does higher bitrate always mean better residual data quality?
Higher bitrate usually allows the encoder to keep more detailed residual data, which can improve quality. However, efficiency also depends on encoder settings, presets, motion estimation quality, and content type. Smart encoding at a moderate bitrate can sometimes look better than poorly tuned encoding at a higher bitrate. -
3. How do CRF or quality sliders affect residual data?
CRF and similar quality controls mainly adjust how strongly residual data (and other elements) are quantized. Lower CRF (higher quality) preserves more residual detail; higher CRF (lower quality) discards more, which can lead to softer textures and more artifacts, especially in motion-heavy or noisy scenes. -
4. Can using noise reduction before encoding improve compression of residual data?
Yes, careful noise reduction can simplify the residual signal, making it easier to compress at a given bitrate. However, overdoing it may remove natural texture and cause plastic-looking footage. It is best to test a few levels and compare results on your target platforms. -
5. Will repairing a corrupted video with Repairit change its residual data structure?
Repairit focuses on fixing damaged containers, headers, and essential video and audio data so the file becomes playable again. Internally, the tool may rebuild or correct parts of the encoded stream, including residual-related sections, but its goal is to preserve the original visual quality as much as possible while restoring proper playback.
