
A VMX file is the core configuration file for a VMware virtual machine, defining how the VM starts, which virtual hardware it uses, and where its virtual disks live. When this small text file is missing or damaged, your virtual machine may refuse to boot, putting projects, test environments, or production workloads at risk. This guide explains what a VMX file is, how to open and edit it safely, the most common VMX errors, and practical ways to repair a corrupted VMX configuration without losing data.
Repair Corrupted Files To Save Your Data
 Security Verified. Over 7,302,189 people have downloaded it.
In this article
What Is VMX File
A VMX file is the main configuration file used by VMware-based virtual machines, including VMware Workstation, VMware Player, and VMware Fusion. It is a plain-text file that contains key-value pairs describing every critical setting for a specific VM.
The VMX file typically stores:
- Virtual hardware configuration (CPU cores, memory size, virtual NICs, USB controllers, etc.)
- Paths to virtual disks (VMDK files), ISO images, and snapshots
- Boot order, firmware type (BIOS or UEFI), and power options
- Display, sound, and input device settings
- Advanced options like virtualization extensions, time sync, and shared folders
Because the VMX file is tightly linked to the VM's virtual disks, incorrect changes or corruption can prevent the VM from starting, show hardware mismatch errors, or cause VMware to treat the VM as invalid.
| Property | Description |
|---|---|
| File extension | .vmx |
| File type | VMware virtual machine configuration file (plain text) |
| Used by | VMware Workstation, Player, Fusion, and some VMware infrastructure tools |
| Typical location | Same folder as the VM's VMDK files and other support files |
| Main risk | Corruption or misconfiguration can stop the VM from booting |
How to Open VMX Files
You can open a VMX file in two main ways: through VMware products themselves to run the virtual machine, or directly in a text editor to view or modify the configuration. Both methods are useful, but editing the file requires careful handling and backups.
Open a VMX file in VMware products
The safest way to work with a VMX file is within VMware Workstation, Player, or Fusion. In this case, you are not editing the VMX directly; instead, the application manages the configuration for you.
- Launch your VMware product (Workstation, Player, or Fusion).
- Click "Open a Virtual Machine" or "File" > "Open" from the menu.
- Browse to the folder containing your VM and select the VMX file.
- Once the VM is added to your library, start it normally using the "Power on" or "Play" button.
- To adjust settings, use the VM settings dialog, which updates the VMX file in the background.
This method reduces the likelihood of introducing syntax errors, because VMware writes the correct keys and values for you.
Open and edit VMX as plain text
Since a VMX file is plain text, any text editor can open it. This is useful for advanced troubleshooting, copying a configuration, or applying options not exposed in the interface.
- Power off the VM completely and ensure no VMware process is writing to the VMX file.
- Create a backup copy of the entire VM folder, especially the VMX and VMDK files.
- Right-click the VMX file and choose "Open with" > a plain text editor such as Notepad, Notepad++, or VS Code.
- Review the settings line by line. Typical entries have the format:
memsize = "4096"
numvcpus = "4"
ide0:0.fileName = "disk-0.vmdk" - Edit only the parameters you fully understand, saving the file afterward.
- Reopen the VM in VMware and power it on to verify the changes.
If VMware shows an error right after your edit, revert to your backup copy or undo the recent changes.
Common VMX File Errors
When a VMX file is missing, damaged, or contains invalid settings, VMware products typically show an error at startup. Understanding these messages can help you decide whether to repair, recreate, or recover the configuration.
Typical VMX error messages
Here are some frequent problems you may encounter with VMX files:
- Cannot open the configuration file
This appears when VMware cannot read the VMX file because it has been deleted, moved, or corrupted at the filesystem level. - Invalid configuration file
Usually triggered by syntax errors, missing quotes, unsupported keys, or truncated entries within the VMX file. - VM configuration file does not match the virtual disks
Occurs when the paths to VMDK files are wrong or when hardware identifiers in the VMX no longer match the actual resources. - Failed to lock the file
May happen if a stale lock file exists in the VM folder or another process is holding a handle on the VMX or its disk files. - Internal error or Unknown error when powering on the VM
These generic messages can be caused by subtle VMX corruption combined with underlying storage issues.
Root causes of VMX corruption
A VMX file can become unreadable or inconsistent for multiple reasons. Identifying the cause helps you avoid repeat failures.
- Unexpected power loss
If the host system crashes or loses power while a VM is saving its state, the VMX file may be left partially written. - Manual editing mistakes
Removing quotes, duplicating keys, or entering unsupported values can break the configuration. - Disk or filesystem errors
Bad sectors, sudden disconnects on external drives, or RAID issues can corrupt VMX and VMDK files together. - Improper migration or copy
Copying only the VMDK files without the VMX, renaming files inconsistently, or using unreliable transfer methods may leave the VMX pointing to missing components. - Malware or third-party tools
Some cleanup utilities, aggressive antivirus actions, or malware can modify or quarantine VMX files unexpectedly.
How to Use Repairit to Fix a Corrupted VMX File
Why use Repairit with corrupted VMX setups
When your VMX file is corrupted, the main goal is usually not just to repair the configuration but also to rescue the user data stored inside the VM. Rebuilding or recreating the VMX might restore bootability, but if the virtual disks or guest files are damaged, you still risk losing important documents, projects, or media.
In these cases, using a dedicated data repair tool like Wondershare Repairit is highly recommended. It can scan the underlying storage where your VM and VMX reside, locate damaged or lost files, and repair them so you can safely pull data out of a broken virtual environment. To explore all supported formats and scenarios, visit the Repairit official website.
Repairit key features for VM data
Repairit focuses on restoring data that becomes inaccessible when a VMX file or its associated virtual disks are damaged.
- Repairs corrupted documents, images, videos, and other file types from local drives and external media commonly used to store virtual machines.
- Uses an intelligent deep scan to locate damaged data in the VM's storage path without altering the original virtual disks or VMX configuration.
- Offers a simple preview and selective recovery process so you can verify file integrity and recover only what you need from a broken VM.
Step-by-step: Recover data when a VMX file is corrupted
The following steps outline how to use Repairit to recover data from the storage area where your problematic VMX and virtual disks are stored. This approach helps you secure your files even if the VM itself cannot boot.
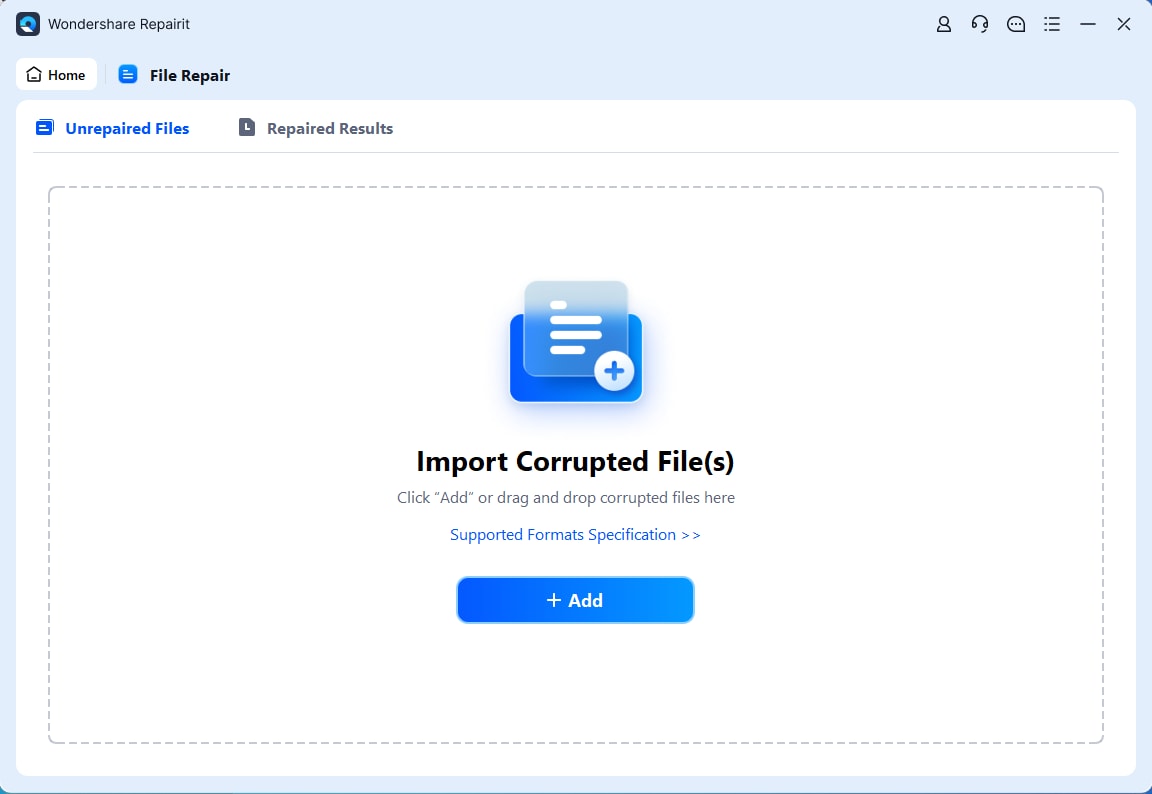
-
Load your corrupted files on Repairit
Start by launching Wondershare Repairit on the host machine where your virtual machine files are located. From the home interface, open the Data Recovery module. In the drive list, select the exact disk, partition, or folder that contains the VM directory holding your VMX file and VMDK files.
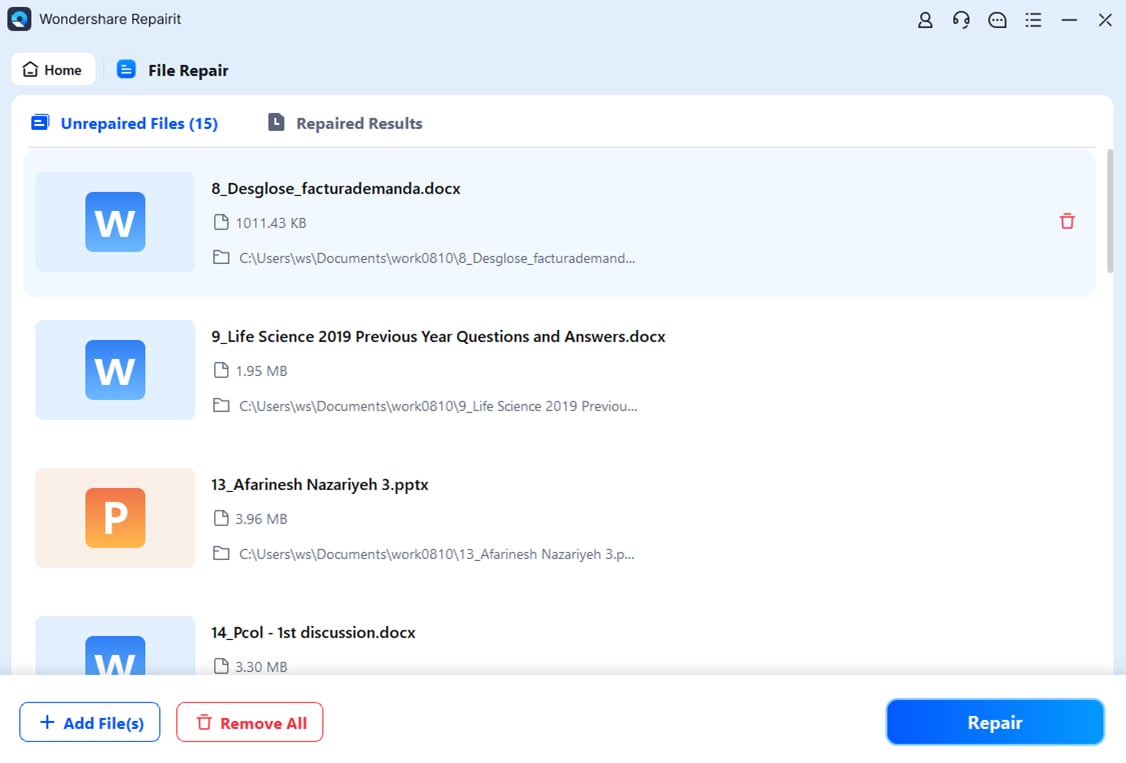
-
Start the repair process
Click the Scan button to begin a deep analysis of the chosen location. Repairit will search sector by sector for deleted, lost, or corrupted files associated with your virtual machine, including documents, pictures, videos, and other content that was stored inside the guest OS.
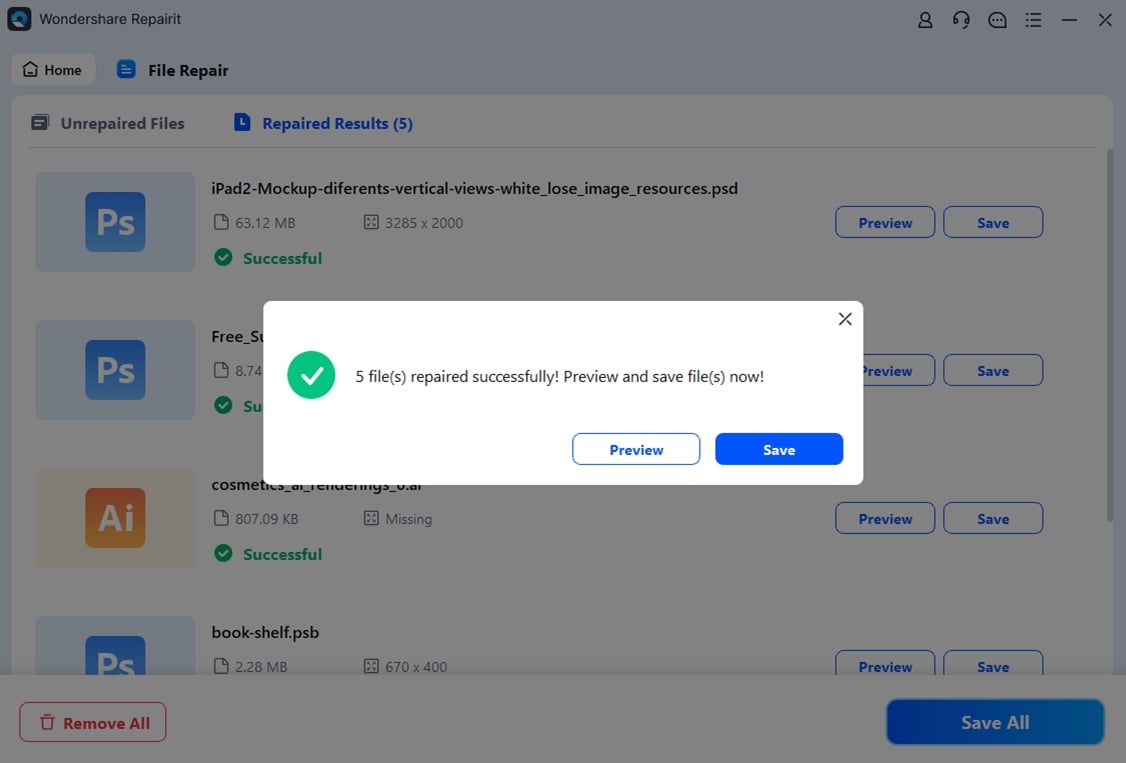
-
Preview and Save Your Desired Data
Tick the checkboxes next to the files you want to restore and click Recover. Choose a safe destination on a different drive from your original VM folder. Repairit will repair and save the selected files there, allowing you to rebuild or discard the broken VMX configuration without losing critical data.
Conclusion
A VMX file is the backbone of a VMware virtual machine, defining its hardware, disk layout, and startup behavior. When this small configuration file becomes corrupted or mismatched with your virtual disks, the VM can fail to boot, show confusing errors, or become completely inaccessible.
By understanding what a VMX file does, learning how to open and edit it safely, and recognizing common error messages, you can troubleshoot many configuration issues on your own. When corruption extends beyond the VMX to the data stored inside the virtual machine, using a dedicated repair tool like Wondershare Repairit lets you scan the underlying storage, recover important files, and minimize downtime while you rebuild or replace the damaged VM.
Next: What is Madb File?
FAQ
-
1. What is a VMX file used for in VMware?
A VMX file is the primary configuration file for a VMware virtual machine. It defines hardware settings, virtual disk mappings, network interfaces, and other parameters that VMware needs to power on and run the VM correctly. -
2. How can I open and edit a VMX file safely?
Power off the VM, back up the entire VM folder, then open the VMX file with a plain text editor like Notepad or Notepad++. Edit only settings you understand, keep key-value pairs properly quoted, and save the file. If errors appear afterward, restore your backup VMX. -
3. Why will my virtual machine not start after the VMX file changed?
If your VM does not start after editing, the VMX file may contain invalid keys, syntax errors, or disk paths that no longer exist. Restoring a previous VMX from backup or creating a new VM and attaching the existing VMDK files usually resolves the issue. -
4. Can I recover a deleted VMX file?
Yes. If the storage area has not been heavily overwritten, file recovery tools can often restore a deleted VMX file. Once recovered, open the VMX in VMware and, if necessary, update the paths to the correct VMDK files. -
5. How do I fix a corrupted VMX file without losing VM data?
First, copy the entire VM folder as a backup. Try restoring an older VMX from backup or create a new VM and point it to the existing VMDK disks. If user data inside the VM seems damaged or inaccessible, use Wondershare Repairit to scan the storage location, repair documents, photos, and videos, and export them safely to another drive.
