Make your Instagram Story videos look sharper and clearer with the right resolution, export settings, and AI enhancement before sharing.
Have you ever filmed a crisp moment on your phone only to see your Instagram Story video turn soft after posting? Upload processing is one possible cause, but poor lighting, a compressed editing copy, or an unsuitable export can reduce detail even before Instagram sees the file. The best workflow starts with a good source, prepares a vertical video once, and checks quality before tapping Share.
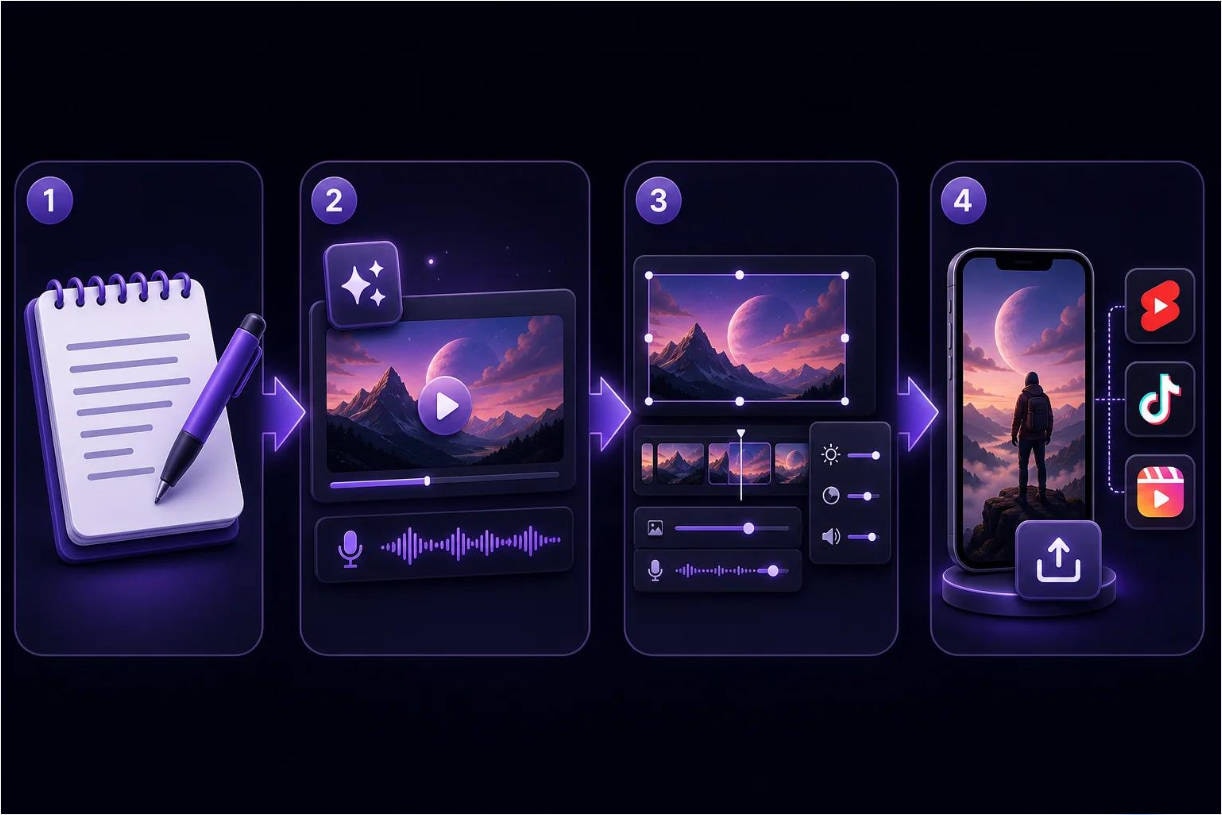
Quick Answer: To improve Instagram Story video quality before uploading, keep the cleanest original footage, frame it for 9:16, export a compatible 1080 × 1920 video, avoid repeat compression, and preview the output on your phone. AI enhancement helps some low-quality source files, but it cannot control Instagram's own streaming or compression.
In this article
Part 1. Why Does Instagram Story Video Quality Drop After Uploading?
Instagram processes uploaded media for distribution across different screens and connection speeds. This can make fast motion, fine textures, text overlays, and dim indoor scenes look less detailed than the original video. However, an upload is not always responsible: a low-resolution source or multiple exports may already contain artifacts. Diagnose the earliest point at which quality dropped instead of applying every fix indiscriminately.
How Instagram Processes Story Videos
Story playback is delivered through the app rather than as an untouched copy of your camera file. Encoding, scaling, and the viewer's connection can influence perceived sharpness. Even a 4K recording is not a guarantee of a 4K Story. The practical goal is to submit a clean, compatible vertical video that requires as little unnecessary handling as possible.
Low-Quality Source Video vs. Upload Compression
- Blurry in your camera roll: Focus, low light, digital zoom, or prior compression likely need attention before upload.
- Sharp locally, blurry after posting: Compare the exported file with the published Story and check app, connection, and media settings.
- Only blurry on one device: Screen scaling, playback conditions, or caching may be involved.
For a detailed after-upload troubleshooting checklist, see why Instagram Stories look blurry. If the difference is mainly brightness or color rather than sharpness, refer to the Instagram HDR video guide.
Part 2. Best Instagram Story Video Size, Resolution, and Export Settings
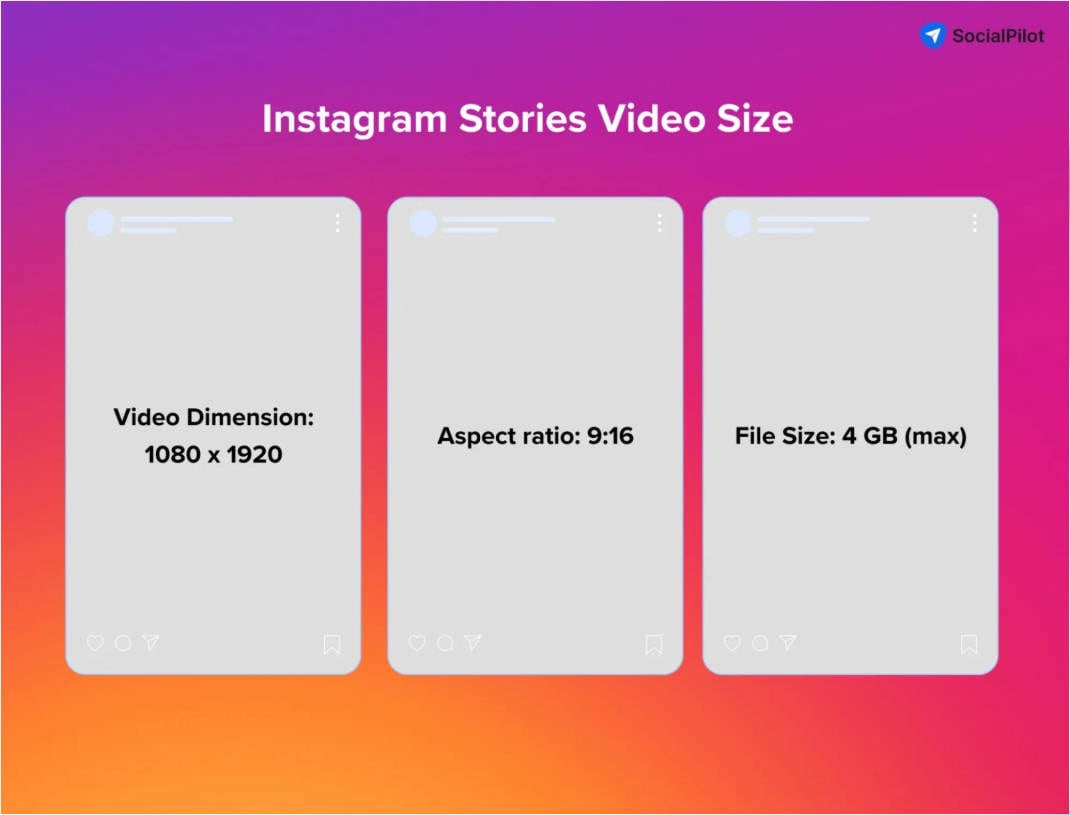
For most everyday Instagram Story videos, a full-screen vertical export is the simplest starting point. The following are practical editorial recommendations, not a promise that Instagram preserves every pixel or that every account and app version accepts identical settings.
| Setting | Practical recommendation | Why it matters |
|---|---|---|
| Aspect ratio | 9:16 vertical | Fits the Story canvas with less cropping |
| Resolution | 1080 × 1920 pixels | Useful full-screen portrait export baseline |
| Container | MP4 | Widely supported workflow for phone video |
| Video codec | H.264 | Broad compatibility in editing and sharing |
| Frame rate | 30 fps as a common baseline; preserve source cadence when appropriate | Avoids unnecessary frame conversion |
| Audio | AAC | Common audio format for MP4 files |
| Bitrate | Use a sensible high-quality export preset; avoid multiple recompressions | Excessively low bitrate smears fine details |
What Is the Best Resolution for an Instagram Story Video?
For standard vertical content, 1080 × 1920 is a useful target. An editor can scale portrait footage to that canvas while preserving subject placement. If your clip starts below 1080p, simply changing the pixel dimensions will not recreate genuine detail. Likewise, exporting a large file from a previously compressed clip does not erase artifacts.
Should You Upload Instagram Stories in 1080p or 4K?
Capture in 4K when your camera, storage, and editing workflow benefit from the extra detail or cropping flexibility. For a straightforward Story delivery, a high-quality 1080 × 1920 export is generally easier to control. Keep the original 4K master separately if you may repurpose it later, and avoid assuming that higher upload resolution always leads to a sharper published Story.
Part 3. How to Improve Instagram Story Video Quality Before Uploading
Use the five methods below as a pre-publication workflow. They address source quality first, then export and upload quality. This sequence matters: a clean workflow can preserve details, while a filter or setting cannot reliably undo severe original capture problems.
Method 1. Record Your Instagram Story Video With Better Camera Settings
Whenever possible, record with your phone's native camera app rather than capturing through multiple layers of social-media editing. Clean the lens, focus on the subject, and use soft, sufficient lighting. Avoid heavy digital zoom; it enlarges pixels without adding sensor detail. For moving subjects, keep the phone steady or use stabilization so the recorded footage is easier to watch and edit.
Try framing vertically at capture time, with the subject away from the extreme top and bottom edges where Story UI elements may overlap. Review clips at full size instead of trusting the small recording preview. In very dark scenes, reducing camera movement and improving light usually helps more than aggressive sharpening later.
Method 2. Export Instagram Story Videos in the Right Format
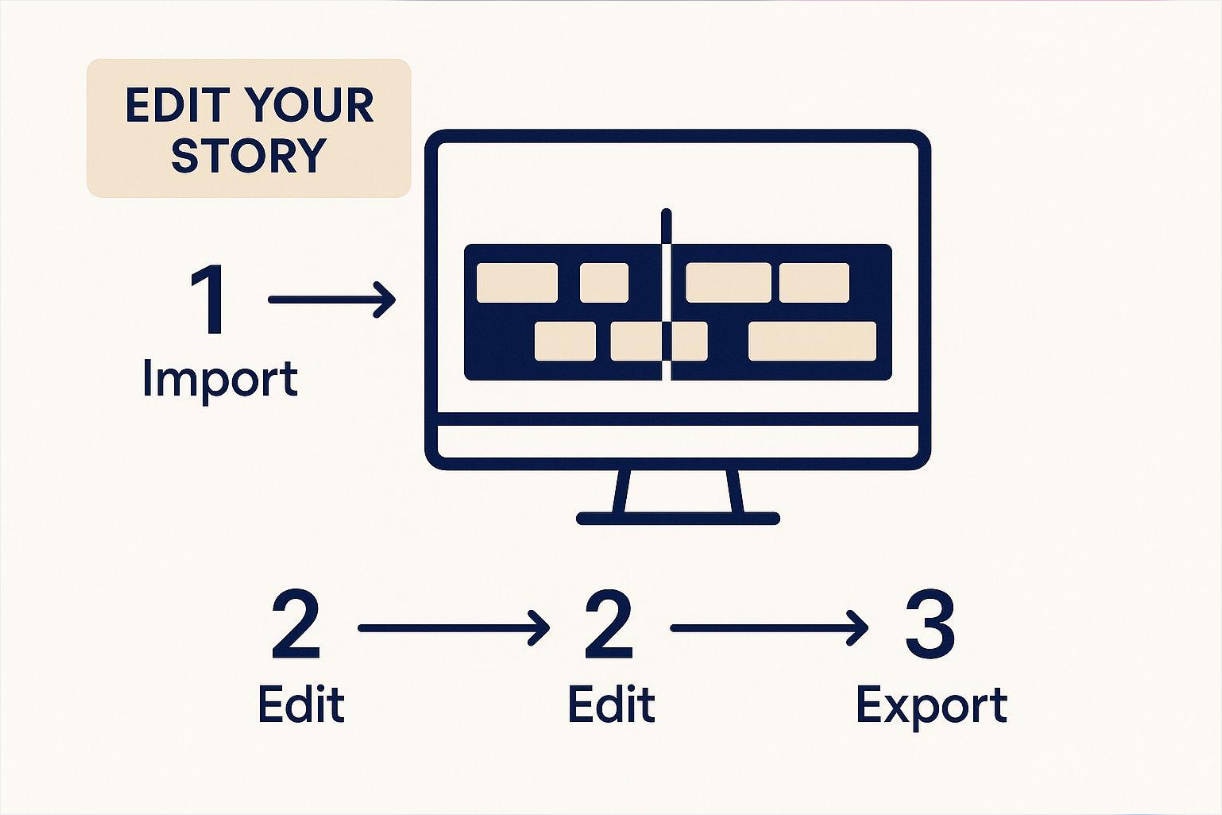
In your editor, set the project or output canvas to 9:16. Use an MP4 export with H.264 video and AAC audio where those options are available. Choose a high-quality preset and inspect the resulting file before upload. If a clip contains text, look for ringing around letters; if it has movement, check for blockiness during action.
Match the framing to Instagram's portrait canvas, but do not stretch the original footage just to fill the screen. Cropping and reframing are usually preferable to distortion. Keep one uncompressed or high-quality master, then generate the social-ready export once rather than repeatedly saving it through different apps.
Method 3. Avoid Losing Video Quality During Transfers
A sharp export can become soft when it is sent through a messaging service that creates a smaller compressed copy. When moving files from desktop to mobile, use a transfer method that preserves the original file, such as direct cable transfer or a cloud-drive download that retains the full-resolution upload. Double-check the transferred file's dimensions and playback quality on your phone.
Do not edit the forwarded preview when the full-resolution original is available. Keep the original, edited master, and final upload file clearly labeled. This also makes it easier to identify whether a quality issue started during recording, editing, transfer, or publication.
Method 4. Enhance Blurry Instagram Story Videos Before Uploading
If the source Instagram Story video is already soft, noisy, or low-resolution, try an enhancement pass before producing the final social-ready export. Noise reduction can make dark areas cleaner; moderate sharpening can improve edge definition; upscaling may help low-resolution clips display more comfortably. Results depend on source quality, and heavy processing can introduce unnatural textures or artifacts.
For the broader editing techniques behind these choices, see how to enhance video quality and how to make a video clearer. The dedicated Repairit workflow below explains an AI-assisted option for saved video files.
Method 5. Check Instagram's Highest Quality Upload Settings
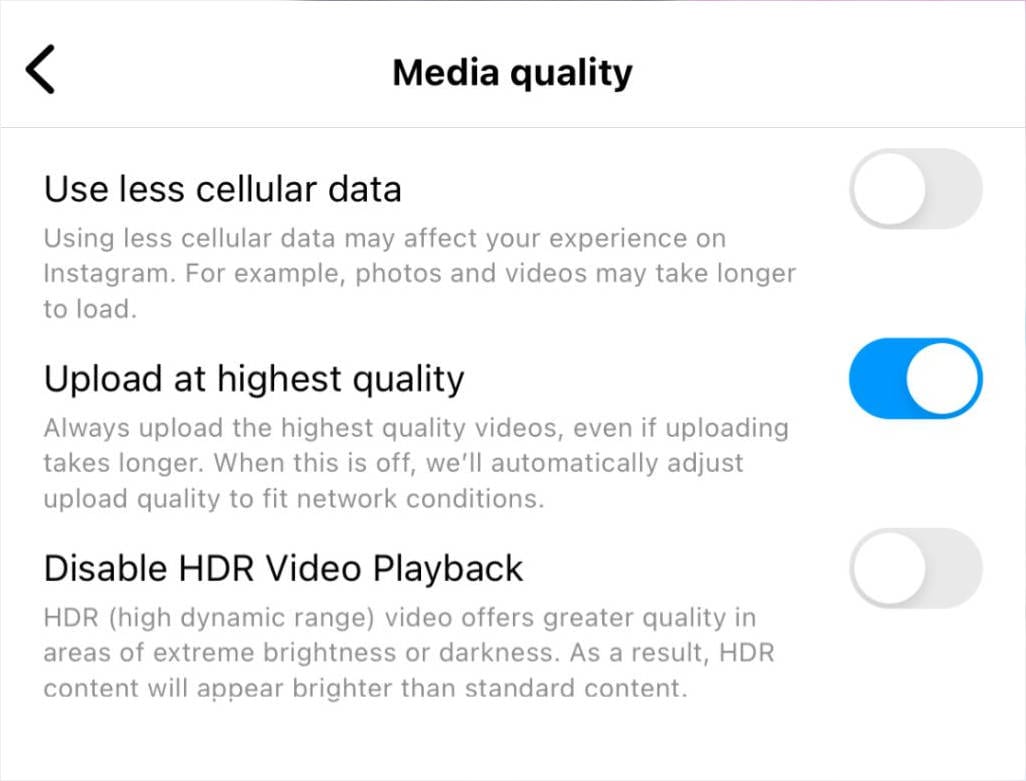
Before posting, open Instagram and check the settings available in your current app version. Depending on the version and device, a media-quality or data-usage area may expose an option labeled Upload at highest quality. If it appears, enable it. Using a stable connection and avoiding data-saving restrictions can also help reduce avoidable upload issues, although no setting guarantees a particular playback bitrate.
After upload, watch your Story in the official app and compare it with the exported video stored on your phone. If only the posted version is degraded, the cause may lie outside the source file. Avoid repeatedly re-enhancing a good original simply because Instagram renders it differently.
Part 4. Does an Instagram Story Viewer Affect Video Quality?
An Instagram Story Viewer is a way to view Story content; it is not the same as the original Instagram Story video file. Third-party viewers may load a lower-resolution preview, display a cached version, or process a video differently from Instagram's official app. That means a blurry result in one viewer does not necessarily prove the uploaded file is damaged. It also does not mean that using a different viewer can improve the original upload.
Why Instagram Story Videos Can Look Blurry in Third-Party Viewers
Viewer sites may vary in their handling of scaling, thumbnail previews, network delivery, and video playback. Some may not show an exact representation of the quality other people see inside Instagram. Exercise caution with unfamiliar services, particularly those asking for passwords or permissions unrelated to viewing.
How to Compare the Original Instagram Story Video Quality
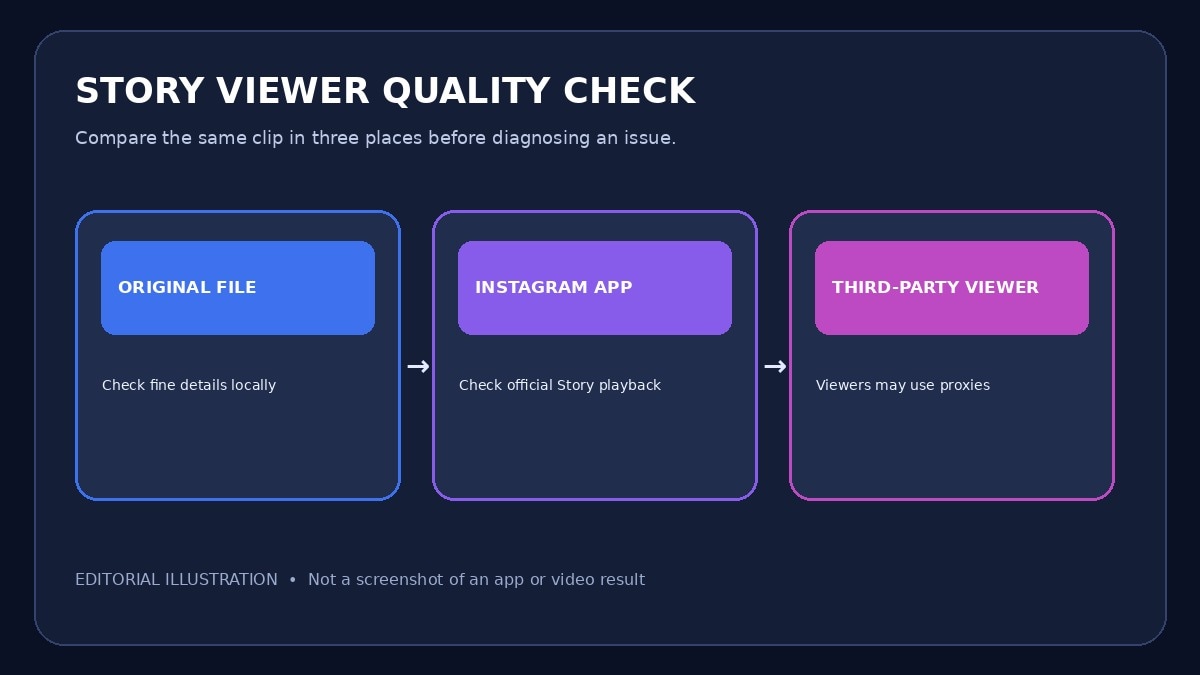
Play the exported file locally, then watch the posted Story in the Instagram app using a steady connection, and only then compare a third-party viewer if you choose to use one. Look at the same frame, especially small text and moving edges. If the local export is clean but only the viewer is soft, editing or enhancing the original again is unlikely to address that viewing path.
Pro Tip. Improve Instagram Story Video Quality With Repairit AI Video Enhancer
Sometimes the quality problem is already in a saved recording: a dim concert Story has visible grain, an old clip looks soft, or a short video was compressed before it reached your editor. For these cases, Repairit AI Video Enhancer can process a playable local video and help improve its clarity before you prepare the final Instagram Story export. This is source-video enhancement, not a way to control Instagram's server-side compression or bypass access restrictions.
Key Features of Repairit AI Video Enhancer
- AI Unblur: Improve the perceived clarity of soft footage when usable detail remains in the original.
- Video Denoise: Reduce visible grain in low-light or compressed source videos.
- Sharpness Enhancement: Strengthen edge definition while assessing whether the output still looks natural.
- Resolution Upscaling: Choose supported output levels, including 100%, 200%, and 400%, when preparing a better-quality source for later editing.
How to Enhance Instagram Story Videos With Repairit
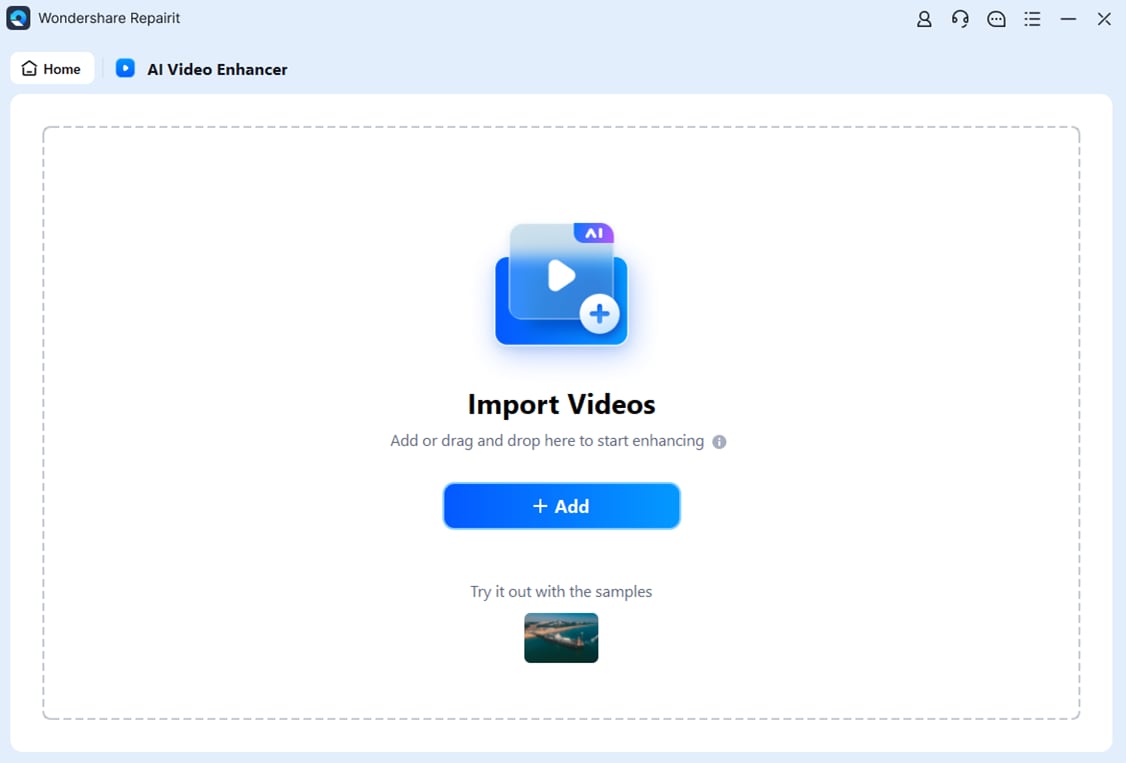
Step 1. Import Your Instagram Story Video. Open Repairit, choose AI Video Enhancer from the relevant repair or enhancement area, and select +Add to import the saved video you want to improve. This is best used on an original or authorized copy, not an inaccessible stream.
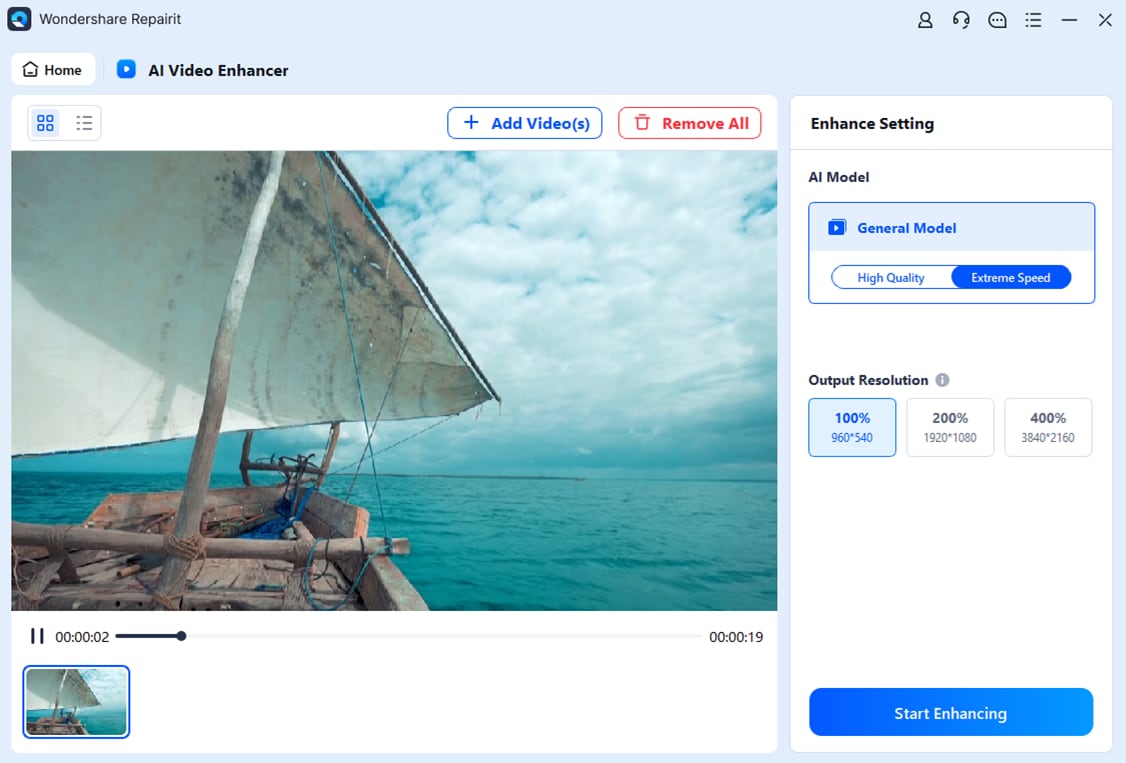
Step 2. Choose Output Resolution and Start Enhancing. Inspect the available output options, select the resolution level appropriate for the source, and click Start Enhancing. Greater upscaling is not automatically better; preview for oversharpening and unnatural artifacts.
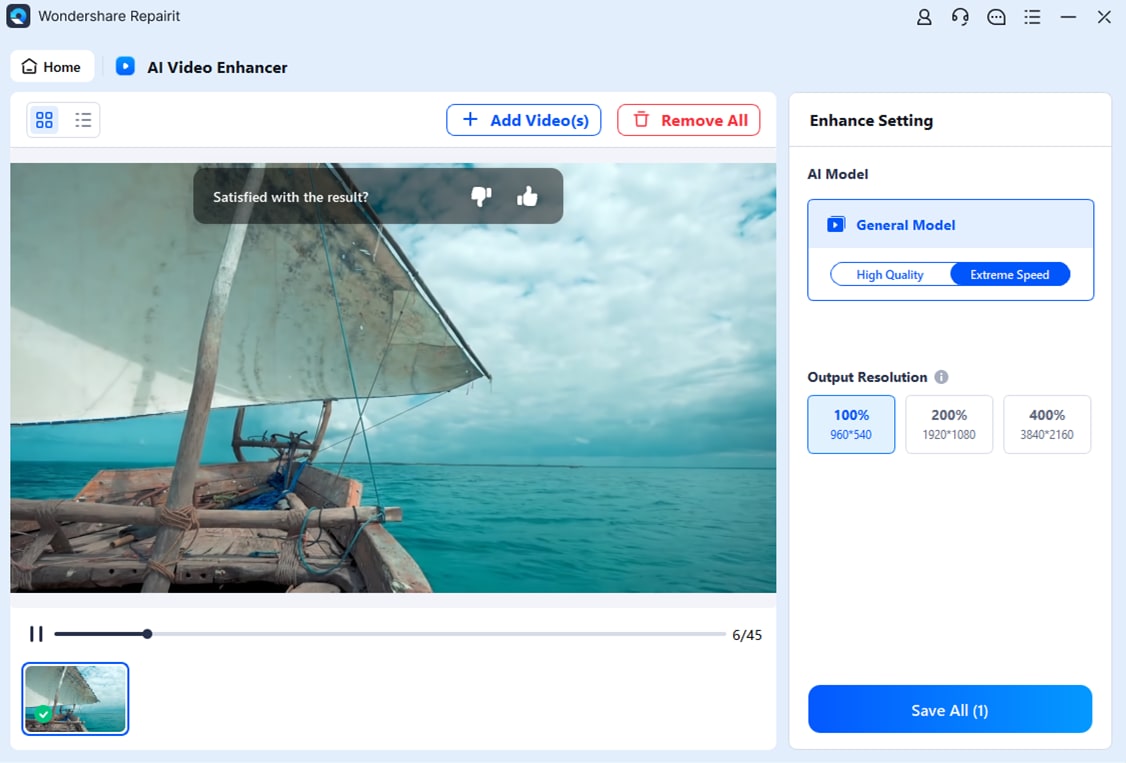
Step 3. Preview and Save the Enhanced File. After processing, play the enhanced result, compare it with the original, and choose Save All if the result is suitable. Then make your final 9:16 Instagram Story export and preview that export on your phone before posting.
Conclusion: Get Better Instagram Story Video Quality Before Sharing
The best way to improve Instagram Story video quality is to protect detail from the moment you record to the final upload. Capture with steady framing and good light, edit from the cleanest source, export a suitable 9:16 MP4 once, and check media-quality settings when they are available. If your saved video was blurry before upload, Repairit AI Video Enhancer may help improve that source. If only the uploaded Story looks poor, investigate Instagram playback and upload conditions before changing the source again.
Frequently Asked Questions
-
1. What Is the Best Video Quality for Instagram Stories?
A high-quality 9:16 video exported at 1080 × 1920 pixels in a compatible MP4 format is a practical starting point. Good focus, lighting, and minimal recompression matter as much as export dimensions. -
2. Why Is My Instagram Story Video Blurry Even in 1080p?
1080p describes pixel dimensions, not the amount of real detail in those pixels. Poor focus, a low bitrate, earlier compression, or platform processing can still make a 1080p video look blurry. -
3. Does an Instagram Story Viewer Reduce Video Quality?
A third-party Instagram Story Viewer may show a proxy or lower-quality playback version. That does not necessarily mean it changed the original uploaded Story. Compare the source file and Instagram's official playback. -
4. Should I Upload Instagram Stories in 4K or 1080p?
4K capture is useful when you want extra detail for editing and reframing. For a typical portrait Story, a high-quality 1080 × 1920 export is a straightforward baseline; uploading 4K does not guarantee 4K playback. -
5. Can AI Improve a Low-Quality Instagram Story Video?
AI enhancement can sometimes reduce grain, improve perceived sharpness, and upscale a saved source clip. It cannot recover every missing detail or guarantee that Instagram will retain the enhanced appearance after upload.