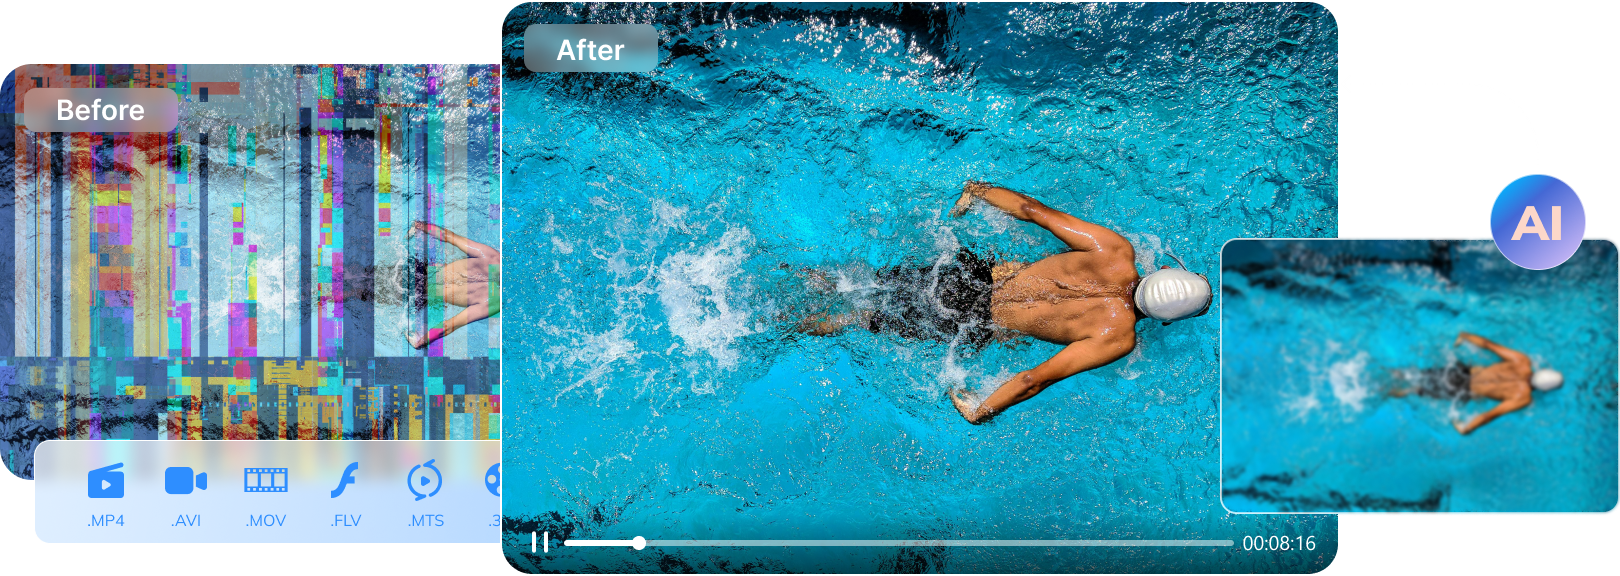

 TL;DR:
⚡ Quick Fix: Play 4K Ultra HD Videos Smoothly in VLC
Update VLC and Drivers: Install the latest VLC version and update your graphics card drivers to improve 4K decoding, playback compatibility, and system performance.
Boost Playback Performance: Set your PC power plan to High Performance, enable or adjust hardware-accelerated decoding, and restart VLC to reduce lag, stutter, or black screen issues.
Tune VLC Settings: Increase VLC threads and file cache so high-bitrate 4K videos have enough processing and buffering support for smoother playback.
Repair Corrupted 4K Videos: If the video still fails, pixelates, or cannot play in any media player, repair the corrupted 4K file and use Advanced Repair with a matching sample video when needed.
Ask AI for a summary
 ChatGPT
 Perplexity
 Gemini
 Claude
 Grok
Grok
With the rise of DSLRs, action cameras, and drones, 4K Ultra HD video has become the standard for creators and streaming platforms like YouTube and Netflix. However, rendering these high-bitrate, pixel-dense videos requires significant processing power, often causing traditional media players to stutter, lag, or freeze entirely.
If you are experiencing choppy 4K playback, VLC Media Player offers several advanced configurations to smooth out performance. In this guide, we will walk you through 6 proven methods to optimize VLC for 4K Ultra HD videos and how to fix playback issues caused by underlying file corruption.
Part 1. Why 4K Video Has Become the Industry Standard
4K resolution (3840 x 2160 pixels) offers four times the detail of standard 1080p Full HD. This massive increase in pixel density provides several critical advantages for both viewers and content creators:
- Lossless Reframing: Creators can crop, zoom, or stabilize shots in post-production without sacrificing final HD output quality.
- Sharper Chrono-Keying: The extra color data and pixel clarity make green-screen isolation significantly cleaner.
- High-Res Stills: Users can extract crystal-clear, print-ready photos directly from a single video frame.
Part 2. 6 Methods to Play 4K Ultra HD Videos in VLC Media Player
If you are unable to play your 4K Ultra HD video in a VLC media player, then we have come up with some methods that you can repeat to solve your issues; let's see what these methods are.
Method 1: Update your VLC Media Player to the Recent Version
If you are unable to play video format 4K on your VLC Media player, then you can try updating your VLC media player. To do that, follow the following steps.
Step 1. Open the VLC media player on your PC.
Step 2. At the options available on the top of the interface, click on the option of "Help."
Step 3. After that, you will see the option of "Check for Updates," click on that option.
Step 4. It will check for updates. If your VLC media require an update, it will automatically be updated.
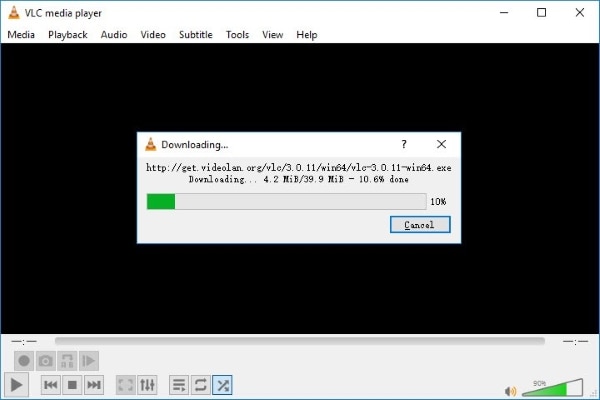
After updating, check if it plays 4K video. If it does not, then move on to the next method.
Method 2: Turn Power Option of PC to High Performance
You might not be able to play your video format 4K due to the slow reading of the processor. The slow performance occurs mostly because of stutter or lag. So, by setting the power option to the bigger problem will deal with this matter. To perform the process, follow the step stated below.
Step 1. Open the control panel and select the "Power option" from there.
Step 2. Under the preferred plans, select "High Performance."

Step 3. Click on the option of "Change Plan Setting" from further available options.
Step 4. Then select "Changer Advanced Power Setting" and scroll down to find the option of "Processor Power Management."
Step 5. Click on the plus sign and then further on "Maximum Processor State."
Step 6. From there, maximize your CPU to 100%.
Repeating these methods will seek your issue out.
Method 3: Update Graphics Card Drivers
Sometimes issues occur when your drivers are not updated. Similarly, if your VLC player is not playing your YouTube 4K video or 4K video you have downloaded from any platform, then try updating your Graphic card drivers. To that, follow the following steps.
Step 1. Press the Windows + R key on your keyboard. It will open the "Run" dialogue box.
Step 2. Type "devmgmt.msc" in the blank space.
Step 3. Now go to "Display Adapters."
Step 4. Right-click on your Video card and click on "Update Drive Software."

Updating it will help you in playing 4K video on your VLC media player.
Method 4: Enable or Tweak Hardware-Accelerated Decoding
Playing 4K videos heavily taxes your CPU. By enabling Hardware Acceleration, VLC offloads the heavy decoding process to your GPU. If your playback is choppy, or if a driver conflict is causing a black screen, adjusting this setting can instantly resolve the issue.
Step 1. Open VLC Media Player and navigate to Tools > Preferences (or press Ctrl + P).
Step 2. Click on the Input / Codecs tab.
Step 3. Locate the Hardware-accelerated decoding dropdown menu.
* Change it to DirectX Video Acceleration (DXVA) 2.0 to boost performance using your graphics card.
* Note: If your video shows a black screen but has sound, switch this option to Disable to bypass faulty graphics drivers, then click Save and restart VLC.
Method 5: Increase the Number of Threads for VLC
Increasing the number of threads will serve the purpose and will help you to play 4K videos. If none of the above helps you to play 4K videos, try using this method and repeat the following process.
Step 1. Open your VLC media player.
Step 2. Click on the option of "Tools," and from there, click on "Preference."
Step 3. Choose the option of "Show Settings," and from the left corner, click on "All."
Step 4. Access the "Inputs" or "Codecs" option.
Step 5. You will see an arrow in front of the video; click on that.
Step 6. Click on "FFmpeg."
Step 7. A decoding box will appear. From there, change threads from 0 to 2.
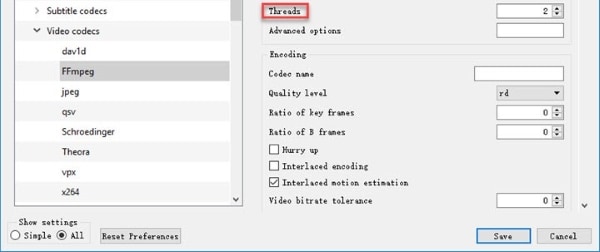
Step 8. Save the changes and restart the VLC media player.
Following this method, you’ll be able to deal with your issue.
Method 6: Increase the File Cache
Increasing the file cache will solve the compatibility issue between CPU and memory, which will, in turn, resolve the issue, causing the VLC player not to play 4K videos. The steps to be performed in this regard are as follows.
Step 1. Open your VLC media player.
Step 2. Go to "Tool" and then click on "Preference."
Step 3. Go to "Show Setting" and click on the option of "All."
Step 4. Go to "Input/Codecs" and click on the arrowhead in front of the "Video Codecs".
Step 5. From the advanced box, change the file cache from 300 to 1000.
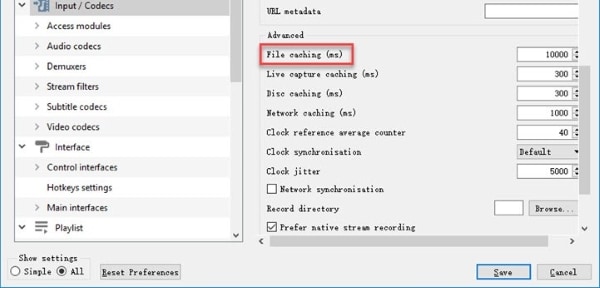
Increasing file cache through this method will also support video format 4K in the VLC media player.
Part 3. Fix 4K Ultra HD Videos Not Playing in VLC Media Player Caused by Corrupted Videos
If you have updated your drivers and tweaked VLC's cache settings but the 4K video still throws an error, fails to load, or pixelates severely across all media players, the issue isn't your software—the video file itself is likely corrupted. This frequently happens due to incomplete camera writes, abrupt memory card removal, or transfer interruptions.
In such cases, Wondershare Repairit provides an automated, professional solution. It scans the broken file structure, re-aligns damaged video/audio streams, and restores unplayable 4K videos to pristine condition in minutes.
-
Repair damaged videos with all levels of corruption, such as video not playing, video no sound, flickering video, etc.
-
Repair videos of 20+ different formats, including MOV, MP4, M2TS, WMV, MPEG, ASF, etc.
-
Repair damaged or corrupted videos caused by video compression, system crash, video format change, etc.
-
No limit to the number and size of the repairable videos.
-
Support Windows 11/10/8/7/Vista, Windows Server 2003/2008/2012/2016/2019/2022, and macOS 10.10~macOS 14.
Steps to be performed for the repairing process are as follows.
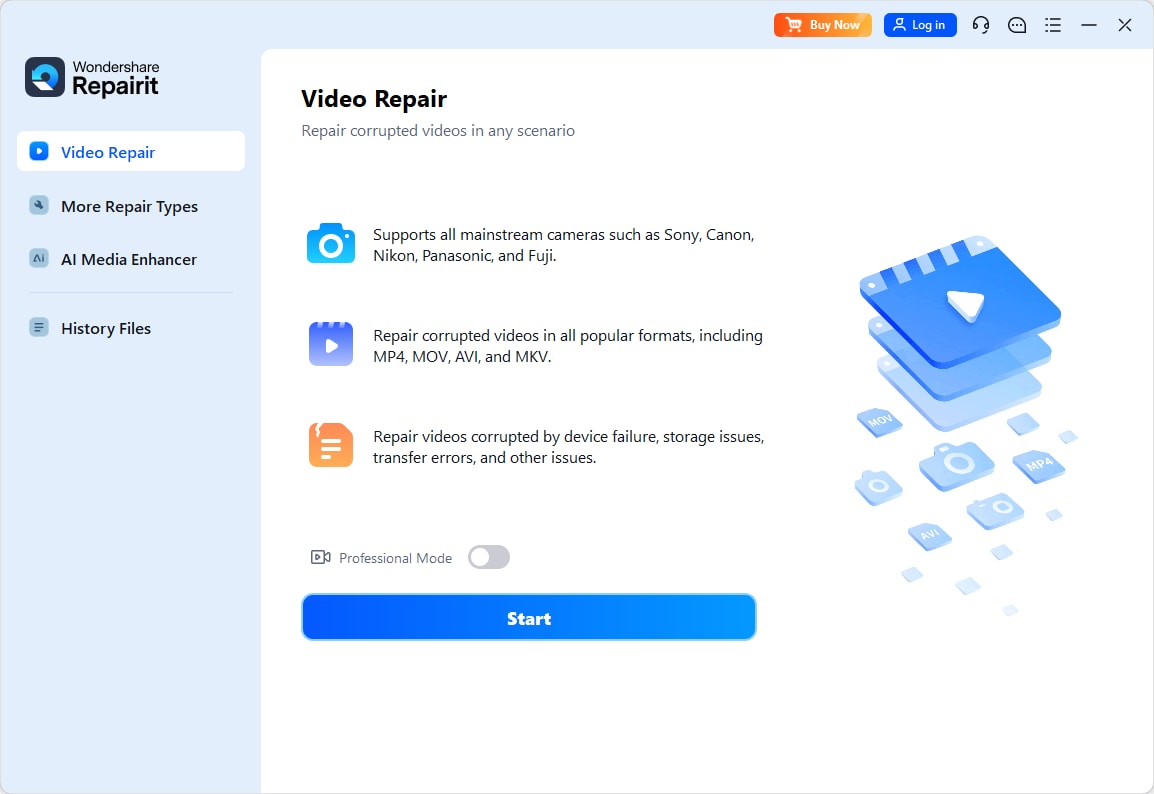
Step 1: Adding the video
Download and launch the software and click on the add sign button to add the video. Browse your video and click on it to add.
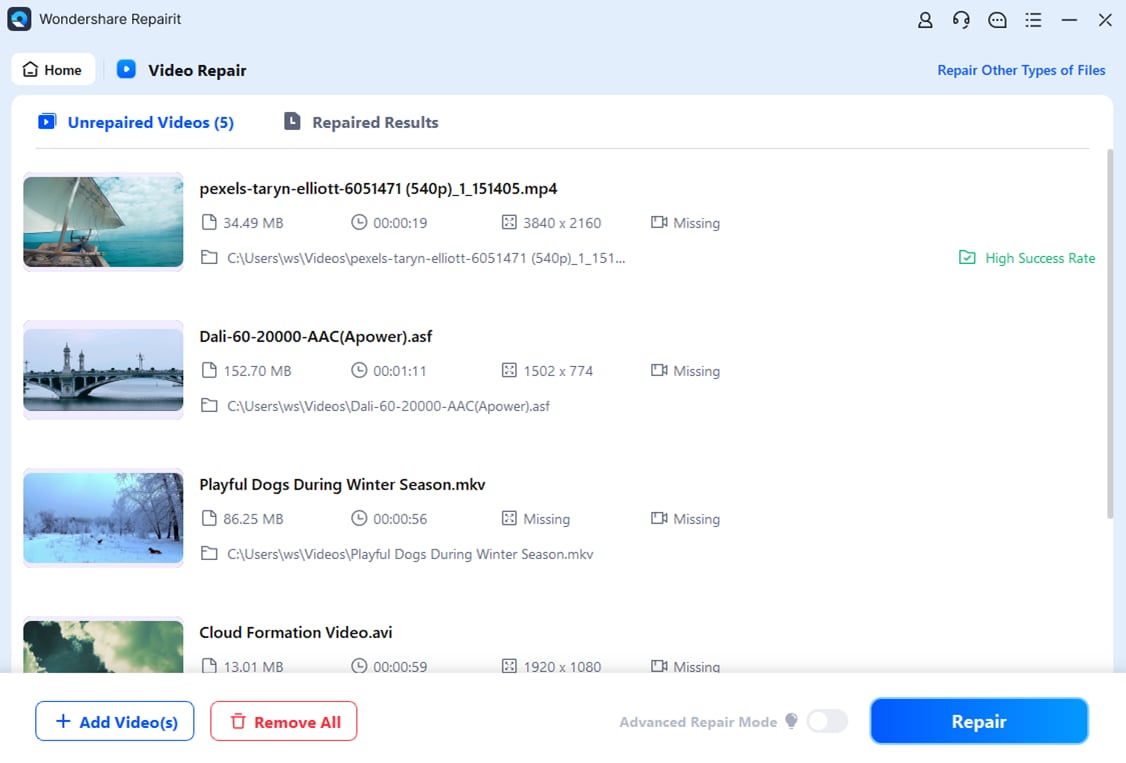
Step 2: Repairing the video
After adding, you will see the "Repair" button on your interface. Click on the button to start the repairing process. The repairing process will start. If it does not start, move on to step 3
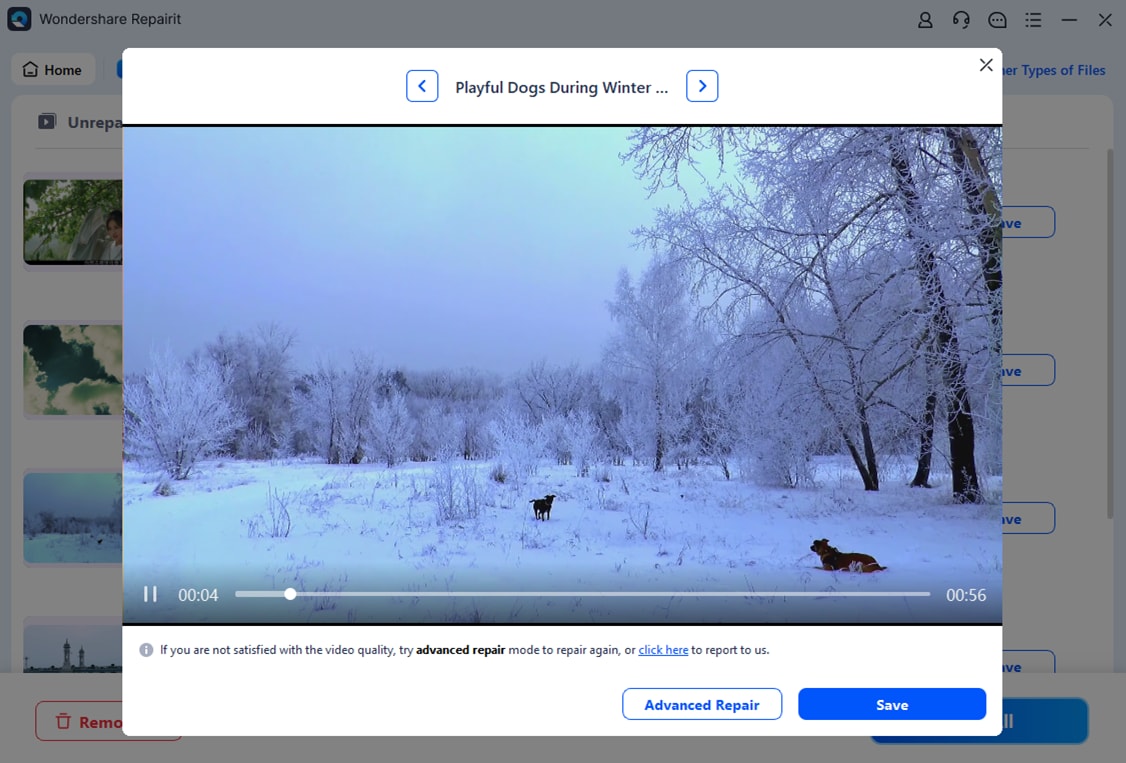
Step 3: Saving the 4K video
After repairing, you can preview and then save it.
Advanced Repair (Optional)
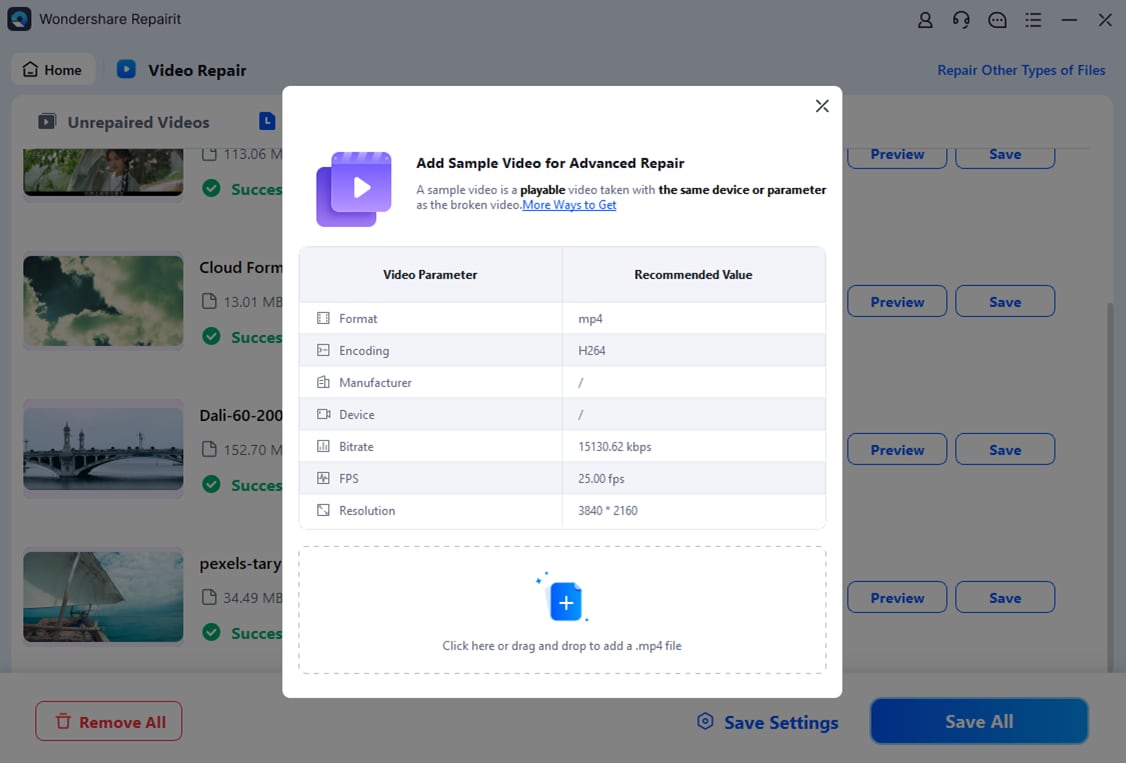
Some corrupted videos require a special repairing process. Wondershare Repairit will allow you to do Advanced Repair. You can add the sample video, but it should have the same format as the concerned corrupted video, i.e., 4K video.
Conclusion
People prefer video HD 4K format over other formats because of its improved resolution and greater pixels. It supports professional purposes like television, YouTube, and Netflix. But mostly under normal conditions, people are unable to play 4K videos in a VLC media player. You can follow the methods from this article to deal with this issue. Furthermore, if you have a corrupted video, Wondershare Repairit Software will repair it for you.



