

 TL;DR:
To fix photos ruined by excessive flash or overexposure, adjust camera exposure settings during capture or tone down existing images using post-processing editors and dedicated repair software.
● During capture, prevent overexposure by manually lowering the exposure level with the +/- buttons, using the Fill-in-Flash technique for dark outdoor subjects, or mounting the camera on a tripod to take multiple sequential manual shots for HDRI processing.
● For existing overexposed images, navigate to the Develop tab in Adobe Lightroom to manually decrease exposure, brightness, and saturation, or apply corrective darkening filters in tools like Photoshop, Pixlr, or PhotoScape.
● If the photos are severely damaged or corrupted, Wondershare Repairit can restore formats like JPG, CR2, and NEF on Windows and macOS 10.10 to 14, but its Advanced Repair module strictly requires you to load a working sample image shot from the exact same device and in the same format.
Ask AI for a summary
 ChatGPT
 Perplexity
 Gemini
 Claude
 Grok
Grok
Are your photos damaged with too much flash or saturation? Have you ever taken a picture that has got an abundance of flash, causing a white or luminant effect?
Well, the phenomenon is often related to overexposure as it can saturate the exposure of some pixels, taking away the true colorization of the image. Since there can be several reasons for this problem, you can try a couple of solutions to tone down an image's overexposure. In this post, I will let you know how to fix photos with too much flash in 9 tried-and-tested ways. Then read on and get to know about them.

Part 1. Possible Reasons for Too Much Flash in your Photos
Before we learn how to fix photos with too much flash, let's try to understand some common issues that can trigger this problem.
- Shooting Mode
If you are using a DSLR or any other camera in a manual mode, then you need to ensure that the right shooting mode is selected. For instance, if you have selected night mode, then clicking an image in broad daylight with it would lead to overexposure.
- Flash-related Issues
Besides that, the flash of your digital camera could be malfunctioning and might not be regulated anymore.
- Composition Error
Composition is one of the basic ideas of photography is composition. At times, a digital camera or your smartphone's camera can suffer from composition errors, leading to overexposure. Get a basic composition down is a good means to makes your photos interesting.
- Other Reasons
Besides that, while editing your image, you might end up overexposing it. There could be any other reason with your camera's firmware, or any vital component can be damaged.
Part 2. 9 Smart Ways to Fix Photos with Too Much Flash
Since these exposure issues can take place due to all kinds of reasons, you can try the following ways to fix your images.
Fix 1: Pick an Ideal Shooting Mode
On your smartphone, digital cameras, and DSLRs, you can find all kinds of shooting modes. For instance, if you are shooting in the dark, then you can use the night mode. Similarly, to capture moving objects, shutter mode is preferred.
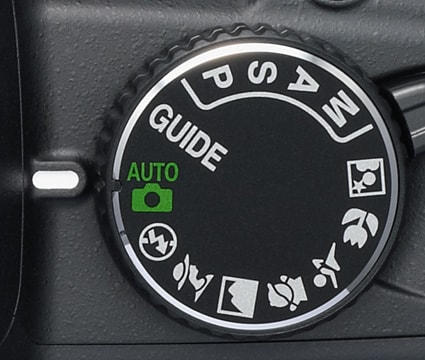
Now, let's consider a scenario in which you used night mode or set up high exposure for images. This can lead to overexposure by shooting the images in broad daylight.
Therefore, if you are new to photography, then consider picking the “Auto” mode for shooting. Alternatively, you can also adjust the exposure settings to make sure your images won't be too flashy.
Fix 2: Adjust the Overall Composition of Your Photo
If you want to fix photos with too much flash while clicking the image, then you can try this method. Most of the experts would recommend recomposing your image by moving the camera angle.
For instance, you can also implement the famous Rule of Third in photography that would divide your image into 9 equal grids. Now, you should try to adjust the overall scene in these grids in such a way that your images won't be overly exposed.

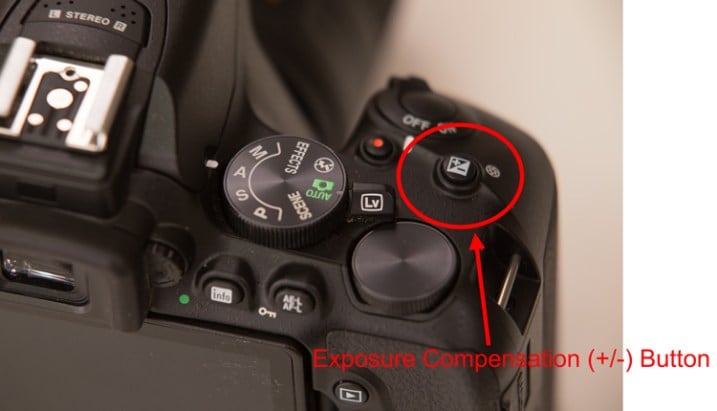
Fix 3: Manually Set its Exposure Level
If you are taking pictures in Auto Mode, then you won't have to worry about this. Though, most professionals consider using the manual mode, in which the inbuilt settings of your camera can lead to an overexposed image.
To fix photos with too much flash, you can consider adjusting their exposure manually. Most of the cameras have an inbuilt button for setting up exposure that you can find on the top or side. While clicking your images, you can use the + or – buttons to manually override the exposure level to get the right level.
As for the exposure, here are two articles for you to reading:
1. Knowledge of Overexposed Photos.
2. Tutorial to Fix Underexposed Pictures.
Fix 4: Consider the Overall Lighting
Before you click any picture, make sure that you consider its surrounding. After all, the overall brightness or darkness in the room/environment would let you customize all kinds of settings in your camera.
Let's consider that you are shooting a picture in the daylight. Now, if you would forcefully use the flash of your camera, then it can lead to overexposed images. To avoid that, you can just go to the settings of your camera and manually turn off its flash that would let you click more natural images.

Fix 5: Implement the Fill-in-Flash Technique
As I have listed above, you should avoid using flash when clicking photos outdoors, but there are a couple of exceptions. Let's say you are clicking a photo outdoors, but the main object is covered in the dark, a shade, or is against the sun.
In this case, if you turn off the flash, then it can lead to a darker object that you might not like. Therefore, you can consider turning on the flash of your camera while clicking the image of an object that appears in the dark. This technique is known as Fill-in-Flash, and it is mostly implemented by professionals.

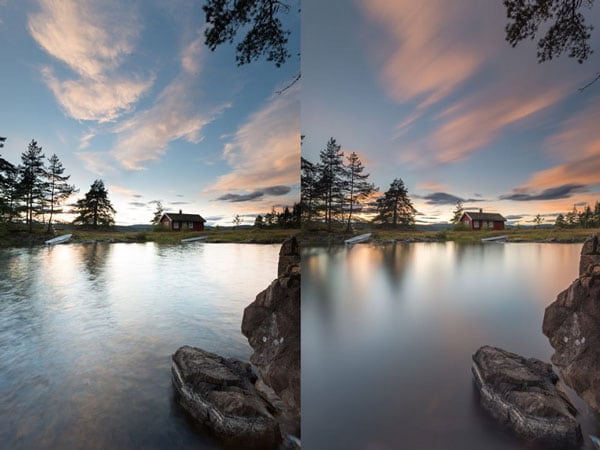
Fix 6: Apply the HDRI Principle
This is another professional trick that is mostly implemented by experts to fix photos with too much flash. It stands for High Dynamic Range Imaging and is applied to find the right balance of colors in a photo.
To implement this trick, you need to first place your camera on a tripod or a stand. Now, take the initial shoot with the auto mode and observe the results. Afterward, you can switch to the manual mode and take a sequence of several shots by keeping the aperture at the same value and changing other parameters.

Ideally, after taking a couple of shots at different exposure values, you would be able to get a perfect shoot.
Fix 7: Apply Any Corrective Filter
If you don't want to go through so much hassle or have already clicked the image, then you can consider applying a filter on it. There are all kinds of free and paid image editing tools like Pixlr, Photoshop, PhotoScape, and more that you can consider using.
You can consider applying any exposure corrective filter that would darken or tone down the image a little. Since you might not find one specific filter for this, you would have to try out a couple of options to get the desired output.
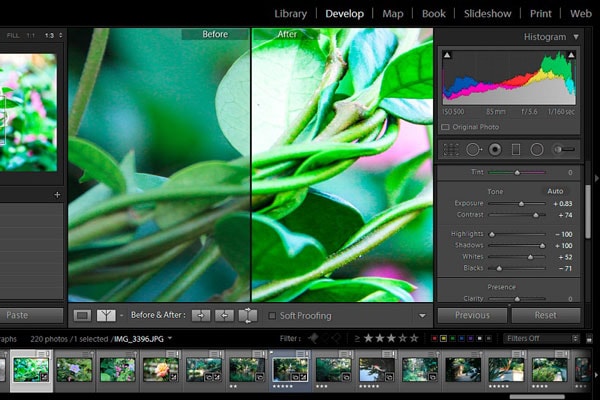
Fix 8: Use an Image Editing Tool like Lightroom
Furthermore, you can also consider using any dedicated image editing tool like Adobe Lightroom to fix photos with too much flash. It is a popular image editing tool that offers a wide range of options to alter the overall appearance of your photos.
Once you have loaded your photo on Lightroom, you can go to the “Develop” tab and browse the available image adjustment features. From here, you can manually change the exposure, brightness, darkness, hue, saturation, colorization, and tons of other parameters for your photo.
If you have problem when using lightroom, click here to read the related article - Complete Guide of Lightroom.
Part 3. 3 Clicks to Fix Flashy Photos with Photo Repair Software
Lastly, if your photo has already been clicked and you want to fix their ailments, then consider using Wondershare Repairit. It is a smart application that you can use to fix photos with too much flash and tons of other logical issues.

-
Repair damaged photos with all levels of corruption, such as grainy photos, dark photos, pixelated photos, faded photos, etc.
-
Repair images of diverse formats, such as JPG, JPEG, PNG, CR3, CR2, NEF, NRW, etc.
-
Repair critically damaged or corrupted photos available on SD cards, phones, cameras, USB flash drives, and more.
-
Support Windows 11/10/8/7/Vista, Windows Server 2003/2008/2012/2016/2019/2022, and macOS 10.10~macOS 14.
The application features two repairing modes that are known to yield positive results in numerous image corruption scenarios. You can also give Repairit a try by following this basic drill.
Step 1: Load the Photos to Fix on Repairit
At first, you can just launch Wondershare Repairit, go to the Photo Repair feature, and click on the “Add” button to load any corrupt image.

Once you have loaded your images on Repairit, you can check their details, and commence the repairing process.
Step 2: Fix your Loaded Photos on Repairit
Simply click on the “Repair” button and wait as Repairit would try to fix your corrupted or damaged photos via its Quick Repair module.

You can now just click on the eye icon or the Preview button to check the results of the Quick Repair mode.
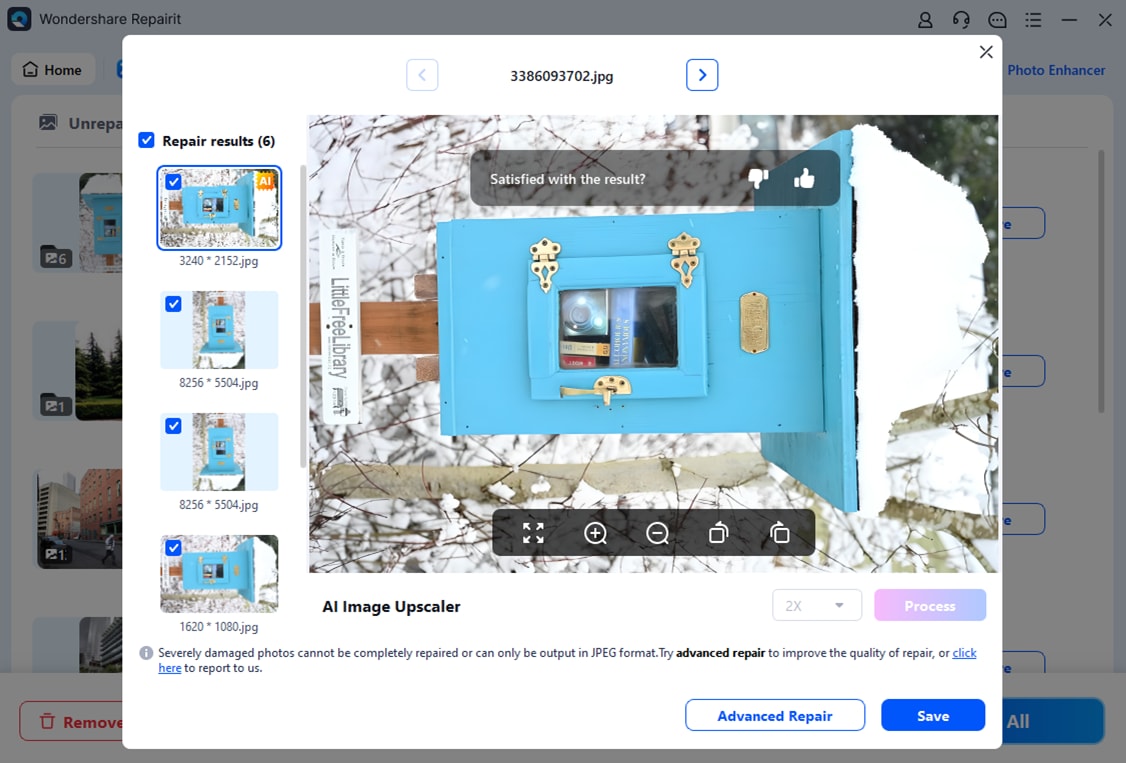
Though, if there are more severe issues with your photos, then Repairit will let you know. In this case, you can click on the “Advanced Repair” button from the bottom. To perform an Advanced Repair, you are needed to load a sample image (shot of the same device as the damaged image and must be of the same format).
Once the Advanced Repair scan is completed, Repairit will let you know so that you can preview its results as well.

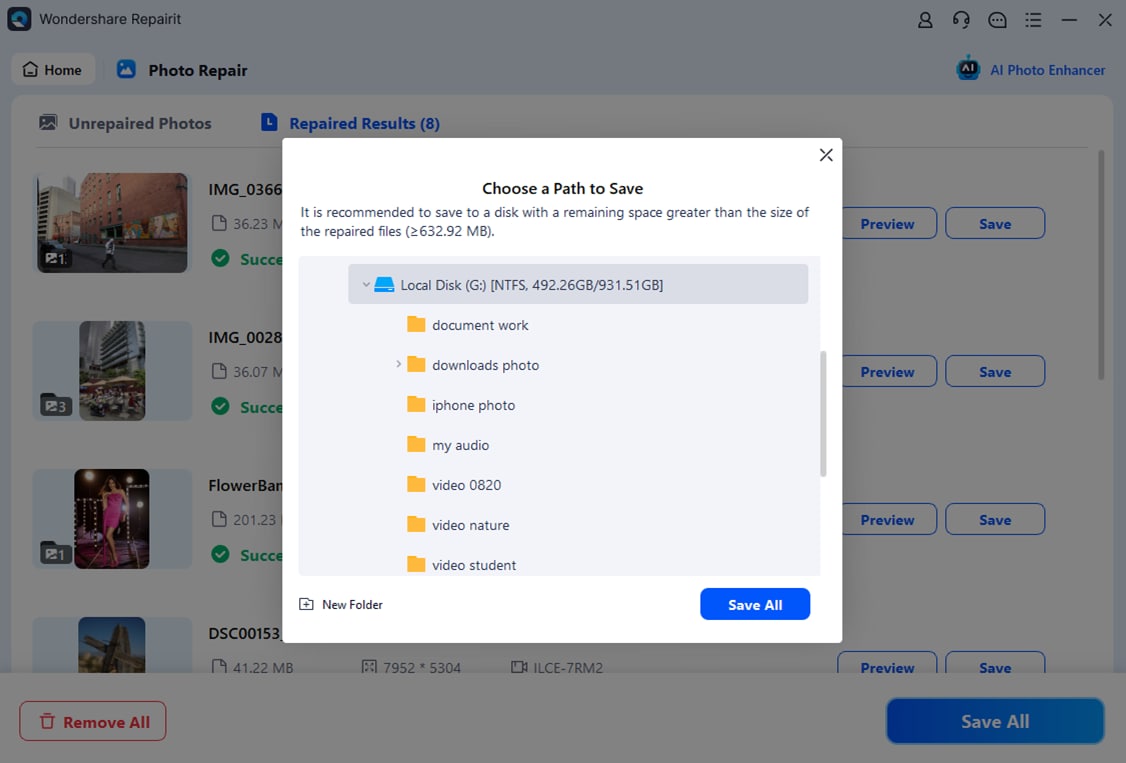
Step 3: Export the Repaired Photo
That's it! When you are satisfied with the end results, just click on the “Save” or “Save All” button. You can now select a location where you want to save your repaired photos on your computer.
Following this basic drill, you can also fix numerous other issues with your photos like a corrupt header, pixelated images, photos that can't be opened, and so on.
Summing-up
There you go! I'm sure that after following this guide, you would be able to fix your photos with too much flash or overexposure. Since this issue with images can be caused by numerous reasons, I tried to list every possible way to fix it. Just make sure that you are using the right shooting mode and adjust the exposure compensation settings on your camera to get better results. Though, if your image has already been overexposed or is damaged, then using a tool like Wondershare Repairit would be an ideal solution.
FAQs
-
How to fix photos that are too bright?
You can consider opening the image in an editing tool and manually adjust its exposure, brightness, and darkness parameters to get the desired results. -
How can I fix a whitewashed photo?
You can always try to click the image again by altering its exposure. If not, then you can open it with an image editor and apply all kinds of exposure corrective filters. -
How can I avoid overexposure while taking photos?
Try to customize the exposure settings on your camera using the designed buttons and simply turn off the flash. You can also change the overall perspective of your image or set up a new composition to get better results.