

By turning black-and-white images into colored ones, you can bring life to your precious memories. For that, there are various tools, just like Photoshop, to generate a vibrant and realistic look quickly. However, using this tool might require technical knowledge since its wide range of features can baffle the users.
Therefore, in this guide, we have gathered a detailed guide on how to Photoshop black and white images into colored ones. Besides using Photoshop, you'll learn about another tool that will allow you to bring images to life using AI technology. So, review the details till the end and see how these tools can transform your ordinary images.
In this article
Part 1. What are Neural Filters in Photoshop?
Before you know how to colorize in Photoshop, do you know what the neural filter is? Know that these filters are AI-powered tools that use machine learning to enhance and transform your photos effortlessly. Not just that, these filters allow for quick, smart edits with just a few clicks, which makes complex tasks easier. Below are some of the neural filters of Photoshop that you can consider while coloring the images:
- Skin Smoothing: As the name shows, this filter automatically smooths skin and reduces imperfections, which ultimately gives portraits a clean, polished look. Having this ability, it's perfect for enhancing facial features without manual retouching.
- Style Transfer: In addition to skin smoothing, Style Transfer is another filter that applies the visual characteristics of famous paintings or photos to your image. Moreover, this filter creates a unique blend and transforms your old and decolorized photo into a work of art.
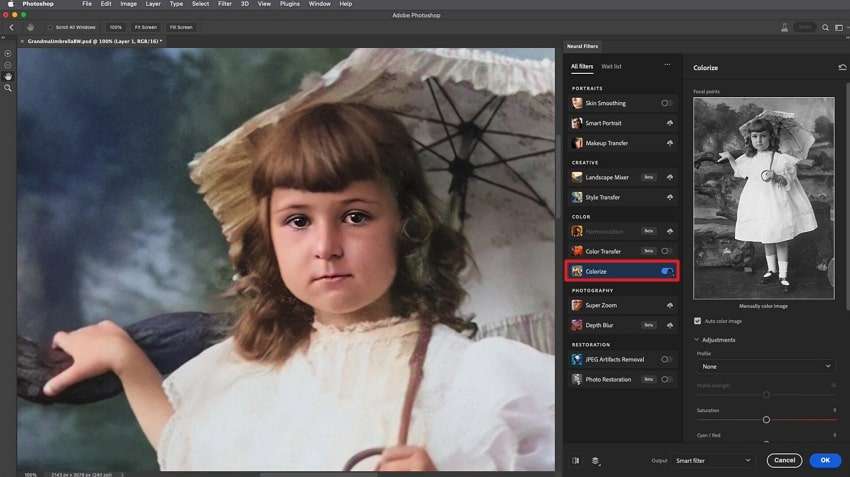
- Colorize: The Colorize filter brings color to black-and-white photos by detecting objects and applying realistic hues. With this ability, this filter is considered a quick and easy way to add life to old images.
- Super Zoom: To enhance the quality of zoomed-in sections of an image, users can opt for the Super Zoom filter. Through this, they can increase the resolution and sharpness without losing detail, making blurry photos clearer.
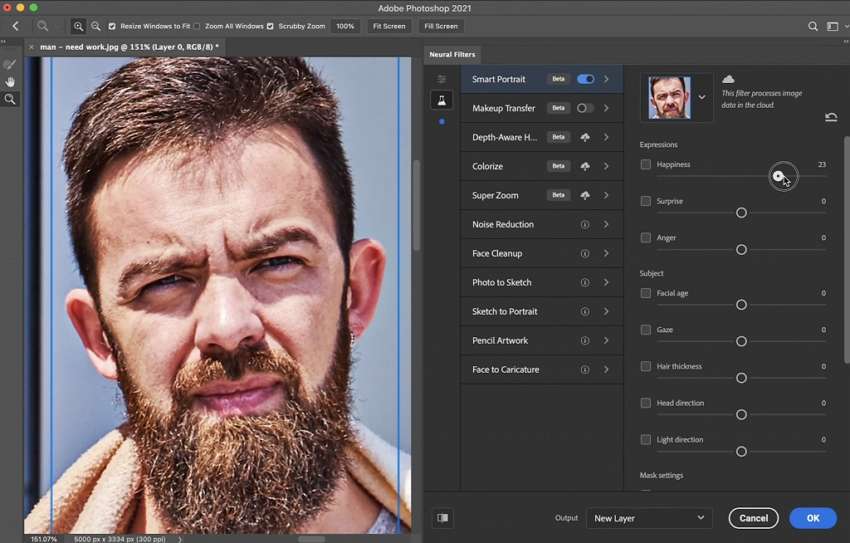
- Smart Portrait: Last but not least, Smart Portrait allows you to modify facial features like age, expression, and gaze. It's a simple and effective way to customize portrait images for a desired effect without losing the quality.
Part 2. How to Colorize Black and White Photos in Photoshop Using Neural Filters?
Since you know about the neural filters, let's move ahead to learn how to modify black & white photos to color in Photoshop. For your assistance, here is the stepwise detailed way to use neural filters in Photoshop to add colors to portraits:
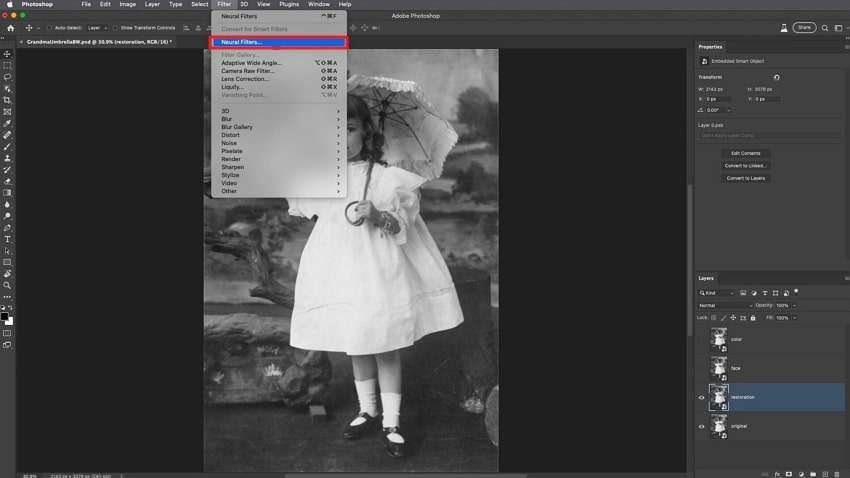
Step 1. Start by accessing Photoshop on your device and importing your picture, which requires editing. Afterward, choose “Neural Filters” from the “Filter” drop-down menu.
Step 2. This will fetch a list of neural filters on the right side of the screen, where you have to toggle the “Colorize” filter. After a while, certain colors will be added to the image, which will boost its overall visibility.
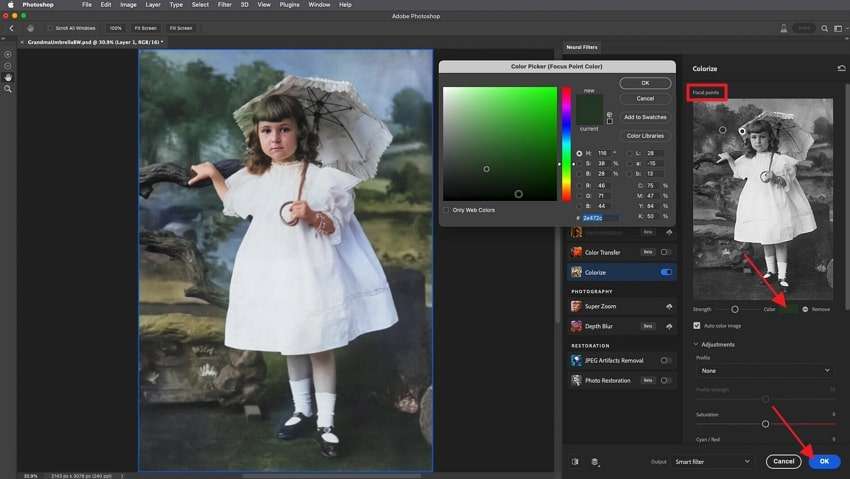
Step 3. If you want to change certain colors, tap the image part in the “Focal Point” section. After that, hit the “Color” option beneath the image and pick the color you want to change. This will fetch a color palette for you to select the desired color. When it's done, hit the “OK” button and start exporting the results to your device.
Part 3. The Most Cost-Efficient and Innovative Alternative to Colorize Photoshop Feature
Besides colorizing black and white photos in Photoshop, you can also use an online tool to add color to the images, which is Repairit. What makes this tool the finest choice is its intuitive interface, which makes the tool navigation seamless for any type of user. Not only that, instead of using a technical tool, this just enables you to upload the target image, and it can colorize it in just a few seconds.
Using advanced algorithms, Repairit ensures enhanced accuracy while colorizing the image without affecting the original image. In addition, it gives you leverage when previewing before and after the colored images to determine if they meet the standards.
Key Features of Repairit Photo Colorizer

-
Repair damaged photos with all levels of corruption, such as grainy photos, dark photos, pixelated photos, faded photos, etc.
-
Repair images of diverse formats, such as JPG, JPEG, PNG, CR3, CR2, NEF, NRW, etc.
-
Repair critically damaged or corrupted photos available on SD cards, phones, cameras, USB flash drives, and more.
-
Repairit has a quick and advanced repairing mode. You can use either depending on the level of corruption the photos has undergone.
-
The "AI Image Upscaler" feature can enlarge the repaired photos to 2X, 4X, and 8X.
-
Intelligently restore old/scratched photos and colorize black and white photos with various AI effects.
-
No limit to the number and size of the repairable photos compared with the online version of Repairit.
-
Support Windows 11/10/8/7/Vista, Windows Server 2003/2008/2012/2016/2019/2022, and macOS 10.12~macOS 13.
Detailed Step-by-Step Guide to Colorize Images with Repairit
Instead of turning black-white photos to color in Photoshop, try using this tool to get instant and high-end results. To assist you, here is the comprehensive yet detailed stepwise guidance:
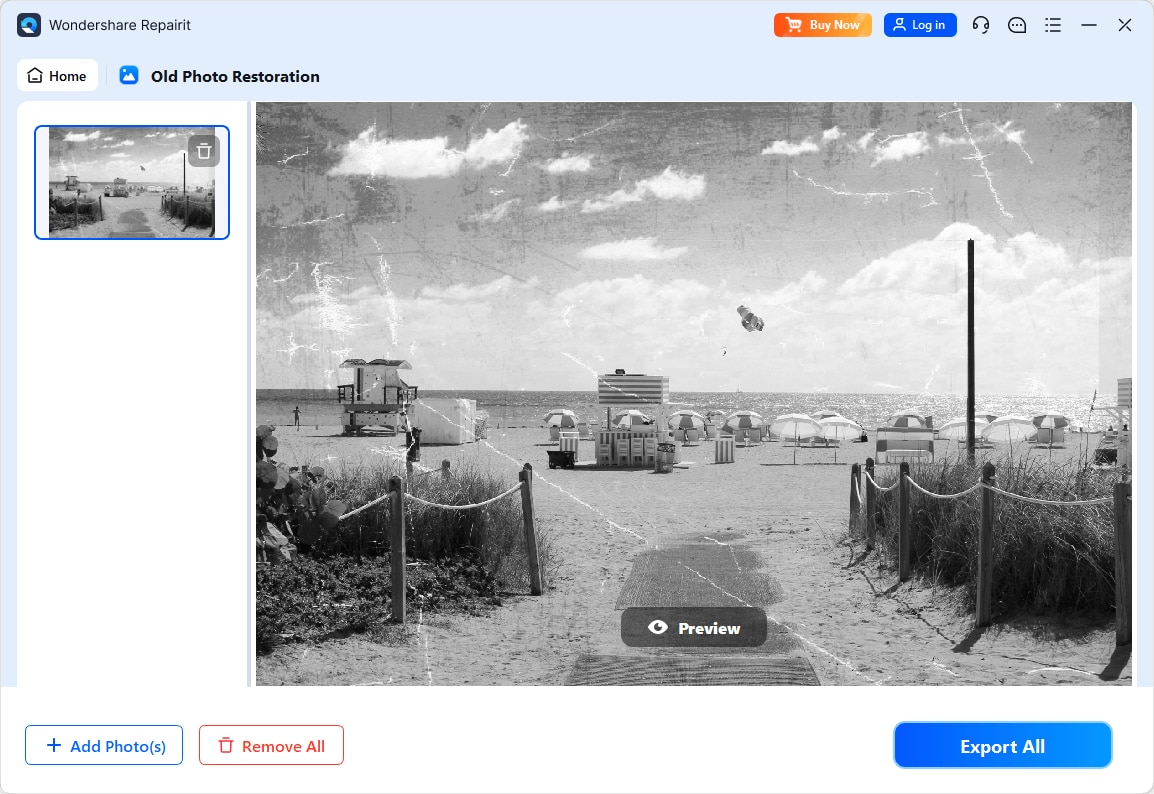
Step 1. Access the Tool
Initiate this task by launching the Repairit for Color Correction tool on your device. Now, select "AI Photo Enhancer" from the "More Types Repair" section.

Step 2. Import the Decolored Image
Then tap the “+Add” button to import the desired decolorized image.

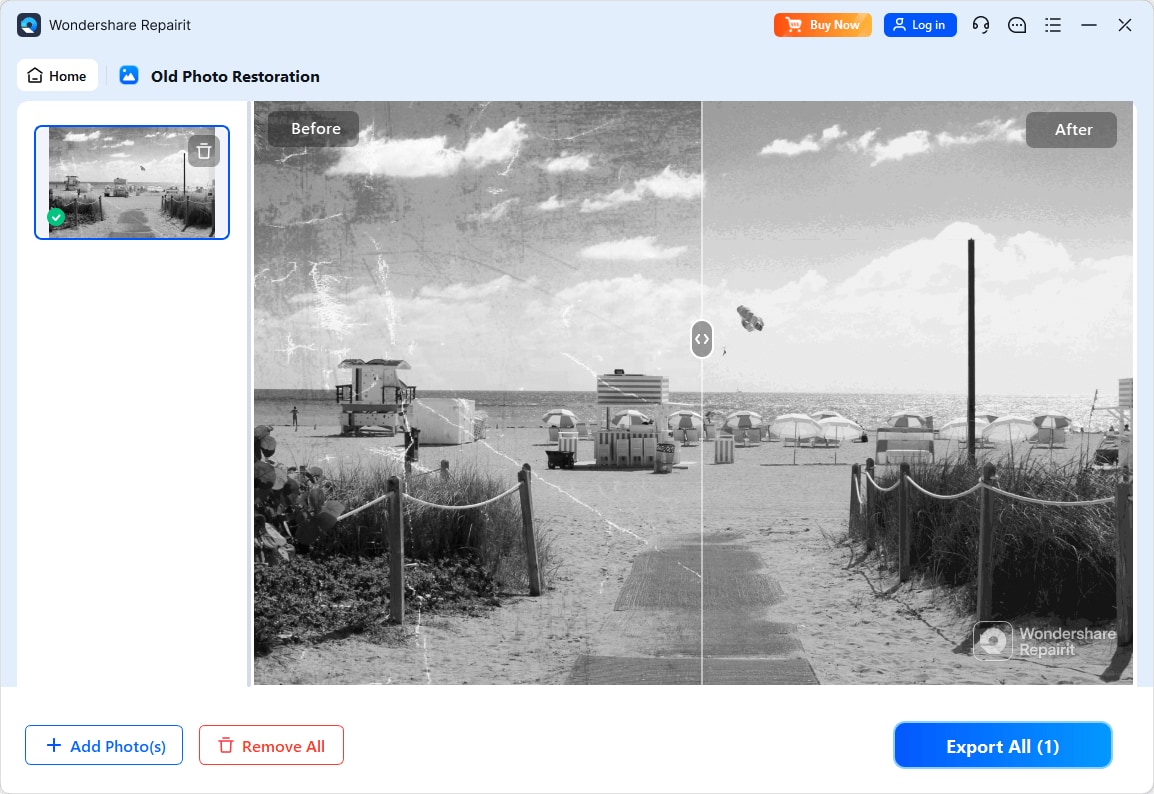
Step 3. Colorize black and white photos
Please choose "Old Photo Restoration" from the three AI models after adding your files. Then click the "Start Enhancing" button to process your old photos with AI.
Step 4. Preview and Save
After colorizing the black and white photos, you can preview the final result to check the photo quality. If you're satisfied with it, click on the "Save" button and choose a path to save the photos.
Colorize Your Black and White Photos Now
 Security Verified. Over 7,302,189 people have downloaded it.
Conclusion
In a nutshell, Photoshop colorizes old photos instantly by using its neural filters and adding appealing colors to the portraits. However, some users need proper guidance to do that; therefore, in this article, we have mentioned comprehensive details about neural filters and how you can use the colorized filter.
Besides that, we have also mentioned a reliable online tool, Repairit Online, through which you can colorize the image easily while upscaling its quality. This tool is recommended mainly because of its batch processing facility, which reduces the user's manual effort.
FAQ
-
Can Photoshop automatically colorize black-and-white photos?
Yes, Photoshop has a colorized Neural filter that can automatically add colors to black-and-white images with just a few clicks. For that, it uses AI technology to detect objects and add realistic hues in just one tap. -
Is it challenging to colorize black-and-white photos in Photoshop?
If you have technical knowledge about image editors, you can easily add colors to images with Photoshop by using its neural filters. In case this tool confuses you, consider using Repairit Online to add color to portraits instead of spending hours on colorized Photoshop options. -
Do I need to be an expert to use Photoshop’s colorizing tools?
It depends on your knowledge, but Photoshop's colorizing tools are beginner-friendly overall, and the AI-powered neural filters make the process much easier. However, if you seek a simple solution, try using Repairit Online to bring life to your memories.
