Choosing between Repairit Video Enhancer vs Wondershare Filmora comes down to what you care about most: deep, AI-driven visual upgrades or simple editing with basic improvements. Repairit Video Enhancer concentrates on improving video clarity, sharpness, and resolution, while Wondershare Filmora focuses on an easy timeline editor with quick filters and light enhancement tools. This comparison walks through quality, workflow, and use cases so you can decide when a dedicated enhancer like Repairit is worth adding to or choosing instead of a general editor.
The goal is not to replace your editor, but to understand where an AI enhancer fits into your workflow. If you work with low-resolution or soft footage, the right tool choice can mean cleaner motion, more detail, and fewer artifacts before your final edit. If your source clips already look good, a simple editor with built-in enhancement might be enough.
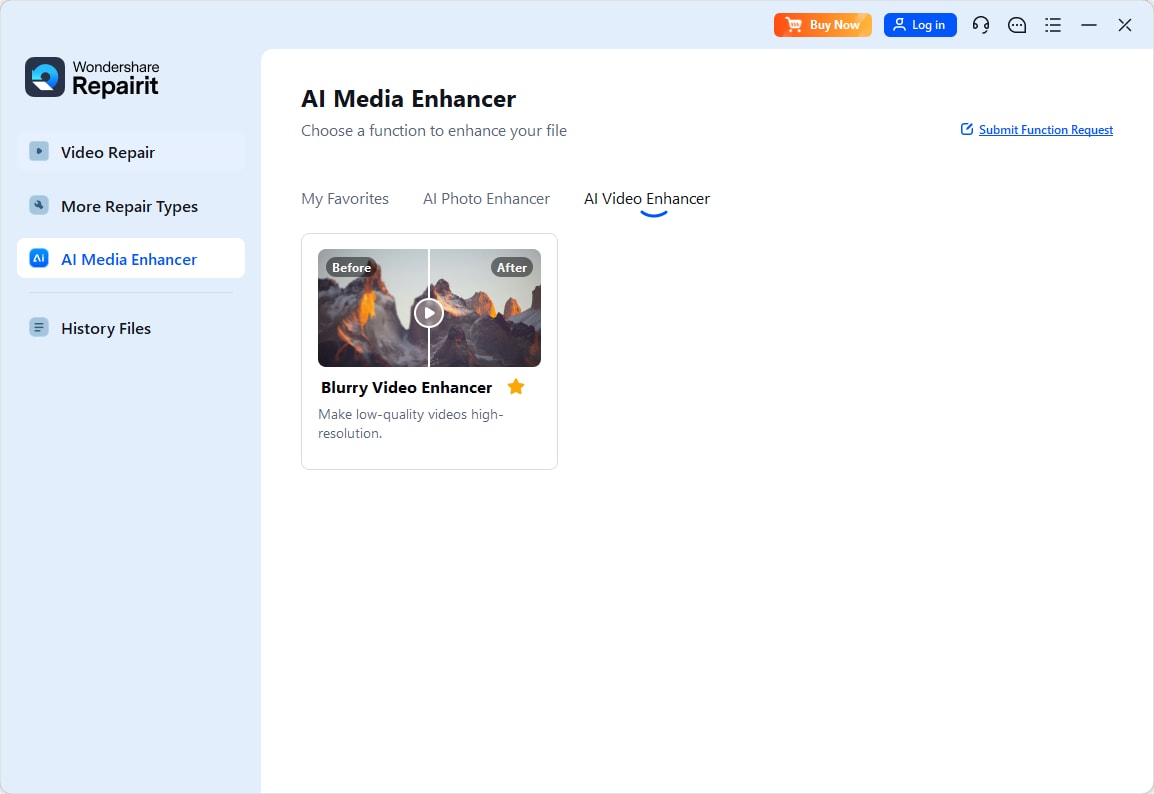
Enhance Video Quality with Repairit Video Enhancer
 Security Verified. Over 7,302,189 people have downloaded it.
In this article
- Repairit Video Enhancer vs Wondershare Filmora: Quick Verdict
- Repairit Video Enhancer vs Wondershare Filmora: Key Differences
- Repairit Video Enhancer vs Wondershare Filmora: Comparison Table
- What Repairit Video Enhancer and Wondershare Filmora Are Best For
- Repairit Video Enhancer vs Wondershare Filmora: Technology and Enhancement Approach
- Repairit Video Enhancer vs Wondershare Filmora: Output Quality and Real-World Results
- Repairit Video Enhancer vs Wondershare Filmora: Workflow and Ease of Use
- Repairit Video Enhancer vs Wondershare Filmora: Pricing and Trial Options
- Who Should Choose Repairit Video Enhancer
- Who Should Choose Wondershare Filmora
- Repairit Video Enhancer vs Wondershare Filmora: Pros and Cons
- How to Enhance Videos After Choosing the Right Tool
Repairit Video Enhancer vs Wondershare Filmora: Quick Verdict
In most cases, Repairit Video Enhancer is a stronger choice when you need to noticeably enhance video quality, especially for low-resolution, noisy, or soft footage. It uses AI to upscale, reduce noise, and sharpen details with a focused workflow.
Wondershare Filmora is better suited as a beginner-friendly editor for cutting clips, adding titles, and applying quick filters. Its enhancement tools can lightly improve already decent footage but are less targeted than a dedicated AI enhancer.
For many users, the most practical approach is to run difficult clips through Repairit first for clarity and resolution upgrades, then finish editing and styling inside Filmora.
Repairit Video Enhancer vs Wondershare Filmora: Key Differences
The key difference between Repairit Video Enhancer vs Wondershare Filmora lies in scope and depth:
- Focus: Repairit centers on AI enhancement, while Filmora centers on timeline editing with light quality tools.
- Quality goals: Repairit aims to upscale low-resolution video, reduce noise, and sharpen soft details. Filmora focuses on reasonable visual polish via filters and basic sliders.
- Control: Repairit provides enhancement modes tuned for clarity and denoising; Filmora offers general adjustments like brightness, contrast, and sharpness.
- Workflow role: Repairit fits before or alongside any editor; Filmora is typically the place where you assemble and finish your project.
This matters if you frequently handle old, compressed, or dark clips that need more than simple filters to look acceptable.
Repairit Video Enhancer vs Wondershare Filmora: Comparison Table
| Dimension | Repairit Video Enhancer | Wondershare Filmora |
|---|---|---|
| Best for | Users focused on enhancing low-quality or old footage with AI-driven quality upgrades | Beginners and casual creators who want simple editing with basic enhancement tools |
| Ease of use | Guided workflow focused on a few clear enhancement options | Very beginner-friendly timeline editor with drag-and-drop controls |
| Output quality | Strong results for upscaling, reducing noise, and sharpening soft footage | Good quality for everyday videos using built-in filters and manual adjustments |
| Workflow | Import, pick enhancement model or preset, preview, then export enhanced clip | Import video, apply filters or effects, tweak brightness and sharpness, preview, export |
| Strengths | Focused AI enhancement, clarity improvements, and resolution upscaling | Simple interface, quick results, and convenient built-in filters for casual polishing |
| Weaknesses | Less suited to detailed timeline editing or storytelling | Limited advanced control over fine-grain enhancement parameters |
What Repairit Video Enhancer and Wondershare Filmora Are Best For
At a high level, Wondershare Filmora is a beginner-friendly video editor, while Repairit Video Enhancer is a specialist for visual upgrades. Their strengths rarely overlap completely, so choosing the right one depends on your main task.
Repairit Video Enhancer is best when your priority is to:
- Improve video clarity in old, soft, or heavily compressed clips.
- Upscale video resolution from lower resolutions to match modern displays.
- Reduce visible noise and blur in dark or noisy scenes.
- Prepare higher-quality source clips before editing in any timeline-based tool.
Wondershare Filmora is best when you mainly want to:
- Cut and arrange clips on a timeline with minimal learning curve.
- Add music, text, and transitions for social content or simple projects.
- Apply quick filters and basic color or sharpness tweaks to decent footage.
- Keep editing and enhancement in one easy interface.
In short, Repairit focuses on making the footage itself look better, while Filmora focuses on making the story easier to assemble and share.
Repairit Video Enhancer vs Wondershare Filmora: Technology and Enhancement Approach
Repairit Video Enhancer uses AI models aimed specifically at visual improvement. Its core feature set includes:
- AI-powered upscaling to raise apparent resolution for softer or smaller videos.
- Noise and blur reduction tuned for low-quality or dark footage.
- Automatic sharpening that tries to enhance fine details without heavy manual work.
This approach suits users who would rather choose an enhancement mode than tweak multiple technical sliders. The goal is to offload most of the decision-making to the AI model while still letting you preview and judge the result.
Wondershare Filmora relies more on traditional, editor-style controls. It typically offers:
- Built-in filters and looks that change overall color and contrast.
- Manual sliders for brightness, contrast, saturation, and sharpness.
- Basic correction options that lightly improve footage during the edit.
While Filmora may also integrate some smart or automated adjustments, its main role is not as a specialized AI enhancer. It gives you broad control to make footage look better, but with less targeted focus on aggressive noise reduction or resolution upscaling than a dedicated enhancement tool.
Repairit Video Enhancer vs Wondershare Filmora: Output Quality and Real-World Results
When you compare output quality, context matters. With high-quality, well-lit footage, both tools can produce pleasant results. The gap becomes clearer when the source video is challenging.
Where Repairit Video Enhancer tends to stand out:
- Low-resolution clips: AI-driven upscaling can help soften blocky edges and add perceived detail so videos look more natural on larger screens.
- Noisy or dark footage: Dedicated denoising and deblurring can reduce grain and flicker, often making faces and text easier to see.
- Soft or compressed videos: Targeted sharpening can improve edge definition while trying to avoid over-sharpened halos.
Where Wondershare Filmora is typically enough:
- Clips from modern smartphones or cameras that are already sharp.
- Vlogs, screen recordings, and tutorials where mild color and sharpness tweaks are sufficient.
- Situations where overall style and pacing matter more than squeezing out every bit of detail.
Neither tool can fix every problem in severely damaged footage, but in many everyday scenarios, Repairit offers deeper quality changes, while Filmora focuses on fast, good-enough visual polish within the edit.
Repairit Video Enhancer vs Wondershare Filmora: Workflow and Ease of Use
Both tools aim to be approachable, but they fit different stages of a typical workflow.
Repairit Video Enhancer workflow usually looks like this:
- Import a single clip or a batch of videos.
- Choose an AI enhancement mode or preset for clarity, denoise, or upscaling.
- Preview a before-and-after comparison to judge improvements.
- Export the enhanced clip for editing or sharing elsewhere.
This focused flow means fewer distractions if you only want to improve video clarity and resolution, with minimal concern about timelines or multi-track editing.
Wondershare Filmora workflow is more like a traditional editor:
- Import multiple clips, audio, and assets into a project.
- Drag and drop them to a timeline to build your story.
- Apply filters, transitions, and basic adjustments such as brightness or sharpness.
- Preview the whole sequence, then export the final video.
Filmora is usually easier if you are new to editing and want everything in one place. Repairit is often faster when you only need quality enhancement without editing.
Repairit Video Enhancer vs Wondershare Filmora: Pricing and Trial Options
Both products are typically available with some form of trial or limited free use so you can assess enhance video quality results before paying.
Repairit Video Enhancer is positioned as a dedicated quality enhancement tool. Its value is tied to how often you work with low-quality or old footage and how much you benefit from AI-driven upscaling and denoising.
Wondershare Filmora is usually licensed as a complete editing suite with ongoing access to its timeline, effects, and built-in filters. You pay primarily for editing capability, with enhancement as part of that package.
Because plans and promotions change over time, it is best to check current pricing directly on each official website and consider whether you need a full editor, a dedicated enhancer, or both.
Who Should Choose Repairit Video Enhancer
You are likely to benefit most from Repairit Video Enhancer if any of the following describe your situation:
- You need to enhance low-resolution or soft footage before editing it in tools like Filmora.
- You often work with old, noisy, or dark videos where details and faces look muddy.
- You prefer an AI-guided workflow that handles upscaling, denoising, and sharpening with minimal manual tuning.
- You care more about noticeable improvements in clarity and motion than about advanced timeline editing.
- You want a repeatable process to prepare clips for multiple platforms or editors.
In these cases, running footage through Repairit first can give you cleaner material, making the rest of your editing process smoother and more flexible.
Who Should Choose Wondershare Filmora
Wondershare Filmora remains a reasonable choice for users whose primary need is editing rather than heavy enhancement. It is a good fit if:
- You are a beginner or casual creator who wants an all-in-one, easy-to-learn editor.
- Your footage is already reasonably sharp and clear, such as modern smartphone clips or screen recordings.
- You mainly need to cut, arrange, and add titles, transitions, and background music.
- You are satisfied with basic enhancement tools like filters, color tweaks, and light sharpening.
- You prefer not to switch between multiple apps unless absolutely necessary.
In this scenario, Filmora can handle both editing and light polishing inside a single, familiar interface.
Pros and Cons of Repairit Video Enhancer and Wondershare Filmora
Repairit Video Enhancer Pros and Cons
Wondershare Filmora Pros and Cons
How to Enhance Videos After Choosing the Right Tool
Once you understand how Repairit Video Enhancer vs Wondershare Filmora compare, the next step is actually improving your footage. A practical approach is to use a dedicated enhancer to clean and upscale your clips, then move into an editor for storytelling and finishing touches. This way you separate technical quality work from creative editing.
Repairit Video Enhancer offers a guided way to upgrade resolution, reduce noise, and sharpen soft footage before you import clips into Filmora or any other editor. Below is how that process works in more detail.
Key Features
Key capabilities that matter for day-to-day enhancement include:
- AI enhancement modes for clarity, denoise, and sharpening, so you can match the model to your footage type.
- Video upscaling aimed at improving how low-resolution sources look on higher-resolution screens.
- Preview tools to compare original and enhanced versions before you commit to exporting.
Together, these features give you a controlled way to improve details in low-quality videos without diving into complex manual grading.
Step-by-step guide
Step 1. Choose an AI enhancement model based on your video quality needs, such as upscaling, denoising, or overall clarity improvement.
Step 2. Import your video into Repairit Video Enhancer to begin the enhancement process.
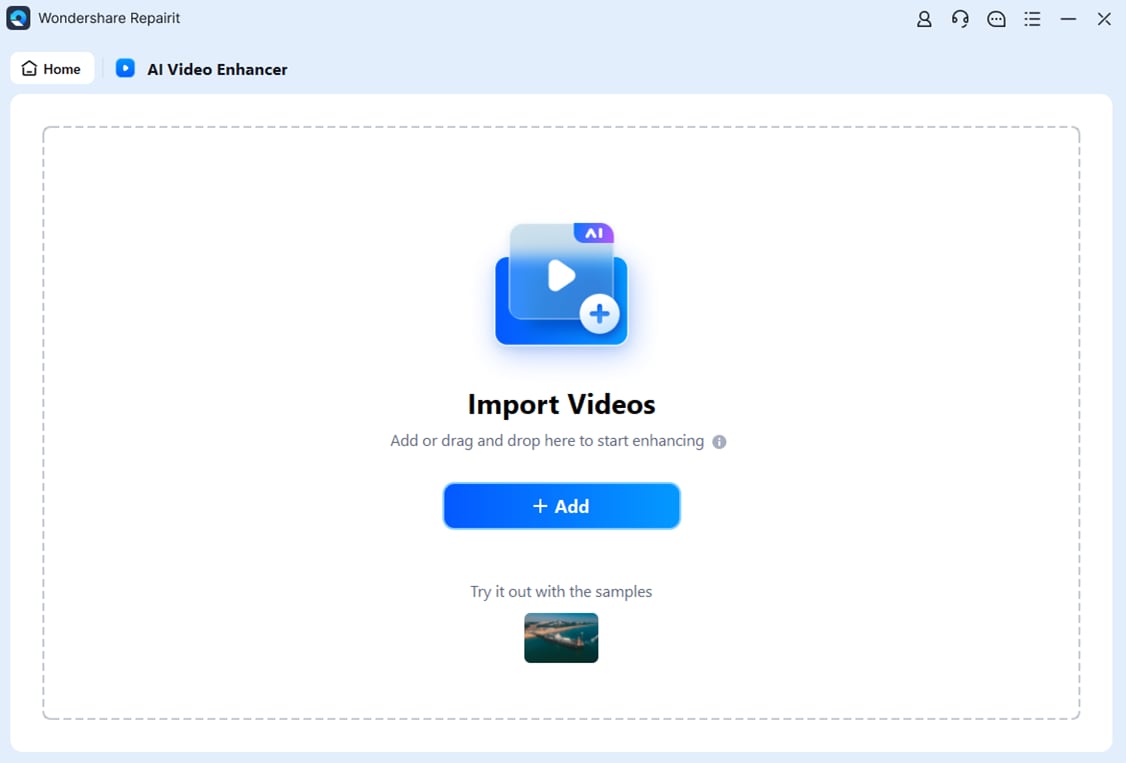
Step 3. Start enhancing and let the AI improve sharpness, reduce blur, and enhance the overall video quality.

Step 4. Preview the enhanced result and save the improved video to your device.

Final Verdict
When you weigh Repairit Video Enhancer vs Wondershare Filmora, the decision depends less on which tool is better overall and more on what your footage needs.
Choose Repairit Video Enhancer when you are dealing with low-resolution, noisy, or soft clips where quality is the main bottleneck. Its AI-driven workflow is designed to upscale video resolution, reduce noise, and sharpen details so your footage looks cleaner before editing.
Choose Wondershare Filmora when your videos already look reasonably clear and you mainly need an accessible editor to cut, arrange, and stylize content. Its built-in enhancement tools are often enough for vlogs, tutorials, and social clips shot on modern devices.
Many creators will get the best results by combining both: run tough clips through Repairit first for serious enhancement, then assemble and finish them in Filmora. This two-step approach balances quality upgrades with ease of editing and keeps each tool focused on what it does best.
Next: Repairit Video Enhancer vs Shotcut
FAQ
-
1. Is Repairit Video Enhancer better than Wondershare Filmora for improving low-quality videos?
For low-resolution, noisy, or blurry clips, Repairit Video Enhancer is usually more suitable because it focuses on AI-driven upscaling, denoising, and sharpening. Wondershare Filmora offers general editing with basic adjustments, which can help decent footage but may not be enough for heavily degraded videos. -
2. Can I use Repairit Video Enhancer and Wondershare Filmora together in one workflow?
Yes. A common approach is to enhance your footage in Repairit Video Enhancer first to improve clarity and resolution, then import the upgraded clips into Wondershare Filmora for cutting, adding text, transitions, and final export. -
3. Which is easier for beginners, Repairit Video Enhancer or Wondershare Filmora?
Both are approachable but in different ways. Repairit Video Enhancer keeps things simple with a focused, step-by-step quality-improvement flow. Wondershare Filmora provides a familiar timeline editor that many beginners find comfortable for complete projects with multiple clips, audio tracks, and effects.