Choosing between an AI-focused video enhancer and a lightweight editor like Avidemux can be confusing. Both can improve video quality, but they work in very different ways. This guide compares Repairit Video Enhancer and Avidemux on output quality, workflow, and who each is best for, so you can quickly decide which tool fits your everyday video enhancement needs.
Enhance Video Quality with Repairit Video Enhancer
 Security Verified. Over 7,302,189 people have downloaded it.
In this article
- Repairit Video Enhancer vs Avidemux: Quick Verdict
- Repairit Video Enhancer vs Avidemux: Key Differences
- Repairit Video Enhancer vs Avidemux: Comparison Table
- What Repairit Video Enhancer and Avidemux Are Best For
- Repairit Video Enhancer vs Avidemux: Technology and Enhancement Approach
- Repairit Video Enhancer vs Avidemux: Output Quality and Real-World Results
- Repairit Video Enhancer vs Avidemux: Workflow and Ease of Use
- Repairit Video Enhancer vs Avidemux: Pricing and Trial Options
- Who Should Choose Repairit Video Enhancer
- Who Should Choose Avidemux
- Pros and Cons of Repairit Video Enhancer and Avidemux
- How to Enhance Videos After Choosing the Right Tool
Repairit Video Enhancer vs Avidemux: Quick Verdict
If your main goal is to enhance video quality in soft, noisy, or low-resolution clips with minimal tweaking, Repairit Video Enhancer is usually the more effective option because of its AI-based upscaling, denoising, and sharpening models. If you mostly need to cut clips, apply light sharpening, or adjust basic filters in a free, lightweight tool, Avidemux can be a solid fit.
In most everyday scenarios:
- Choose Repairit Video Enhancer when you want noticeable improvements in clarity, reduced noise, and better detail without learning complex filter chains.
- Choose Avidemux when you prefer a small, free editor for quick trims, basic enhancements, and encoding tweaks, and you do not need AI-level upscaling.
Repairit Video Enhancer vs Avidemux: Key Differences
The key difference between Repairit Video Enhancer vs Avidemux is how they approach improving video quality. Repairit leans on AI models that automatically upscale resolution, reduce noise, and sharpen soft footage. Avidemux provides manual filters inside a classic editor interface, leaving most quality decisions to you.
From the provided comparison:
- Best for: Repairit focuses on users who want AI assistance for low-quality, soft, or noisy videos. Avidemux is better for users needing quick cuts and simple adjustments.
- Ease of use: Repairit offers a guided, preset-based workflow. Avidemux is lightweight but expects more technical familiarity with filters and encoding.
- Output quality: Repairit targets visible upgrades through AI upscaling and denoising, while Avidemux gives more subtle changes that depend on how well you tune filters.
- Workflow: Repairit centers on import, choose AI model, preview, and export. Avidemux follows a traditional apply-filters-and-export pattern.
- Strengths and weaknesses: Repairit is stronger for difficult footage and beginners, while Avidemux is strong for speed and simplicity but limited for advanced enhancement.
Repairit Video Enhancer vs Avidemux: Comparison Table
| Dimension | Repairit Video Enhancer | Avidemux |
|---|---|---|
| Best for | Users who want AI assistance to enhance low-quality, soft, or noisy videos with minimal manual tweaking | Users needing quick and simple adjustments like cutting, basic filters, or light sharpening |
| Ease of use | Guided workflow with presets and AI models aimed at non-technical users | Very lightweight and fast, but requires manual filter tuning and more technical familiarity |
| Output quality focus | Upscaling, denoising, and improving clarity with AI for more noticeable upgrades | Basic enhancement changes that are subtle and depend heavily on filter configuration |
| Typical workflow | Import video, choose enhancement model, preview, then export at higher quality | Load video, apply filters, adjust settings, and export using a traditional editing flow |
| Main strengths | AI-driven enhancement, good for difficult footage, friendly for beginners | Lightweight, fast to launch, simple for small edits and straightforward filters |
| Main weaknesses | Relies on preset AI models and is less suited for complex frame-accurate editing | Limited advanced enhancement, no AI, and mostly manual tweaking |
What Repairit Video Enhancer and Avidemux Are Best For
The overall picture of Repairit Video Enhancer vs Avidemux can be summarized like this:
Overview: Avidemux is a lightweight video editing tool with simple enhancement filters, best for users needing quick and simple adjustments like trimming, basic sharpening, or minor noise reduction. Repairit Video Enhancer, in contrast, focuses on AI-assisted video enhancement, helping you upscale resolution, improve clarity, and clean up low-quality footage with less manual work.
- Use Repairit Video Enhancer when the footage itself looks soft, noisy, or low resolution and you want clearer motion and more detail.
- Use Avidemux when the source is already acceptable and you only need small tweaks, such as light sharpening or basic color and brightness changes.
Repairit Video Enhancer vs Avidemux: Technology and Enhancement Approach
Core enhancement philosophy: Repairit Video Enhancer emphasizes AI-driven tools to upscale resolution, reduce noise and blur, and improve details in low-quality videos, while Avidemux relies on lightweight, filter-based adjustments.
From the core features:
- Repairit Video Enhancer:
- Uses AI upscaling models for soft or low-resolution footage.
- Applies automatic denoising, sharpening, and color optimization for everyday clips.
- Includes AI models focused on reducing noise and artifacts while preserving details.
- Avidemux:
- Provides manual filters for brightness, contrast, and basic sharpening.
- Allows scriptable filter chains for technical users who want repeatable, lightweight adjustments.
- Works more like a classic editor with filter stacks than an AI enhancer.
Both tools can trim or lightly adjust video before exporting, but Repairit devotes more of its technology to automatic quality enhancement, while Avidemux centers on manual control with simpler processing.
Repairit Video Enhancer vs Avidemux: Output Quality and Real-World Results
Real-world results from Repairit Video Enhancer vs Avidemux will depend on the footage and how much work you put into tweaking settings.
- Resolution and upscaling:
- Repairit Video Enhancer offers AI upscaling, which can make low-resolution or heavily compressed clips appear sharper and more detailed in many cases.
- Avidemux can resize and re-encode, but does not provide AI upscaling, so upscaled footage often looks more like a scaled version of the original than a newly detailed image.
- Noise and artifact reduction:
- Repairit focuses on reducing noise and compression artifacts while attempting to keep edges and textures natural.
- Avidemux includes basic noise-reduction filters, but results are strongly tied to how carefully you tune parameters and may require trial and error.
- Sharpness and motion clarity:
- Repairit aims to sharpen soft footage without overdoing halos, which can help older webcam or phone clips look clearer.
- Avidemux can apply sharpening filters that improve perceived detail but may introduce ringing or noise if pushed too far.
For users who do not want to spend time testing multiple filter combinations, the AI models in Repairit can deliver more consistent, noticeable improvements on challenging clips, while Avidemux is better suited to modest, user-controlled tweaks.
Repairit Video Enhancer vs Avidemux: Workflow and Ease of Use
Workflow and ease-of-use differences are significant when deciding between these tools.
According to the provided workflow description:
- Avidemux workflow:
- Follows a simple load video, apply filters, adjust settings, then export pattern.
- Suited for quick edits, but expects you to know which filters to use and how to balance sharpness, noise, and bitrate.
- Feels familiar if you are used to classic, menu-driven editors.
- Repairit Video Enhancer workflow:
- Guides you to import a clip, choose an AI enhancement mode, preview before and after, then export the improved video.
- Designed to feel more approachable for users who do not want to tune every detail.
- Side-by-side previews help you judge whether the enhancement looks natural before committing.
In practice, Repairit Video Enhancer typically feels more beginner-friendly and decision-light, while Avidemux rewards users who are comfortable experimenting with filters and encoding settings.
Repairit Video Enhancer vs Avidemux: Pricing and Trial Options
Pricing can be a deciding factor when comparing Repairit Video Enhancer vs Avidemux.
- Avidemux:
- Free and open source.
- Appealing if you only need basic enhancement and you prefer not to pay for software.
- Repairit Video Enhancer:
- Commercial software, typically offered with trial options so you can test quality and workflow before buying.
- The real question is whether the AI-based enhancement and guided interface are worth paying for in your specific use case.
If you rarely enhance videos or only need simple cuts and small tweaks, Avidemux may be enough. If you frequently work with low-quality, noisy, or soft footage and want more powerful quality improvements, allocating budget to Repairit can make sense.
Who Should Choose Repairit Video Enhancer
Based on the scenarios described, you should lean toward Repairit Video Enhancer if:
- You need to enhance low-quality or soft footage from phones, webcams, or older cameras.
- You want AI help to upscale video resolution and improve clarity without dealing with complex settings.
- You care more about noticeable visual upgrades than minute control over each individual filter.
- You are a beginner or a busy professional who prefers a guided, preset-based enhancement workflow.
For these users, Repairit can reduce trial and error while delivering clearer, cleaner videos ready to share or edit further in other tools.
Who Should Choose Avidemux
Avidemux remains a practical option in several situations:
- You mainly need quick and simple adjustments like cutting segments, light sharpening, or basic filters.
- You prefer a lightweight, fast tool that runs easily on modest hardware.
- You are comfortable manually tuning filters and encoding options to get the look you want.
- You need a free, open-source option for straightforward video enhancement and simple editing tasks.
If your footage is already reasonably good and you only need small tweaks for social media or personal archiving, Avidemux can deliver what you need without cost or heavy system requirements.
Pros and Cons of Repairit Video Enhancer and Avidemux
Repairit Video Enhancer Pros and Cons
Avidemux Pros and Cons
How to Enhance Videos After Choosing the Right Tool
After comparing Repairit Video Enhancer vs Avidemux, the next step is actually improving your footage. Even if you continue using Avidemux for simple cuts, an AI enhancer like Repairit can handle the heavier lifting on clarity, noise, and resolution before you move into editing.
In many workflows, it makes sense to first run problematic clips through Repairit Video Enhancer to clean them up, then do any final trimming or encoding in your preferred editor. Here is how that process typically looks with Repairit.
Key Features
- AI models for upscaling and improving soft or low-resolution videos.
- Automatic denoising and sharpening to enhance clarity while keeping footage natural.
- Side-by-side previews to compare original and enhanced results before exporting.
- Support for common formats such as MP4, MOV, and AVI on typical desktop systems.
Both tools work with mainstream formats and devices, but Repairit focuses on a smoother experience for clips from phones, cameras, or social platforms, while Avidemux leans on open-source codecs inside a lightweight package.
Step-by-step guide
Step 1. Choose an AI enhancement model based on your video quality needs, such as upscaling, denoising, or overall clarity improvement.
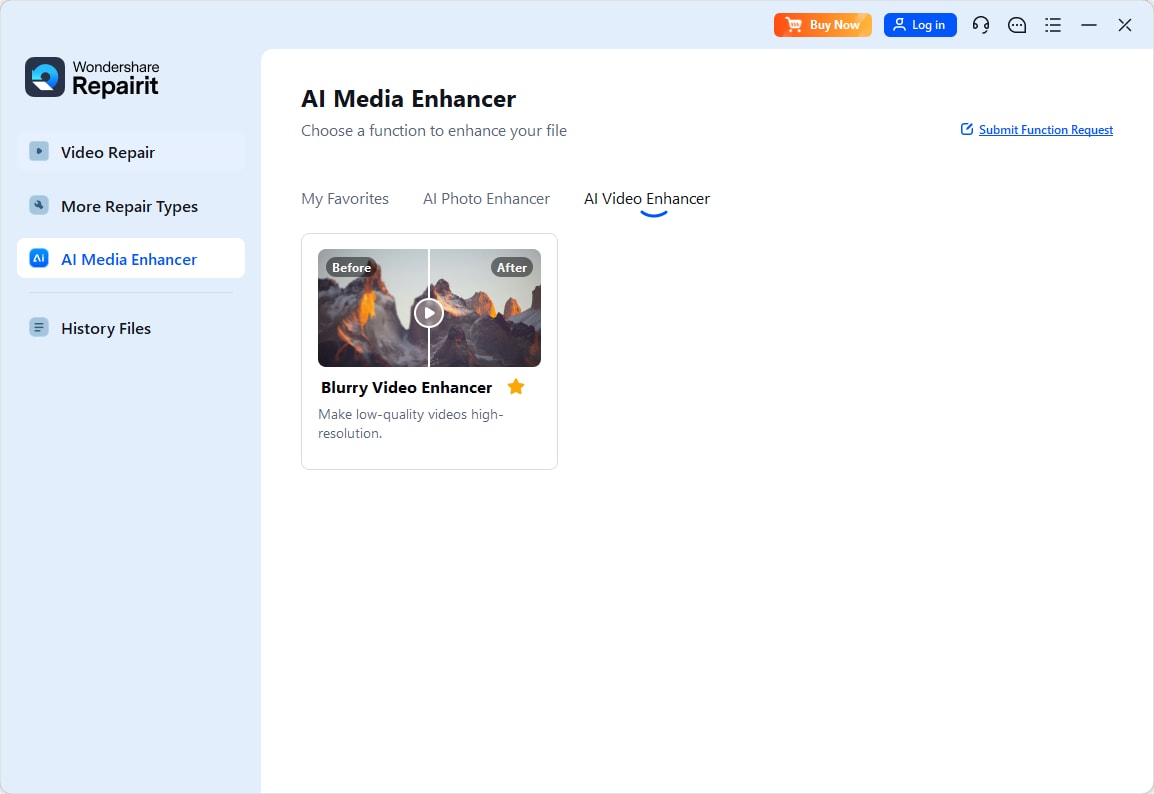
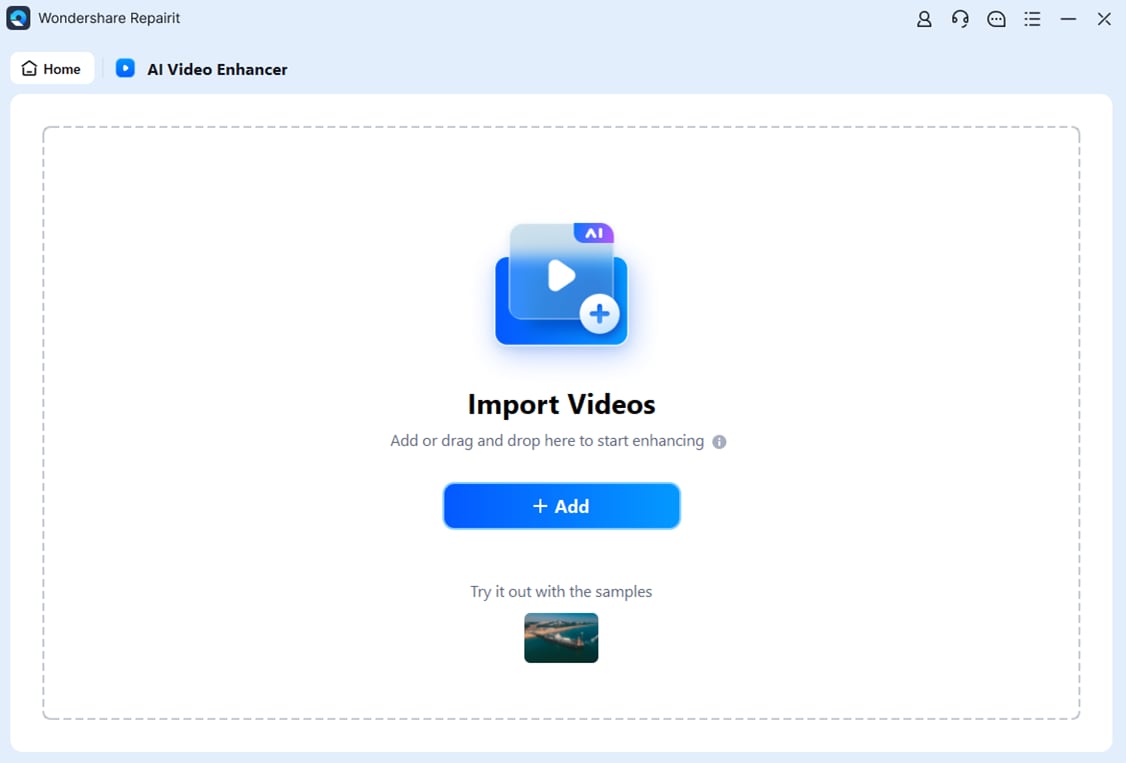
Step 2. Import your video into Repairit Video Enhancer to begin the enhancement process.
Step 3. Start enhancing and let the AI improve sharpness, reduce blur, and enhance the overall video quality.

Step 4. Preview the enhanced result and save the improved video to your device.

These steps align with the general workflow already described: import your video, choose an enhancement mode, preview and fine-tune, then export the upgraded clip in your preferred format and resolution.
Final Verdict
For most users who want to noticeably enhance video quality, Repairit Video Enhancer offers a more guided, AI-centered approach that can upscale resolution, reduce noise, and sharpen soft footage with less manual work. It is especially useful when you are working with low-quality or older clips and need visible improvements rather than subtle tweaks.
Avidemux, however, remains a reasonable choice if you just need a lightweight, free editor with simple filters and basic adjustments. If your needs are limited to quick cuts, minor sharpening, and simple encoding changes, Avidemux may be enough. If you want more substantial quality upgrades backed by AI and a smoother workflow, Repairit Video Enhancer is usually the stronger choice.
Ultimately, the right pick depends on your footage and how often you enhance videos. Many users will benefit from combining both: using Repairit for heavy lifting on quality, then Avidemux or another editor for final trims and exports.
Next: Repairit Video Enhancer vs Imovie
FAQ
-
1. Is Repairit Video Enhancer better than Avidemux for improving low-quality videos?
In most cases, yes. Repairit Video Enhancer focuses on AI-driven upscaling, denoising, and clarity improvements, while Avidemux relies on manual filters that tend to provide lighter, more incremental changes. For very soft, noisy, or low-resolution clips, Repairit is more likely to deliver noticeable upgrades with less effort. -
2. Which tool is easier for beginners, Repairit Video Enhancer or Avidemux?
Repairit Video Enhancer is usually easier for beginners because it uses AI models and presets, along with a guided workflow and previews. Avidemux is lightweight and simple, but it expects users to choose filters, adjust parameters, and understand encoding settings to get the best results. -
3. Can Avidemux match the output quality of Repairit Video Enhancer?
For simple brightness, contrast, and mild sharpening adjustments, Avidemux can deliver acceptable results. However, it generally lacks AI upscaling and advanced noise handling, so matching the level of improvement from Repairit Video Enhancer on difficult footage can be challenging and may require a lot of manual tweaking. -
4. When should I use Avidemux instead of Repairit Video Enhancer?
Use Avidemux if you need a free, lightweight tool for quick cuts, minor sharpening, or basic encoding changes and do not require deeper AI-based enhancement. It is well suited to users who are comfortable adjusting filters manually and whose source videos are already reasonably clean. -
5. Can I use both Repairit Video Enhancer and Avidemux in the same workflow?
Yes. A practical approach is to first run problematic clips through Repairit Video Enhancer to improve clarity, reduce noise, and upscale resolution, then open the enhanced exports in Avidemux for trimming, simple filter tweaks, or encoding to your final delivery format.