

With the evolution of digital communication, organizations must adapt to platforms that offer greater security and efficiency. Since Skype was once a reliable solution for business, it no longer meets the demands of modern workplace communication. Thus, many sectors prefer Skype to Teams chat migration to improve their communication infrastructure.
Moving chats from Skype to Teams guarantees continuity and positions your organization to leverage the full capabilities of the Microsoft 365 ecosystem. For this, explore the following article, which comprises a how - to guide to sync Skype and Teams across devices. Plus, we will explain how to export important data from Skype to maintain productivity throughout. By the end, you can fix the Skype information that is not transferring over the Teams.
In this article
Part 1. How to Sync Skype and Microsoft Teams Across Devices?
Many users may encounter a common issue, like “logged into Teams with a Skype account, but don't see any Skype data." This often stems from a misconception that simply using the same login credentials will transfer chat history and contacts.
In reality, syncing Skype and Teams requires a more structured migration process. Hence, to ensure accurate syncing, explore the following section, which contains tutorials for mobile and desktop:
1. For Mobile
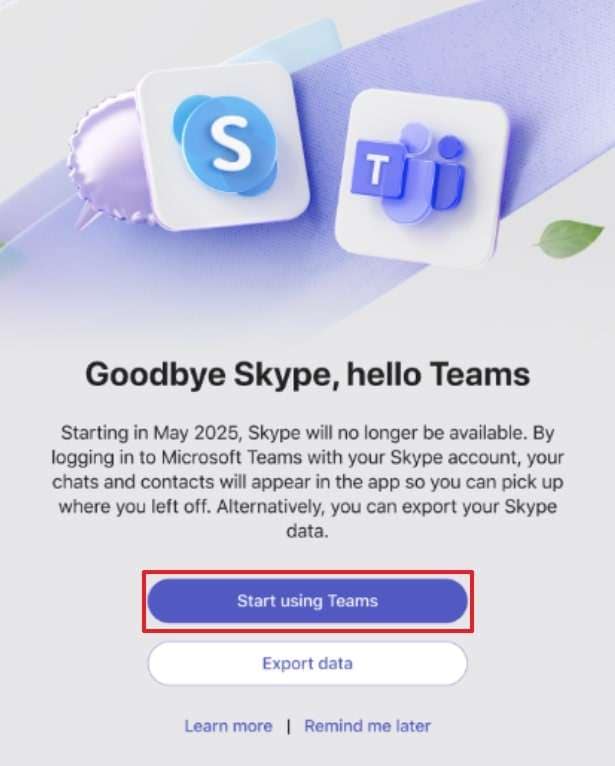
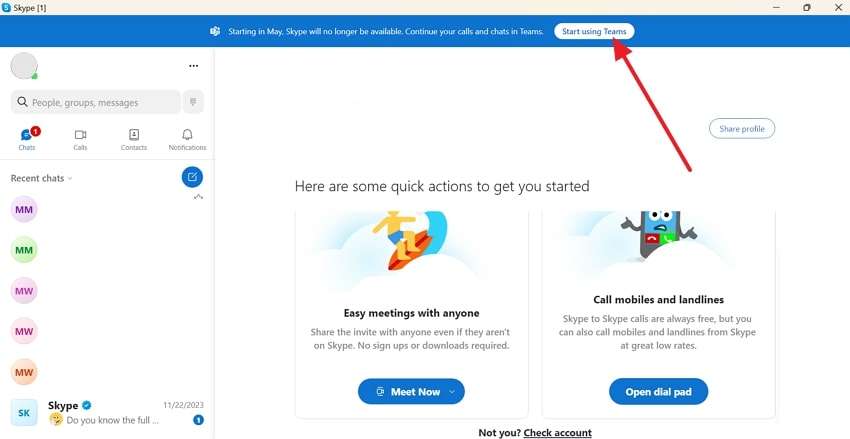
Step 1. Firstly, you’ll receive a notification from Skype, prompting you to sign in to "Microsoft Teams." Now, press the “Start Using Teams” button to download the app or open it if already installed.

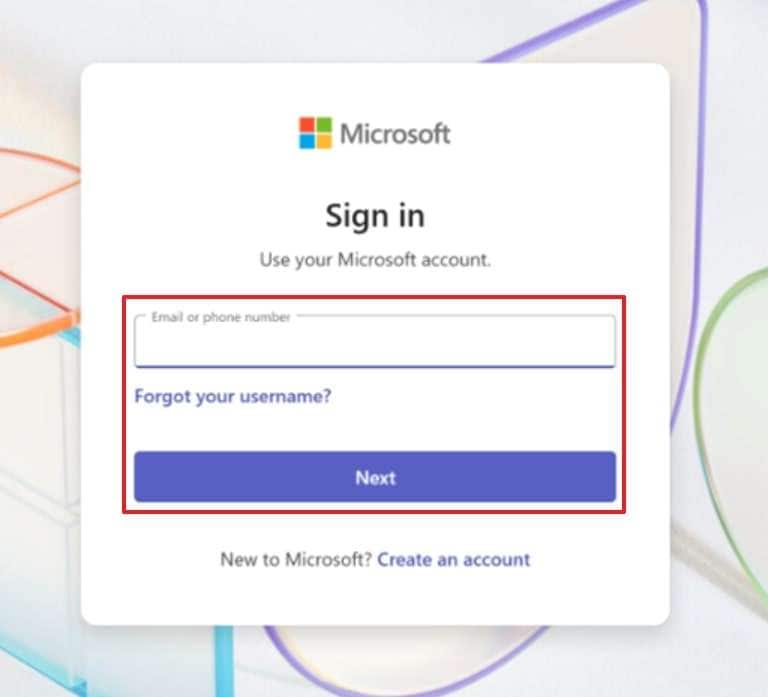
Step 2. Upon accessing the Teams application, sign in with your Skype account and hit the “Next” button. On the welcome screen that appears, press the “Get Started” button to proceed.

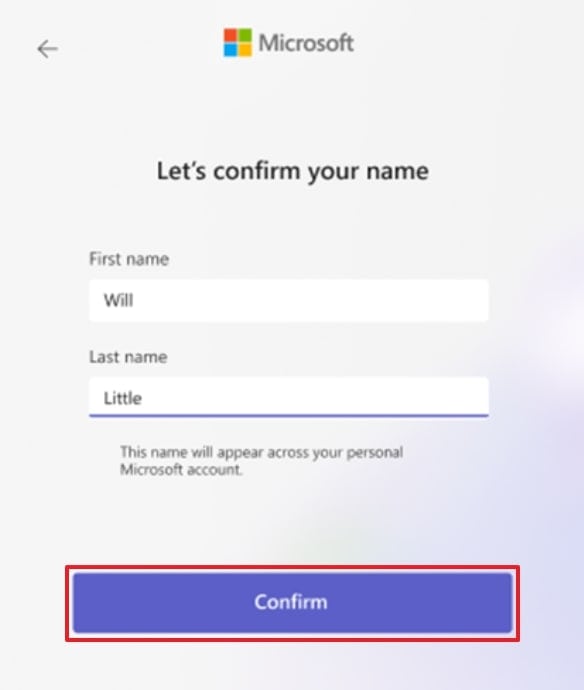
Step 3. To share diagnostic data with Teams, either press the “Accept” or “Decline” button to continue. After this, verify your first or last name and tap the “Confirm” button to move ahead. Finally, toggle the “Sync Contacts” option to find people you may know on both platforms.

2. For Desktop
Step 1. On the desktop, select the “Start Using Teams” option after receiving the alert for logging in to "Microsoft Teams." Following this, open the app if already installed or start downloading if not.
Step 2. Once done, sign in to Teams with your Skype credentials and press the “Next” button. Now, on the next screen, click the “Get Started” button to proceed. Afterward, verify your profile picture and choose to continue with it.
Step 3. Finally, complete the syncing process by pressing the “Confirm” button after assuring your first and last name.
Part 2. How to Export Data from Skype
Since Skype is set to officially expire in May 2025, it is now more crucial to safeguard chat records and shared files. This proactive approach helps to ensure that no information is lost during the shift.
In the context of a Skype to Teams chat migration, exporting data from Skype lays the foundation for a complete transition. Hence, follow the stepwise guide provided on how to export data from Skype before access expires:
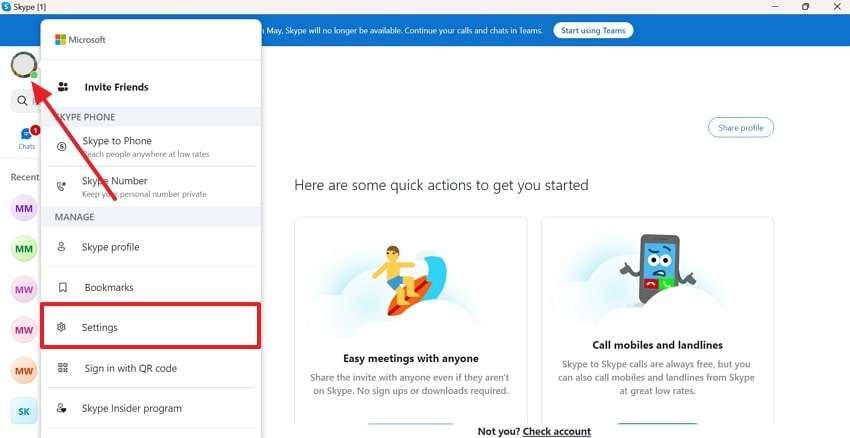
Step 1. Install Skype on your desktop and navigate to your profile icon in the top right corner. From the drop - down menu, press the “Settings” option to proceed.
Step 2. In the “Settings” screen, first access the “Account & Profile” option from the left panel. Now, choose the “Your Account” option from the provided list.
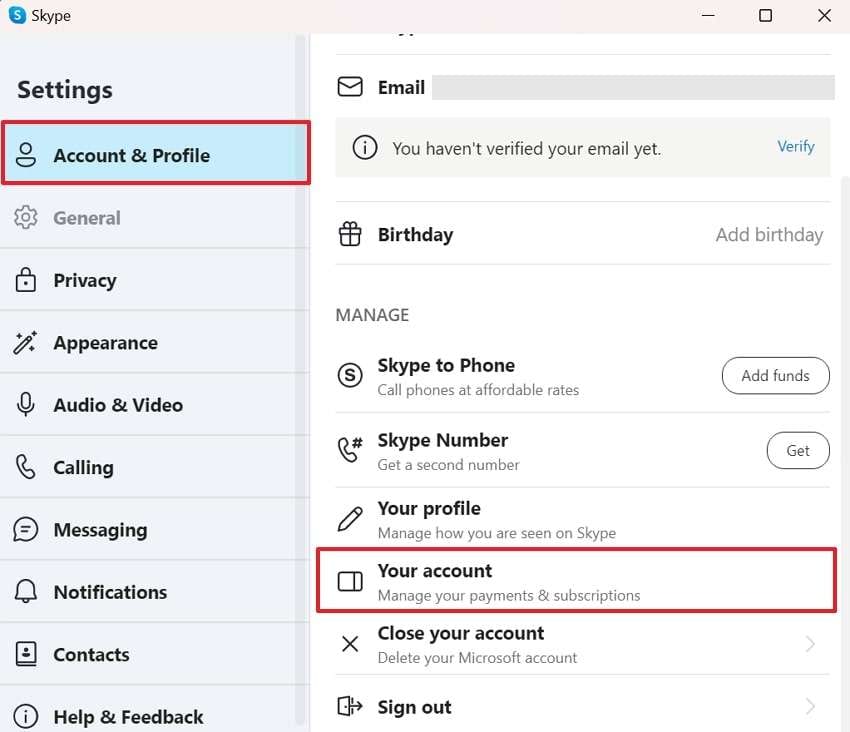
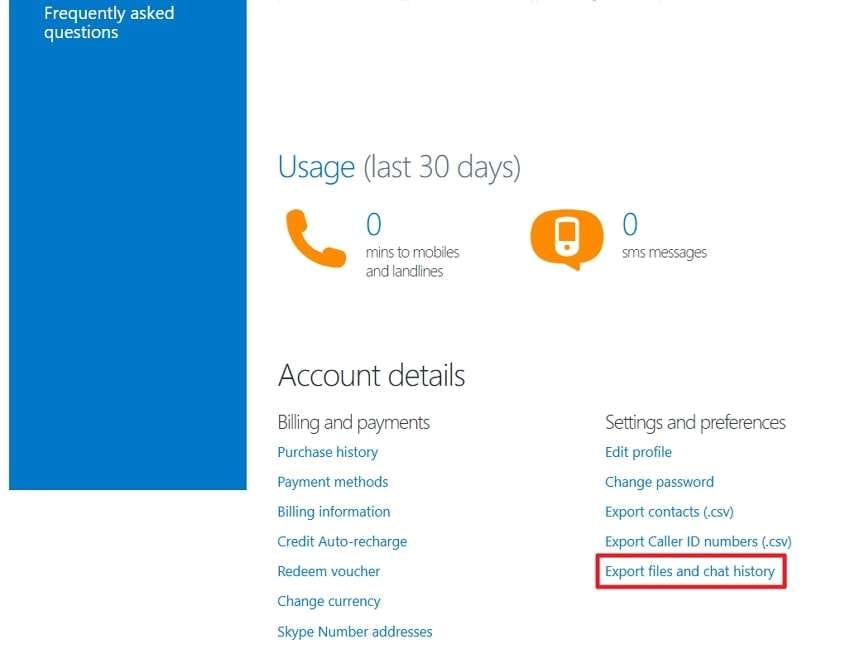
Step 3. Next, on the new screen, scroll down and select the “Export Files and Chat History” option to proceed.
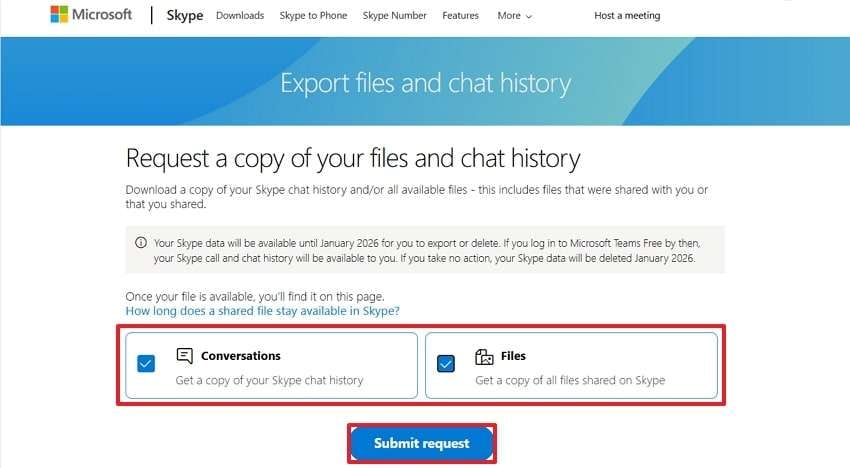
Step 4. Now, tick mark options for “Conversations” and “Files” and hit the “Submit Request” button.
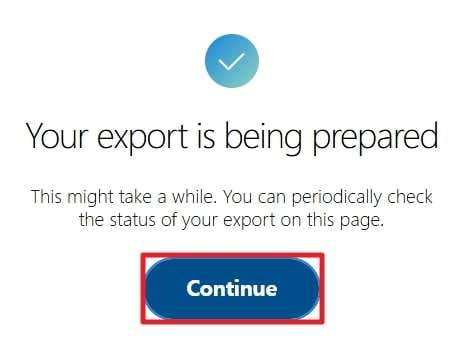
Step 5. In the following pop-up, click the “Continue” button to download the selected files afterward.
Part 3. How to Fix Skype Information Not Transferring Over to Teams
Skype information not transferring over to Teams is a common problem faced during migration, often caused by syncing errors. Thus, adhere to the given fixes that might help you move your Skype data over without any hassle:
Fix 1: Choose Skype Profile
The most effective solution to this issue is selecting your Skype profile within Microsoft Teams. By doing this, you can automatically import relevant data while ensuring a more accurate migration experience. To resolve, dive into the stepwise guide provided and sync the associated chats and contacts on Teams:
Step 1. Access Skype on your device and head to the “Start Using Teams” button from the top bar. Following this, you’ll be navigated to Microsoft Teams automatically.
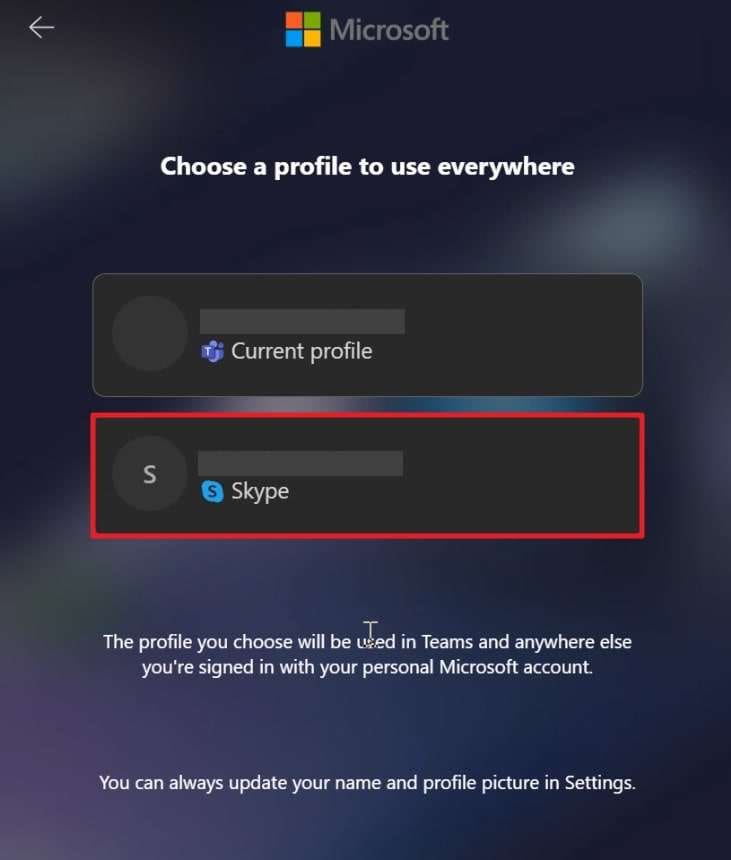
Step 2. Upon entering Teams, press the “Continue” button to ensure all your Skype messages and contacts are on Teams. Now, choose your Skype profile from the options of “Current Profile” or “Skype” to enable automatic syncing.
Fix 2. Update Your Teams App
At times, the outdated Teams app can block the process of Skype to Teams Chats migration. This small fix can refresh your account and allow it to pull in data that was previously unrecognized or inaccessible. For smooth migration, follow the tutorial below to install the updated version of Microsoft Teams on your desktop:
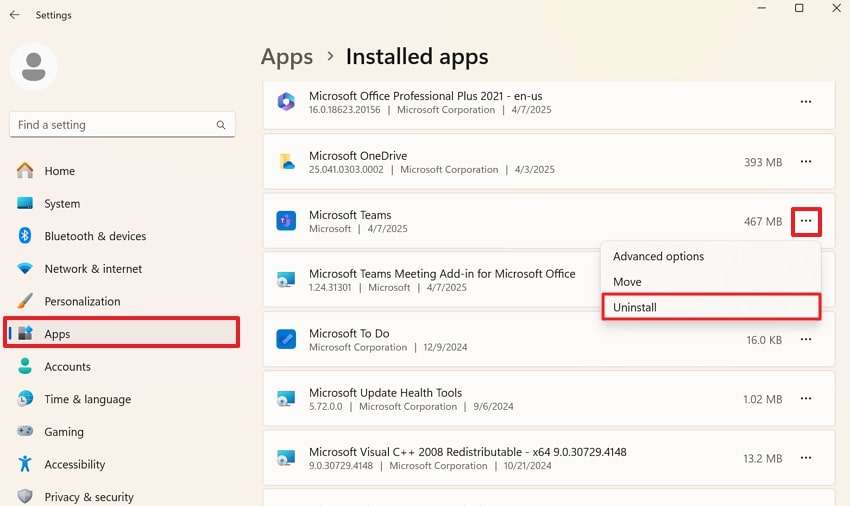
Step 1. Open your system settings and access the “Apps” option from the list. Now, enable the Installed Apps option and locate “Three Dots” beside "Microsoft Teams." After this, choose the “Uninstall” option from the drop-down menu.
Step 2. Now, search for Microsoft Teams and press the “Download Now” button to install the updated version.

Pro Tip. Explore the Best Data Repair Tool to Fix Corrupt Skype or Teams Data
During the Skype to Teams Chats Migration period, the data like images, videos, or audio you receive on Skype or Teams can get corrupted due to server issues. In this scenario, you need innovative data repair software like Repairit. With this innovative toolbox, you can add multiple damaged files to repair them instantly at once. During this process, it displays repairing progress on the screen for every corrupted file imported.
This repair tool is designed to scan, detect, and restore files that are not opening or are unreadable. Besides, it facilitates users retrieving files that are unclear or have been distorted during the moving process. Malware attack files, data corruption, or a missing header issue can be repaired through this platform. During the repair process, it further scans the overall readability of the document for any minor defects.
Other Key Features

-
Fixes PDFs: This tool assists users in extracting and repairing all components of the PDFs without altering the original file.
-
Word Repair: It provides an easy fix option for text, images, and fonts while supporting various MS Word versions.
-
Repair PowerPoint: The tool renews your presentations by extracting and rewriting text or media into a fresh file.
Comprehensive Tutorial on Fixing Corrupted Skype or Teams Data
For a successful process, dive into the stepwise guide to identify and repair your corrupted Skype or Teams files before they’re permanently lost:
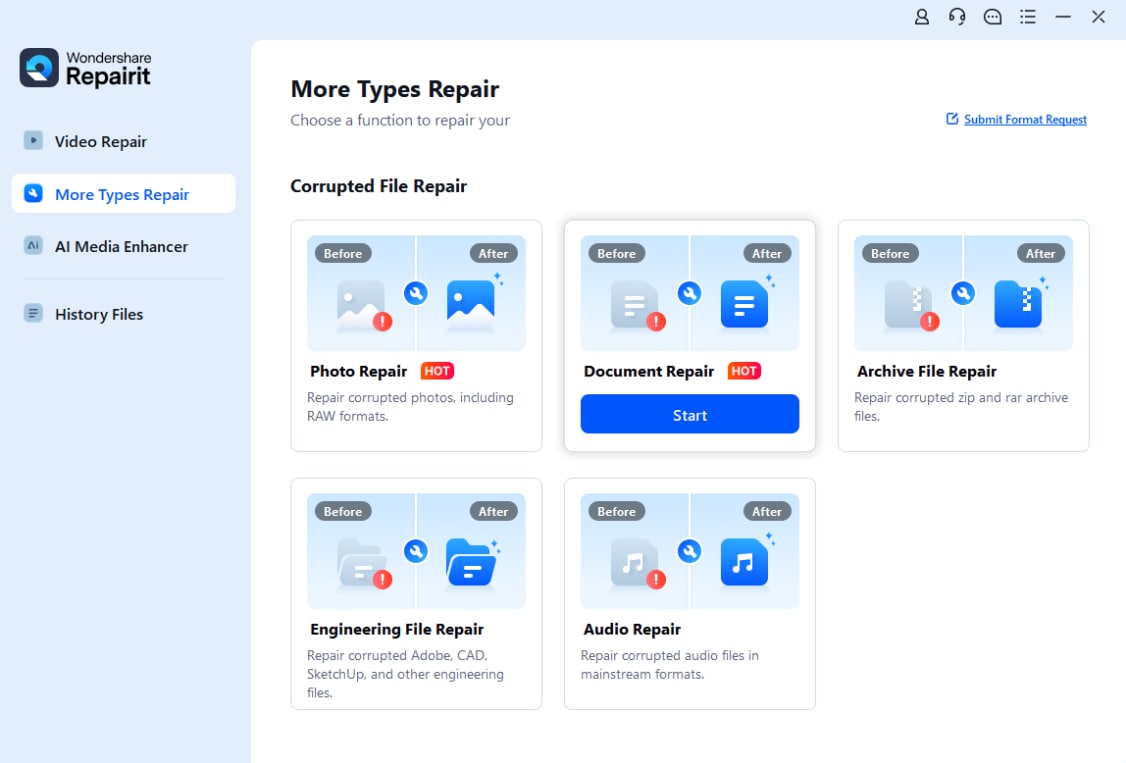
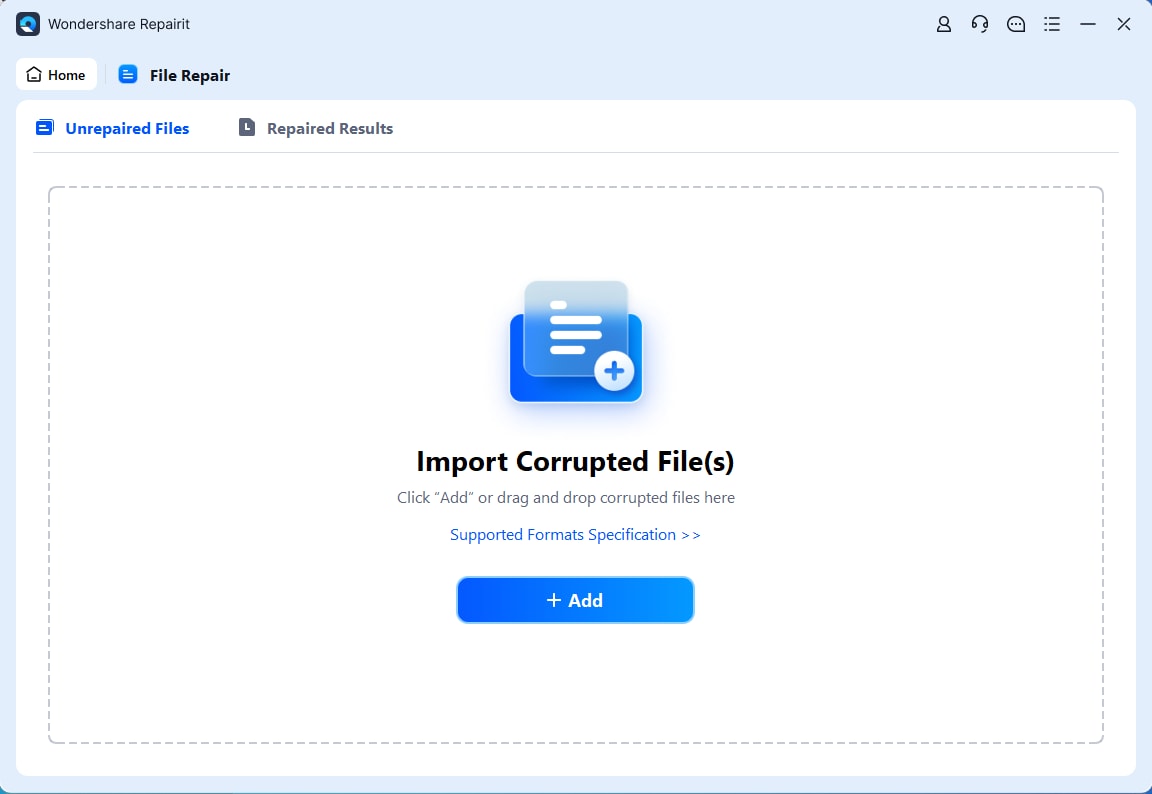
Step 1. First, install the program on your device and go to the “File Repair” section from the "More Types Repair" option on the left panel.
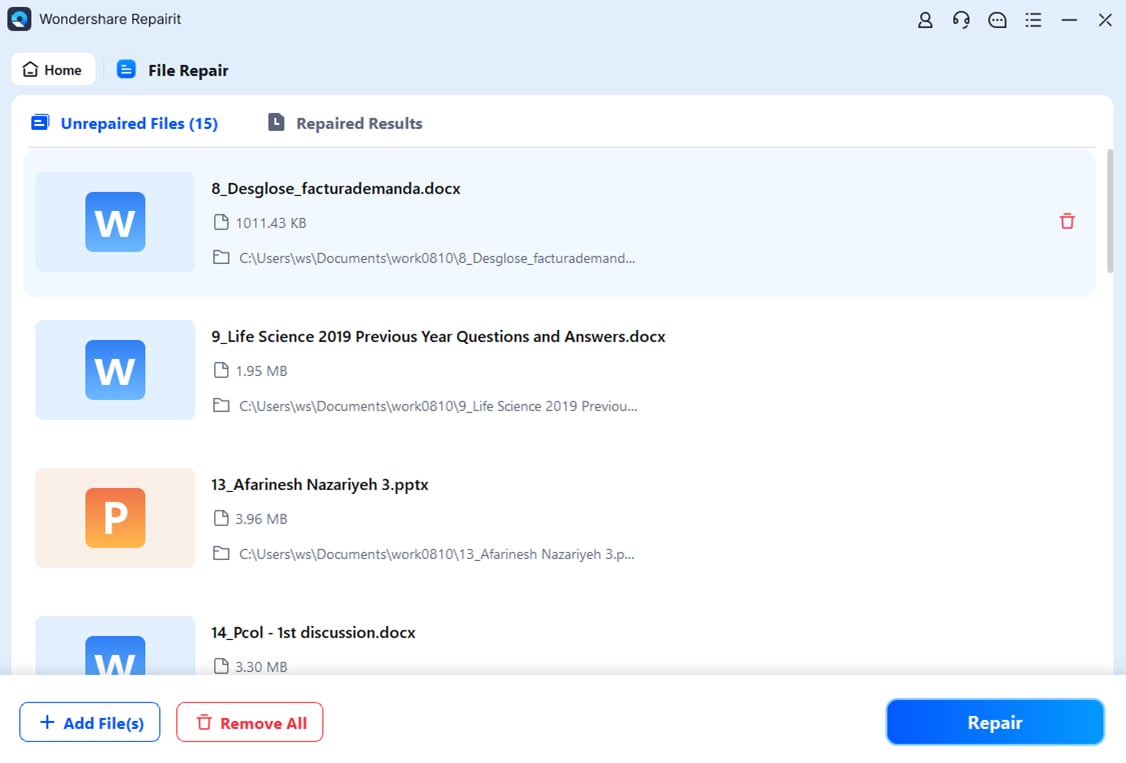
Step 2. After this, press the “+ Add” button to import all the corrupted files on the platform for an instant repair process.
Step 3. Once done, press the “Repair” button at the bottom right corner, monitor the progress, and export repaired data using the “Save All” button.
Conclusion
In conclusion, as Skype is gradually phasing out, considering Skype to Teams chats migration is a crucial step. This helps to modernize communication and collaboration among the businesses while continuing their work efficiency.
However, addressing key migration challenges such as syncing data or updating Teams can facilitate a smooth transition. If any of your Skype or Teams data is corrupt, then look for Repairit for an effective and quick repair procedure.
FAQ
-
What kind of data doesn’t migrate to Teams for Free?
Skype to Teams for work or school chats might cause Skype information not to transfer over to Teams. Also, Skype-to-Skype for business chat history and any 1:1 chat with self-chat history will not migrate to Teams free. Along with Copilot or bots, content in any private conversations, including direct or personal discussions, will not be transferred. -
Is it possible to communicate with Skype users?
Definitely, until May 5, 2025, you can call and chat with users directly from Skype. After this date, all its features will be disabled as the transition to Teams becomes more prominent. -
Will access to Skype be lost after logging into Teams Free?
Not at all, it doesn’t mean you’re signed off from Skype. However, your Skype data will remain accessible till May 5, 2025, and you can use both apps as needed.
