
Many editors spend hours perfecting their video edits, only to hit a roadblock when there’s no sound during playback. It is quite a common headache for Adobe Premiere users and affects both beginners and professionals. You might experience this problem on just a few clips or even the entire timeline. Regardless of when it strikes, the sudden silence can disrupt your workflow.
Therefore, you can try quick fixes like restarting the software or their computer. Nevertheless, these temporary fixes don’t address the real cause. That’s why this guide will help you explore some effective solutions to the Adobe Premiere sound not working dilemma. Plus, we will even explore deeper system checks and a reliable tool for fixing audio-related errors in video files.
Fix Adobe Premiere Sound Not Working
 Security Verified. Over 7,302,189 people have downloaded it.
In this article
Part 1. Why Facing the "Adobe Premiere Sound Not Working" Issue? | 5 Reasons
Before diving into the solutions, knowing the cause helps you apply the right fix and save your time. Thus, below are the most common causes behind the "sound not working on Adobe Premiere Pro” problem:
- Audio Hardware Settings: When the tool uses the wrong audio output device, you won't hear anything during playback. This dilemma happens after connecting headphones or external speakers.
- Muted Audio Track or Clip: The track or clip might be muted without you noticing. It includes accidentally hitting mute on a track or disabling a specific clip.
- Damaged Audio Files: A corrupted audio file can lead to missing or distorted sound during playback. When damaged, the editing software might be unable to read the audio stream properly.
- Wrong Playback Preferences: Incorrect settings in the playback preferences section can also block sound. These include audio device mismatches or performance settings that interfere with actual playback.
- Outdated Audio Drivers: These drivers installed on your system can be outdated or incompatible. An improper function means the Premiere Pro is unable to communicate with the audio hardware.
Part 2. How to Fix Adobe Premiere Sound Not Working? (Few & All Clips)
Upon knowing the causes, it's time to move toward solutions to restore full audio playback in your editing timeline. The following section will guide you through proven methods to resolve the Premiere Pro sound not working problem:
Fix 1. Modify Sound Settings in the Control Panel
If you're not hearing any sound in Adobe Premiere, you should check your system settings. Sometimes, it is possible that your computer might be using the wrong playback device. This can happen after plugging in or removing headphones or speakers. Let’s walk through the detailed steps to fix this at the system level:
Step 1. To cater to this problem, access your device’s “Control Panel” and go to the “Hardware And Sound” section.
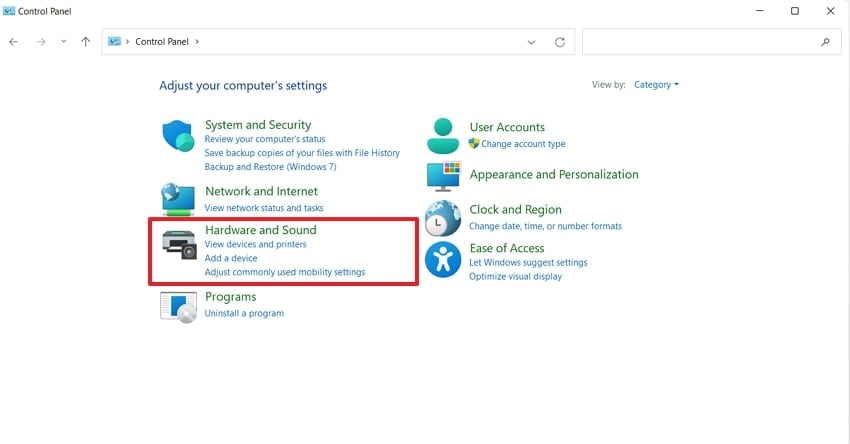
Step 2. Upon seeing the new interface, you need to click the “Manage Audio Devices” option under the “Sound” section.

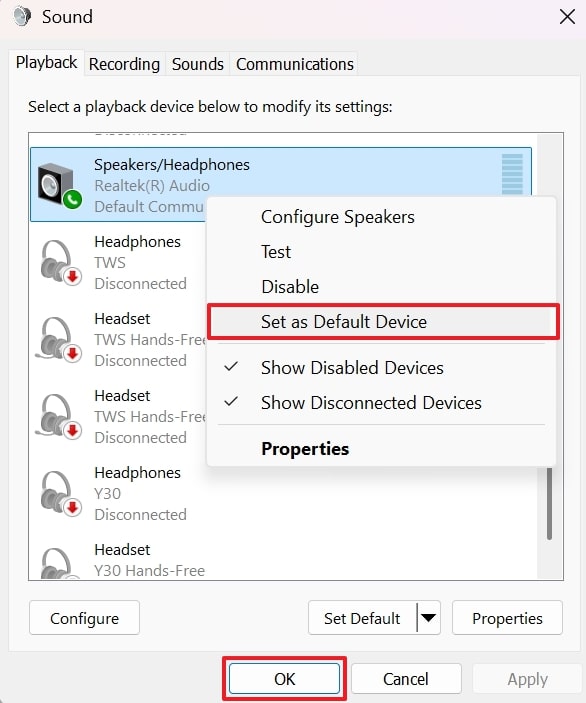
Step 3. Afterward, select your system’s default speakers and then right-click to choose the "Set As Default Device” option. Next, hit the “OK" button, and hopefully, your issue will be resolved.
Fix 2. Update Your PC’s Audio Driver
Another fix is to update your outdated drivers, which could be the root cause. Basically, the audio drivers act as a bridge between hardware and software. When they’re not compatible after any system’s update, Premiere may fail to play sound properly. Thus, review the instructions below to learn how to check and update the drivers to restore full audio playback:
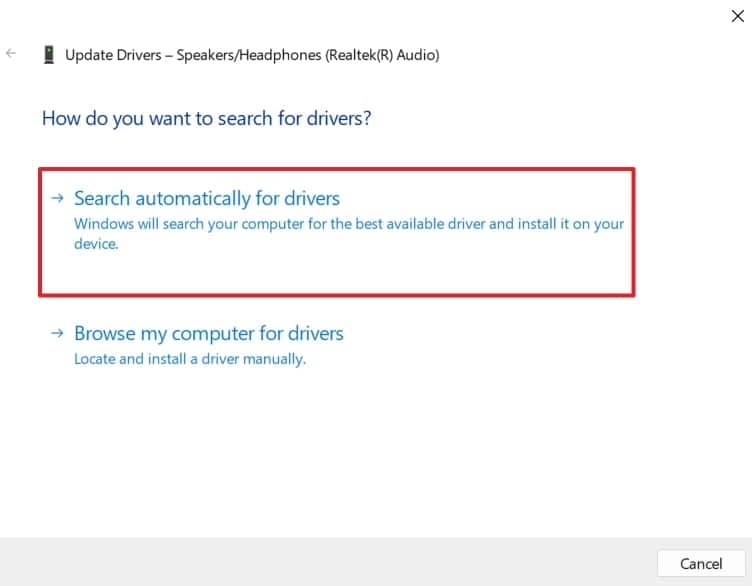
Step 1. To inaugurate the task, launch the “Device Manager” on your system and expand the “Audio Inputs and Outputs” section. Next, right-click on your audio drivers and select the “Update Driver” option.
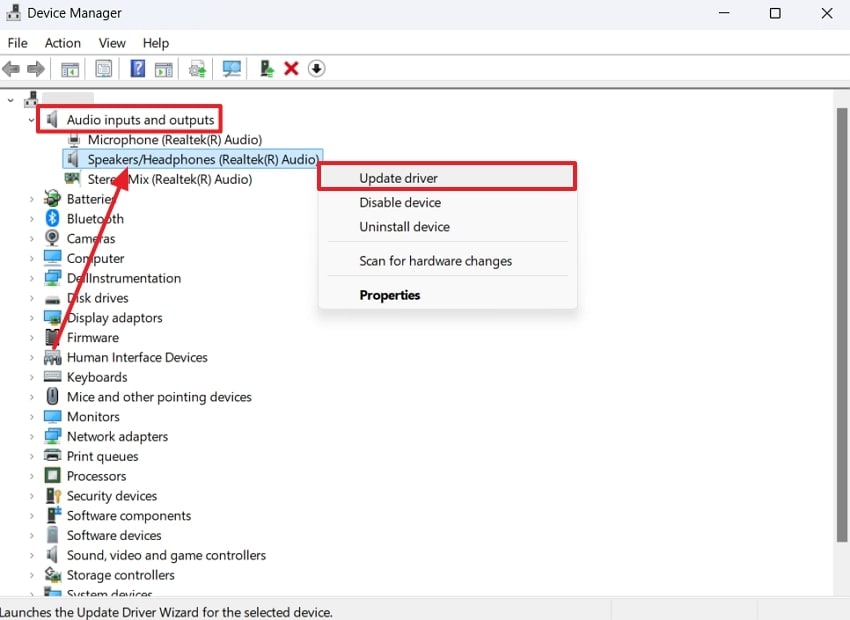
Step 2. Following that, select the “Search Automatically For Drivers” option from the newly appeared interface. The system will take a few seconds to update your driver and then restart your device to resolve the problem.
Part 3. Other Ways to Resolve "Sound Not Working on Adobe Premiere Pro"
In case the earlier fixes didn’t solve your issue, there are still other methods you can try. These additional solutions focus on deeper system settings and Adobe preferences. So, let’s explore some more effective ways to restore your audio when the sound not working in Premiere Pro issue persists:
Way 1. Check Playback Preferences
The most overlooked yet critical area is the playback preferences. Some misconfigured playback settings can lead to Adobe Premiere Pro audio not working unexpectedly. Even minor mismatches between your hardware and the tool can mute your sound. That’s why it’s important to check these settings before moving on to deeper solutions. Thus, review the steps below to find and adjust them to fix this dilemma:
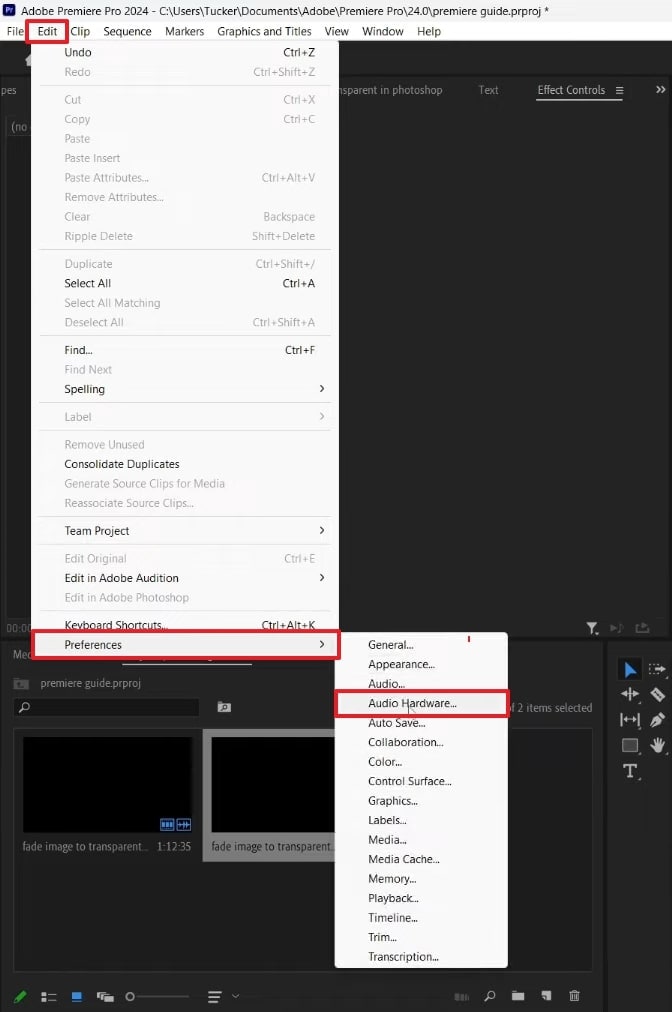
Step 1. Get the video in the tool’s timeline to access the “Edit” tab and select the “Preferences” option. When you see a further drop-down menu, click the “Audio Hardware” option in order to move further.
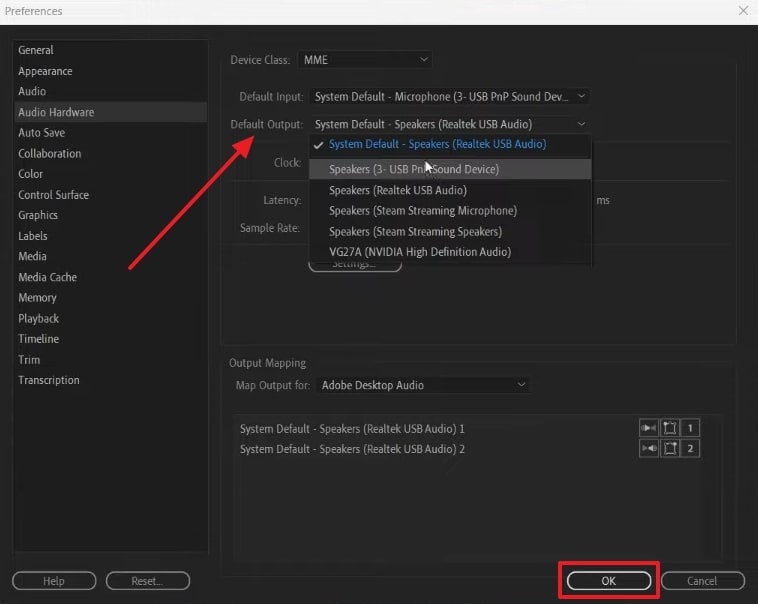
Step 2. Afterward, you need to verify that the “System Default - Speaker” is selected in the “Default Output” section. If not enabled, select it and then press the “OK” button to check your tool’s playback preferences.
Way 2. Check Audio Hardware
In case playback preferences look fine, the next place to check is your audio hardware settings. These settings directly control how sound is output. A wrong configuration here can result in audio not working on Adobe Premiere Pro across all projects. Verifying and aligning your audio hardware settings can help restore proper sound output during editing sessions. Let’s dive below to check this setting on your device effortlessly:
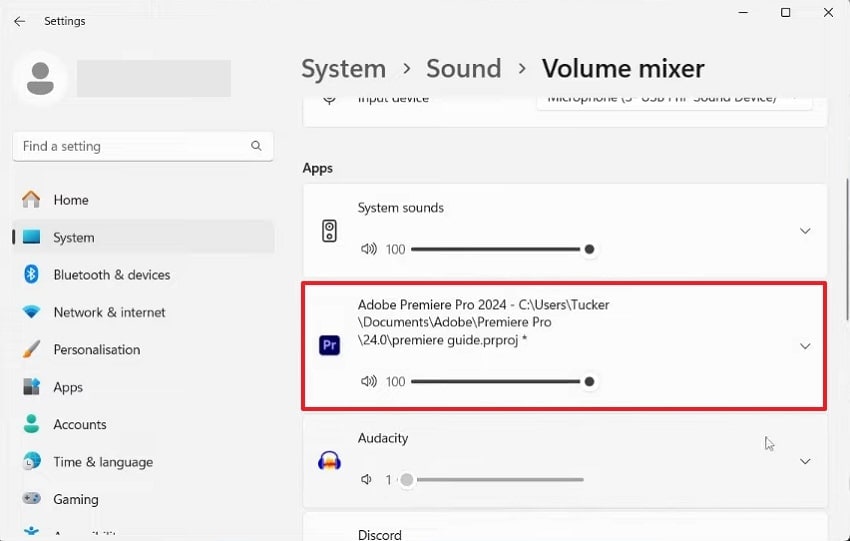
Step 1. Initiate by accessing the “Search Bar” of your device and type “Sound Mixer Options.” When you see the result, click on it to move further.
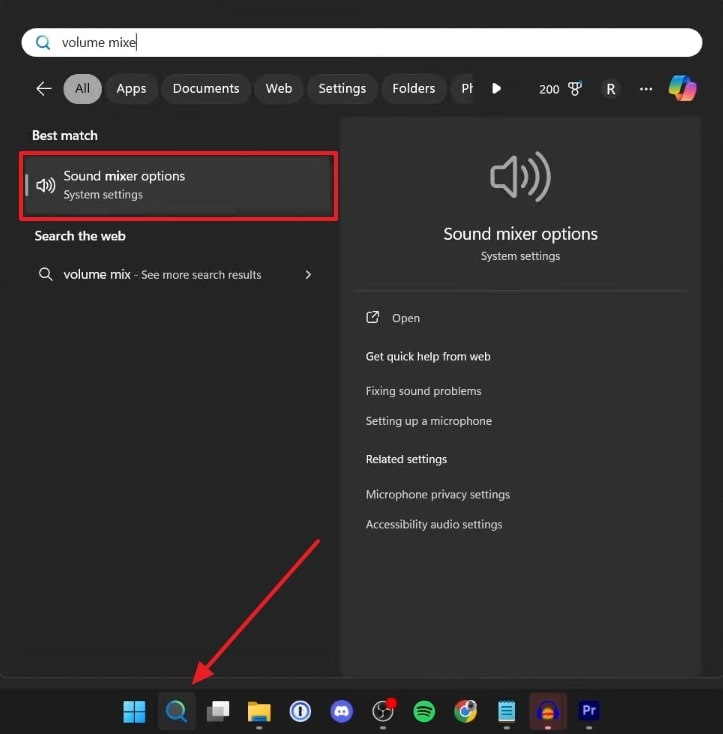
Step 2. Upon accessing the “Volume Mixer” settings on your system, simply adjust the sound of your Premiere Pro to fix the problem.
Way 3. Check Media Cache
When your audio hardware is set up correctly, the next step is to check and delete your media cache. Over time, these files can get corrupted, and it's a common cause of Adobe Premiere sound not working issues. It stores temporary files to speed up editing, but they can interfere with audio playback. Review the steps below to understand how to clear the media cache to resolve the sound not working:
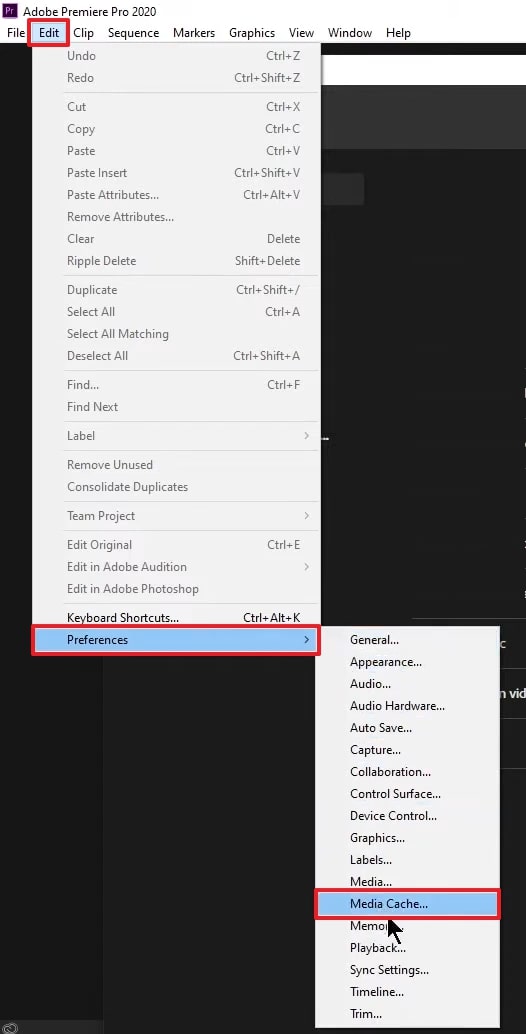
Step 1. Launch this editing software on your device and press the “Edit” tab. After that, select the “Preferences” option from the newly appeared drop-down and choose the “Media Cache..” option.
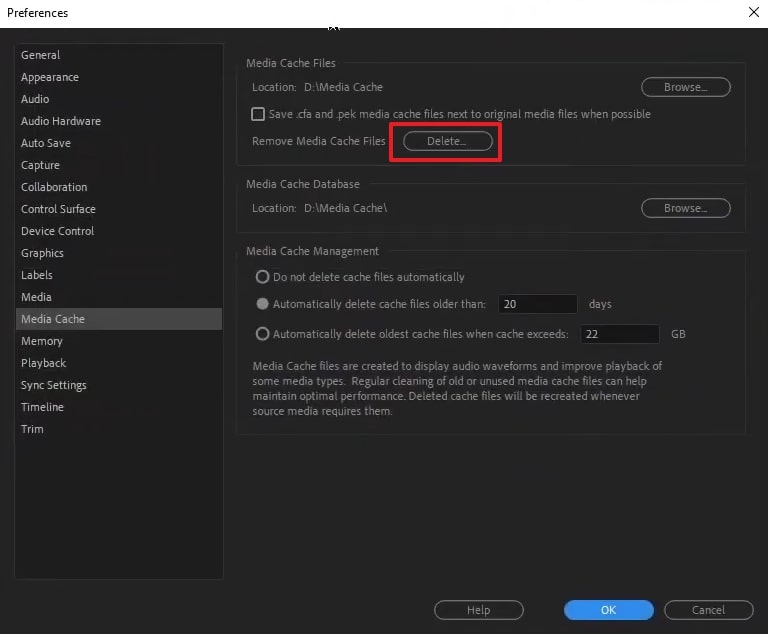
Step 2. After heading to the “Media Cache” settings, you need to press the “Delete…” button next to the “Remove Media Cache Files” option.
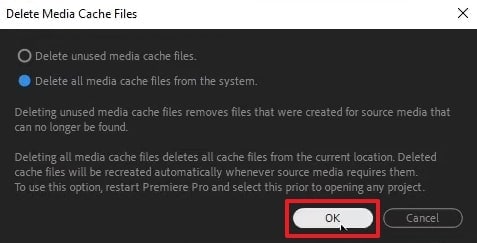
Step 3. Upon seeing a small dialogue box, hit the “OK” button to delete all these files and resolve the problem.
Pro Tip. Explore the Most Professional Video Repair Tool to Fix Videos with No Sound Error
Beyond the above solutions, sometimes the sound not working on Adobe Premiere Pro isn't caused by settings. It can happen due to the video file itself being corrupted or damaged. This is a common but overlooked issue that can interrupt even the most experienced editors and needs to be repaired. In this situation, we recommend a dedicated software known as Repairit Video Repair. It supports over 20 formats that help you recover them effortlessly.
Moreover, the tool's intelligent repair system ensures quality restoration without ever compromising their quality. Plus, its advanced repair mode can even fix severely damaged files by using a sample video from the same device. Repairit also supports 8K and RAW video files and handles them in any situation professionally. Users can also fix multiple damaged videos at the same time by saving time and effort.
Key Features
- Sample Video Matching: You can import a similar video shot with the same device to help Repairit accurately reconstruct your damaged footage’s lost data.
- HDR Optimization: It can enhance and recover HDR video files, preserving the high color and brightness range that makes these formats visually stunning.
- GoPro Gyro Repair: Users can fix corrupted gyro metadata in GoPro footage by allowing smoother and more accurate playback.
Follow the detailed instructions below to repair your video when it gets damaged, and its audio is not working on Adobe Premiere Pro:
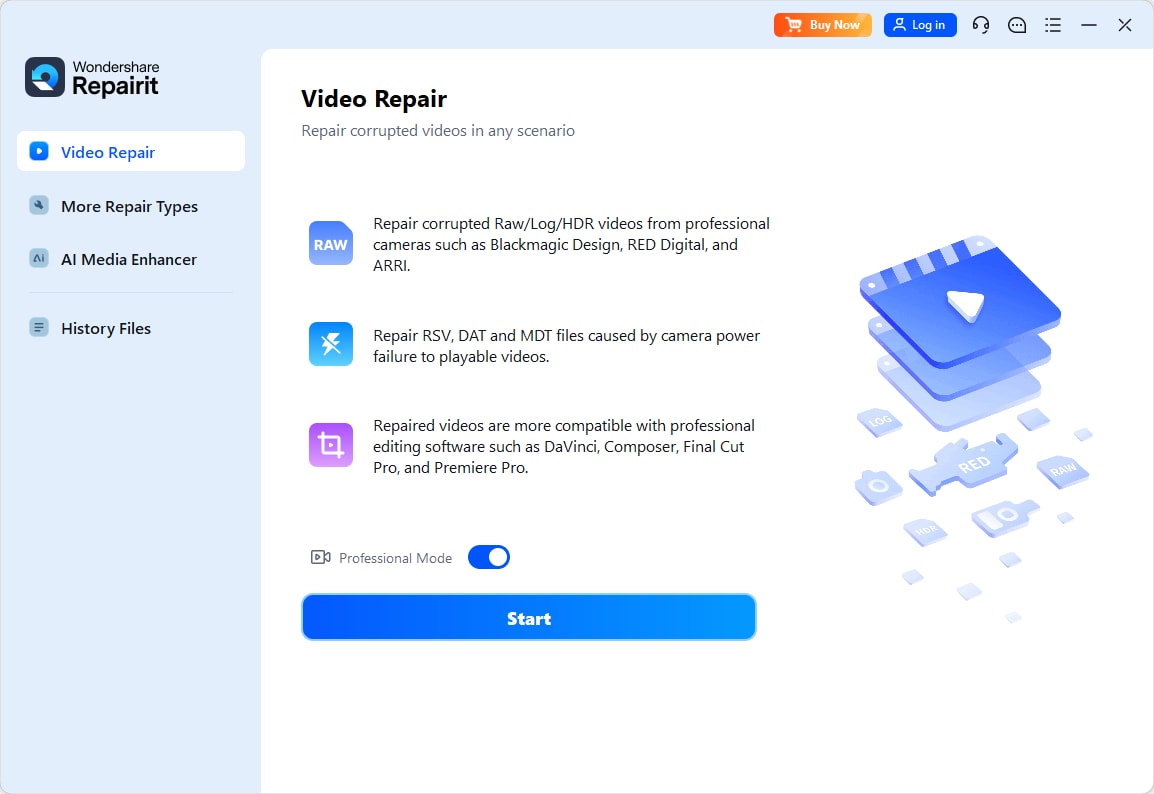
Step 1. To initiate the repair process, download and launch this advanced software on your device. Next, access the “Video Repair” section and hit the “Start” button after enabling the “Professional Mode” toggle.
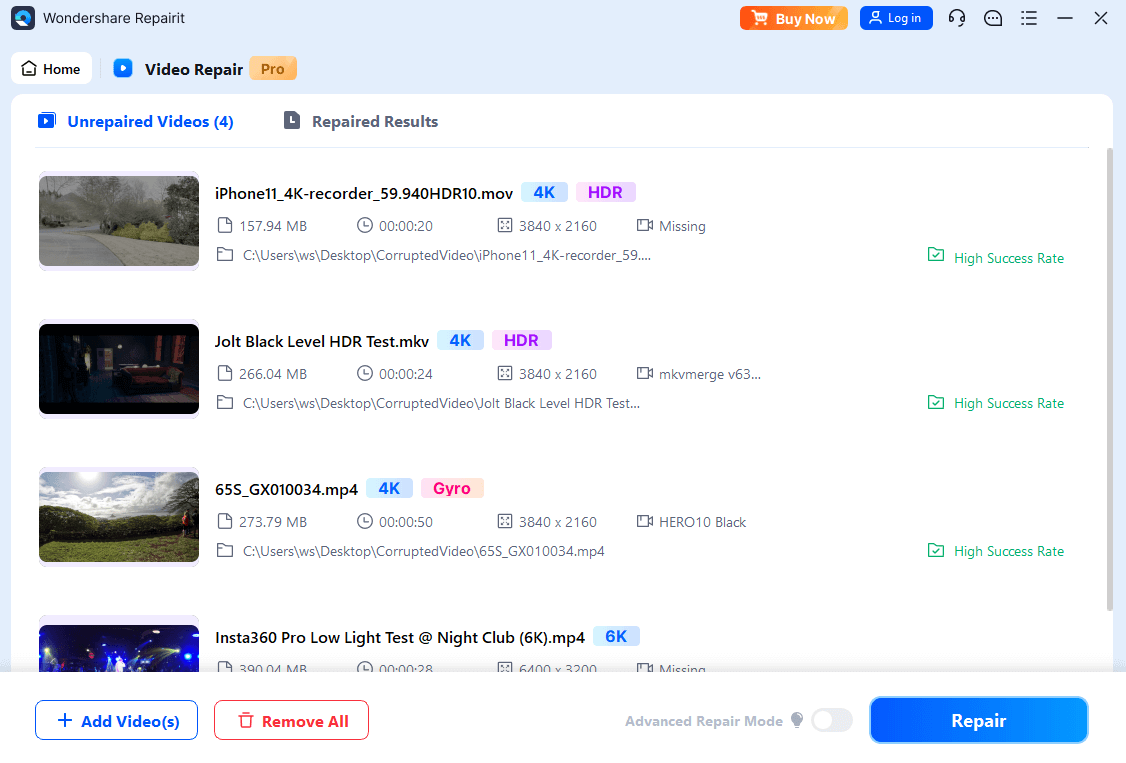
Step 2. Afterward, press the “+Add” button to import the videos that have no sound. Once it is imported and shows in the “Unrepaired Videos” section, click the “Repair” button to start the task.
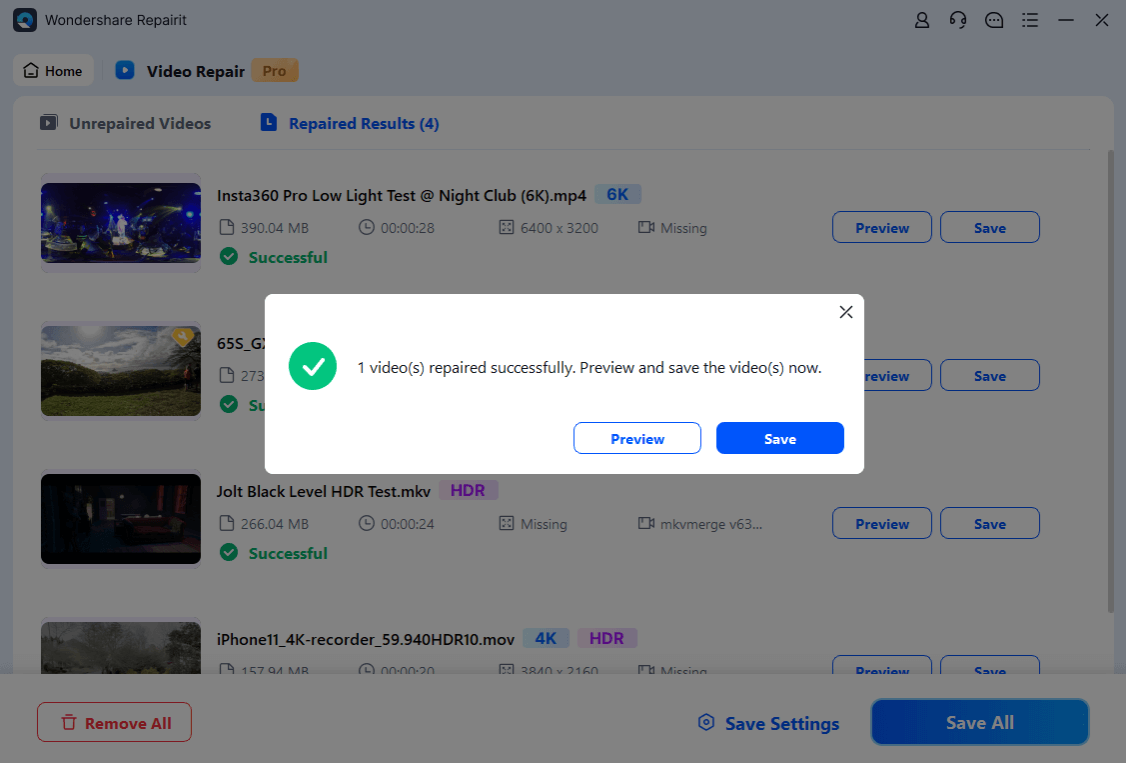
Step 3. When your files get repaired, simply hit the “Save All” and then “Save All” button to export your fixed videos with their proper sounds to your device.
Fix Videos with No Sound Error
Security Verified. Over 7,302,189 people have downloaded it.
Conclusion
To conclude, facing the sound not working in Premiere Pro can disrupt your entire editing workflow. We have explored several solutions to resolve this dilemma, including modifying your system and tool settings. Plus, it is possible that this problem occurs because your video gets corrupted. That’s where Repairit offers a professional way to fix audio-related video errors and ensures your footage plays perfectly without losing quality.
FAQ
Q1. Why does audio work outside Premiere but not in the software?
Basically, this editing tool uses its own audio routing independent of system-wide settings. When the audio works outside but not in the tool, the issue is likely within the software’s configuration. It could stem from incorrect playback preferences, muted tracks, or misaligned audio hardware settings. That’s where adjusting its Audio Hardware and Playback preferences usually resolves the issue.Q2. Does clearing the media cache help fix sound issues in Adobe Premiere?
Yes, this solution can resolve the sound problems in this software. These temporary files can become corrupted over time and interfere with audio playback. This action removes old cache data and forces Premiere to rebuild it from scratch, which restores full sound playback across your project.Q3. Can a corrupted video file cause no sound in Adobe Premiere?
Absolutely, this can also lead to sound-related issues in the editing tool. The software can fail to read the audio stream if the file structure is damaged. While most users check only software settings, corrupted media can sometimes be the real culprit. Using a professional repair tool like Repairit can restore your video file effortlessly using its advanced algorithm.
