Footage can look off-center in DaVinci Resolve for a few common reasons: the timeline aspect ratio doesn’t match the clip, scaling rules are set to crop or expand, stabilization shifts the frame, or Transform values were changed by accident.
Re-centering is usually quick—but only if you fix the right thing first. If you recenter a clip when the problem is actually timeline scaling, you may end up with extra cropping, black bars, or unnecessary quality loss.
This guide starts with safe checks (no permanent changes), then walks you through reliable, step-by-step methods to recenter video properly.
Note: Re-centering adjusts framing only—it can’t recover areas that were already cropped or never recorded.
Key Takeaways
- First confirm whether the issue is timeline-level (all clips) or clip-level (one clip).
- The Inspector (Position X/Y) is the fastest way to recenter most clips.
- Zoom fixes empty space, but it also reduces effective resolution if overused.
- Stabilization can shift framing and limit how far you can move the clip without revealing blank edges.
Table of Contents
Quick Decision Guide: Identify Your Off-Center Problem First
Before adjusting position or zoom settings, it’s important to identify why your video appears off-center. Re-centering the wrong way can lead to unnecessary cropping or quality loss.
Use the quick checks below to pinpoint the issue before applying fixes:
If the Video Has Black Bars or Empty Space
- The timeline resolution likely doesn’t match the clip’s aspect ratio.
- Common with vertical or mobile footage placed in a horizontal timeline.
- Re-centering alone won’t fix this without zoom or background adjustments.
If the Subject Is Shifted Left, Right, Up, or Down
- Position values may have been changed unintentionally.
- Stabilization or transform adjustments may have altered framing.
- This is usually a clip-level issue and can be fixed in the Inspector.
If Only One Clip Is Off-Center
- The problem is almost always tied to that specific clip.
- Check zoom, position, and transform settings for that clip.
- Timeline settings are likely correct.
If All Clips Appear Off-Center
- The timeline resolution or scaling settings may be incorrect.
- Confirm timeline settings before adjusting individual clips.
If the Video Looks Soft After Re-Centering
- Zoom has likely been used to fill gaps or remove bars.
- This indicates a resolution trade-off rather than a centering error.
Once you’ve identified which scenario applies, you can move on to the appropriate re-centering method instead of guessing.
Part 1. Why Videos Become Off-Center in DaVinci Resolve
Before fixing framing issues, it helps to understand why they happen. In most cases, off-center video in DaVinci Resolve is not caused by an editing mistake — it’s the result of mismatched settings, clip adjustments, or how the footage was originally recorded.
Below are the most common causes.
Aspect Ratio Mismatches
One of the most frequent reasons videos appear off-center is a mismatch between the clip’s aspect ratio and the timeline resolution. For example, placing a 4:3 or vertical clip into a 16:9 timeline can create empty space or shift how the frame is displayed.
When the timeline and source resolution don’t align, Resolve automatically scales or positions the clip based on its input scaling settings, which can affect framing.
Vertical or Mobile Recordings
Mobile videos are often recorded in vertical format (9:16). When these clips are placed inside a standard horizontal timeline (16:9), the framing may appear narrow, centered with black bars, or improperly scaled.
If automatic scaling is applied, the subject may no longer appear visually centered within the wider frame.
Cropped or Stabilized Clips
Cropping and stabilization can both shift framing unintentionally. Stabilization works by repositioning and slightly zooming the image to smooth motion, which can move the subject away from center.
Similarly, manual cropping adjustments may change the visible portion of the frame, making the composition feel uneven.
Imported Footage with Incorrect Framing Metadata
Some cameras and mobile devices embed rotation or framing metadata into video files. If this metadata is misinterpreted during import, the clip may appear shifted, rotated, or improperly scaled inside the timeline.
In these cases, the issue isn’t the content of the video — it’s how the clip is being interpreted by the project settings.
Part 2. Quick Check Before Recentering Your Video
Before adjusting position or zoom controls, take a moment to verify your project and clip settings. Many off-center issues are caused by timeline configuration or scaling behavior—not the clip itself. Making changes without checking these first can lead to unnecessary cropping or resolution loss.
Confirm Timeline Resolution
Go to Project Settings → Master Settings → Timeline Resolution and confirm that it matches your intended output (for example, 1920x1080 for standard 16:9 projects).
If your timeline resolution doesn’t match your footage’s aspect ratio, Resolve may automatically scale or reposition clips. This can make properly recorded footage appear misaligned even when nothing was manually adjusted.
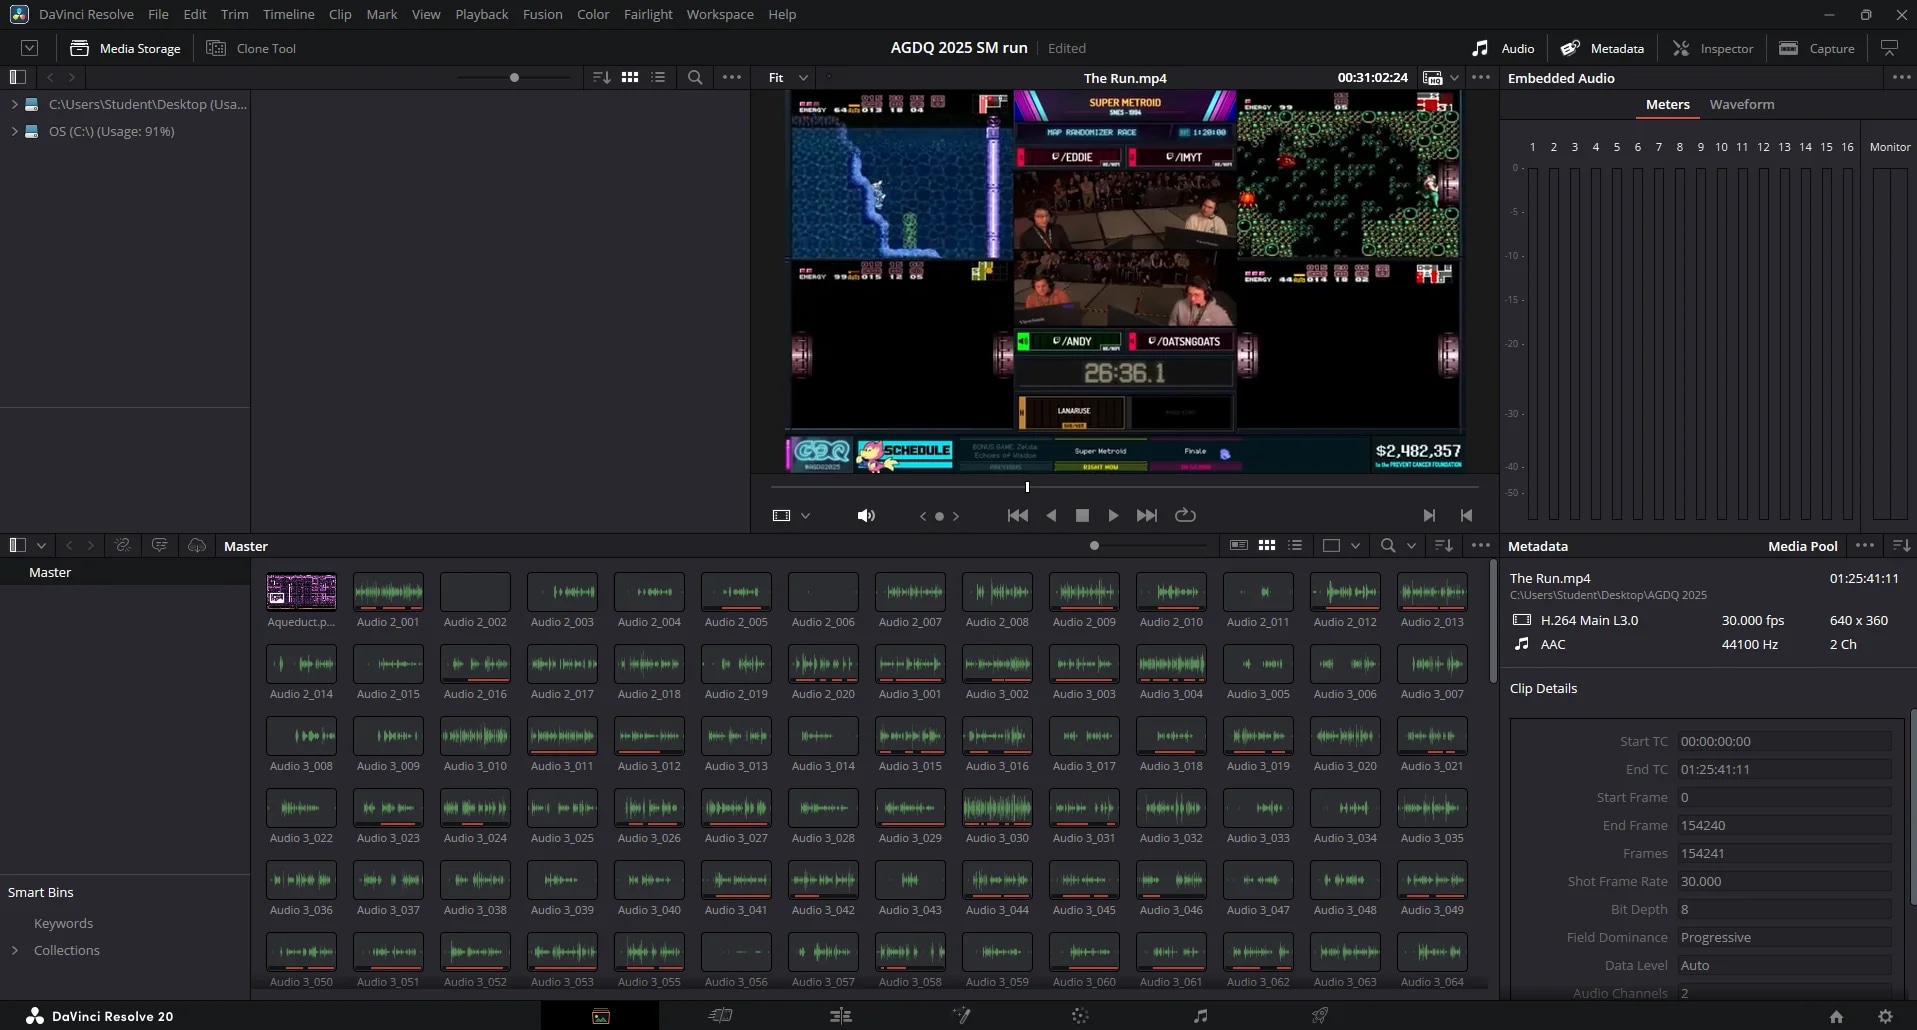
Check Clip Scaling and Position Values
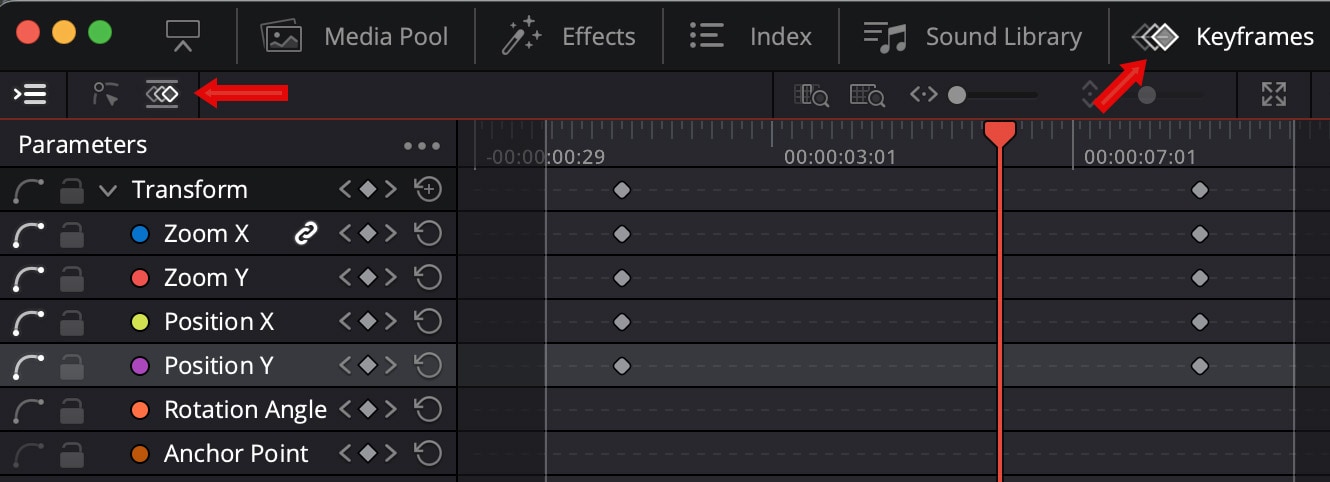
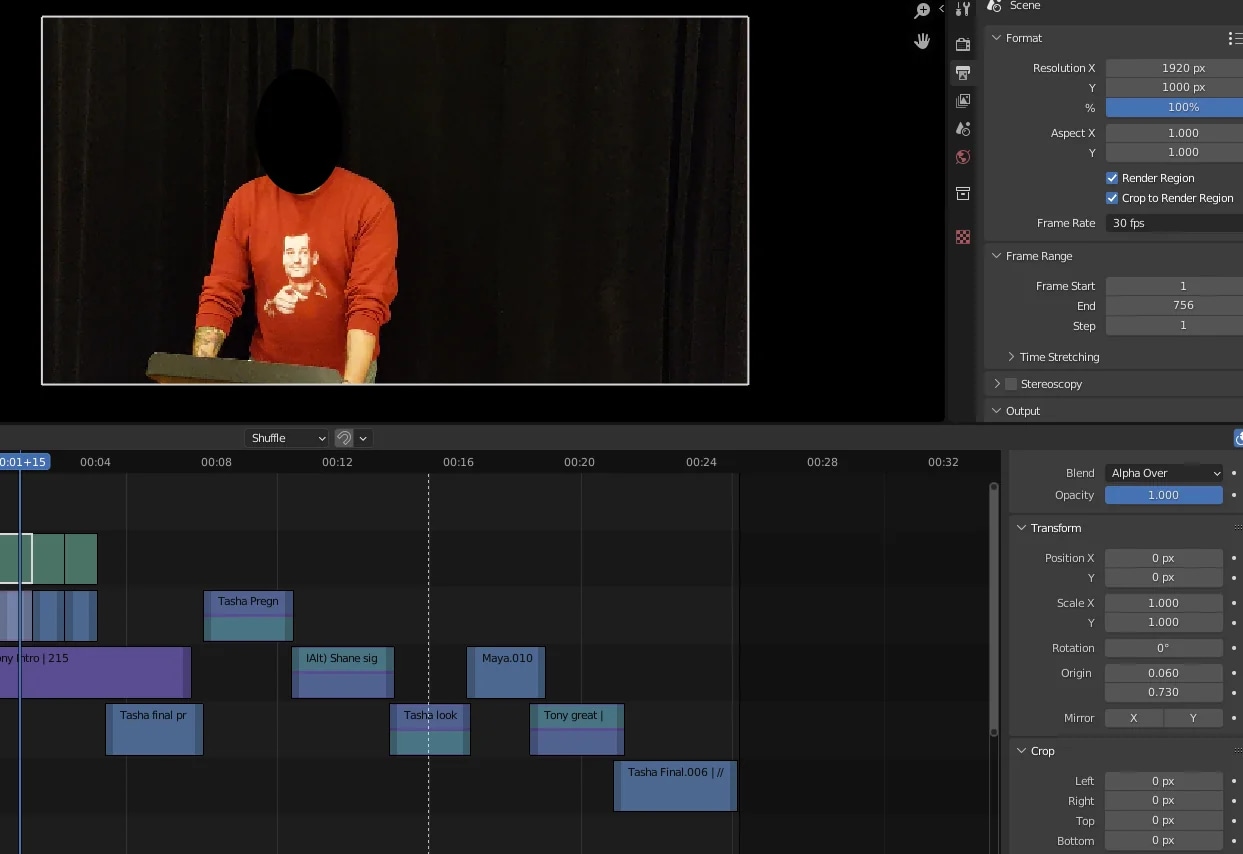
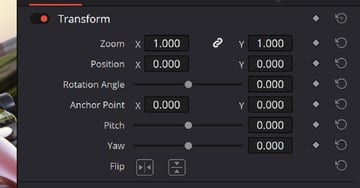
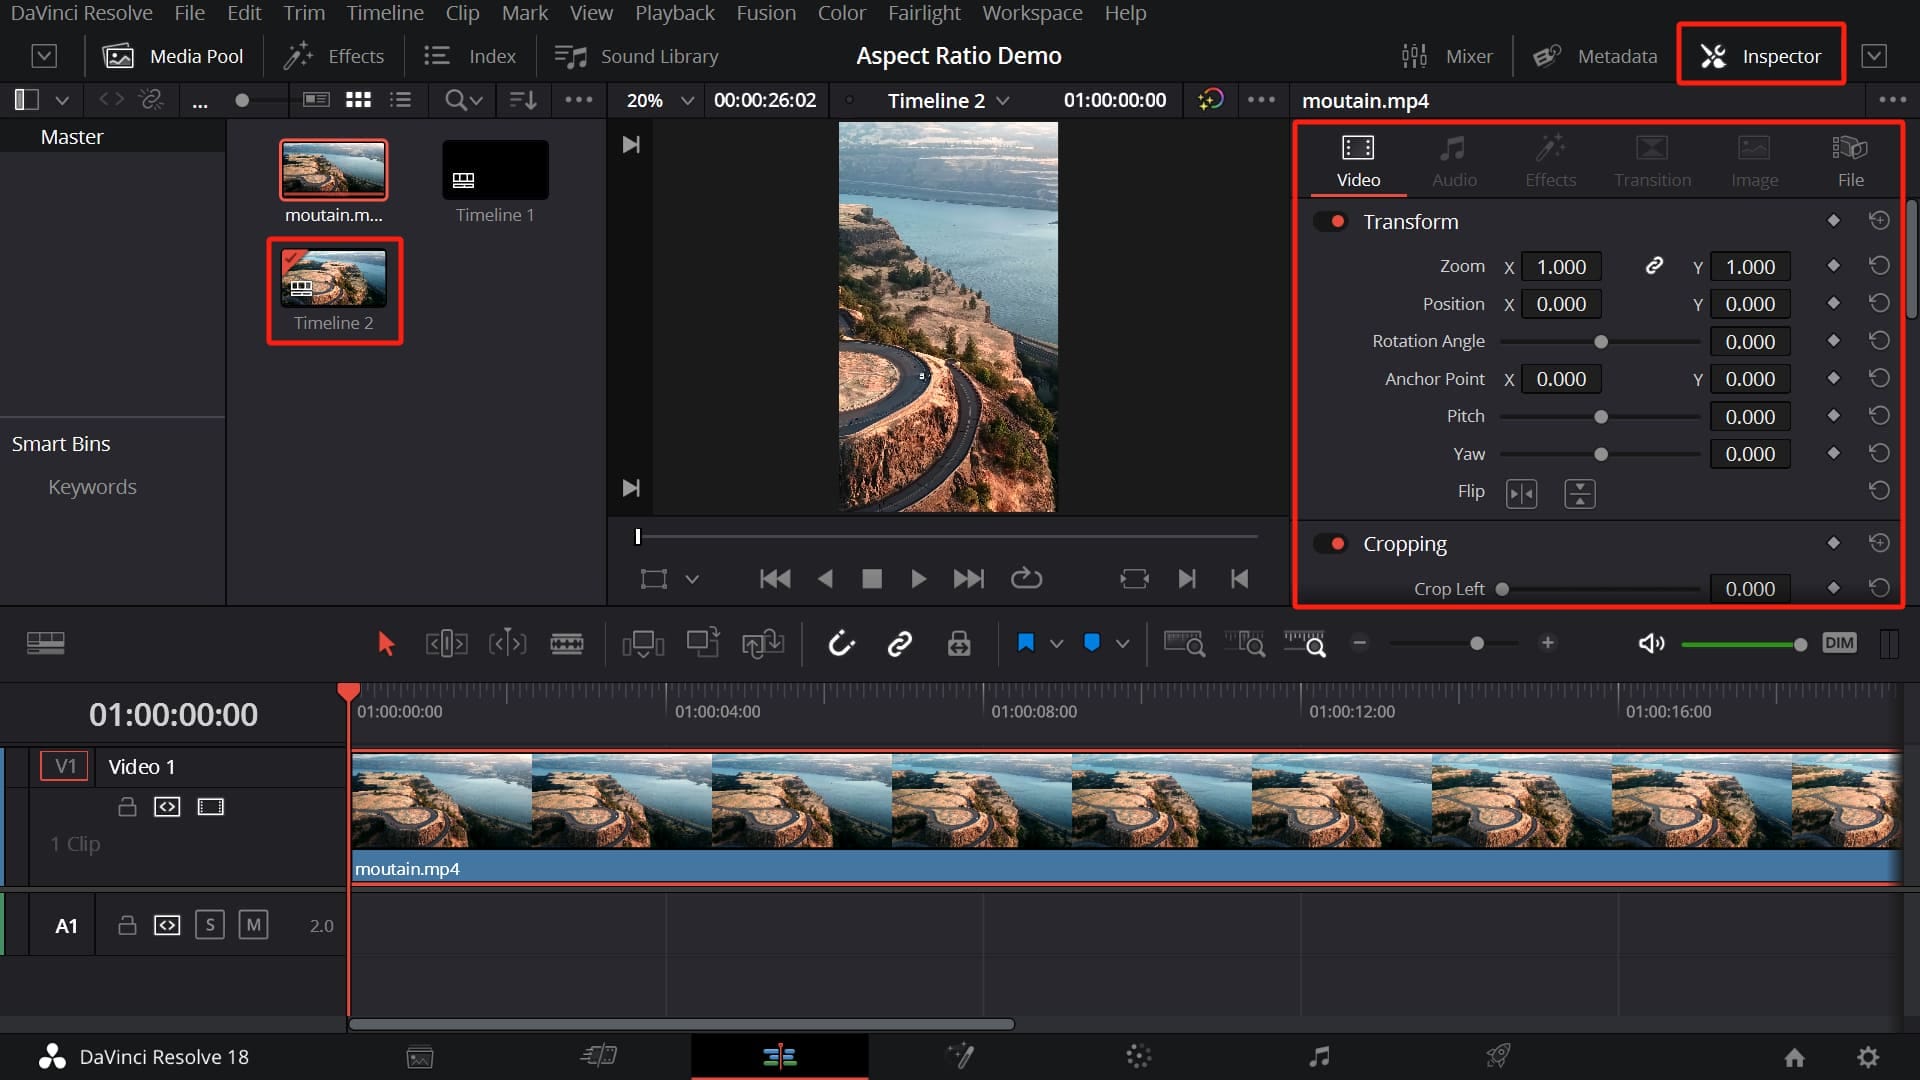
Select the clip in the timeline and open the Inspector panel. Look at:
- Position X and Y
- Zoom X and Y
- Rotation Angle
- Anchor Point (if adjusted)
If any values were changed accidentally, they may be shifting the frame. Resetting these to default often immediately restores proper centering.
Identify Whether the Issue Is Clip-Level or Timeline-Level
Ask yourself:
- Is only one clip off-center? → Likely a clip-level issue.
- Are all clips misaligned in the same way? → Likely a timeline or project setting issue.
Part 3. Recenter Video in DaVinci Resolve Using the Inspector (Beginner Method)
For most off-center clips, the Inspector panel provides the simplest and most precise way to fix framing. This method works best when the subject has shifted slightly left, right, up, or down without major scaling issues.
Step 1: Select the clip in the timelineClick the clip that appears off-center. Make sure it is highlighted before making adjustments.
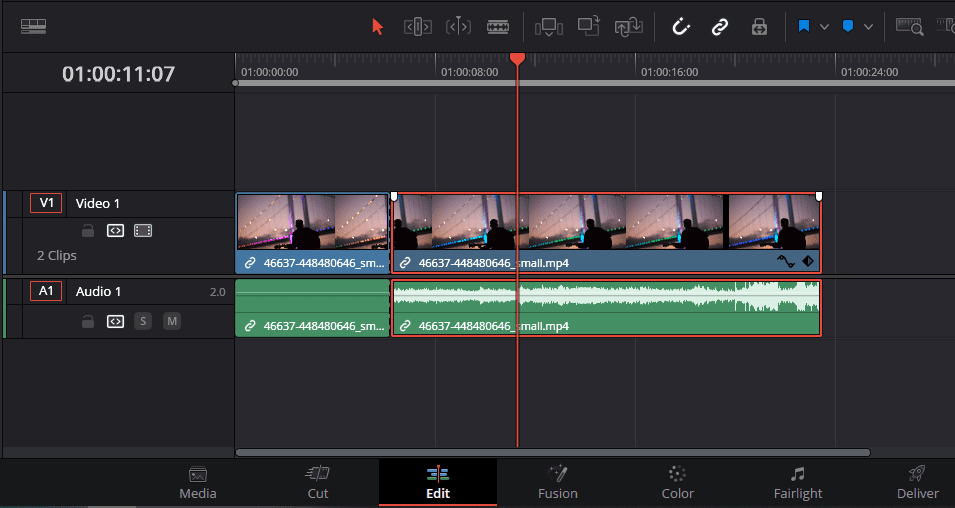
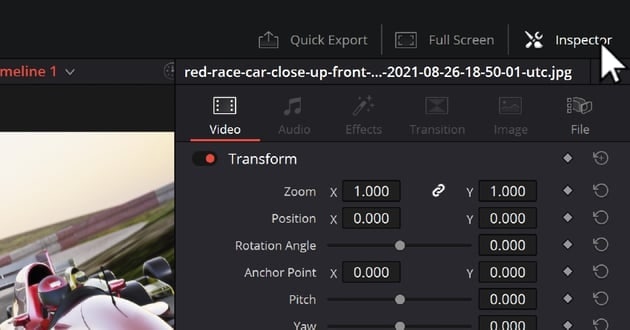
Step 2: Open the Inspector panelIn the top-right corner of the Edit page, click Inspector to reveal clip controls. Under the Video section, locate the Transform settings.

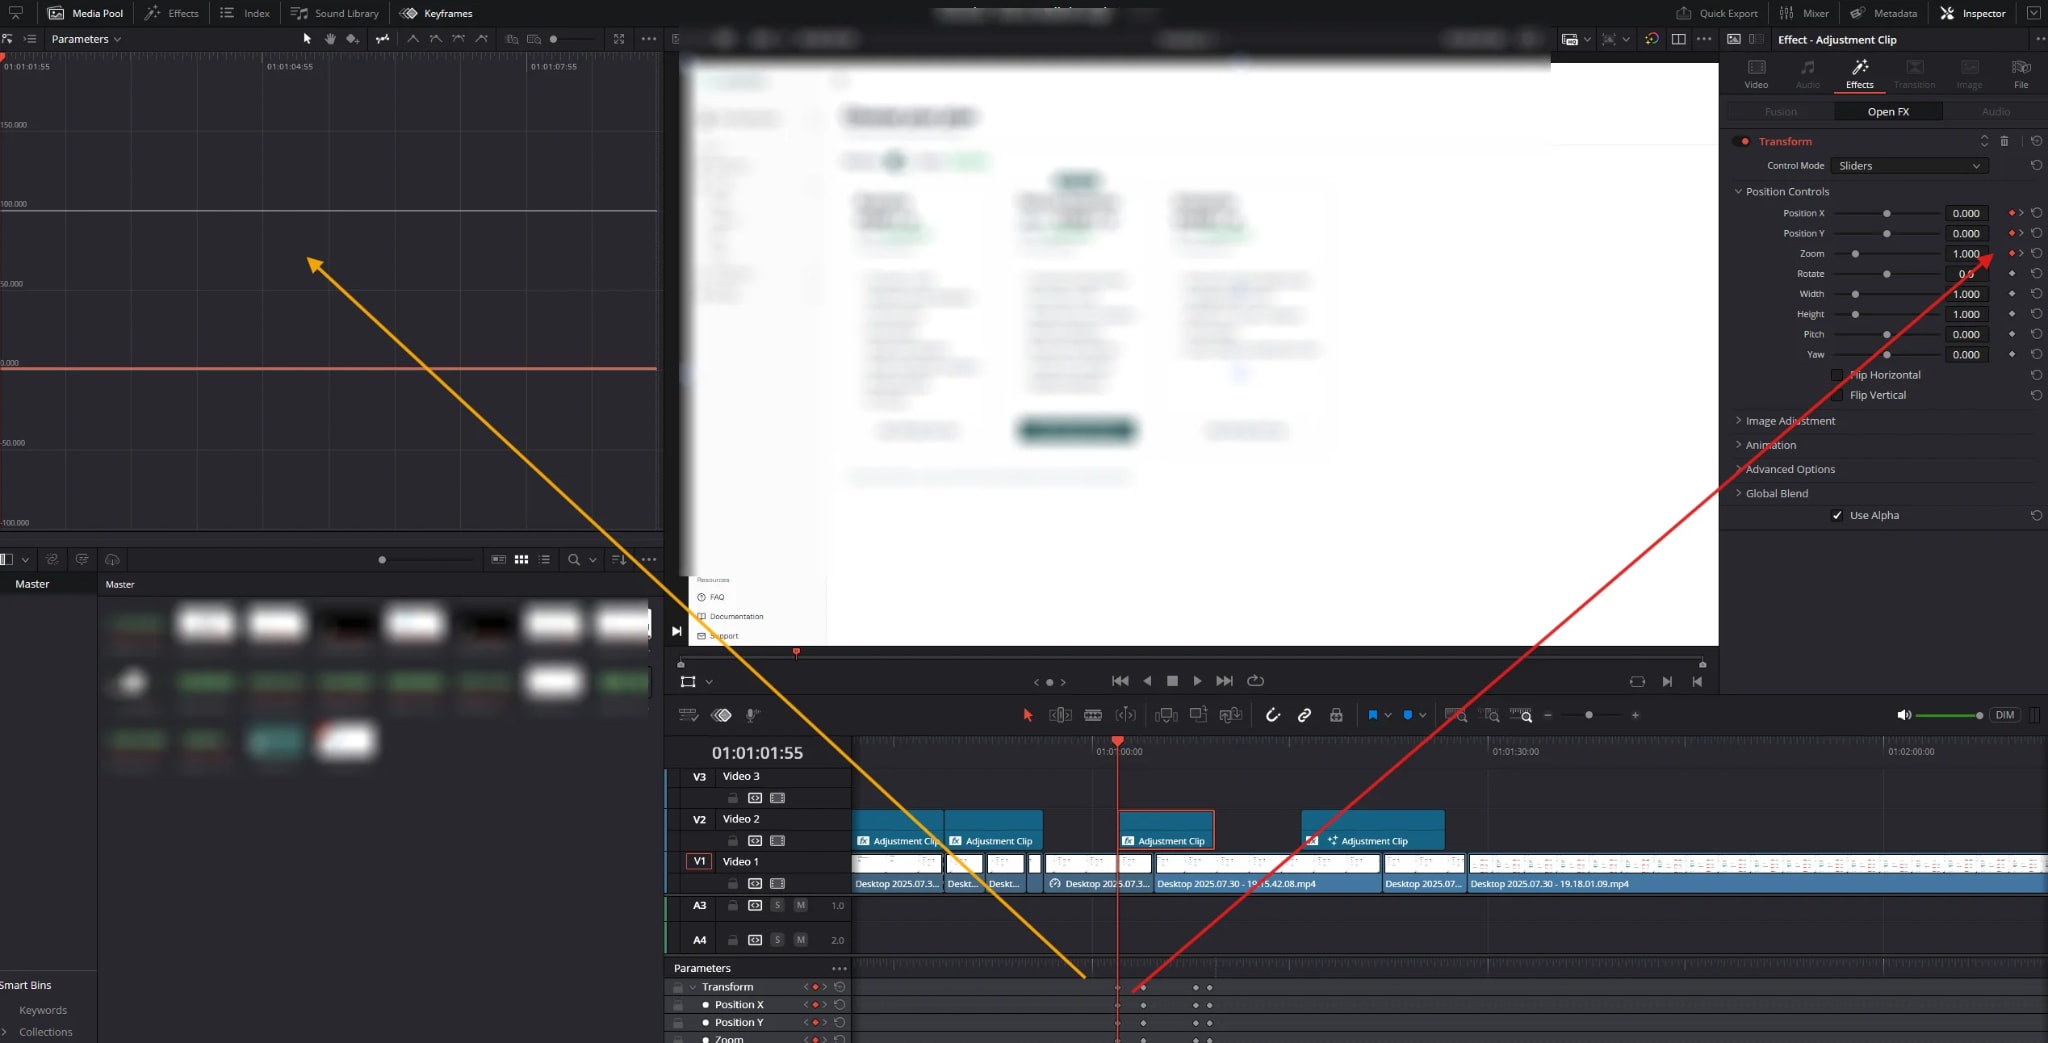
Step 3: Adjust Position X and Y values
- Use Position X to move the frame left or right.
- Use Position Y to move the frame up or down.
Make small adjustments while watching the viewer to center your subject naturally within the frame.
Step 4. Reset position if values were altered unintentionallyIf the clip was accidentally moved earlier, click the reset icon next to Transform to return Position values to default. This often instantly restores proper alignment.
Best for: Simple framing shifts affecting individual clips.
Risk Note: Excessive repositioning can push parts of the image outside the visible frame, causing unintended cropping. Always check edges after adjusting position.
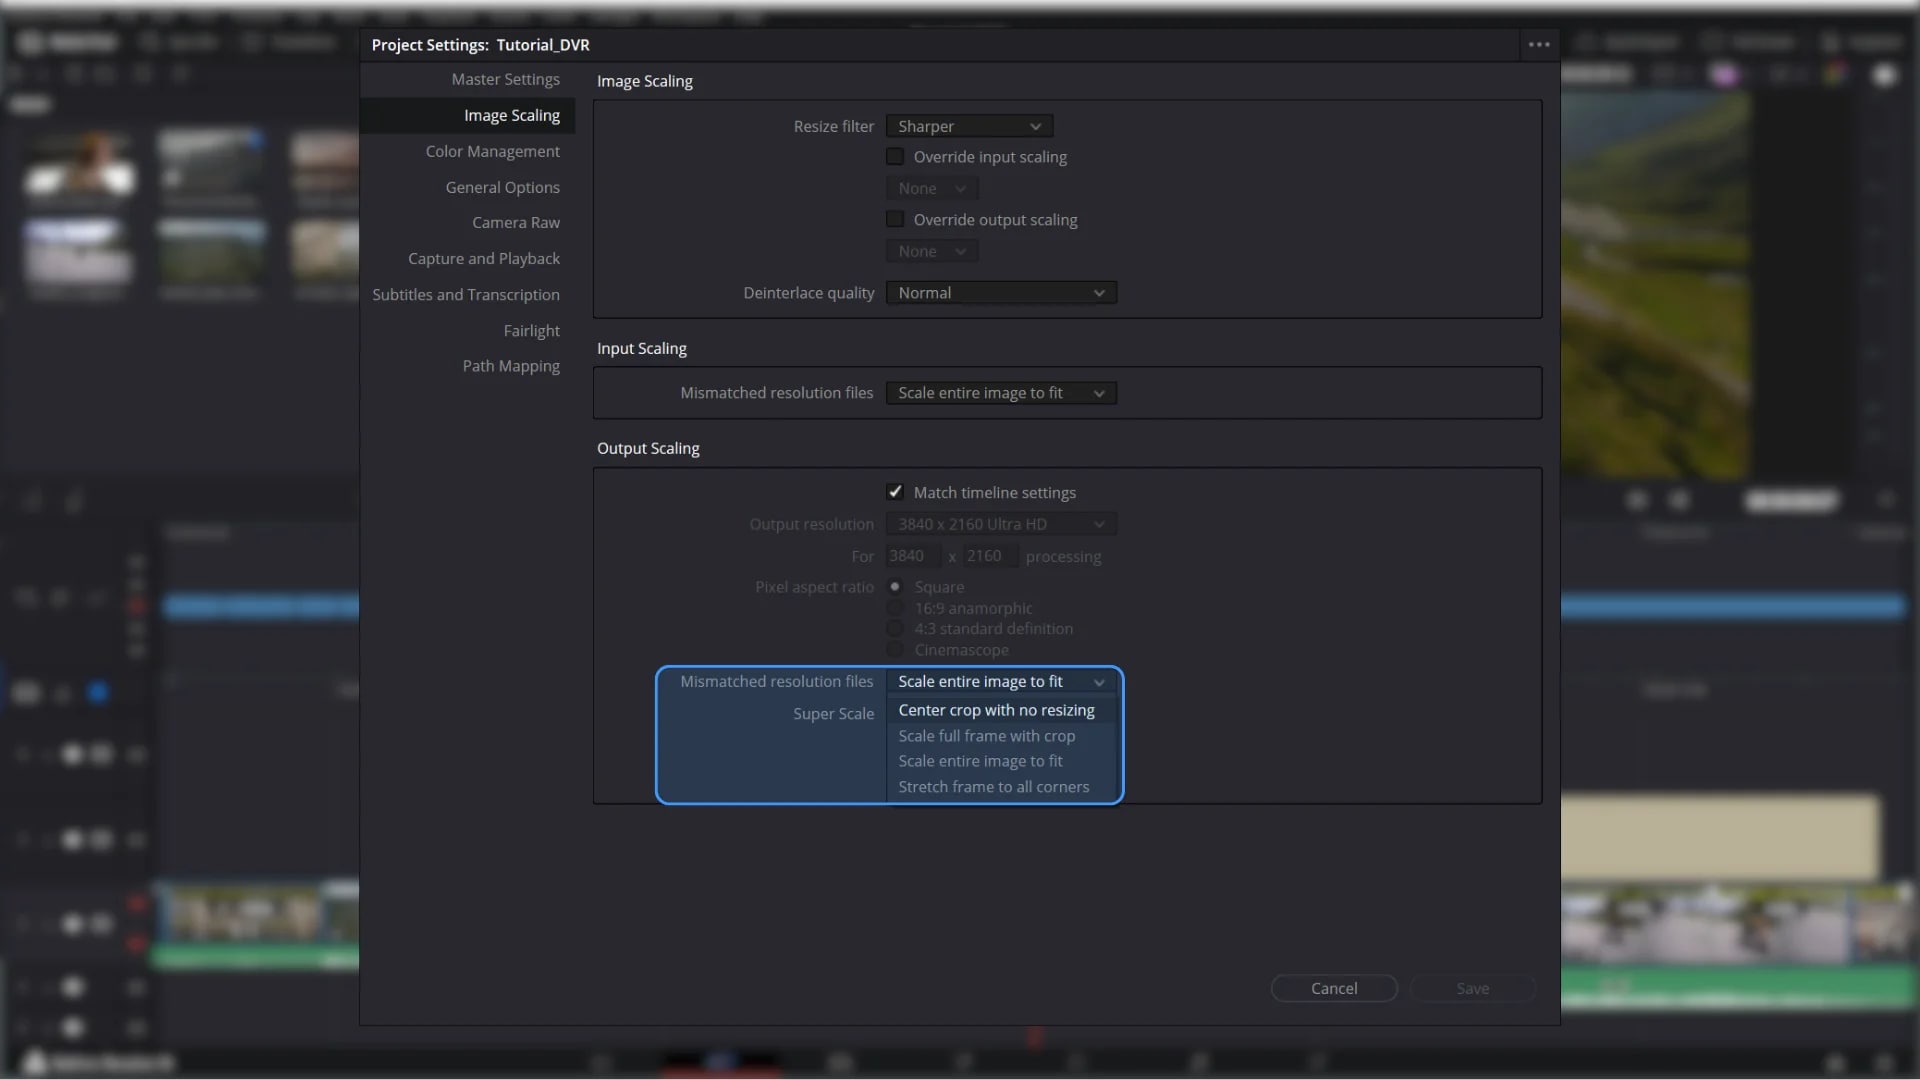
Part 4. Recenter Video Using Zoom and Position Controls
Zoom and Position controls should only be used when visible black bars, empty space, or framing gaps appear around the clip. This usually happens when the clip’s aspect ratio does not match the timeline, or when scaling settings leave unused areas in the frame.
Unlike simple repositioning, zooming changes how much of the image is displayed. That means you’re enlarging pixels to fill space rather than simply shifting the frame.
Risk: Increasing Zoom permanently reduces effective resolution. The more you scale up, the softer the image may appear.
Step 1: Increase Zoom slightly
In the Inspector under Transform, raise the Zoom value gradually until black bars or empty edges are no longer visible. Avoid large jumps—small increments help preserve quality.
Step 2: Adjust Position to center the subjectAfter zooming, fine-tune Position X and Y to bring your subject back to the center of the frame. Zooming may shift composition slightly, so this step ensures balanced framing.
Step 3: Compare before-and-after framingToggle the clip on and off or use undo/redo to compare. Check sharpness, edge detail, and overall balance before finalizing.
Part 5. Recenter Video Using the Transform Overlay
Sometimes, adjusting values in the Inspector isn’t precise enough, especially if the subject needs to align perfectly in the frame. The Transform overlay gives you a visual, drag-and-drop method to reposition clips with accuracy, letting you see the results in real time. This method is particularly useful when sliders feel too subtle or when multiple clips need consistent alignment.
Step 1: Enable Transform Controls
In the Edit page, click the Transform button above the viewer. This displays the on-screen overlay, including a bounding box and corner handles around your clip.
Step 2: Drag the Clip Directly in the Viewer
Click inside the bounding box and drag your clip. Move it left, right, up, or down to visually center the subject. You’ll notice the frame adjusting as you reposition—this makes precise alignment easier than relying solely on numeric values.
Step 3: Snap the Subject to Center Guides
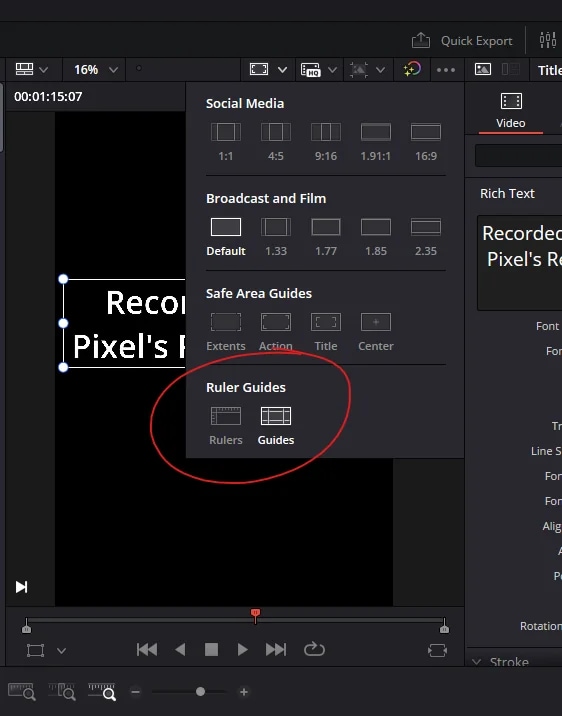
Enable on-screen guides (like center or safe zone guides) if they aren’t already visible. Align your subject to the vertical and horizontal center markers for perfectly balanced composition. The guides help ensure symmetry and prevent accidental misalignment.
Step 4: Adjust Zoom or Rotation if Needed
If centering alone leaves black bars or slightly uneven framing, tweak Zoom or Rotation in the Inspector while watching the overlay. Make small, incremental changes to preserve image quality.
Best for: Precise visual adjustments, aligning multiple clips consistently, or when the subject requires perfect centering.
Risk Note: Moving clips too far can crop edges or reduce visible detail. Always double-check edges after repositioning and avoid large transforms that compromise resolution.
Part 6. Recenter Vertical or Mobile Videos in DaVinci Resolve
Vertical or mobile footage (often 9:16) can look off-center or awkward when placed into a standard horizontal timeline (16:9). Simply dragging it in won’t always center the subject, and improper adjustments can stretch or distort the video. This section shows how to recenter vertical clips professionally while maintaining quality.
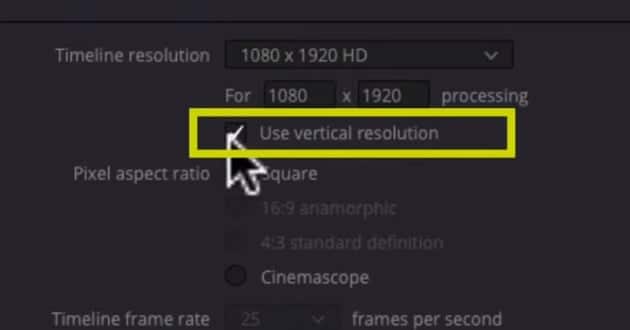
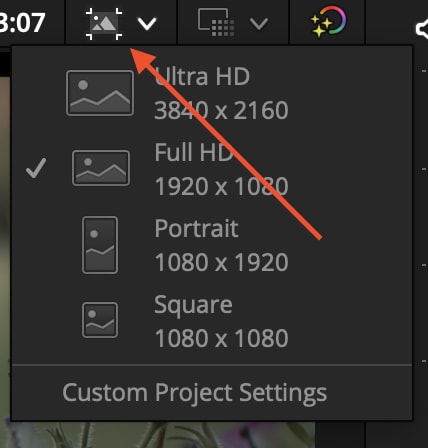
Step 1. Choose the Best Timeline Settings for Vertical FootageFor vertical videos, consider creating a vertical timeline:
- Go to Project Settings → Master Settings → Timeline Resolution.
- Set the resolution to match your vertical clip, e.g., 1080x1920.
This preserves the original aspect ratio and avoids black bars or distortion.
Step 2. Center the Subject Without Stretching
Even in a vertical timeline, the subject may need slight repositioning:
- Select the clip and open the Inspector.
- Adjust Position X and Y to align the subject in the frame visually.
- Avoid changing the horizontal Zoom disproportionately—this can stretch the image and reduce quality.
Step 3. Add Background Blur or Padding if Needed
If you must place a vertical clip in a horizontal timeline (common for social media):
Use Zoom to fill the height without cropping the subject.
Add background blur or a solid color to fill empty space on the sides:
- Go to Effects Library → OpenFX → Gaussian Blur for blurred backgrounds.
- Or create a solid color layer behind the clip. This maintains focus on your subject while keeping the video visually balanced.
Best for: Mobile recordings, social media content, or any vertical footage that must fit a horizontal frame.
Risk Note: Over-zooming reduces effective resolution, and improperly stretched clips can look unnatural. Always preview your adjustments on multiple devices before exporting.
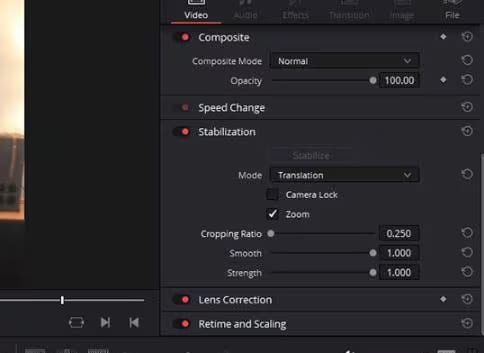
Part 7. Fix Off-Center Videos Caused by Stabilization or Cropping
Video stabilization and cropping are common post-production adjustments, but they can unintentionally shift the subject away from the center. Understanding why this happens and how to fix it ensures your final video looks balanced and professional.
Why Stabilization Shifts Framing
Stabilization works by automatically repositioning and slightly zooming the clip to smooth out shaky footage. While it improves motion, it often moves the subject slightly off-center or crops edges to eliminate jitter. Cropping for composition or visual effect can have a similar impact, cutting away areas near the frame edges and affecting subject placement.
Step 1. Recenter After Stabilization
- Select the stabilized clip in the timeline.
- Open the Inspector → Transform panel.
- Adjust Position X and Y to visually center the subject again.
- If stabilization has zoomed in significantly, ensure your adjustments don’t crop important parts of the frame.
Step 2. Recheck Zoom and Anchor Points
- Zoom: Confirm that any automatic stabilization zoom hasn’t over-enlarged the clip. Reduce Zoom slightly if edges appear soft or pixelated.
- Anchor Point: Some clips may have an adjusted anchor point from stabilization. Reset the Anchor Point if needed to maintain proper pivot for positioning and rotation.
Step 3. Preview and CompareToggle the clip on and off or use undo/redo to compare the original and stabilized versions. Make sure the subject is centered, framing is balanced, and no unwanted cropping has occurred.
Best for: Clips that were stabilized for shaky footage or manually cropped but now need proper centering.
Risk Note: Stabilization can limit how far you can reposition the video without exposing blank edges. Always check the final frame after adjustments to ensure no important details are lost.
Part 8. When Recentering Isn’t Enough: Enhancing Framing Automatically
In most cases, DaVinci Resolve’s Transform and Inspector tools are more than enough to fix off-center footage. However, manual repositioning has limits. If your clip has already been heavily cropped or significantly zoomed in, re-centering may expose softness, pixelation, or edge artifacts.
Enhancement tools can help improve perceived clarity before you finalize your edit—but they are not a substitute for proper framing inside Resolve.
When Manual Repositioning Falls Short
You may need enhancement support when:
- Footage is heavily cropped and lacks surrounding detail.
- Resolution is extremely low, making zoom adjustments look soft.
- Edges become blurry or pixelated after scaling to fill black bars.
In these situations, improving clarity first can make your re-centered video look cleaner and more professional.
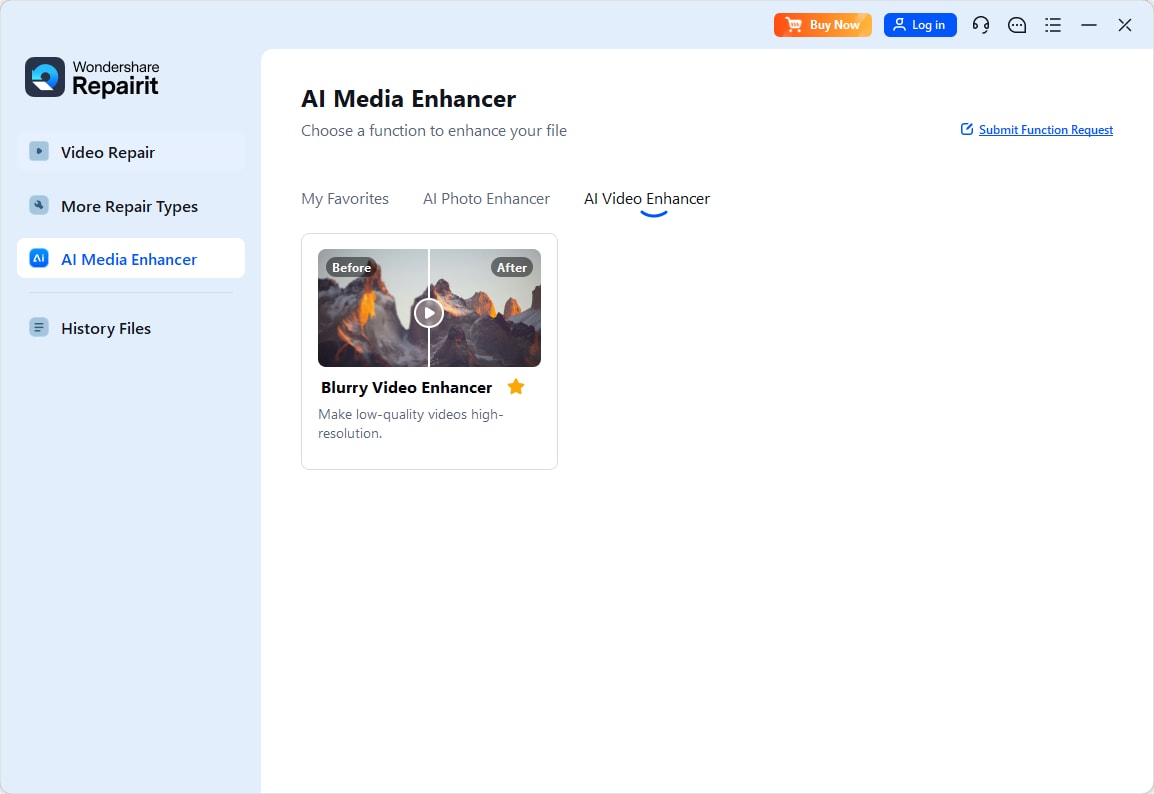
Example Solution: Repairit Video Enhancer
Repairit Video Enhancer is designed to improve sharpness and clarity in low-resolution or heavily scaled footage. It works best as a pre-editing step, not a replacement for DaVinci Resolve’s positioning tools.
What it does well:
- Enhances perceived sharpness after heavy zooming
- Reduces visible softness caused by scaling
- Improves clarity before final export
What it cannot do:
- Recover image areas that were permanently cropped
- Restore detail that was never captured in the original recording
- Replace proper timeline and framing setup in Resolve
Think of it as a clarity boost—not a framing fix.
Step 1 Download and install Repairit Video Enhancer: Import your off-center or low-resolution clip into Repairit and choose the appropriate enhancement option based on your footage quality.
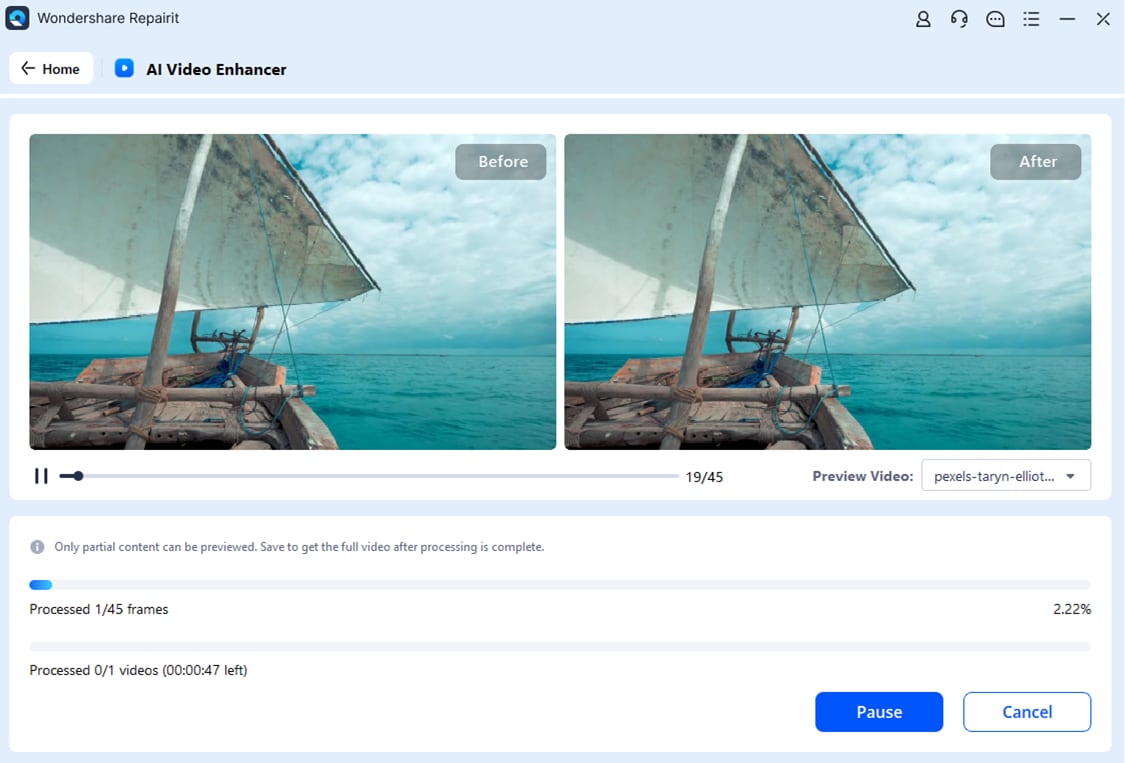
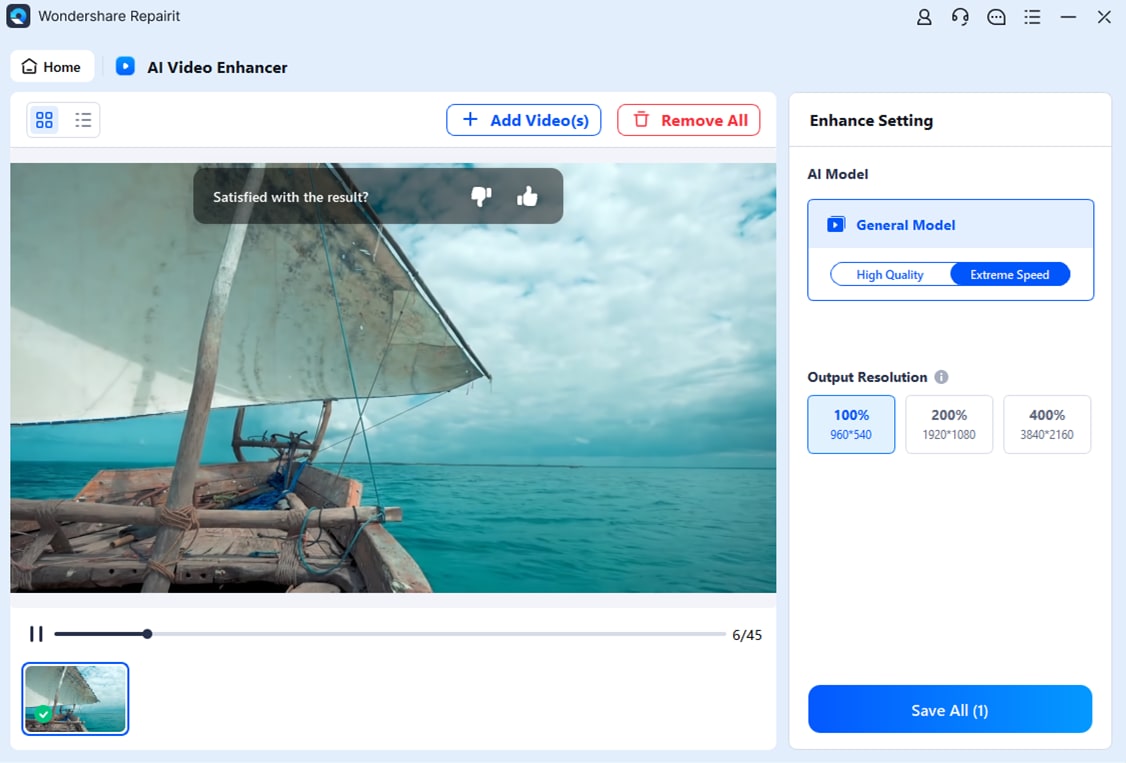
Step 2 Start Upscalling: After you select the output resolution, this program will start enhancing automatically.
Step 3 Preview & Download: All is done! Now you can preview the upscaled videos, and download to your device.
Step 4 Export Video and Import back to DaVinci Resolve: Bring the enhanced file back into your Resolve project. Then perform your final re-centering adjustments using the Inspector or Transform tools.
This workflow is most effective when enhancement is done before final scaling and export, ensuring your recentered video maintains the best possible clarity.
Part 9. Common Mistakes to Avoid When Recentering Video
Re-centering video in DaVinci Resolve is straightforward, but small mistakes can quickly reduce quality or create new framing problems. Avoid the following issues to maintain sharp, professional-looking results.
1. Over-Zooming and Causing Quality Loss
One of the most common mistakes is increasing Zoom too much to eliminate black bars or fill empty space. While this may temporarily fix framing, it enlarges pixels and reduces effective resolution.
Signs you’ve over-zoomed:
- The image looks soft or slightly blurry
- Fine details (text, hair, edges) appear smeared
- Compression artifacts become more noticeable
Always increase Zoom gradually and stop as soon as the frame is filled. If large scaling is required, consider adjusting timeline settings instead of forcing the clip to fit.
2. Ignoring Timeline Resolution
Many framing problems start at the timeline level. If your timeline resolution doesn’t match your footage’s aspect ratio, clips may appear misaligned even when they’re technically centered.
Before adjusting individual clips:
- Check Project Settings → Timeline Resolution
- Confirm your aspect ratio matches your intended output
- Review Input Scaling settings
Fixing the timeline first can prevent unnecessary cropping and quality loss later.
3. Forgetting to Reset Inspector Values
Sometimes clips appear off-center simply because Transform values were changed earlier in the edit.
Common overlooked settings include:
- Position X and Y
- Zoom
- Rotation Angle
- Anchor Point
If you’re unsure what was modified, click the reset icon next to Transform in the Inspector. Resetting often instantly restores proper alignment.
4. Recentering After Export Instead of Before
Trying to fix framing after exporting your final video is inefficient and may reduce quality further. Every additional export can introduce compression and scaling artifacts.
Always complete re-centering and framing adjustments inside DaVinci Resolve before your final render. This ensures you’re working with the highest possible source quality.
Part 10. Best Export Settings After Recentering Video
After you’ve properly centered your footage, exporting with the correct settings is just as important as the adjustments themselves. Incorrect render settings can undo your work by introducing scaling artifacts, softness, or black bars.
Here’s how to export cleanly and preserve quality.
1. Match Export Resolution to Your Timeline
The safest approach is to export at the same resolution as your timeline.
For example:
- 1920x1080 timeline → Export at 1920x1080
- 1080x1920 vertical timeline → Export at 1080x1920
- 4K timeline (3840x2160) → Export at 3840x2160
Changing resolution during export forces Resolve to rescale your video again, which can soften the image—especially if you already used Zoom while recentering.
To verify:
- Go to the Deliver page
- Confirm resolution matches your timeline settings
- Avoid manually changing dimensions unless required by the platform
2. Avoid Unnecessary Rescaling
If you’ve already adjusted Zoom and Position, additional scaling at export can reduce clarity further.
To prevent this:
- Keep scaling at 100% in export settings
- Avoid exporting to a lower resolution unless necessary
- Do not apply additional cropping in the Deliver page
If platform requirements demand a different resolution (for example, converting horizontal video to vertical), it’s better to adjust the timeline first rather than resizing during export.
3. Recommended Formats for Common Platforms
Choosing the right format ensures compatibility and maintains visual quality.
For YouTube:
- Format: MP4
- Codec: H.264 or H.265
- Resolution: Match timeline (1080p or 4K recommended)
- Quality: Restrict to high bitrate or use automatic high-quality preset
For Social Media (Instagram, TikTok, Facebook):
- Vertical: 1080x1920
- Horizontal: 1920x1080
- Format: MP4 (H.264)
- Keep file size reasonable to avoid platform recompression
For Mobile Playback:
- 1080p is typically sufficient
- H.264 ensures wide compatibility
- Avoid extremely high bitrates that increase file size without visible improvement
Conclusion
Re-centering video in DaVinci Resolve starts with identifying the cause. Most clips can be fixed using the Inspector’s Position controls for simple shifts or the Transform overlay for precise visual alignment.
When dealing with vertical footage or aspect ratio mismatches, adjusting timeline settings first helps prevent unnecessary zooming and quality loss.
If heavy scaling has softened your footage, tools like Wondershare Repairit can improve perceived clarity before final export—but they don’t replace proper framing. Keep zoom minimal, match export settings to your timeline, and always preview at full resolution to maintain professional results.
FAQs
-
1. Why is my video off-center in DaVinci Resolve?
Videos usually appear off-center due to aspect ratio mismatches, timeline resolution settings, stabilization shifts, or accidental Position adjustments in the Inspector. -
2. How do I quickly recenter a clip in DaVinci Resolve?
Select the clip, open the Inspector, and adjust Position X and Y under Transform. Reset the Transform panel if needed. -
3. What’s the difference between using Inspector and Transform overlay?
Inspector uses precise numeric controls, while the Transform overlay allows visual drag-and-drop positioning directly in the viewer. -
4. Why does my video look blurry after recentering?
Blurriness typically happens when Zoom is increased too much, reducing effective resolution. -
5. How do I recenter vertical video without stretching it?
Use a vertical timeline (e.g., 1080x1920) and adjust Position values instead of stretching Zoom unevenly.