Do you feel editing Insta360 videos in DaVinci Resolve is a hassle? Many people face issues with Insta360 Davinci Resolve, but these problems can surely be resolved.
Insta360 cameras record videos in .INSV or .MP4 files, using H.264 or H.265 compression methods. These formats provide high-quality video, but they might create problems with compatibility or speed. This guide will show you everything you need to know about. More importantly, you will learn how to easily edit Insta360 videos in DaVinci Resolve.
In this article
Part 1: Understanding Insta360 Video Formats and Codecs
When editing Insta360 movies in DaVinci Resolve, it’s important that you have knowledge about the formats and codecs for easy editing. Insta360 cameras usually save 360-degree videos in the .INSV format. But, they can also use .MP4 files. These are popular and accepted by many devices.
The codec decides how video files are made smaller. Insta360 videos generally use H.264 or H.265 codecs. H.264 is famous for balancing quality and compression, while H.265 (HEVC) offers better compression. This makes it great for higher-resolution videos like 4K or 5.7K, as it reduces file size without sacrificing quality.
However, H.265 can be demanding on your machine during playback and editing. To improve speed, consider using proxy files or optimized media when working with high-resolution footage. Proxy files are lower-resolution versions of your videos. It makes them easy for your computer to handle. Once your edits are complete, you can replace proxies with the actual high-quality footage for final rendering.
Your computer’s hardware also plays a crucial role. Editing 360-degree footage, especially in higher resolutions, can put strain on your CPU and GPU. Make sure your system meets the required specifications for DaVinci Resolve, including a powerful processor, ample RAM, and a strong GPU.
| Component | Minimum Requirement | Recommended for Smooth Editing |
| Processor (CPU) | Intel Core i7 or AMD Ryzen 7 | Intel Core i9 or AMD Ryzen 9 |
| Graphics Card (GPU) | 4GB VRAM (NVIDIA GTX 1650 or equivalent) | 8GB+ VRAM (NVIDIA RTX 3060 or AMD RX 6800) |
| RAM | 16GB | 32GB or more |
| Storage | SSD (at least 500GB) | NVMe SSD (1TB or more) |
| Operating System | Windows 1.macOS 11 | Latest Windows/macOS version |
| Monitor | 1080p display | 4K display for better detail |
| DaVinci Resolve Version | Free or Studio version | Studio version for better 360° support |
Additionally, optimizing settings, such as matching the timeline resolution to your footage and disabling unnecessary background processes, can help improve editing performance.
By understanding video formats, using proxies, and ensuring your system is properly equipped, you can achieve smoother editing with Insta360 footage in DaVinci Resolve.
Part 2: Repairing Corrupted Insta360 Videos for Seamless Editing
Video corruption can create significant issues during the editing process, especially in DaVinci Resolve. Corrupted Insta360 videos may experience problems like freezing, distorted frames, audio and video synchronization issues, or even fail to load altogether. These issues can delay your project and cause frustration during editing, making it hard to create the polished content you want.
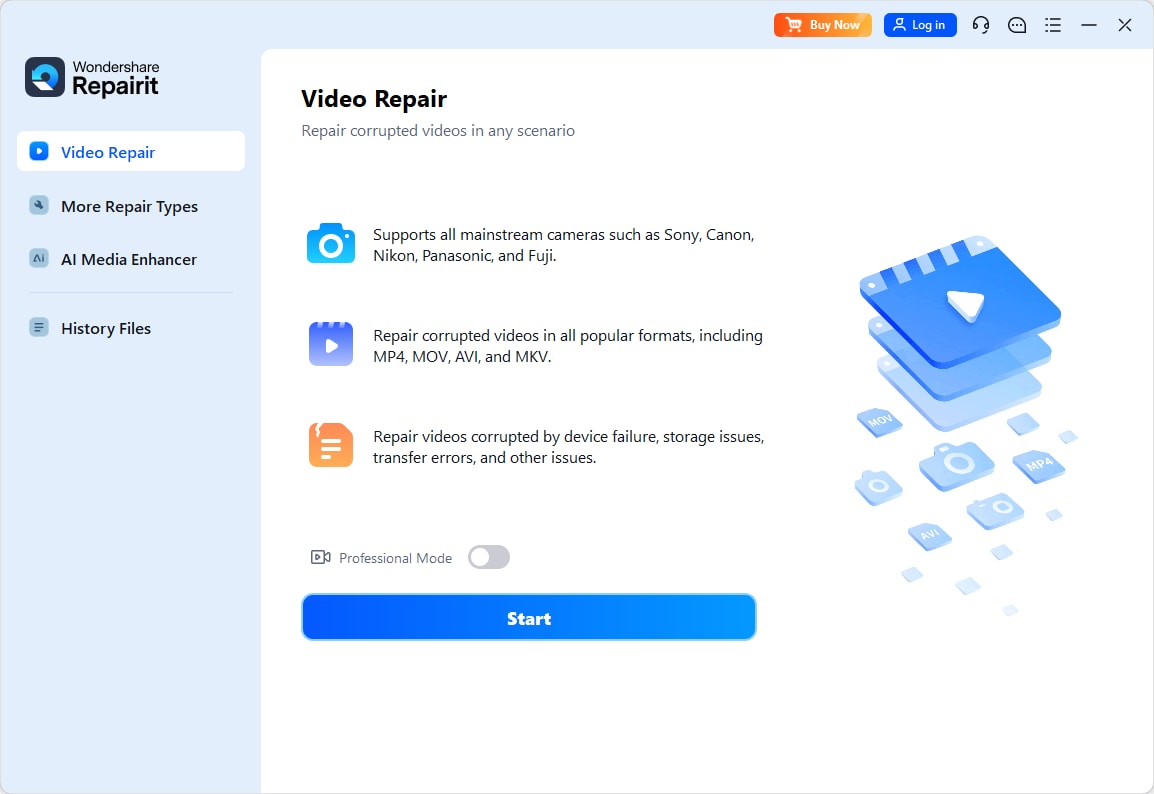
Luckily, Repairit Video Repair provides a reliable solution for fixing these corrupted videos. This tool is designed to repair a variety of video file types, including .INSV and .MP4, which are commonly used by Insta360 cameras. With its easy-to-use interface and powerful repair features, Repairit can restore damaged videos so they are fully compatible with editing software like DaVinci Resolve.
Advantages of Repairit Video Repair
✅Supports Multiple Formats. Repairit can repair different video formats, including those used by Insta360, such as .INSV and .MP4.
✅Quick and Efficient Repair. The software is designed to quickly scan and fix corrupted videos, saving time and effort during your editing workflow.
✅High-Quality Repair. The tool ensures that the repaired video maintains its original quality, with no visible loss of detail or clarity.
✅No Special Technical Knowledge Needed. Repairit is user-friendly and doesn't require technical expertise to operate. It offers a simple process that anyone can follow.
✅Preview Feature. Before saving the repaired video, Repairit lets you preview it to confirm that the issues have been resolved.
Steps to Repair Insta360 Videos with Repairit Video Repair
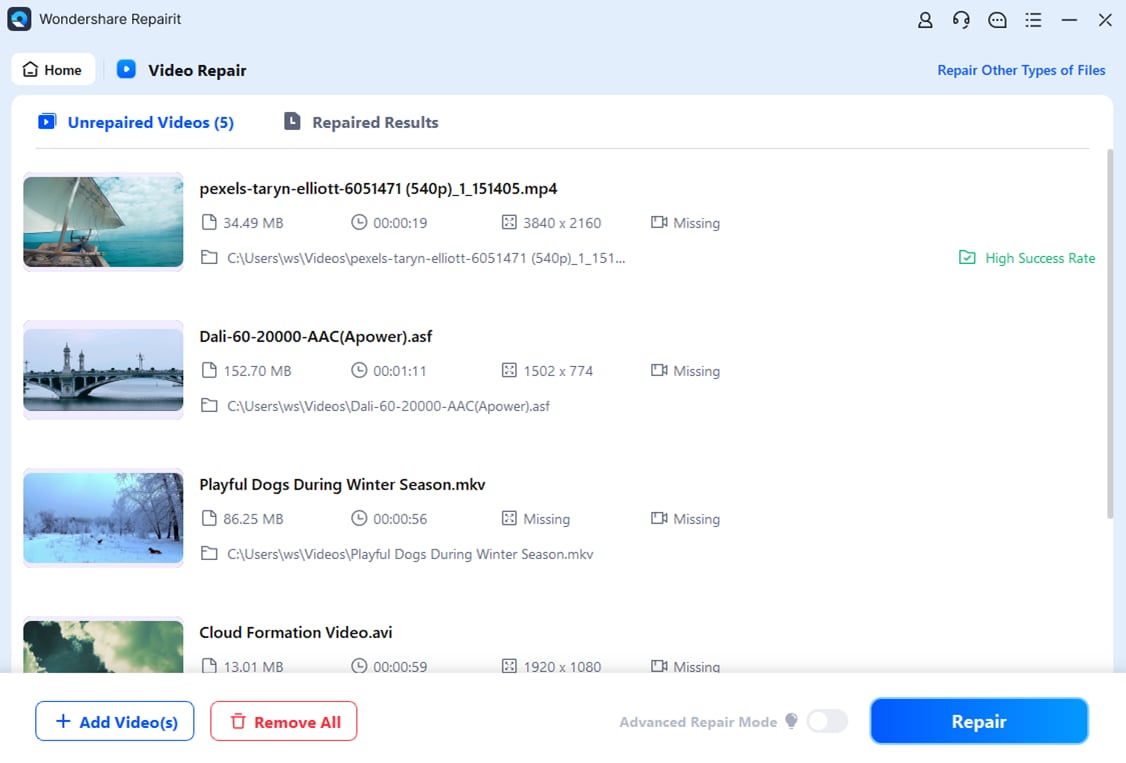
Step 1. Click on the +Add button to upload the corrupted Insta360 video you want to repair.

Step 2. After uploading the Insta360 video, press Repair to begin the process.

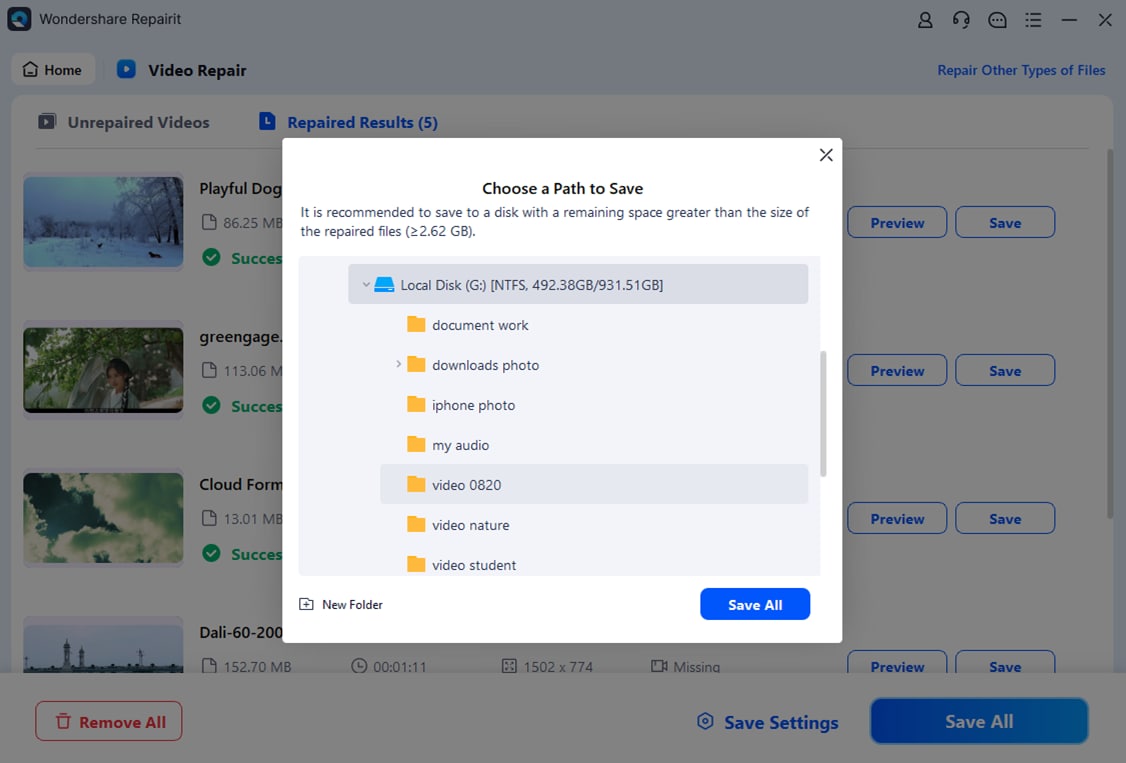
Step 3. Once the repair is finished, you can Preview the video to check if the corruption has been fixed. If you’re satisfied with the preview, hit the Save button to store the repaired video on your computer.

Repairing Corrupted Insta360 Videos for Seamless Editing

Part 3: Importing and Editing Insta360 Videos in DaVinci Resolve
Once your Insta360 video has been repaired, it can be imported into DaVinci Resolve without issues. The software supports various formats, including those used by Insta360 cameras, making the video fully compatible for editing, color grading, adding special effects, and rendering.
How to Import Repaired Insta360 Videos
- Open DaVinci Resolve: Download it first from DaVinci Resolve official website. Then, install and launch the software.

- Import the Video: Navigate to the File tab. In the Import dropdown, click Import Media and select the repaired video from your computer.

- Set Up the Timeline: Ensure the timeline matches the resolution and frame rate of your video to prevent playback issues. If your video is in 5.7K, set the timeline accordingly.

- Start Editing: Use DaVinci Resolve’s tools to trim, adjust, and enhance your footage for a polished final result.

Editing 360-Degree Footage in DaVinci Resolve
Editing 360-degree videos comes with unique challenges, but DaVinci Resolve provides specialized tools to manage them efficiently. The "360" workspace allows you to view and edit your footage in an immersive environment. You can also apply transitions, effects, and corrections specifically designed for 360-degree videos.
Here are essential editing techniques:
- Stitching. If your footage comes from multiple cameras, use stitching tools to merge them into a seamless 360-degree video. Make sure to align the edges properly to avoid visible seams.
- Stabilization. Camera shake is more noticeable in 360-degree videos since viewers can look in any direction. Use stabilization tools to keep motion smooth while maintaining the natural movement of the scene.
- Color Grading. Adjust exposure, contrast, and saturation while ensuring a consistent look across the entire 360-degree view. Pay attention to color balance since lighting can vary in different parts of the frame.
- Effects & Transitions. Use motion effects and transitions optimized for 360-degree videos to enhance immersion. Avoid standard transitions like cuts and fades, as they can feel unnatural in a spherical view. Instead, use seamless warps, zooms, or spherical dissolves for a more natural effect.
With these tools and techniques, you can edit your repaired Insta360 footage smoothly in DaVinci Resolve and create high-quality content.
Conclusion
Editing Insta360 videos in DaVinci Resolve can be a smooth and rewarding experience, especially if you take the time to understand the best practices for working with these files. Start by knowing the formats and codecs used by Insta360 cameras to ensure smooth playback and editing.
If you encounter corrupted videos, Repairit Video Repair offers a reliable solution for restoring files to their original state. Once repaired, your Insta360 videos can be seamlessly imported into DaVinci Resolve, where you can take full advantage of its powerful editing and special effects tools. By following these steps, you can create high-quality 360-degree videos with ease.
FAQ
Why won’t my Insta360 video import into DaVinci Resolve?
The file may be corrupted, unsupported, or using an incompatible codec. First, check if DaVinci Resolve supports the format. If not, convert it to MP4 with H.264 or H.265 using a reliable video converter.If the file is damaged, use Repairit Video Repair to fix corruption and restore it for editing. Also, ensure that the file path doesn’t contain special characters, as this can sometimes cause import issues.
How do I fix lag when editing Insta360 videos?
High-resolution 360-degree footage can slow down editing, especially on less powerful systems. Use proxy files or optimized media to reduce strain on your computer. Lower playback resolution in DaVinci Resolve to improve preview performance. Close unnecessary programs, update GPU drivers, and ensure you have enough free disk space for caching. If lag persists, consider using an external SSD for faster file access.Do I need a powerful computer to edit Insta360 videos in DaVinci Resolve?
Yes, 360-degree videos require a fast CPU, a strong GPU, and plenty of RAM. A dedicated graphics card significantly improves rendering and playback performance. At least 16GB of RAM is recommended, but 32GB or more is ideal for smoother editing. If your system struggles, use an SSD for faster file loading and adjust settings like timeline resolution and optimized media to reduce processing load.


 ChatGPT
 Perplexity
 Google AI Mode
 Grok
Grok

