
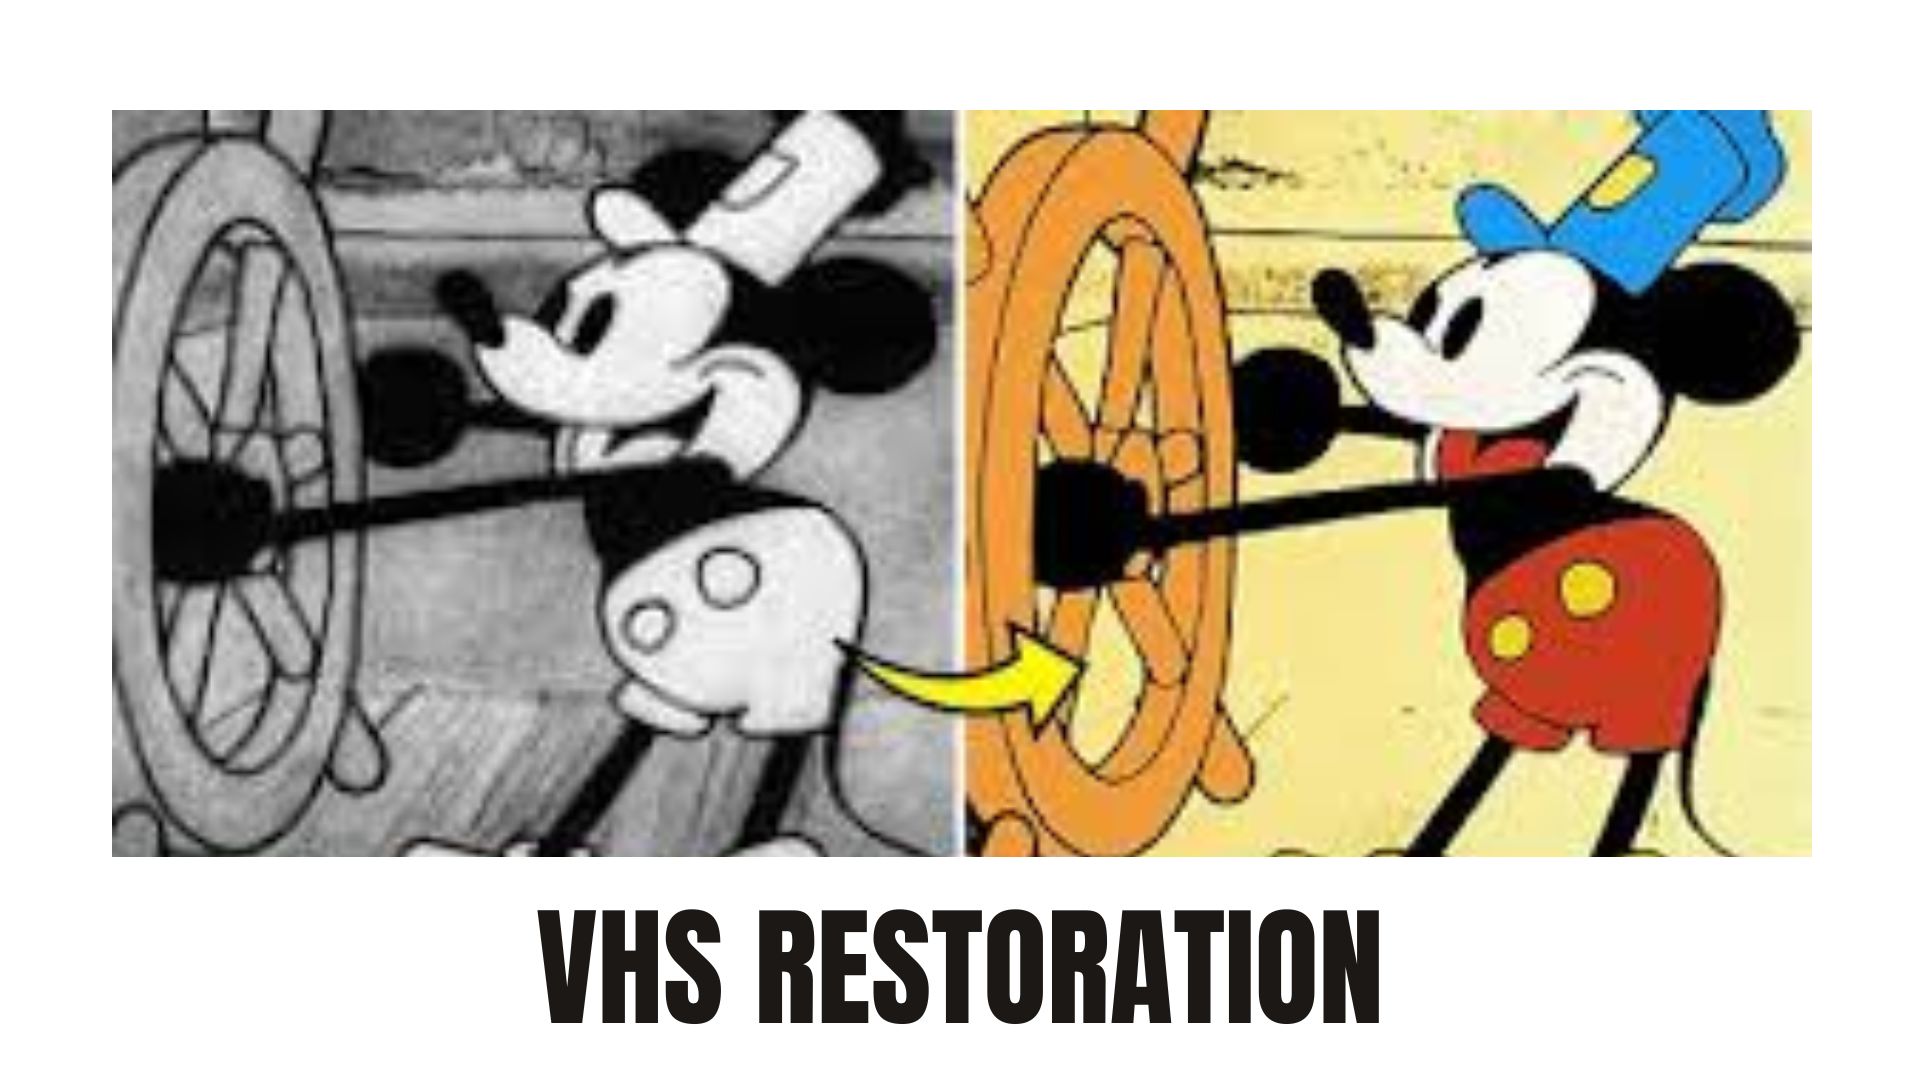
The question shared by a Reddit user reflects the emotional value the tapes often hold. VHS tapes are fragile and prone to damage over time. In this article, we’ll give you multiple tips for VHS restorations. If your tapes are mangled, degraded, or affected by age, you’ll find methods to bring them back to life and preserve those irreplaceable moments. Let's start VHS restoration!
In this article
Part 1. Why Restore VHS Tapes?
VHS tapes hold sentimental and historical value, often containing rare recordings that are impossible to replace. However, like all analog media, VHS tapes are not immune to the passage of time. Restoring these tapes is not just about preserving videos but safeguarding the emotions and stories they carry.
Several factors contribute to the degradation of VHS tapes:
1. Magnetic Decay
VHS tapes rely on a magnetic coating to store audio and video data. Over the years, this magnetic layer gradually loses its strength, resulting in distorted images, muffled audio, or complete loss of playback. This natural process, often referred to as magnetic decay, is one of the primary reasons for tape deterioration.
2. Environmental Conditions
Environmental factors significantly affect the longevity of VHS tapes. Exposure to heat and high humidity can warp the plastic casing or cause the tape to stick together. Mold and mildew can also grow on the tape's surface in humid conditions, further damaging the delicate material. Conversely, extreme cold can make the tape brittle and prone to snapping.
3. Repeated Playback
Frequent use of VHS tapes, especially in older VCRs with worn-out mechanisms, leads to wear and tear. The tape surface can become scratched, stretched, or tangled, resulting in playback issues such as static noise, distorted visuals, or dropped frames.
4. Material Aging
The materials used in VHS tapes — such as the plastic casing, spools, and tape binder — degrade over time. The plastic parts may become brittle and prone to cracking, while the binder that holds the magnetic particles can break down, causing the particles to flake off or stick to the tape.
5. Improper Storage
How VHS tapes are stored plays a significant role in their longevity. Tapes left in damp basements, hot attics, or exposed to direct sunlight are more likely to deteriorate quickly. Dust, dirt, and debris can also accumulate on the tape and inside the casing, further compromising the quality.
Part 2. 5 Methods for VHS Video Restoration
Restoring VHS tapes may seem challenging, but there are multiple methods to restore your tapes. In this part, we will show you six effective ways to restore and preserve your VHS tapes.
1. Restore VHS Tapes with AI Tools [LESS HASSLE]
If you are looking for a trusted tool that can restore VHS tape. Repairit Old Photo Restoration is the most qualified for you. Repairit not only enhances video quality but also breathes new life into old photos. Here's why it's famous:
- High-Quality Results. Advanced AI upscaling techniques ensure extraordinary clarity and detail for your videos.
- AI Auto-Repair. Automatically enhance visual quality and restore damaged footage. It removes scratches, tears, spots, dust, and sepia tones, instantly transforming your old images into beautifully restored keepsakes.
- Face Enhancement. Provide natural, refined facial enhancements, making family videos look vibrant again.
- Safe & Secure. Your files are handled with strict privacy protocols and come with a satisfaction guarantee.
- Multiple Formats Available: Restore old photos online in formats like JPG, JPEG, PNG, BMP, WEBP, and more.
Here's how Repairit restores VHS tape:
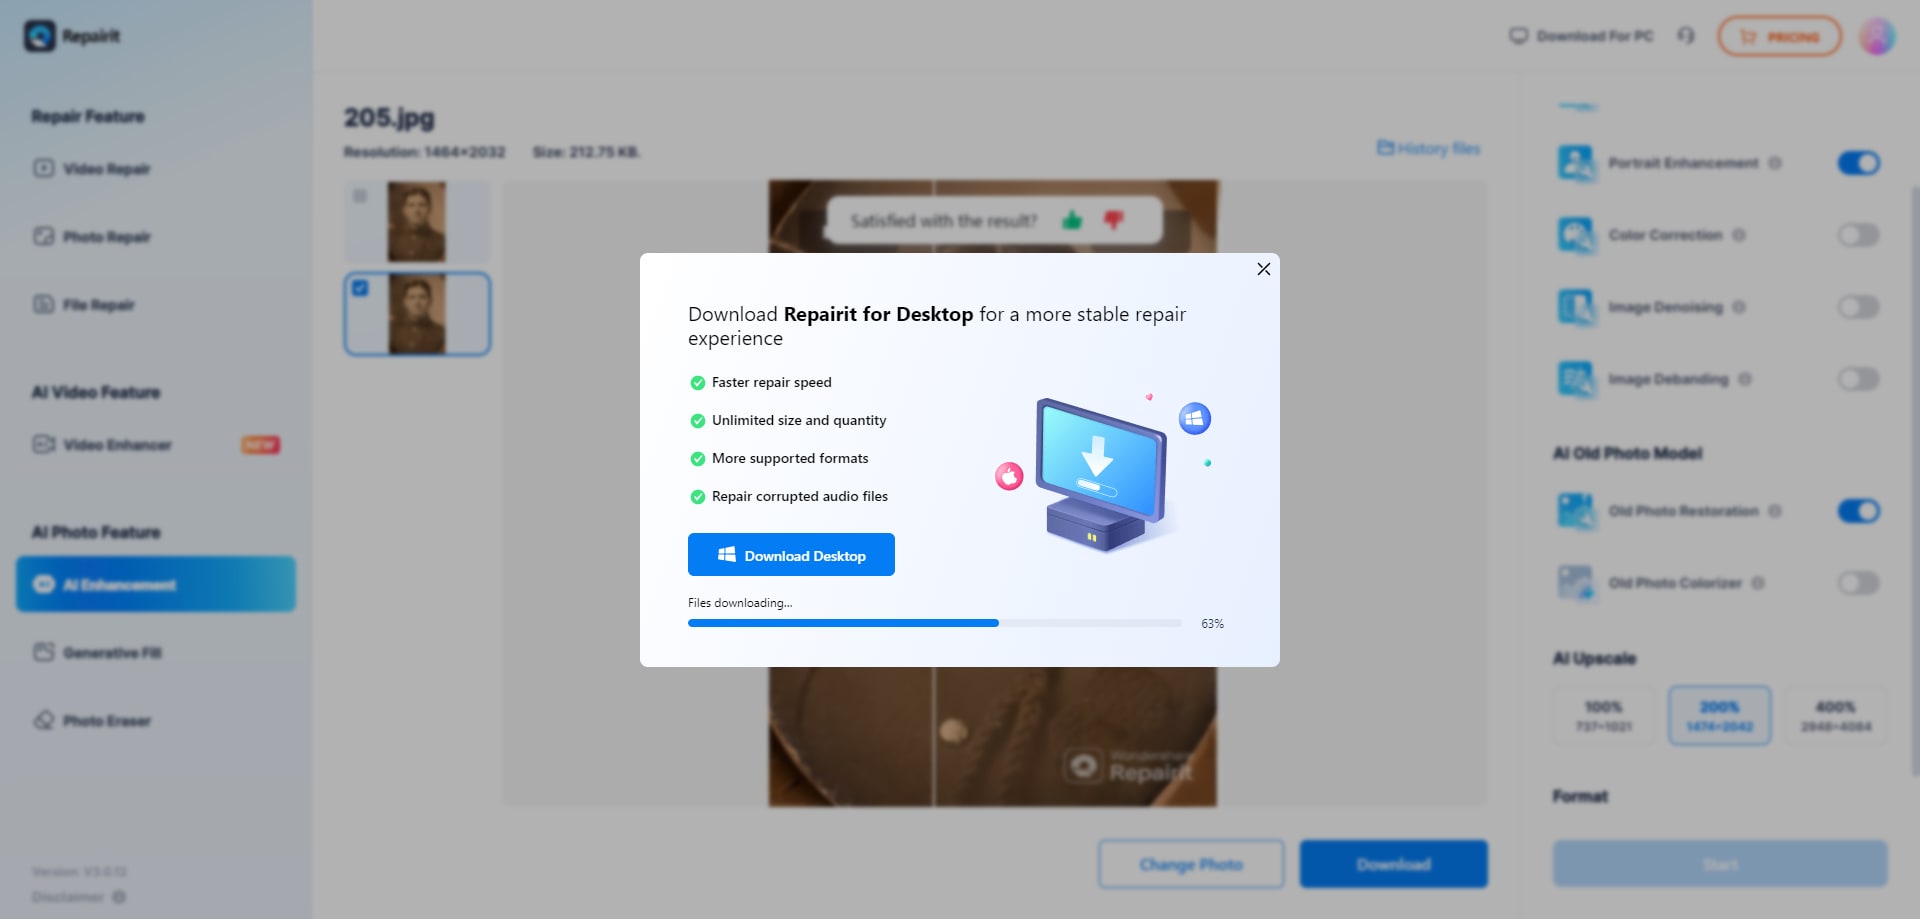
Step 1. Go to the AI Enhancement Online platform and click "Add Photo" to upload the photos you want to restore.

Step 2. After uploading, you’ll see two restoration options: AI Enhancement Model and AI Old Photo Model. Choose the AI Old Photo Model, which gives two features: Old Photo Restore and Old Photo Colorize. You can select both simultaneously. Click the Start button (blue) in the bottom-right corner to begin the restoration. Allow a few seconds for the procedure to complete.

Step 3. When the restoration is complete, a notice will display stating "Processed Successfully." You may preview the restored photographs to see the results. Use the AI Upscaler option to enhance the resolution to 100% or 200% for sharper images.

When satisfied, save the restored photos to your preferred location on your device.
Restore VHS Tapes with Repairit AI Tool
 Security Verified. Over 7,302,189 people have downloaded it.
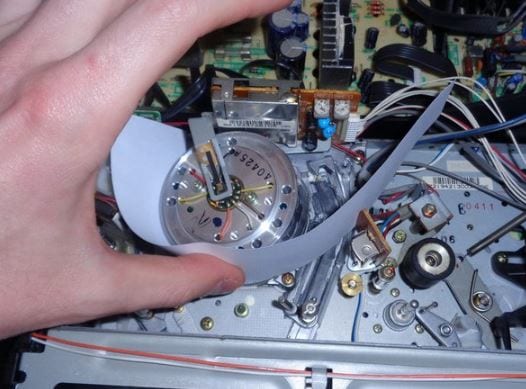
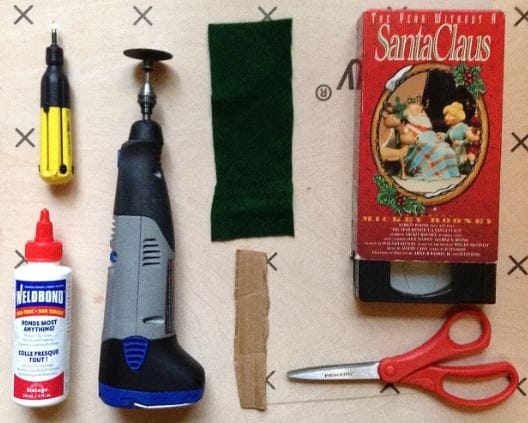
2. Clean and Repair Physical Tapes
Dust buildup inside VCRs and on VHS tapes can lower picture quality and create playback problems. To address this, regular cleaning is crucial. Although self-cleaning tapes are available, experts often discourage their use due to their limited effectiveness and potential harm to tape heads. Manual cleaning is considered the best way to maintain your VCR and tapes. Here’s how:
Cleaning a VCR
Step 1. Using a screwdriver, carefully remove the case. Check the user manual or follow any instructions on the casing label.
Step 2. Dampen a Q-tip with a small amount of isopropyl alcohol.
Step 3. Use the Q-tip to clean the casing and inside the empty reel, removing mold, dirt, and dust. Avoid overusing liquid to prevent damage.
Cleaning VHS Tapes Using an Electronic Cleaner
Step 1. Remove the tape from the VCR.
Step 2. Follow the instructions in the cleaner’s manual, as usage may vary. Electronic cleaners are safe and gentle for removing dust from tapes.
Cleaning Manually
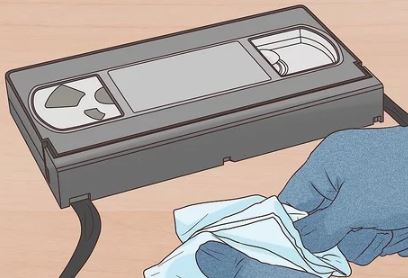
Step 1. Wear clean cotton gloves to avoid fingerprints.
Step 2. Lift the top flap of the tape casing to expose the tape.
Step 3. Pull out about 12 inches of tape carefully.
Step 4. Use a soft cotton cloth or tissue to gently wipe the tape. Avoid using liquids, as they can cause damage.
Step 5. Slowly spin the reels by hand to guide the tape back into place after cleaning.
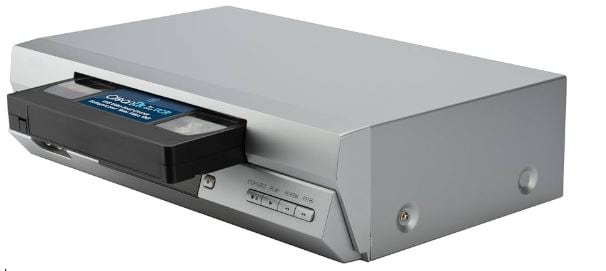
3. Digitize VHS Tapes
Converting old VHS tapes to digital format can be simple, especially if you opt for professional services. However, if you prefer a DIY approach, you’ll need some basic knowledge of the equipment, software, video formats, and file management.
One of the easiest DIY methods is using a VHS-to-digital converter, which captures the video as it plays on a VCR. Another option is a VHS-to-DVD recorder, which works as both a VCR player and a DVD recorder, letting you play the VHS tape and record it onto a DVD.
Best VHS-to-Digital Converters:
- DigitNow HD Video Capture Box
- DigitNow VHS to Digital Converter
- DigitNow VHS to Digital Converter Box
- DigitNow USB 2.0 Video Capture
4. Through Baking
Sticky tapes are a common problem for VCR owners, especially when tapes are stored in humid conditions with humidity over 45%. This issue, known as sticky-shed syndrome, happens when the tape’s binder releases moisture, causing it to stick to the VCR’s transport path. This leads to slow playback, clogged video heads, and gumming of the tape path.
A common solution is the baking method, which involves using a dehydrator to remove moisture from the tapes. This process temporarily restores the tape binder, making the tapes playable again. Experts recommend a temperature of about 125°F for baking. A dehydrator’s temperature control is usually sufficient. However, you can use a digital thermometer with a flexible probe for more accuracy.
For reel-to-reel videotapes, secure the loose end with plastic clips or cardboard to prevent it from unraveling during baking. VHS and Beta tapes, however, can be baked without disassembly while still inside their casings. Once the dehydrator reaches 125°F and stabilizes, it maintains this range without damaging the plastic tape or cassette housing.
Bake the tapes for around 8 hours, flipping them once or twice during the process. Avoid opening the dehydrator often, as it can disrupt the temperature. Once baking is complete, let the tapes cool for a day before playing them.
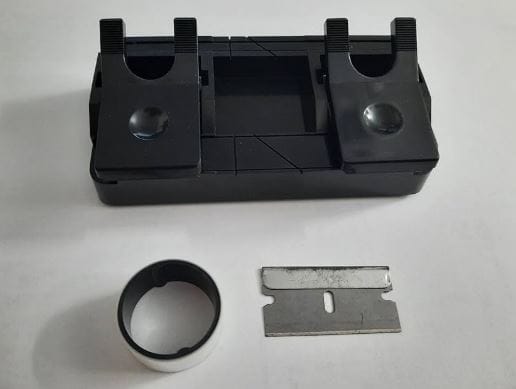
5. Repairing with a Splicing Kit
A VHS splicing kit is a set of tools designed to fix physical damage to VHS tapes, such as breaks, cuts, or creases, by joining the broken ends together. These kits are helpful for minor tape repairs and restoring basic functionality.
A standard VHS splicing kit includes:
Splicing Block
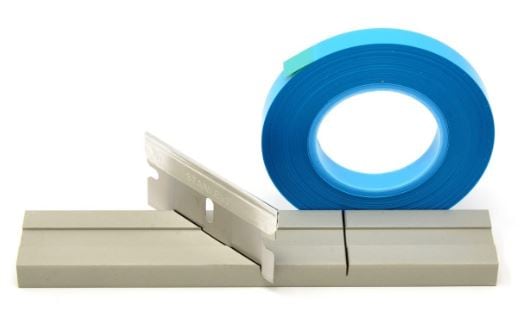
This tool holds the tape securely during repairs. It has grooves at different angles to ensure accurate and clean cuts at the right spots.
Splicing Tape
A thin, flexible tape designed to reconnect the broken ends of a VHS tape. It’s durable enough to handle the heat and movement inside a VCR without affecting playback quality.
Cutting Tool
Often, a razor blade or similar tool ensures clean, straight cuts for a smooth and effective splice.
How to Use a Splicing Kit
To repair a tape, open the VHS cassette, remove the damaged section, and align the two good ends using the splicing block. Then, use the splicing tape to join them. This process restores the physical tape but cannot recover any lost video or audio from the damaged portion.
It’s important to note that splicing kits are best for minor damage and won’t improve video or audio quality. For severe issues or professional-grade restoration, expert services are recommended.
Part 3. Tips for Preserve Restored VHS Videos
Once you’ve restored your VHS tapes, preserving them is essential to ensure their longevity and protect your VHS memories. Follow these tips to keep your restored videos safe and accessible for years to come:
1. Digitize Your VHS Tapes
- Convert the restored VHS tapes to digital formats. This ensures that the videos remain safe from further physical deterioration.
- Use a reliable VHS-to-digital converter or seek professional services for high-quality digitization.
- Store digital copies on multiple platforms, such as external hard drives, cloud storage, or DVDs, for added security.
2. Store VHS Tapes Properly
- Keep tapes in a cool, dry environment with stable temperatures. Avoid storing them in areas with high humidity, such as basements or attics.
- Store tapes vertically to prevent uneven pressure on the reels.
- Use protective cases to shield tapes from dust, dirt, and physical damage.
3. Avoid Frequent Playback on Original Tapes
- Minimize the use of restored VHS tapes to reduce wear and tear. Instead, use digital copies for viewing.
- If playback is necessary, ensure your VCR is clean and in good working condition to avoid damaging the tape.
4. Regularly Check for Signs of Deterioration
- Inspect VHS tapes occasionally for signs of mold, warping, or sticky residue. To avoid additional harm, resolve any concerns as soon as possible.
5. Backup Digital Files
- Make multiple copies of your digitized videos and store them on different devices or platforms.
- Use reliable cloud storage services for long-term digital preservation.
6. Use Archival-Grade Materials
- For physical storage, use archival-grade VHS cases and labels to protect tapes from environmental damage.
- Avoid using adhesives or markers that may harm the tape or its casing.
7. Maintain Proper Handling Practices
- Handle tapes by the edges to avoid touching the magnetic tape surface.
- Always rewind tapes fully before storage to prevent uneven tension on the reels.
Conclusion
VHS restoration is more than just a technical process — it’s a way to reconnect with your past and preserve moments that define your story. By using the appropriate methods and tools, you can revitalize those priceless tapes and guarantee their preservation for years to come. Whether you’re a DIY person or prefer professional help, remember that every restored tape carries a piece of your history worth cherishing.
FAQ
How long can VHS tapes last before they deteriorate?
With proper storage, VHS tapes can last 10-30 years. However, they naturally degrade over time, so digitizing them is the best way to preserve their content.Can home equipment fully restore VHS tapes?
While home equipment can handle minor restoration, such as cleaning or digitizing, severe damage may require professional-grade tools or services for complete recovery.Is there a risk of further damaging VHS tapes during restoration?
Yes, improper handling or using unsuitable tools can worsen the damage. Follow proper techniques or consult professionals to minimize the risk.
