
It is frustrating news that you have to recover a corrupted Word file if you see one of these symptoms: error messages, messed up formatting and layout, Word stops responding, unreadable characters, or worst, an inaccessible document.
Don't worry. The main purpose of this article is to help you repair your corrupted document and restore it to the best quality. You'll find out more about how to open and repair Word documents and the Word document repair tool we are going to use.
In this article
Part 1: Why Word File Becomes Corrupted?
Before looking for a solution for how to recover corrupted Word document, let's understand why they get messed up in the first place. Here are some common reasons:
- Viruses. Nasty viruses can latch onto your Word files, making them unreadable. Be careful when connecting external devices or browsing online. Having a good antivirus program can help keep your files safe.
- Hardware Issues. Problems with your computer's hardware, like a damaged hard drive or outdated components, can also affect your Word files. Make sure your hardware is up to date, and your computer has a stable power source.
- Windows Updates. Windows likes to update itself occasionally, sometimes when you're right in the middle of working on a Word document. This can mess things up. Consider disabling automatic updates and doing them manually instead.
- System Crashes. Sometimes, your computer just decides to crash, leaving your Word files in a mess. To avoid this, try to close unused programs.
- Forgetting to Save. Ever spent hours on a Word file, only to realize you never hit 'save' and then shut down your computer? Yep, that can corrupt your document. Remember to save your work often!
Part 2: How to Recover Corrupt Word File Online?
Maybe some of you want to repair Word files online. If this is the case there is an online repair tool for your Word file.
Repairit Online File Repair is a highly recommended tool for fixing corrupted Word documents. Repairing your Word file online is good because it saves you from installing additional software. With Repairit user-friendly interfaces, you can see how straightforward the process is. Repairit can provide quick results, enabling you to recover Word document in minutes.
Here’s how to repair Word document online:
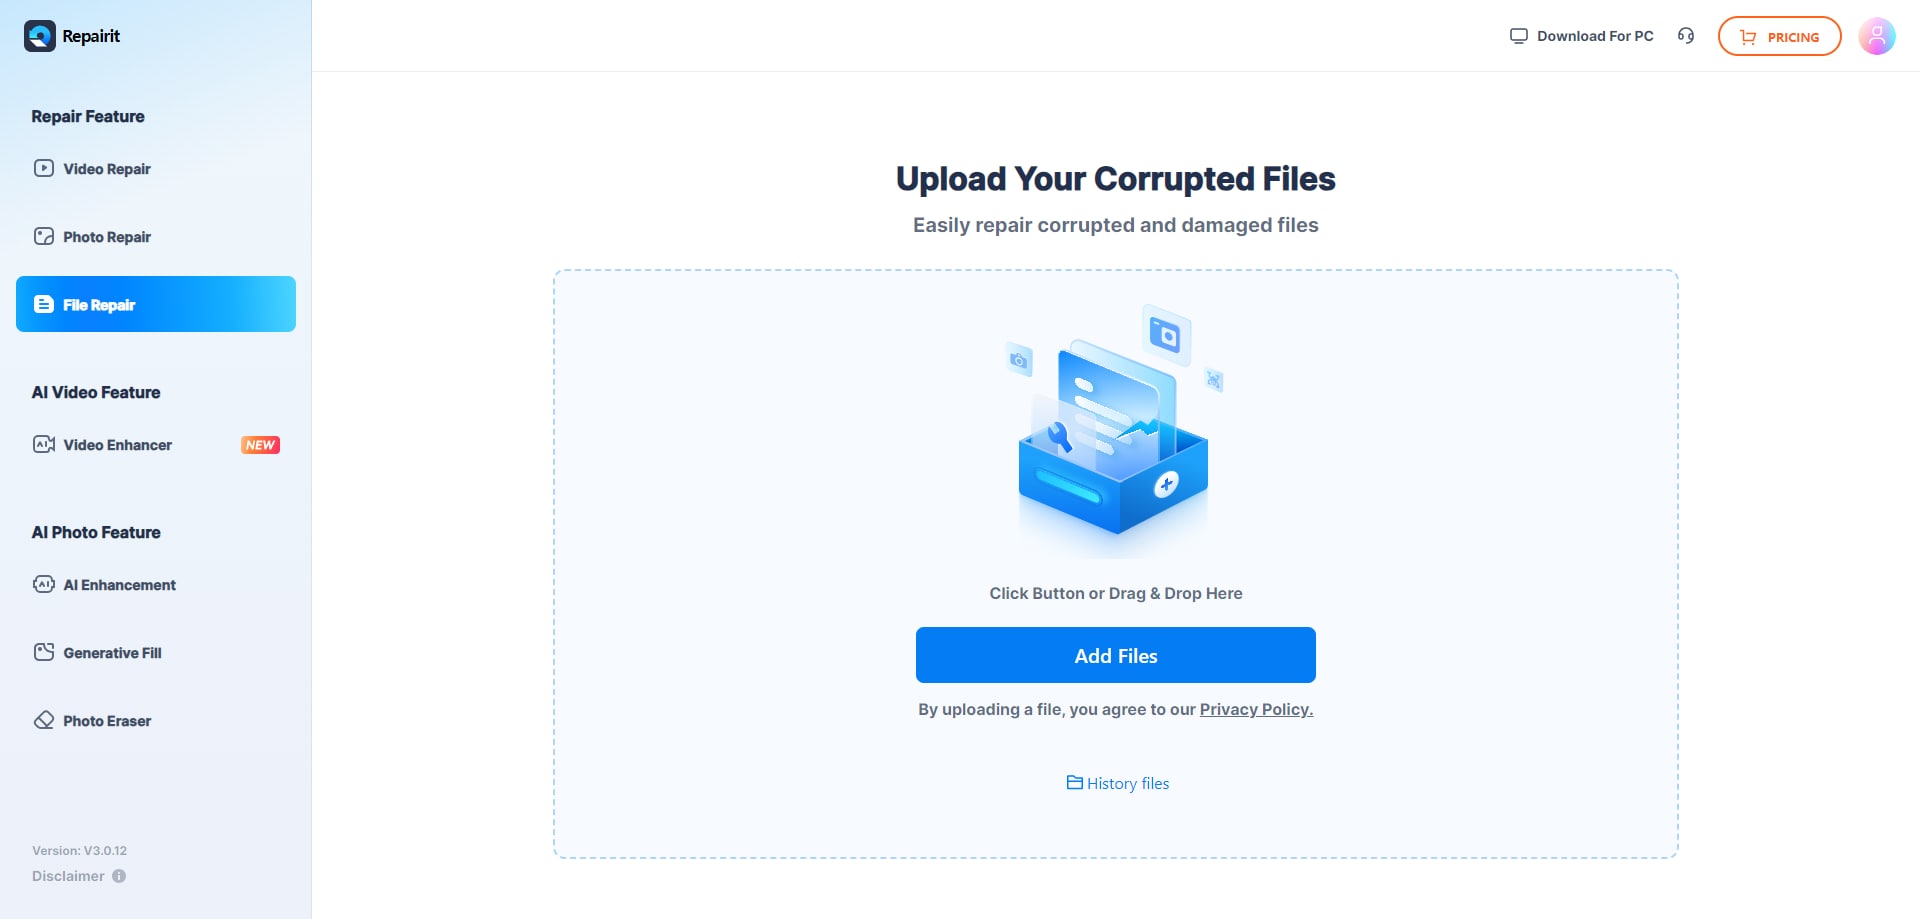
Step 1: Go to Online File Repair workspace. Then, click the "Add Files" button to upload your broken Word document files.
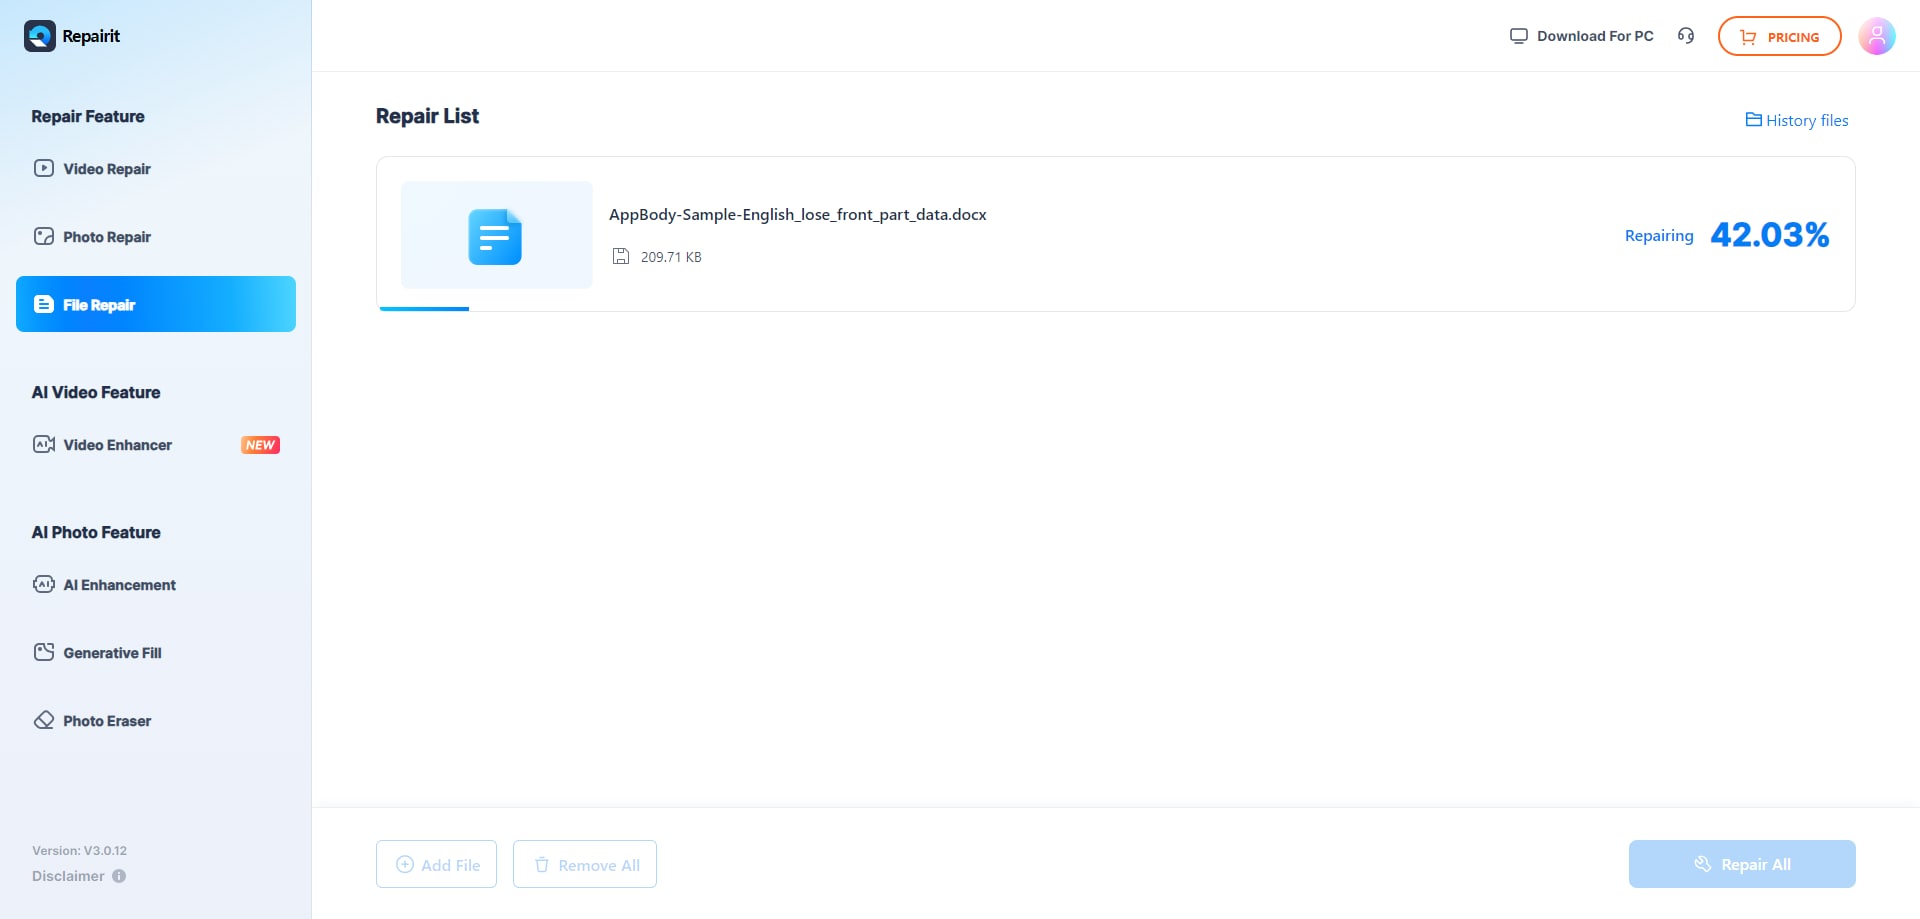
Step 2: Hit the “Repair” button to begin fixing all your corrupt Word files. You can see how each file is doing with a progress bar. When everything's fixed, move on to the next step.
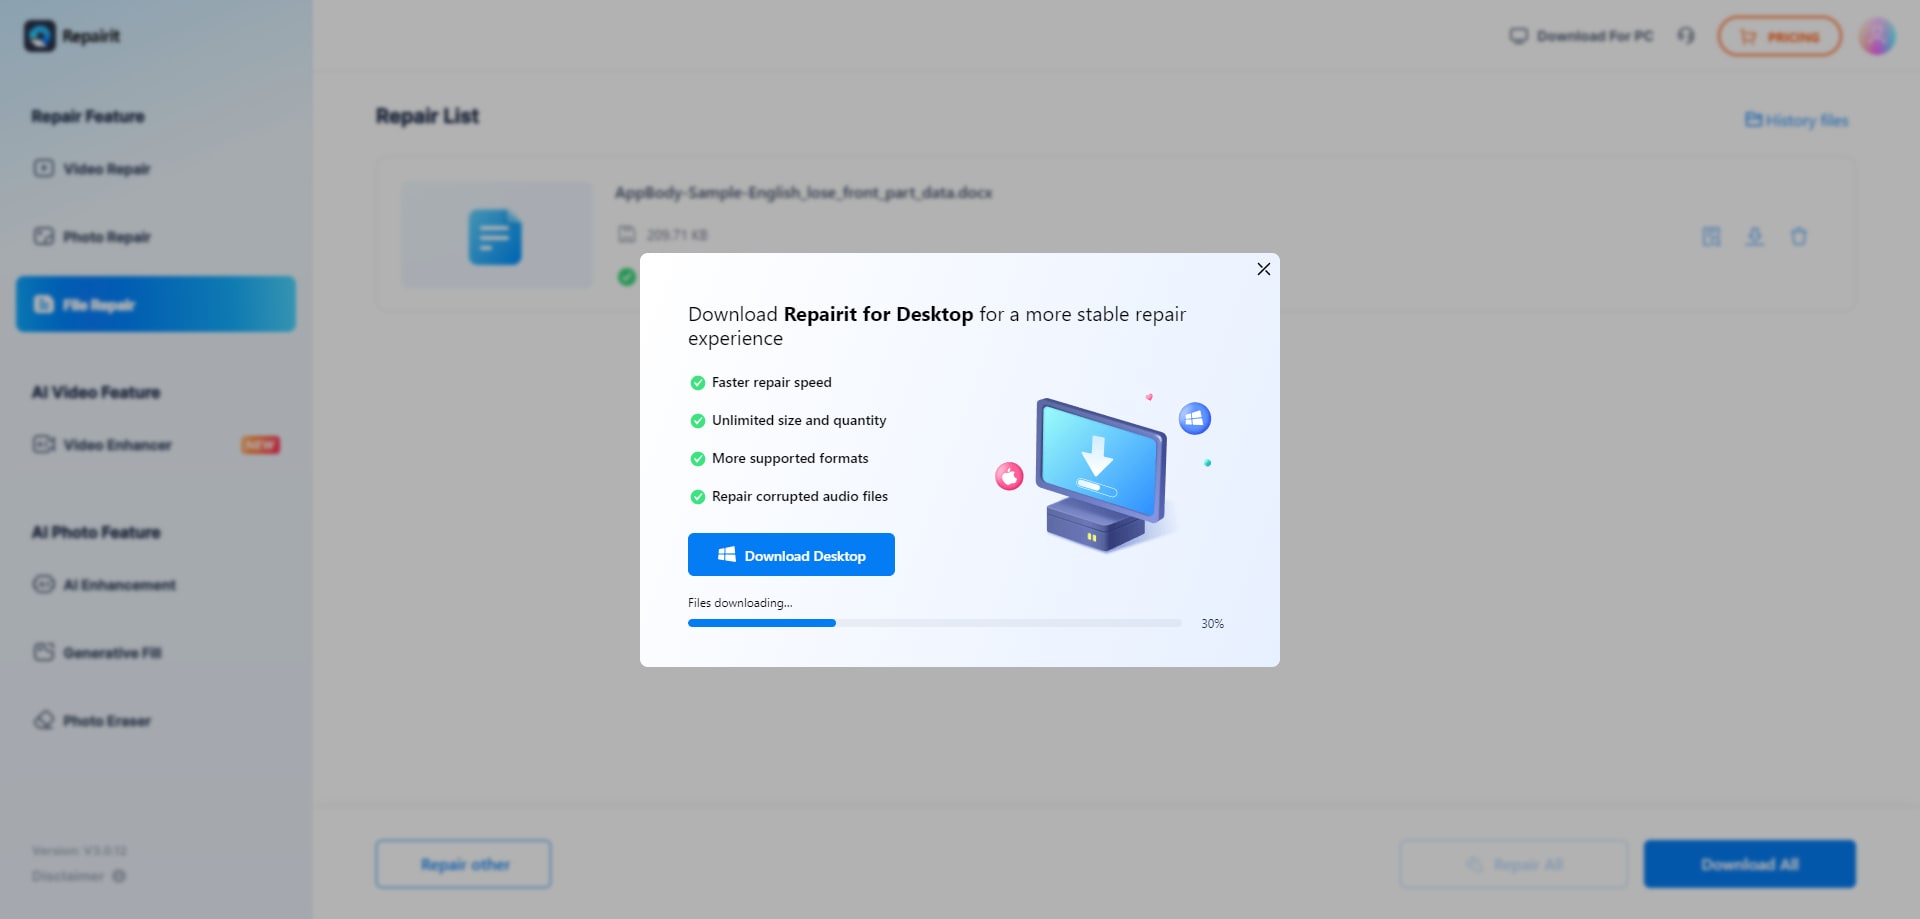
Step 3: Now, choose the files you want to keep. Click "Preview" to check them. If they look good, click "Download" to save each file individually, or "Download All" to save everything at once.
Part 3: 5 Manual Methods to Recover Corrupt Word File
Aside from using professional software, you can do the fixing manually. So, if you want to learn some manual methods to repair corrupt Word files, please keep reading. These methods will fix the Word corruption problem. Let's see what each method can do.
Method 1: Word Auto Repair Feature to Recover Corrupted Word File
If you are not aware, you can use Word auto repair as soon as you find the corrupted document on your device. Here I am using word 2013, but it is not so different from the latest version. So, follow these steps:
Step 1: Open a new Word file on your computer, click the “File” option from the top menu, and then click “Open”.
Step 2: Click the “Computer” and “Browse” option and find the corrupted Word document.
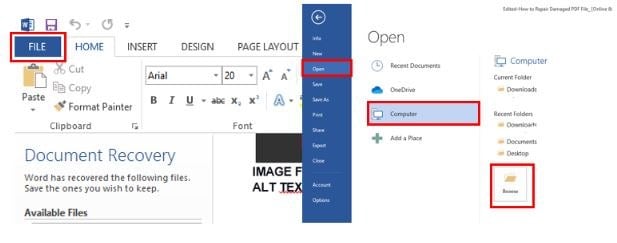
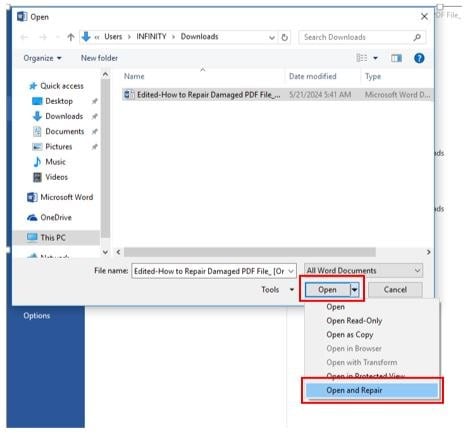
Step 3: Once you locate the document, click the arrow next to the “Open” button to open the drop-down menu.
Step 4: Select the “Open and Repair” option.
Method 2: Reformat the Raw Text to Repair Word File
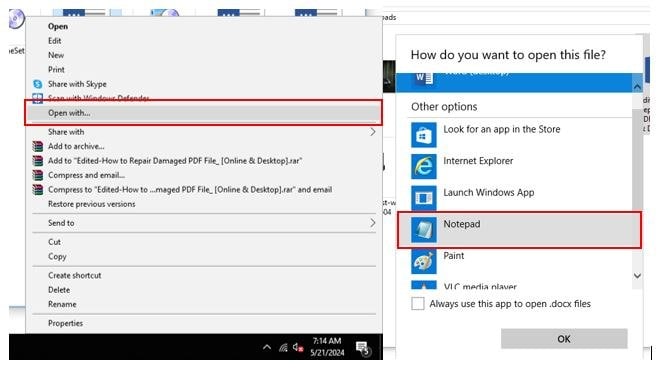
Usually, you can't export corrupted Word documents to other formats. If you're facing this issue, don't worry. You can access your corrupted file using text processing tools like Notepad. Here's how to open a corrupted document with Notepad:
Step 1: Right-click on the document you want to access, select the “Open with” option, and choose “Notepad.” Alternatively, click on “Choose another app” as shown below.
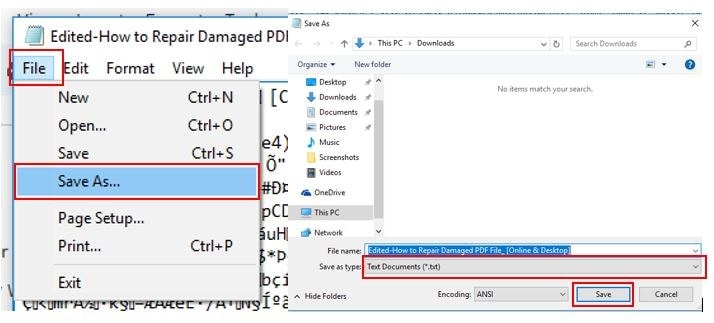
Step 2: Once open, go to the File and click the “Save as” button.
Step 3: Save the file to the “txt” format once the file. This method will help you protect your content and make your corrupt Word document accessible. You can copy the content from the “txt” file and create a new Word document.
Method 3: Fix Corrupt Word Document Header Using Draft Mode
Word corruption is a common issue faced by millions of Word users worldwide. Using Draft mode can help you access the header of your corrupted Word document. Follow these steps:
Step 1: Go to the “View” section and select the “Draft” mode.

Additionally, you can replace the header of your corrupted Word file with the header from an uncorrupted document. This can help you access your corrupted document in just a few minutes.
Method 4: Use the CHKDSK Command to Restore Corrupted Word File
To check for corruption at the file system level, you can run the CHKDSK command. If no file system issues are found, it means your document is corrupted. The CHKDSK command can automatically repair your inaccessible Word files. Here's how to run it:
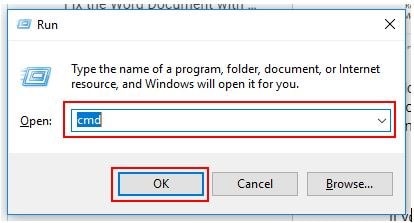
Step 1: Place your cursor in the Windows search bar, type “Run,” and click on it to open. Alternatively, press the “Windows+R” keys on your keyboard.
Step 2: Type “cmd” in the dialog box that appears and click “OK.”
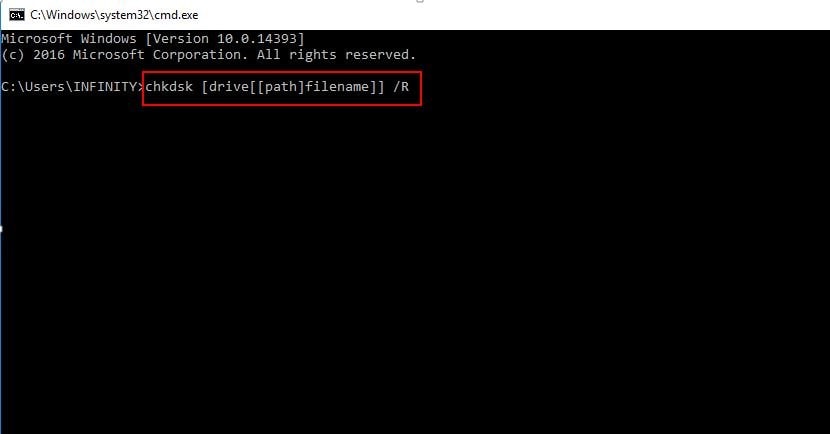
Step 3: A black Command Prompt window will appear. Type “chkdsk [drive[[path]filename]] /R” and press Enter to execute the command.
Method 5: Save Word Document in a Different Format
Saving Word in a different format can effectively repair Word documents. It involves saving your corrupted document in another format and then converting it back to Word format. Here’s how to do it:
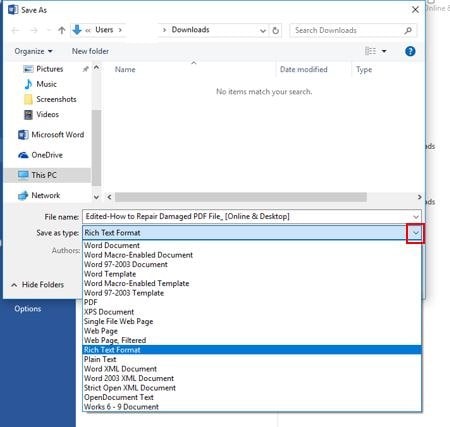
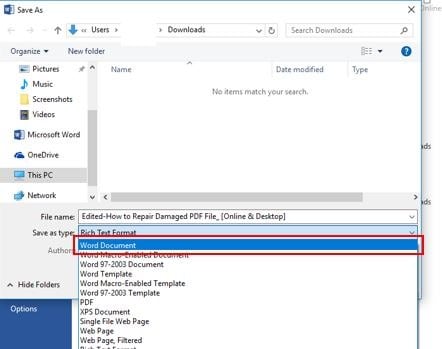
Step 1: Go to the “File” menu again and select “Save As.”

Step 2: Choose a different format from the “Save as type” drop-down menu. For example, you can choose the Rich Text Format (RTF). Then click the “Save” button.
Step 4: Close the document by going to the “File” menu and selecting “Close.”
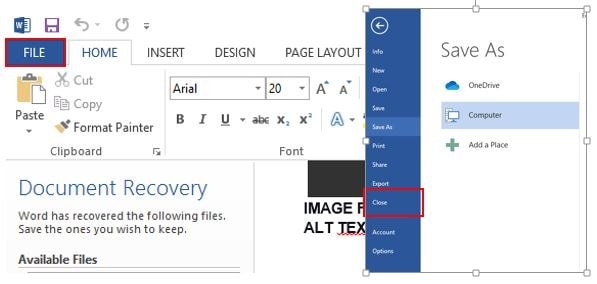
Step 5: Reopen the document and save it back to Word format by going to the “File” menu and select “Save As” again.

Step 6: Choose the Word format from the “Save as type” drop-down menu and click “Save.”
Part 4: The Best Way to Recover Corrupt Word File in All Scenarios
Looking for the best solution to repair corrupt Word files, no matter the scenario? Try Repairit Word File Repair Tool. Using its amazing features and user-friendly interface, Repairit can fix corrupted Word documents caused by various issues like unsaved files, malware infections, system updates, crashes, and hardware problems.

Wondershare Repairit - Word File Repair
 Security Verified. Over 7,302,189 people have downloaded it.
-
Repair damaged files with all levels of corruption, including blank files, files not opening, unrecognizable format, unreadable content, files layout changed, etc.
-
Perfectly repair corrupted word .docx files without modifying the original file.
-
Provide an easy fix option for text, images, font, hyperlinks, header, footer, etc.
-
Support Office 365, MS Word 2019, 2016, 2013, 2010, 2007, and earlier versions.
-
Support Windows 11/10/8/7/Vista, Windows Server 2003/2008/2012/2016/2019/2022, and macOS 10.10~macOS 14.
-
Except Word, Repairit also supports all formats of PDF, Excel, PowerPoint, PDF, ZIP, and Adobe files.
For your information, Repairit Word File Repair offers a simple fix for text, images, fonts, hyperlinks, headers, footers, and more. If you are asking about its compatibility, it is available with Office 365, MS Word 2019, 2016, 2013, 2010, 2007, and earlier versions.
Here’s how to use Repairit Word File Repair for damaged Word documents:
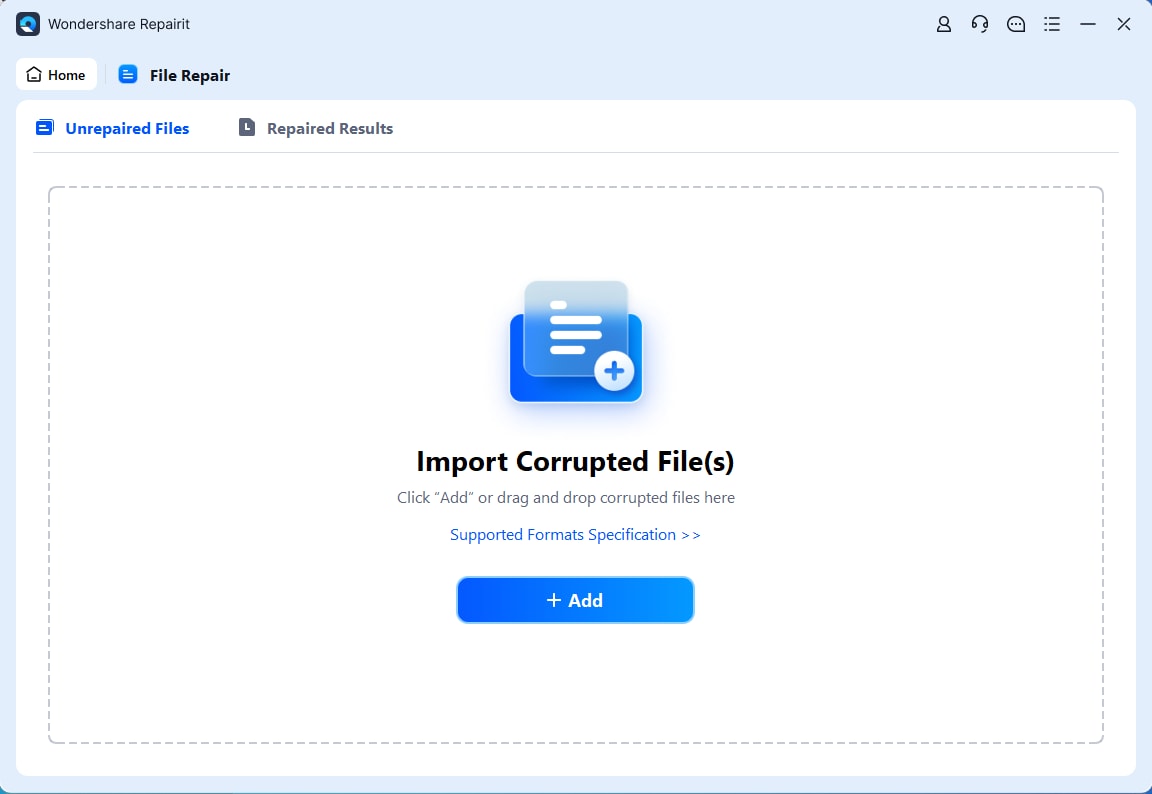
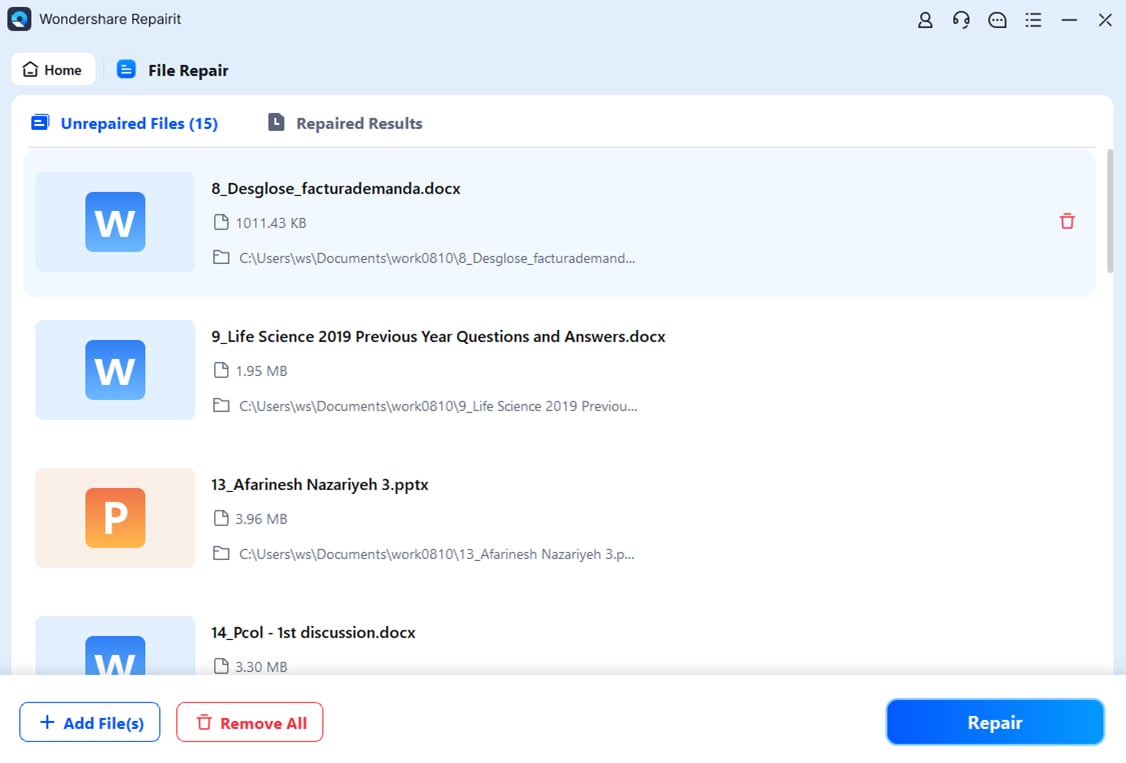
Step 1: Once downloaded and launched, go to the "File Repair." Hit "Add" to upload your damaged Word document files. Repairit allows you to upload several damaged Word documents at once.
Step 2: Click "Repair" to start the repair procedure. You may observe how Repairit corrects your word document files.
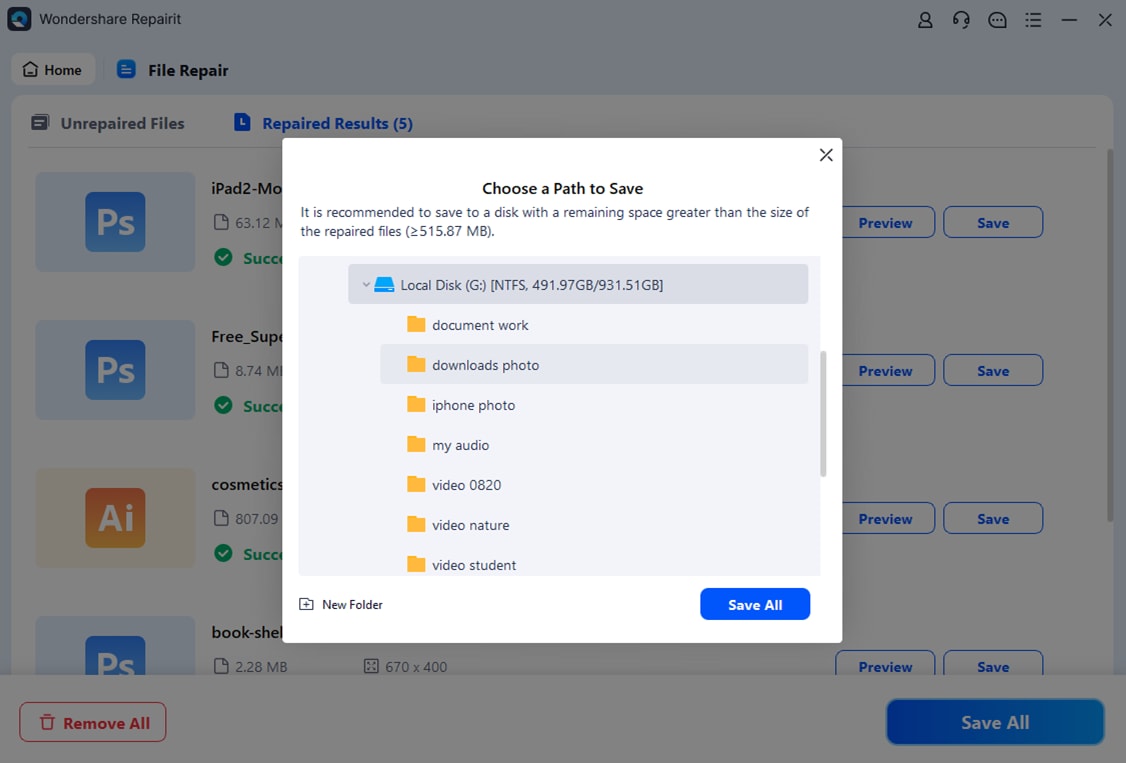
Step 3: For the results, click "Preview" next to any file's icon. If you're happy with it, hit "Save" to save the repaired Word document to a chosen spot on your Windows PC.
Recover and Repair a Corrupted Word Document File Now
Security Verified. Over 7,302,189 people have downloaded it.
Part 5: The Difference Between Recover Corrupt Word File Online and Offline
When it comes to repairing corrupt Word files, you have the option to use either online or offline tools. Both methods offer distinct advantages and limitations. In this comparison, we'll look at Repairit Word File Repair Tool (offline) and Repairit Word File Repair Online to highlight their differences.
| Feature | Repairit Word File Repair | Repairit Word File Repair Online |
| Supported Formats (Desktop) | PDF, DOCX, PPTX, XLSX, DOCM, XLSM, PPTM, ZIP, DOTX, XLTX, POTX, DOTM, XLTM, POTM, PSD, PSB, AI, XLS | PDF, DOCX, PPTX, XLSX |
| Number of Files | No Limit | 300 per Month |
| File Size | No Limit | 300 MB per File |
| Installation Required | Yes | No |
| Accessibility | Limited to the device with the installed software | Accessible via any internet-connected device |
| Repair Speed | Typically fast, depending on the computer’s performance | Generally fast, depending on internet speed |
| Data Security | Higher security, no need to upload files online | Ensure your privacy is safe |
| Cost | Free and paid options available | Free and paid options available |
| Internet Dependency | No | Yes, requires a stable internet connection |
Conclusion
Repairing corrupted Word documents is crucial to maintaining productivity. That is why understanding the causes of document corruption is important. So, if you ever experience damaged Word documents, you can use either manual methods, desktop software, or online software.
FAQ
-
Is it safe to upload my document to an online repair tool?
Using reputable online repair tools is generally a safe practice. However, avoid uploading highly sensitive or confidential documents due to potential privacy concerns. Always verify the credibility of the service before using it. -
How can I prevent my Word documents from becoming corrupted in the future?
Regularly back up your documents, and use antivirus software to protect against malware. Avoid abrupt shutdowns and update your software to minimize the risk of document corruption. -
How can I check if my Word document is corrupted?
Signs of a corrupted Word document include error messages when opening, missing content, and the file not opening at all. You can try opening it on another device or using a different word-processing tool to confirm corruption.
