

 TL;DR:
To resolve Mac Archive Utility Error 1 when extracting ZIP files, you can restart the appleevents process in Activity Monitor, execute an unzip command via Terminal, or utilize third-party software for unusually large or corrupted archives.
● Relaunching the appleevents process through Activity Monitor clears background system hangups, whereas using Terminal bypasses the Archive Utility interface entirely when standard permissions or graphical extractions fail.
● Zipeg is an open-source alternative best suited for handling massive file sizes or unsupported compression formats like RAR, Tar, and 7z that natively trigger Archive Utility errors.
● Wondershare Repairit is designed for fixing heavily corrupted or malware-infected archives on macOS 10.12 to 14, providing an uncapped desktop application and a web-based repair tool limited strictly to files under 300MB.
Ask AI for a summary
 ChatGPT
 Perplexity
 Gemini
 Claude
 Grok
Grok
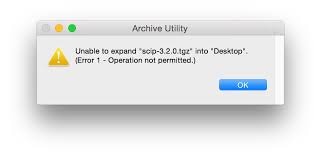
If you are trying to extract the zipped folder on your Mac and get a prompt saying “Error 1: Operation Not Permitted”, don’t panic. This comprehensive guide will surely resolve your trouble. The error message was triggered due to several reasons, including improper internet connection, forgotten password, permission not granted, and more.
But there is no need to worry as we’ve got you covered. Here’s the rundown of the practical methods for Mac users to fix Archive Utility Error 1 and repair corrupted ZIP files in no time.
Part 1: Some Thoughts For Fix Archive Utility Error 1

Archive Utility is the system application hidden away in an obscure folder. It usually launches itself to create and decompress the ZIP files and then quit on its own. To access this app on your Mac OS, go to System> Library> Coreservices> Applications.
However, like all other system apps, Archive Utility is also subject to bugs. When the user tries to access the zip file and the application is unable to launch itself, it generates the pop-up message “Archive Utility Error 1: Operation Not Permitted”.
There are several reasons that trigger this issue on your Mac OS such as the size of the ZIP file or folder, lack of permissions, unstable internet connection, and a lot more. The crashing of an Archive Utility app makes you unable to access confidential information, thus bringing work to a halt.
But there is a solution to every problem, and this is no different. The users can quickly fix Archive Utility Error 1 by adopting various methods such as by using Terminal, Zipeg, etc. You can also turn to third-party tools like Wondershare Repairit to get rid of this error quickly.
Part 2: What Causes Archive Utility Error?
Before jumping into the solutions, it’s always good to know the possible reasons that prompt the Archive Utility error on your Mac OS. Here’s a list of the common causes that are potentially generating this trouble, thus making it impossible for you to extract the zipped file.
-
Large File Size: The most probable cause why you may encounter the Archive utility Error 1 is the large size of the zipped file. Since Archive Utility doesn’t have the appropriate sources to unzip or decompress the huge files, it could lead to trouble whenever you try unzipping the massive file on your Mac OS.
-
Unstable Internet Connection: Archive Utility Error 1 also generates if your internet connection is not stable or strong while decompressing the zipped file or folder. The improper connection may also terminate the downloading process, leading to the corrupt or damaged zipped files, but you cannot expand them.
-
Forgotten Password: Another reason why the Archive Utility app is refusing to open the zipped file is the forgotten password. If you forget the passcode to open the ZIP files, Archive Utility cannot extract the content .
-
Lack of permissions: There is a section called Sharing & Permissions on Mac for zip files and folders. If you haven’t expanded this and set it to either Read-Only or Read & Write, then you will not be granted permission to extract the zipped file on your system. Remember that the error will persist if you don’t run this function as an administrator.
-
Virus or Malware attack: Archive Utility Error 1 will be generated if the user tries to decompress the damaged file. Sometimes, the file gets corrupted by the virus or malware present in your Mac OS, thus making you unable to access the content.
Since now you are aware of the root causes of this problem, it’s time to know about the effective solutions to fix Archive Utility Error 1 within little or no time.
Part 3: Methods to Fix Mac Archive Utility Unzip Error 1
In this section, we’ll explore four metho ds to resolve Archive Utility Error 1 on your Mac. Each method targets a different cause and offers a quick solution to get you back on track.
|
Method |
Advantages |
Best For |
|
Reliable and powerful, repairs various file types like Word, PDF, Excel, etc. |
Fixing corrupted or damaged files causing Archive Utility Error 1 |
|
|
Simple and quick, doesn’t require additional software installation. |
Resolving system process-related issues causing Archive Utility errors |
|
|
Manual control via command-line interface, works even when other methods fail. |
Fixing Archive Utility errors through a command-line solution |
|
|
Open-source, supports various formats and large files. |
Dealing with large or unsupported zip files that cause Archive Utility errors |
Method 1: Using Wondershare Repairit
If the methods listed above are unable to fix Archive Utility Error 1, then it’s time to turn your head to a third-party tool such as Wondershare Repairit File Repair. Why choose Wondershare Repairit for Archive Utility Errors? It is a reliable and powerful tool that repairs Word, PDF, Excel, and PowerPoint files. With a simple interface, Wondershare Repairit makes file repair easy and convenient for users.

Wondershare Repairit - File Repair
 Security Verified. Over 7,302,189 people have downloaded it.
-
Repair damaged files with all levels of corruption, including blank files, files not opening, unrecognizable format, unreadable content, files layout changed, etc.
-
Support to repair all formats of PDF, Word, Excel, PowerPoint, Zip, and Adobe files.
-
Perfectly repair corrupted files with a very high success rate, without modifying the original file.
-
No limit to the number and size of the repairable files.
-
Support Windows 11/10/8/7/Vista, Windows Server 2003/2008/2012/2016/2019/2022, and macOS 10.12~macOS 14.
Here’s the step-by-step guide to using the tool.
Step 1: Load the corrupt files on the Wondershare Repairit
-
Download & install the Repairit tool on your Mac OS and launch it. Move to the “File Repair” section and tap “Add” to upload the files.
-
The “add” button takes you to the browser window to navigate to the location where the file is stored. The users can upload multiple files at once.

-
The application boasts a filter that notifies you whenever you try to upload the incompatible format.
-
Once you are done with selecting the files, Wondershare Repairit starts uploading the files and displays progress on the screen.
-
The users can check the files’ details once they are uploaded. If they have mistakenly added any file, then click on the trash icon and remove it.
Step 2: Begin the File Repairing Process
-
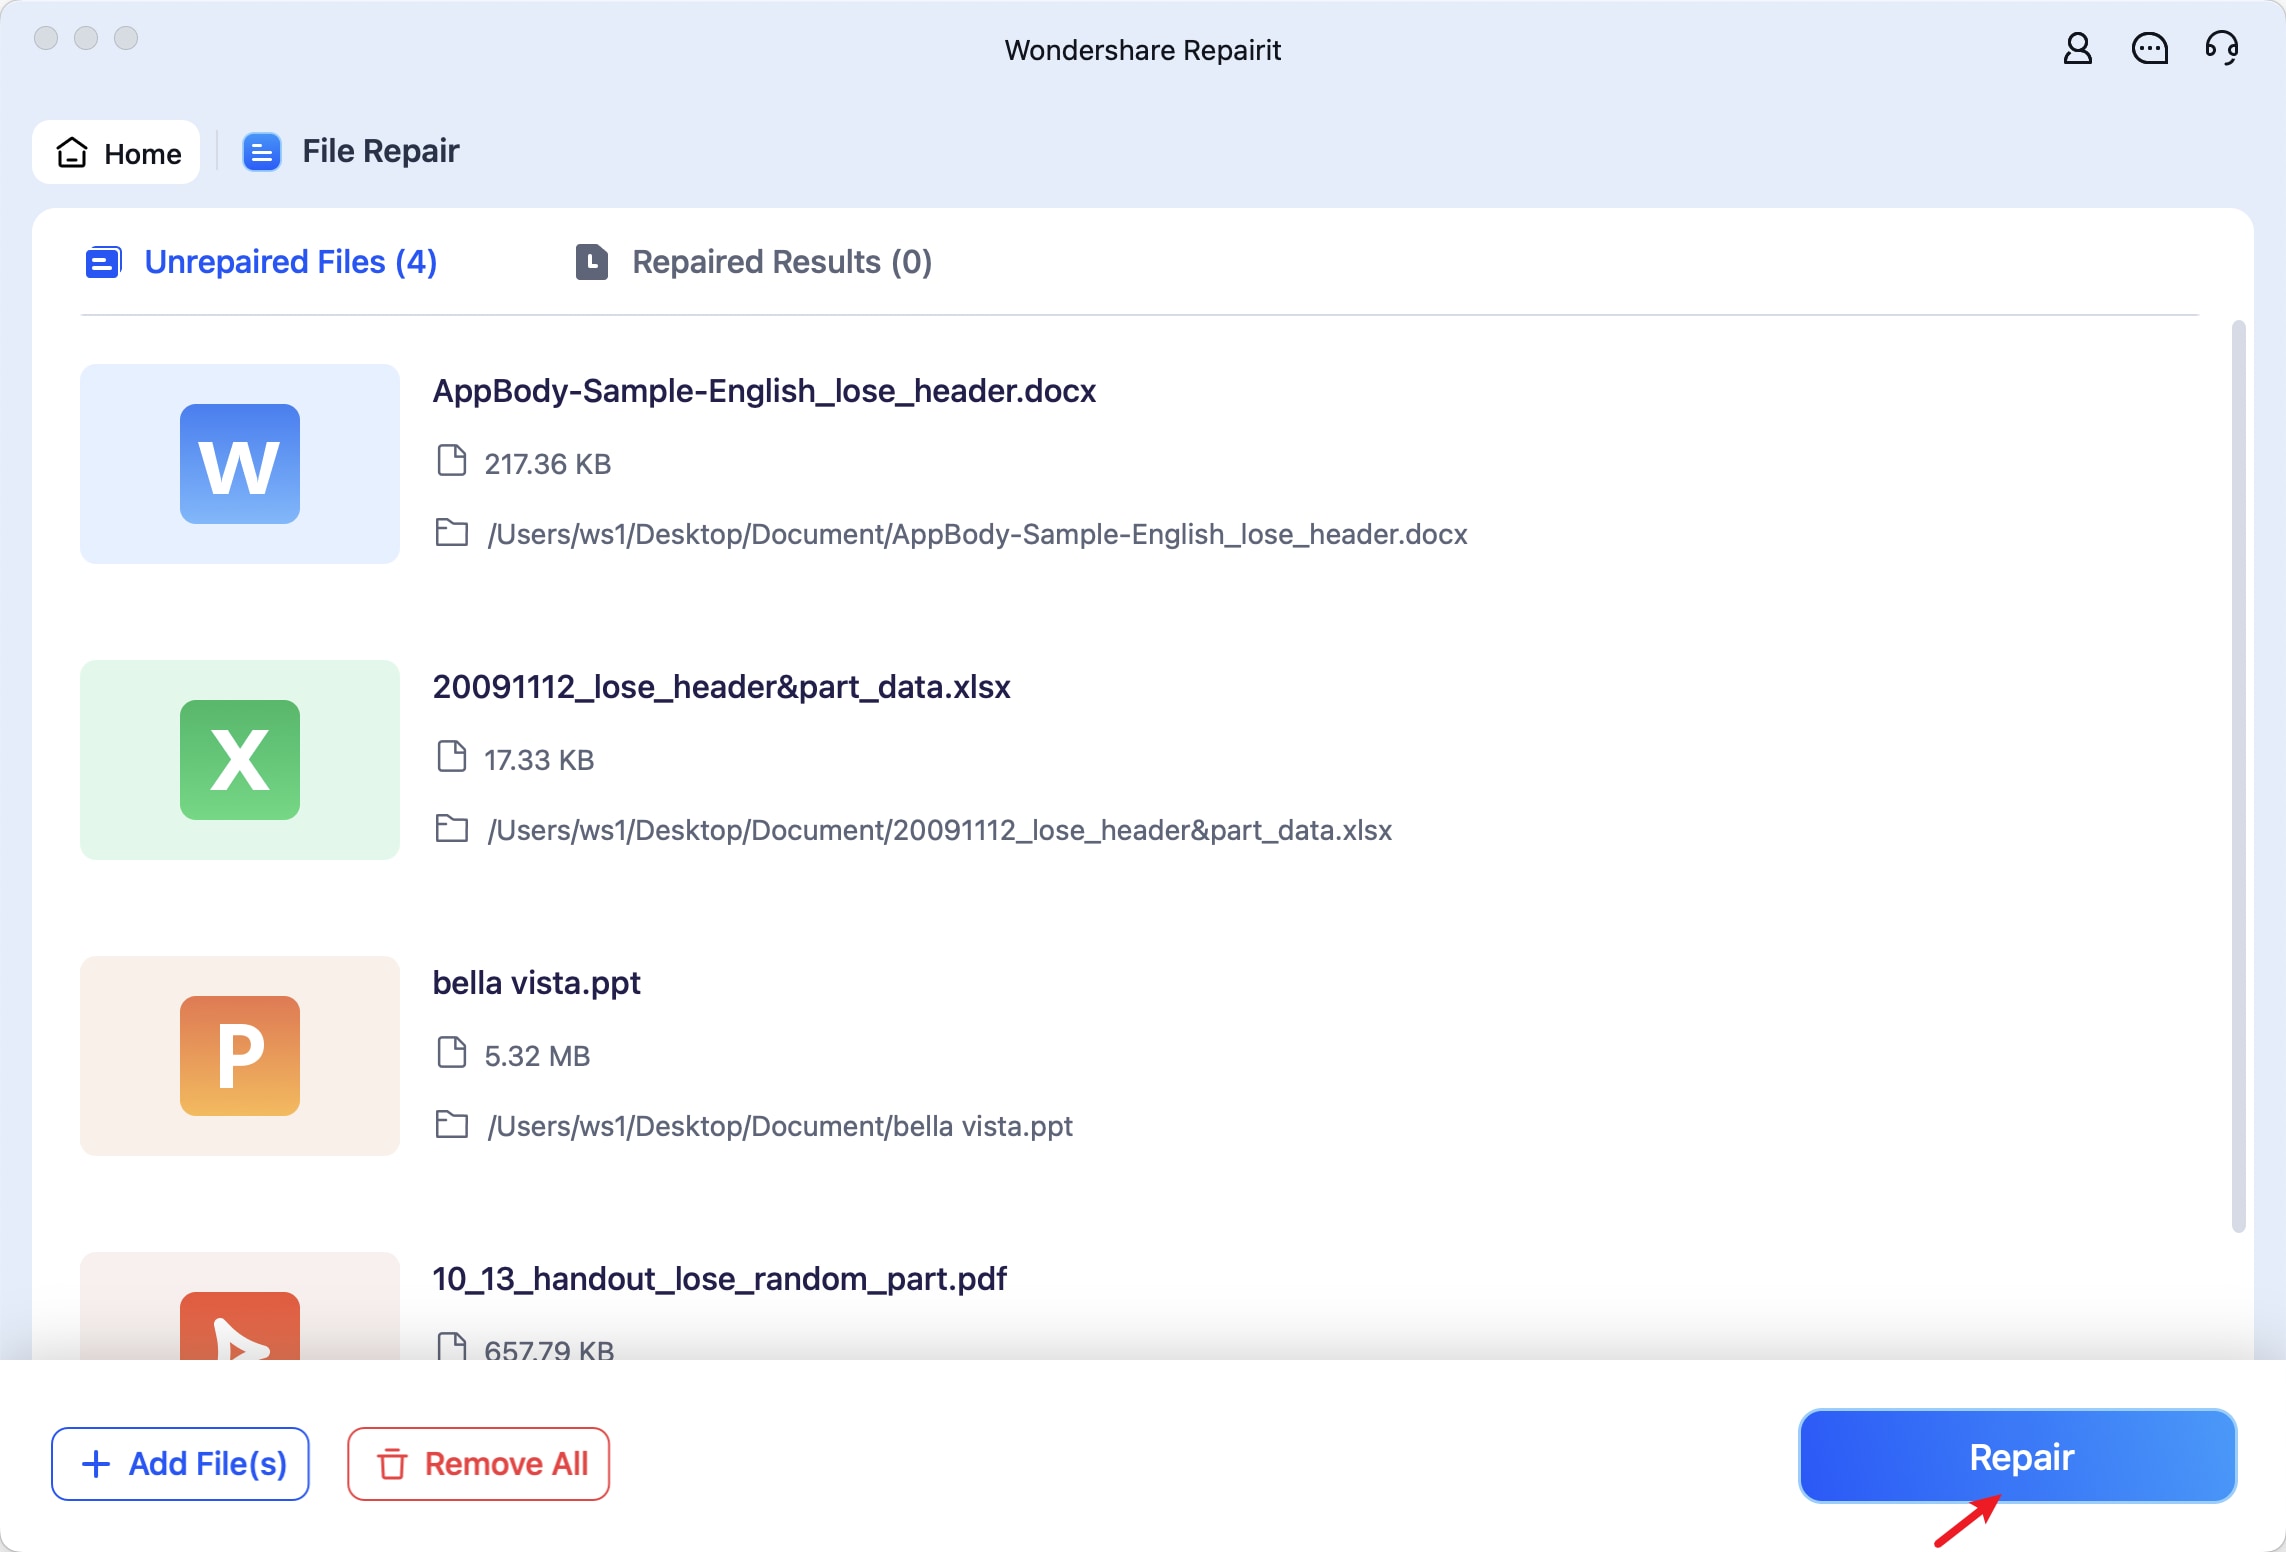
As soon as you add all the corrupted files, move your cursor to the bottom of the screen and click “Repair” to start the File Repairing process.
-
The tool will scan the files and fix all sorts of issues related to them. It displays the progress of the file repairing process on the screen and informs you about the files that are already completed, being scanned, or waiting to be repaired.
-
Wondershare Repairit generates the relevant prompt once it is done with the repairing process. A message will appear on the screen, stating the number of files that have been successfully repaired.
-
If the tool cannot repair any of the uploaded files, it will notify you of the same. In that case, you can tap on the link on the interface and connect with the expert to fix Archive Utility Error 1.
Step 3: Preview and Save
-
You can “Preview” and click on “Save” button to export them to the desired location. You can also click “Save All” to export all files at once.

-
After that, a window will be prompted so you can choose the dedicated folder to save the repaired files.
-
The application will save all your files and let you know how many files are exported.
Download Wondershare Repairit Now and Fix Archive Utility Error 1 in Minutes
Bonus:
If you need to repair corrupted document files like Word, Excel, PowerPoint, or PDF files, and your corrupted files are no more than 300MB, you can also use Repairit online file repair tool to fix them without downloading any software on your Mac.
Method 2: Relaunch Apple events via Activity Monitor
The easiest method to resolve the archive utility error on Mac is to relaunch the daemon process called “Appleeventsd”. It usually runs in the background and can help you fix the trouble.
Here’s how to launch the apple events via Activity Monitor.
-
Press Command + Spacebar and enter “Activity Monitor,” followed by the return key to open the Mac Task Management App.
-
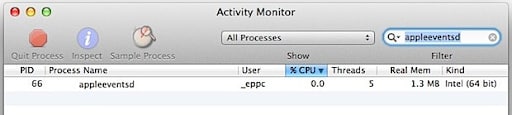
Expand the Processes list and select “All Processes” and search for “apple events”.
-
After that, select the “apple events” and tap on the “Quit Process” button. Click on Yes when asked to terminate the process. It causes apple events to reload, and Archive Utility starts functioning correctly.
The terminal is a Mac application that provides the OS with the interface in the form of a command-line to support functions on the textbase. Follow the step-by-step guide mentioned here to fix Archive Utility Error 1.
-
Before initiating the process, it is advised to relocate your zip file on the desktop so you can easily find it.
-
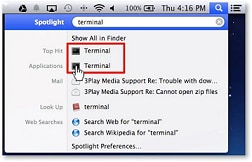
Now, open and run the “Terminal” app. There are two ways to do it.
-
You can either type the “Terminal” in the Spotlight search field, located at the upper-right section on the screen.
-
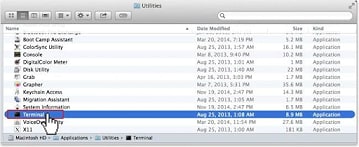
Alternatively, go to the “Applications” folder, open the “Utilities” window and locate “Terminal”. Select it to open the app.
-
Now, change the directory to the “Desktop” where you have relocated the zip file. Type in these commands in the Terminal interface: cd/desktop. Here “cd” simply indicates change directory.
-
Use the “unzip” command to extract the zip file. It should be written as: unzip (name of the zip file).zip. You can now access the files on the desktop.
Zipeg is an open-source program to compress or decompress the archive files in formats, including zip, Rar, Tar, 7z, and so on. It works on both Windows and Mac, thus handling the unzipping of your files effectively. Carry out the steps given here and fix Archive Utility Error 1 easily.
-
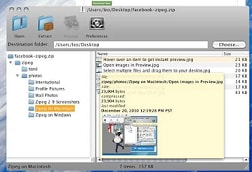
Launch Zipeg on your Mac OS and click “Open” to add your Zip files. You can also navigate to the Zipeg icon to drop the archive file there. The file content will appear on the right-side of your zip file. To expand the content included in the subfolders, tap on it, and all the files will appear on the screen.
-
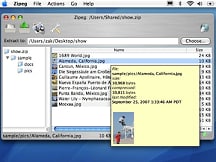
Now, select the files you want to decompress. Go to the “Extract to” field and choose the location to move your files. This could be your desktop, downloads, documents, or any other folder.
-
Click on the “Extract” option, and the file will immediately move to the selected location from where you can easily access it.
If the zip file is large you might encounter an error, but using our suggested methods you will be able to easily get rid of the archive utility error in a jiffy. In the below section we will discuss further Mac's archive utility a bit more to make it understandable.
Further Reading:
Here are the useful articles to help you.
1. Save Excel as PDF on Mac and Windows.
3. Methods to Recover Corrupted Macro Enabled Excel File.
Part 4: Know More About Mac Archive Utility
-
What is Archive Utility?
Archive Utility is the built-in app in Mac OS. It performs archiving and expansion of files in the background without opening a window for the utility itself. This app depends on several pre-configured defaults; you can also modify them for more control over archive files. To alter the utility defaults, open Archive Utility > Preferences.
Archive utility opens without presenting a separate window; instead,, there’s just a set of menus along the top of the screen. It supports various compression formats, including compressed archive, Zip, and regular archive.
-
Tips To Improve The Archive Utility
Here’s a guide to some practical tips to improve the archive utility.
Keep the file size in check: The archive utility usually stops responding if the user tries to unzip the huge file. So, keep the size of the file in check to improve the app performance.
Install good antivirus: Since the app is not able to expand the corrupted zip files, it is suggested to install the good antivirus in your system to keep viruses and spyware at bay.

Maintain a stable internet connection: The weak network connection is a possible reason to generate the archive utility error. Hence, make sure that the internet connection is strong and stable while unzipping the file.
Related Reading:
Here are the useful articles to help you.
1. Best 5 ZIP Repair Tool to Repair Corrupted ZIP Files.
3. Top 5 RAR File Repair Tools for Corruption.
Sum Up
Mac’s Archive Utility is the best system application to compress and expand files, but like all other apps, it also comes with challenges and bugs. There are plenty of methods to fix Archive Utility Error 1 on Mac, as listed in this guide. The users can opt for any of the solutions and get rid of this problem.
However, if you are looking for the most effective method that delivers the fastest results, then wait no more and install the Wondershare Repairit tool on your system right away. It is by far the most convenient solution to troubleshoot the error.
People Also Ask
-
How do I fix Archive Utility on Mac?
To fix Archive Utility on Mac, you can try methods like relaunching the "appleevents" process via Activity Monitor, using Terminal to unzip files, or using third-party tools like Wondershare Repairit to repair corrupted ZIP files. -
What is error 1 on Mac zip file?
Error 1 occurs when Archive Utility fails to unzip a file. It can be caused by issues such as large file size, lack of permissions, unstable internet connection, or corrupted files. -
What is the zip repair software for Mac?
Wondershare Repairit is a reliable ZIP repair tool for Mac. It can repair corrupted ZIP files, allowing users to fix Archive Utility errors quickly and effectively. -
How do I stop my Mac from unzipping?
To stop automatic unzipping on Mac, you can adjust Archive Utility settings or disable it by going to "System Preferences" > "Extensions" and unchecking the relevant options. Alternatively, you can manually handle file extraction.