
Have you tried playing a video file in Windows Media Player, and an error message popped up saying, “Cannot play back the file. The file format is not supported. Error: 80040265?” Don’t worry; you can quickly fix the problem.
This guide covers the 80040265 error and the reasons it happens. Additionally, it introduces the nine proven ways to fix the error 80040265 (Cannot play back the file). Once you read through, you’ll know how to eliminate the problem and play your videos.
In this article
-
- Fix 1: Repair Corrupted Video Files
- Fix 2: Convert the File to a Different Format
- Fix 3: Turn on the Automatic Codec Download
- Fix 4: Manually Install Windows Media Player Codecs
- Fix 5: Select the Correct Audio Device
- Fix 6: Update Video/Audio Drivers
- Fix 7: Use VLC to Repair Corrupted Files
- Fix 8: Reinstall the Media Player
- Fix 9: Update Media Player
What Is the 80040265 Error?
Windows Media Player is a famous media player supporting most file formats. However, you tried playing your media file, and the error message said, “Cannot play back the file. The file format is not supported. Error: 80040265.” So, what does this error 80040265 mean?
This message means you can’t open and play your media file in Windows Media Player due to some underlying problem. Fortunately, you can fix it in several ways, allowing you to watch your corrupted video in Windows Media Player as usual.
Why Can’t the Windows Media Player Play the File?

While the error message says that the file format is “not supported,” that isn’t the only reason behind the 80040265 error. Other reasons could be preventing your video from playing in Windows Media Player.
The underlying reasons for the 80040265 error can be the following:
- Unsupported file format – The media file you’re trying to play might have a file format that Windows Media Player doesn’t support. Even though it supports most file formats, it won’t recognize and play the unsupported file, however healthy it is.
- Missing or damaged media files – The error message could appear if one or more Windows Media Player files are damaged or lost. Thus, the problem might not be with the media file but with Windows Media Player itself.
- Unsupported codec – If your media file has a codec Windows Media Player doesn’t support, you’ll see the 80040265 error message. That can happen if you install the wrong codecs with different specifications.
- No installed codec – Besides the unsupported codec, the error message can appear if your media file uses a codec you haven’t installed. Codecs help encode and decode digital data signals. If your media file doesn’t have an installed codec, you’ll see the error 80040265.
- Corrupted media file – If Windows Media Player won’t play your media file and you see the 80040265 error message, your file could be corrupted. File corruption can happen because of file transfer errors, virus attacks, sudden system shutdowns, etc.
9 Ways to Fix the “Can’t Play Back the File” Error
Since there are numerous reasons for the “Cannot playback the file. The file format is not supported. Error: 80040265” error message, there are multiple ways to fix it. We’ve prepared nine proven methods to help you eliminate this error and play your media file in Windows Media Player.
Fix 1: Repair Corrupted Video Files
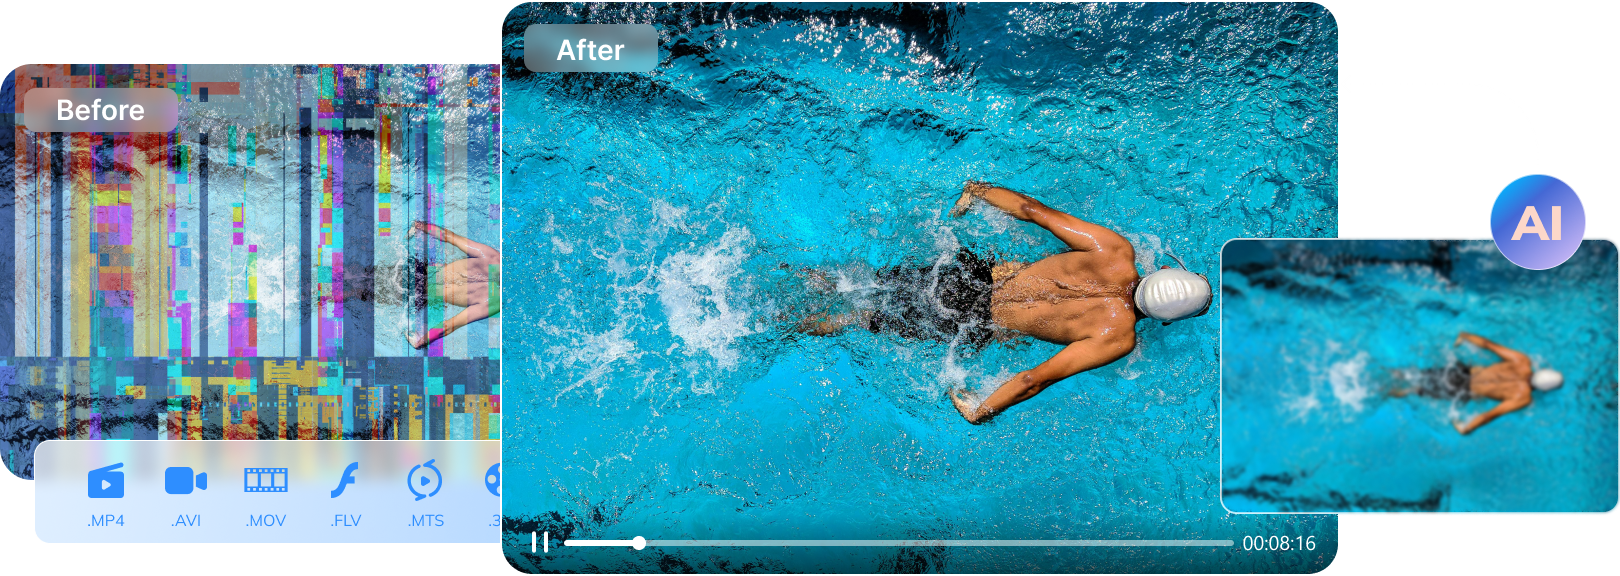
Corrupted media files cause the error 80040265 to appear, so you must repair your video files first. You can use a video repair tool like Wondershare Repairit. Wondershare Repairit can fix corrupted video files in just a few moments.
With its advanced video repair technology, Wondershare Repairit can help you eliminate the 80040265 error message. Follow these steps:
Step 1: Download and open Wondershare Repairit on your computer.
Step 2: Go to the Video Repair section and click Add to upload your media files.

Step 3: Once you add the media files, you’ll see them on the screen. Click Repair in the bottom right corner.

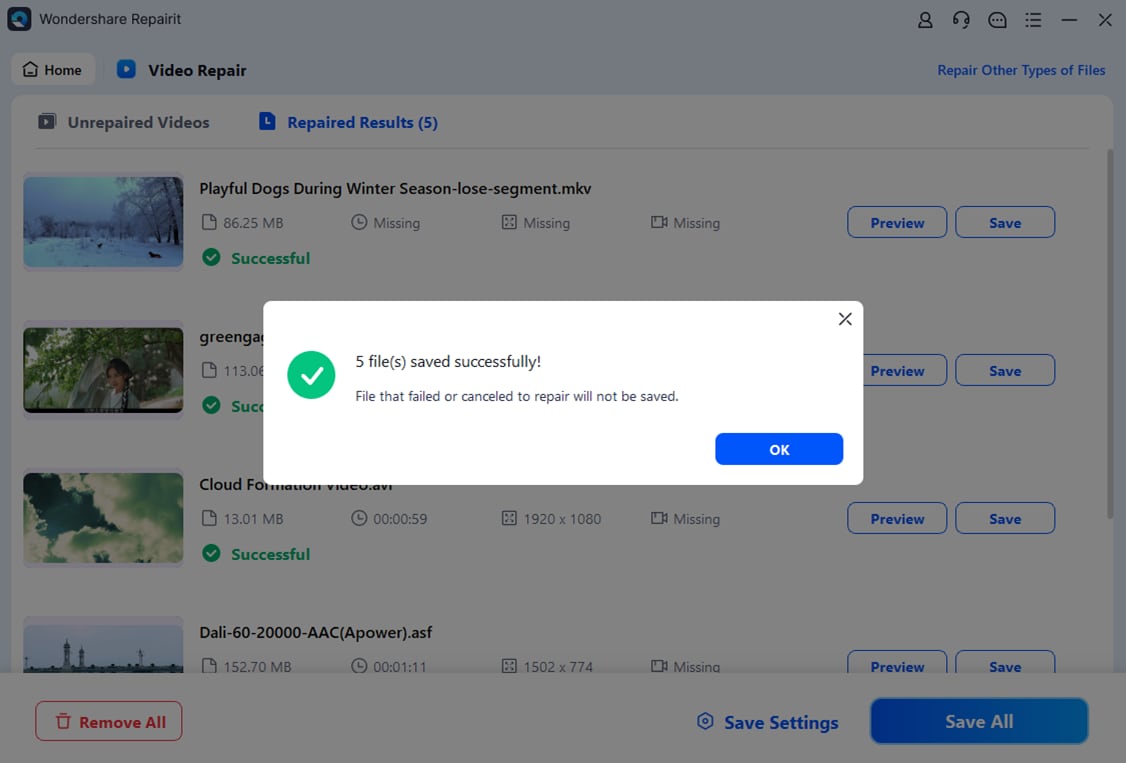
Step 4: A dialog box will notify you once the process is complete. Click OK.

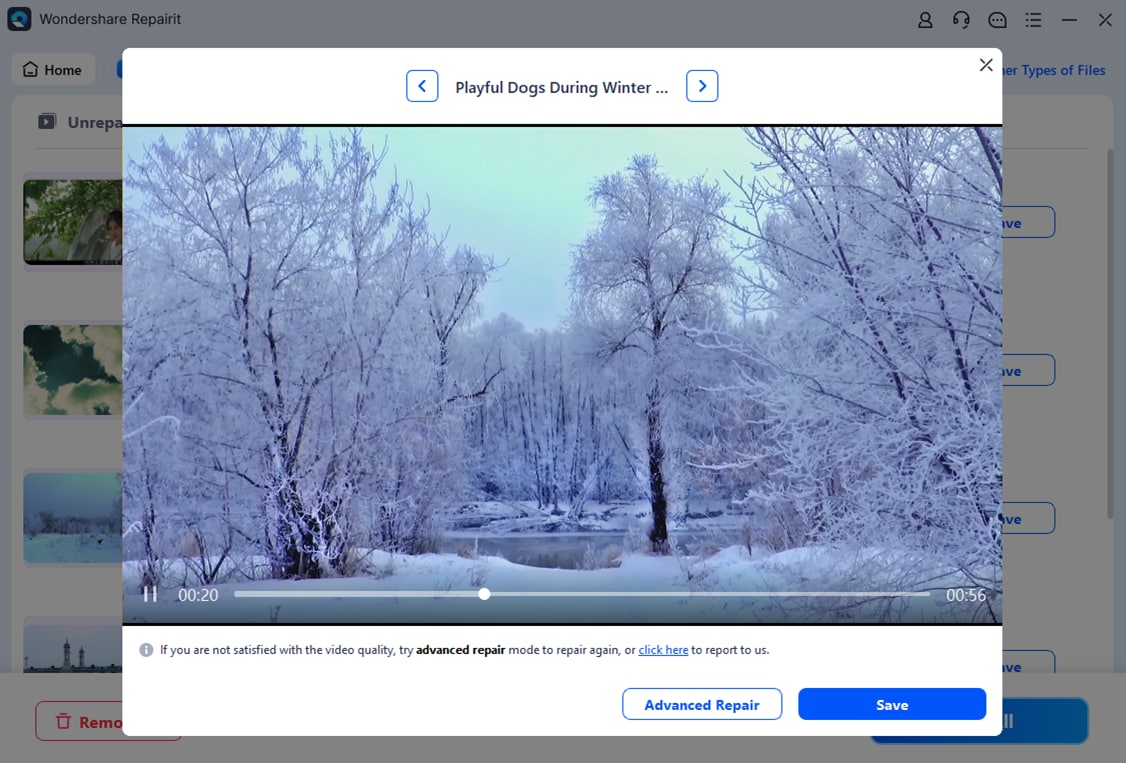
Step 5: Preview the repaired videos by clicking Preview.

Step 6: Click Save if the quality meets your expectations. Select a different, safe destination for the fixed videos.

Step 7: Another dialog box will pop up once the tool saves the files. Click OK.
Step 8: However, click Advanced Repair if your video is severely corrupted or needs a higher-quality repair.
Step 9: Click the Folder icon and upload a sample video file. It should be a healthy video you’ve recorded with the same device as the corrupted video file.

Step 10: Wondershare Repairit will tell you if the Advanced Repair function is compatible with your sample and corrupted videos. If yes, you can click Repair.
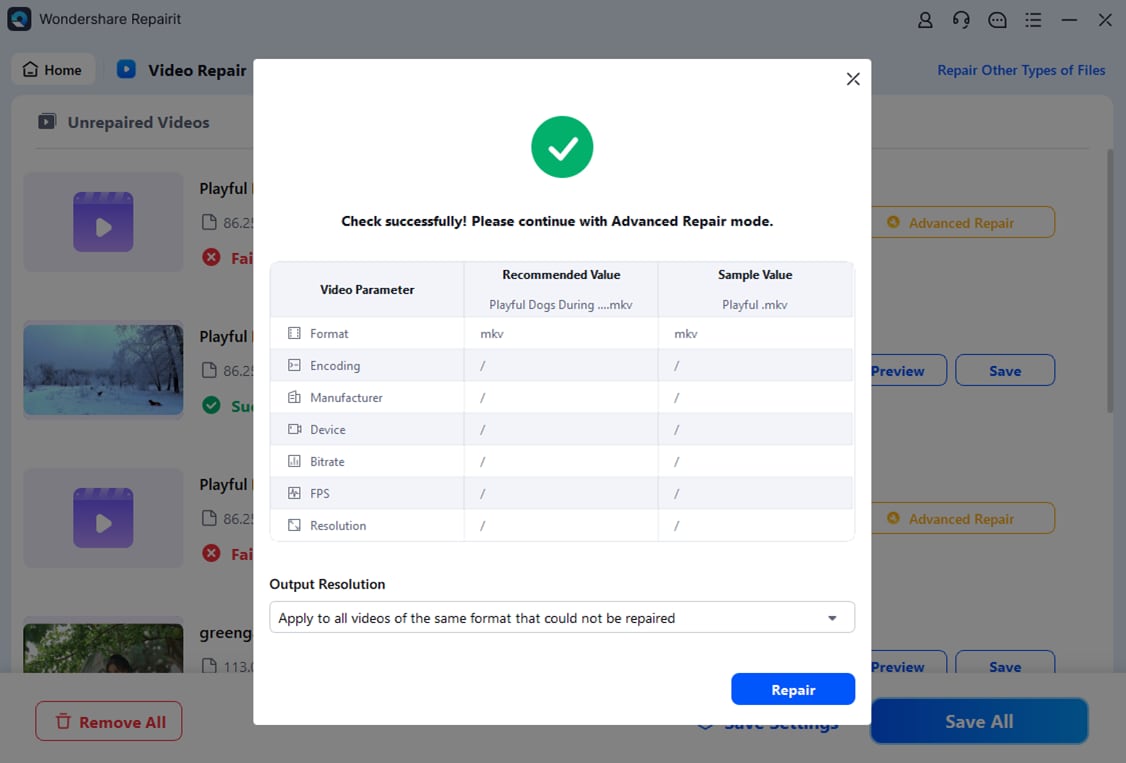
Step 11: Once the advanced repair is complete, save the restored media files to a different, safe location.
This video can help you fix your corrupted photos with a step-by-step guide.
Fix 2: Convert the File to a Different Format
Another way to fix the error 80040265 message and play your video file is to convert its format. Choose one that Windows Media Player supports. Even though you can use online video format converters, uploading your video file to the internet is unsafe.
Instead, you can use VLC Media Player on your computer to convert your media file to a different format. To do that, follow these steps:
Step 1: Open VLC and navigate to Media > Convert / Save.

Step 2: Click Add under File Selection to upload the corrupted video and hit Convert / Save.

Step 3: Specify your video file name and location under Convert.
Step 4: Tick the radio button next to Convert, select the desired output file format from the Profile list, and click Start.

Fix 3: Turn on the Automatic Codec Download
Set the automatic codec download to avoid having to check for updates and download them repeatedly if the error reappears. Installing up-to-date codecs will fix your “File format not supported. Error 80040265” problem.
Therefore, follow these steps to turn on the automatic codec download in Windows Media Player:
Step 1: Open Windows Media Player and navigate to Tools > Options.

Step 2: Switch to the Player tab, tick the Download codecs automatically checkbox, and click OK.

Step 3: Try playing the video. A message will pop up asking you to install the codec. Click Install and follow the prompts.

Fix 4: Manually Install Windows Media Player Codecs
If your video file doesn’t have the right codecs (or has no codecs at all), you’ll see the 80040265 error message. If the automatic download doesn’t work, you must install the codecs manually to allow the video to play in Windows Media Player.
To install codecs manually in Windows Media Player, follow these steps:
Step 1: Go to the official codec download page.
Step 2: The basic version should be sufficient for your needs. Click Download Basic and select a download server.

Step 3: Once the download is complete, follow the on-screen instructions to install it.
Fix 5: Select the Correct Audio Device
The reason behind the 80040265 error could be a wrong audio device. You can fix the problem by setting the correct audio device in Windows Media Player. You can apply this easy fix in just a few clicks.
Follow these steps to select the correct audio device in Windows Media Player:
Step 1: Navigate to Tools > Options in Windows Media Player.

Step 2: Switch to the Devices tab and click Speakers > Properties.

Step 3: Select the proper audio device, click Apply, and hit OK.

Step 4: Close Windows Media Player and restart your computer.
Fix 6: Update Video/Audio Drivers
Video and audio drivers enable audio and video interfaces to work on your computer. If your drivers are outdated, you won’t be able to play your video files and will encounter the 80040265 error message.
To update video/audio drivers on your computer, follow these steps:
Step 1: Press the Windows + R keys. Type devmgmt.msc and hit Enter to open Device Manager.

Step 2: Click Sound, video, and game controllers in Device Manager. Right-click your audio device and select Enable.

Step 3: Right-click your audio device again and click Update Driver Software.

Step 4: Select the Search automatically for the updated driver software option and wait for the update to complete.

Fix 7: Use VLC to Repair Corrupted Files
VLC is a media player that people primarily use to play media files. Besides that, it has a feature to help you fix corrupted videos. Its built-in video repair feature can resolve minor corruption issues and make your videos playable again.
However, VLC Media Player can only fix the AVI file format. Therefore, you’ll first need to convert your media file to AVI and then use VLC to repair it.
Follow these steps to repair your AVI video file:
Step 1: Open VLC Media Player and navigate to Tools > Preferences.

Step 2: Go to the Input / Codecs section. Click Always fix next to the Damaged or incomplete AVI file option.

Step 3: Click Save to repair your corrupted AVI video.
Fix 8: Reinstall the Media Player
If you’ve tried everything, including installing the codecs correctly, and the error message is still showing up, your Windows Media Player might be damaged. You can deal with a corrupted Windows Media Player by reinstalling it on your computer.
Follow these steps to reinstall Windows Media Player:
Step 1: Open the Control Panel and click Uninstall a program under Programs and Features.

Step 2: Click Turn Windows features on or off on the left side of the screen.

Step 3: Scroll down until you find the Media Features. Expand it and untick the Windows Media Player checkbox.

Step 4: Click Yes and OK.
Step 5: Open the Control Panel again. Navigate to Uninstall a program > Turn Windows Features on or off.
Step 6: Go to the Media Features folder and tick the Windows Media Player checkbox.
Step 7: Wait for the installation to finish and click Close. Try to see if Windows Media Player works now.
Fix 9: Update Media Player
Windows Media Player might need an update if you keep seeing the 80040265 error message. Regularly updating it will help you avoid bugs and errors.
To update Windows Media Player, follow these steps:
Step 1: Open Windows Media Player and navigate to Help > Check for updates.

Step 2: Wait for Windows Media Player to check for available updates. If there’s an available update, WMP will download and install it.
Conclusion
You don’t have to worry if you’ve tried playing a media file in Windows Media Player and an error message popped up saying, “Cannot play back the file. The file format is not supported. Error: 80040265.” Numerous reasons lie behind this error message, such as unsupported file format, missing or corrupted media files, or wrong codecs.
Fortunately, you can fix this problem in several ways, including using a video repair tool like Wondershare Repairit, converting the file format, and installing the right codecs. You can also set the correct audio device, update drivers, repair media files in VLC, and reinstall or update Windows Media Player.
