[Fixed] Black Screen When Playing Videos on Windows 10
The last thing you want to see while watching videos on your computer is your reflection on the black screen. We know exactly how you feel. The black screen completely ruins the experience, but there’s more. After the initial shock, you’re starting to panic and worry.
Does the black screen mean that your video is lost? Or worse, could your PC be dead? The answer to both of these questions is a resounding no. Read on to discover the potential causes and solutions for seeing the black screen when playing videos on Windows 10.
Types of Black Screen Issues on Windows 10 When Playing Videos

Did you know there are various types of black screens? If you pay close attention, you can notice the difference. One is the systematic black screen, which means your Windows PC is in trouble. The other is the video-related black screen. Which one do you see?
Here are the key differences so that you can identify the issue:
- On Windows 10, a systematic black screen, or the black screen of death, often has a movable mouse pointer, but all other features are inaccessible.
- The video-related black screen usually appears while watching Windows Media Player or YouTube videos. The audio is still there, but the picture is lost.
- The black screen of death can occur due to an incomplete Windows 10 installation, buggy updates, GPU errors, display issues, overheating, and insufficient power.
- If your black screen is strictly connected to playing videos, then the problem is usually video-related. You might be dealing with video corruption or a wrong codec.
The best way to determine if the black screen on your Windows 10 PC has something to do with playing videos is to restart your computer. If the screen is still black after you restart the PC, that’s not because you were playing a corrupted video.
In this case, better look up solutions for fixing the black screen of death.
What Causes the Black Screen When Playing Videos on Windows 10?

The black screen is one of the most challenging computer issues to troubleshoot and diagnose because it doesn’t show an error message or any other clue as to what’s wrong. Because of that, you can’t know whether your PC or the video is causing the problem.
Potential causes for the Windows black screen during video play include the following.
Computer Reasons
- Running a buggy Windows 10 update
- An issue with your graphics card/driver
- A faulty display cable or dead monitor
- Making changes to browser settings
- A crashed Adobe Flash Player
- A corrupted video player
Video Reasons
- A partially downloaded video
- A broken or incomplete video copy
- A corrupted or unplayable video file
- A wrong or missing video codec
Has your screen gone black during a specific video? If so, try to play the same video file on another PC. A healthy computer is valuable when trying to identify issues like these. If you experience the same or similar problem on a different PC, then it is 100% video-related.
How to Fix a Video Black Screen on Windows 10

Having your trusty PC turn black in the middle of a video could be terrifying. Don’t worry. We’ve compiled a bunch of methods for fixing the video black screen with sound on Windows 10. Whether or not you’ve successfully identified the issue, one of these fixes will help.
Fix 1: Update Your Windows
Windows often crashes when it doesn’t have enough resources to carry out an update. Sometimes, that results in a black screen. You don’t remember running any updates? That is another potential reason for what happened, as outdated Windows versions often fail to load videos.
Updating your Windows will address and resolve these issues. Here’s how to do it:
Step 1: First, restart your PC to get out of the black screen.
Step 2: When you boot into Windows, go to Start > Settings.

Step 3: Navigate to Update & Security.

Step 4: Under Windows Update, click Check for updates.

If new Windows 10 patches are available, the system will automatically download and apply them. Restart your computer and try playing the video that caused the black screen.
Fix 2: Repair Corrupted Videos With Wondershare Repairit
If you run necessary Windows updates, but the black screen issue is still there when you try to play a video, the problem is video-related. Try loading several video files. Does the same happen with all your videos, or does the black screen appear only when you load a specific video?
When you can trace the black screen issue back to one or more video files, that means you have a corrupted video for one of these reasons:
- Interrupted data transfer – When something interrupts a PC while transferring, downloading, saving, uploading, or loading a video file, fragments of that video get lost.
- Malicious software or code – Viruses and malware attacks can cause significant damage to video files.
- A corrupted or physically damaged drive storing the video file – For example, a scratched DVD or a storage drive with bad sectors will cause video corruption.
The only way to fix a corrupted video file is with professional software like Wondershare Repairit. Regardless of the format, it can repair video damage in any of these scenarios.
Step 1: Download, install, and launch Repairit for Windows 10.
Step 2: Click the Add button to upload the damaged video file or files.

Step 3: Select the video file you want to fix and click Repair.

Step 4: The program will notify you when it successfully restores the video. Click OK.
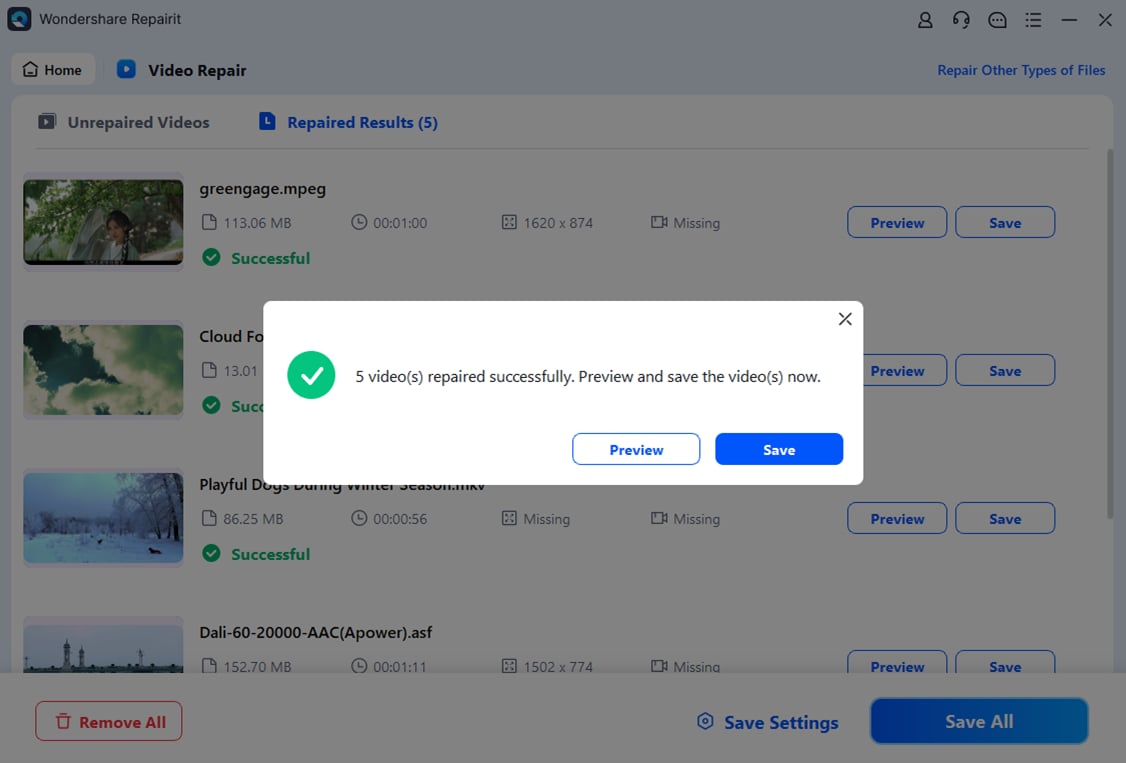
Step 5: Click Preview to see the results before saving the video.

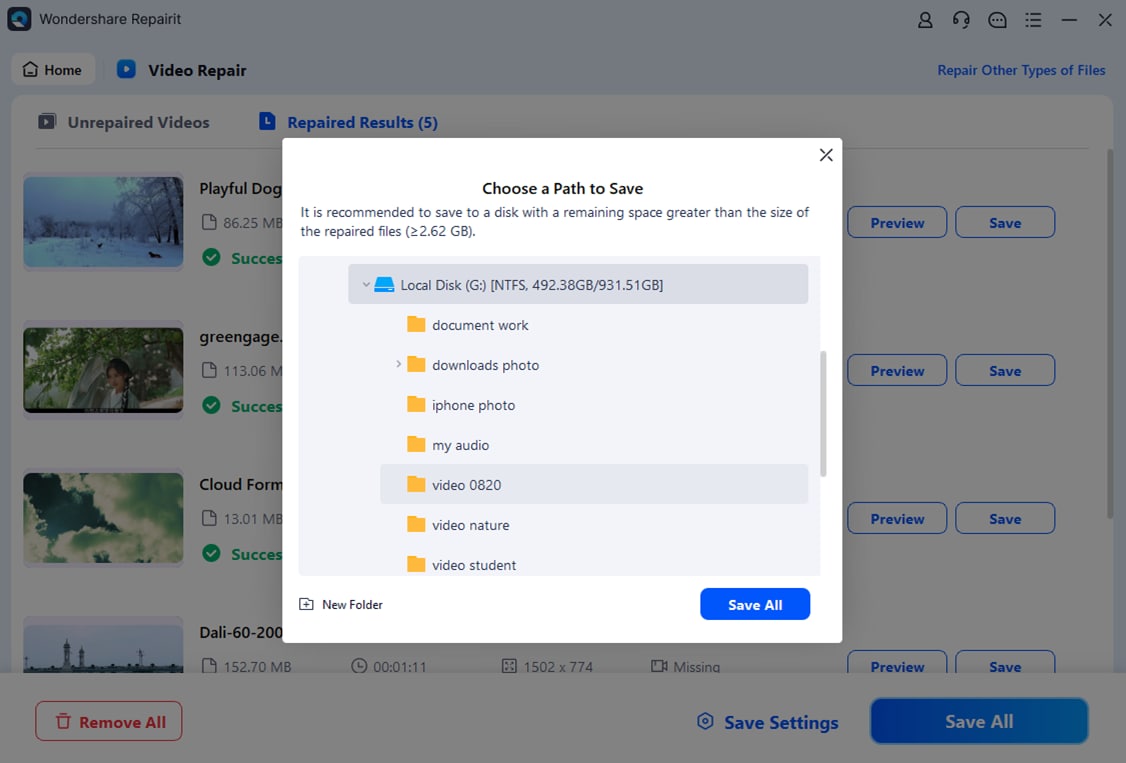
Step 5: If you are satisfied with the results, click Save and choose a safe path.
Wondershare Repairit also has an Advanced Video Repair option for fixing heavily damaged videos. It delivers more professional results by using a video sample as a reference.
Fix 3: Clear Cache and Cookies
Storing cache and cookies provides a smoother online experience for users. While generally helpful, cache and cookies pile up and take up a lot of free space. That leads to performance issues, which can eventually cause problems like a black screen on videos.
That’s why you should periodically clear cache and cookies. Here’s how:
Step 1: Go to Start and search for the Control Panel app.
Step 2: In the Control Panel, click Network and Internet.

Step 3: Under Internet Options, select Delete browsing history and cookies.

Step 4: Click Delete under Browsing History.

Step 5: Tick the checkboxes for the cache and cookies you want to erase and click Delete.

You can also clear your browser cache and cookies. This process depends on your chosen browser, but it’s usually under Clear browsing data.
Fix 4: Update Codecs
Video codecs play a dual part in playing videos on your computer. First, they compress a video so that you can stream, download, or transfer it between devices. Then, they decompress the file to make it playable. The black screen is often the result of a missing codec.
Updating video codecs is different for various players. Since Windows Media Player is the default video player in Windows 10, we’ll show you how to update codecs in WMP:
Step 1: Open Windows Media Player and navigate to the Help tab at the top. If you can’t see the Help tab, right-click the top bar and click the Show menu bar.
Step 2: Click Check for updates. WMP will redirect you to Settings, where you can run available updates for Windows 10. If there aren’t any, you use the latest version of WMP that doesn’t support the codec you need for playing your video.

In this case, the following fix on our list will help you resolve the issue.
Fix 5: Install a Different Media Player
Unfortunately, Windows Media Player only supports a shortlist of video codecs, so many Windows 10 users fail to find suitable codecs to prevent the black screen issue while playing videos. The good news is that other Windows players have better codec support.
Some of the best multi-codec video players you can download for Windows 10 include GOM Player, DivX Player, KMPlayer, and 5KPlayer. Still, none can come close to the VLC media player (at least regarding the number of codecs).
To install VLC for Windows 10, follow the steps below:
Step 1: Go to the official website and click Download VLC.
Step 2: The download will start automatically. Once it’s complete, double-click the .exe file and run the installer.
Step 3: Allow VLC to make changes to your PC by clicking Yes. Then, click Next > Next.

Step 4: Once the installation process is complete, click Finish to run VLC.

VLC supports many codecs that other players don’t, ranging from MPEG and AVI to FLAC, FLV, and others. If your screen still turns black with VLC, it’s probably not a codec problem.
Fix 6: Update Graphics Drivers
Everything you see on your computer screen is possible because of the graphics driver. The software manages your PC’s graphic cards and turns digital code into pixels.
The graphics driver is crucial for your screen’s proper functioning. At this point, we could only presume that your persistent black screen issue is the consequence of an outdated graphics driver. Let’s check for available updates to see if we are right:
Step 1: Go to Start and search for Device Manager.

Step 2: Under Display adapters, select your graphics card.
Step 3: Right-click your graphics card and select Update driver.

Step 4: Choose Search automatically for updated driver software.

You can also download and save the graphics driver update manually. In this case, choose the Browse My Computer for driver software option and find it on your PC.
Fix 7: Set the Correct Screen Resolution
Is your screen still black after updating the Windows, the media player, and the graphics drive? There’s a possibility one of these updates was buggy. Such updates can tamper with Display settings on Windows computers, among other things. At least this one is easy to fix:
Step 1: Right-click your screen and select Display settings.
Step 2: Choose the appropriate scale and layout for your screen. Windows recommends the 2560 x 1440 resolution for optimum performance.
Step 3: Under Keep these display settings, select Keep changes.
If you’ve ever connected a second monitor to your computer or a TV to your laptop, you know that Windows 10 also lets you manage the preferred screen and turn the second screen off for the ultimate experience. The correct way to rearrange and select display is the following:

If you have attached multiple screens to the same PC, you will see this option when you access Display settings. It is often the reason the “main” screen is black.
Fix 8: Enable Accelerated Graphics
Some Windows 10 users with the same problem as you have been able to resolve the black screen issue by enabling Accelerated Graphics on their PC. This option tells the computer not to use GPU but software rendering, which sometimes helps with the black screen:
Step 1: Press the Windows key + R and hold them together.
Step 2: When the Run command box appears, type inetcpl.cpl and click OK.

Step 3: You will see the Internet Properties dialog box. Switch to the Advanced tab.
Step 4: Find Accelerated Graphics and tick the checkbox to enable software rendering.

Step 5: Click Apply > OK to confirm the new settings and restart your computer.
Fix 9: Use the Video Playback Troubleshooter
Those of you who’ve reached our second-to-last step, don’t despair yet. There are two more fixes to try. Your Windows 10 computer has a built-in video playback troubleshooting tool that is sometimes a capable ally in situations like these. Let’s run it:
Step 1: Go to Start and open Settings.
Step 2: In Update & Security, select Troubleshoot > Additional Troubleshooters.

Step 3: Scroll down and select Video Playback. Click Run the troubleshooter.

Step 4: Choose I want to continue with this troubleshooter.

Step 5: The troubleshooter will recommend a suitable solution. Click Next to continue.

Hopefully, this method will resolve the problem. If it doesn’t, you have one more option left.
Fix 10: Repair Videos Online
Have you tried everything to fix the black screen while playing videos, but nothing worked? Then you’ve probably skipped the second fix because you wanted to exploit all other options before downloading paid software. We don’t blame you; we would have done the same.
Fortunately, there’s a middle-ground solution—you can repair your damaged video without downloading anything. You can use an online version of Wondershare Repairit:
Step 1: Go to Wondershare Repairit Online.
Step 2: Click Add or drag and drop to upload your video.

Step 3: Pick a Repair Strategy (most users choose Default) and click Repair.
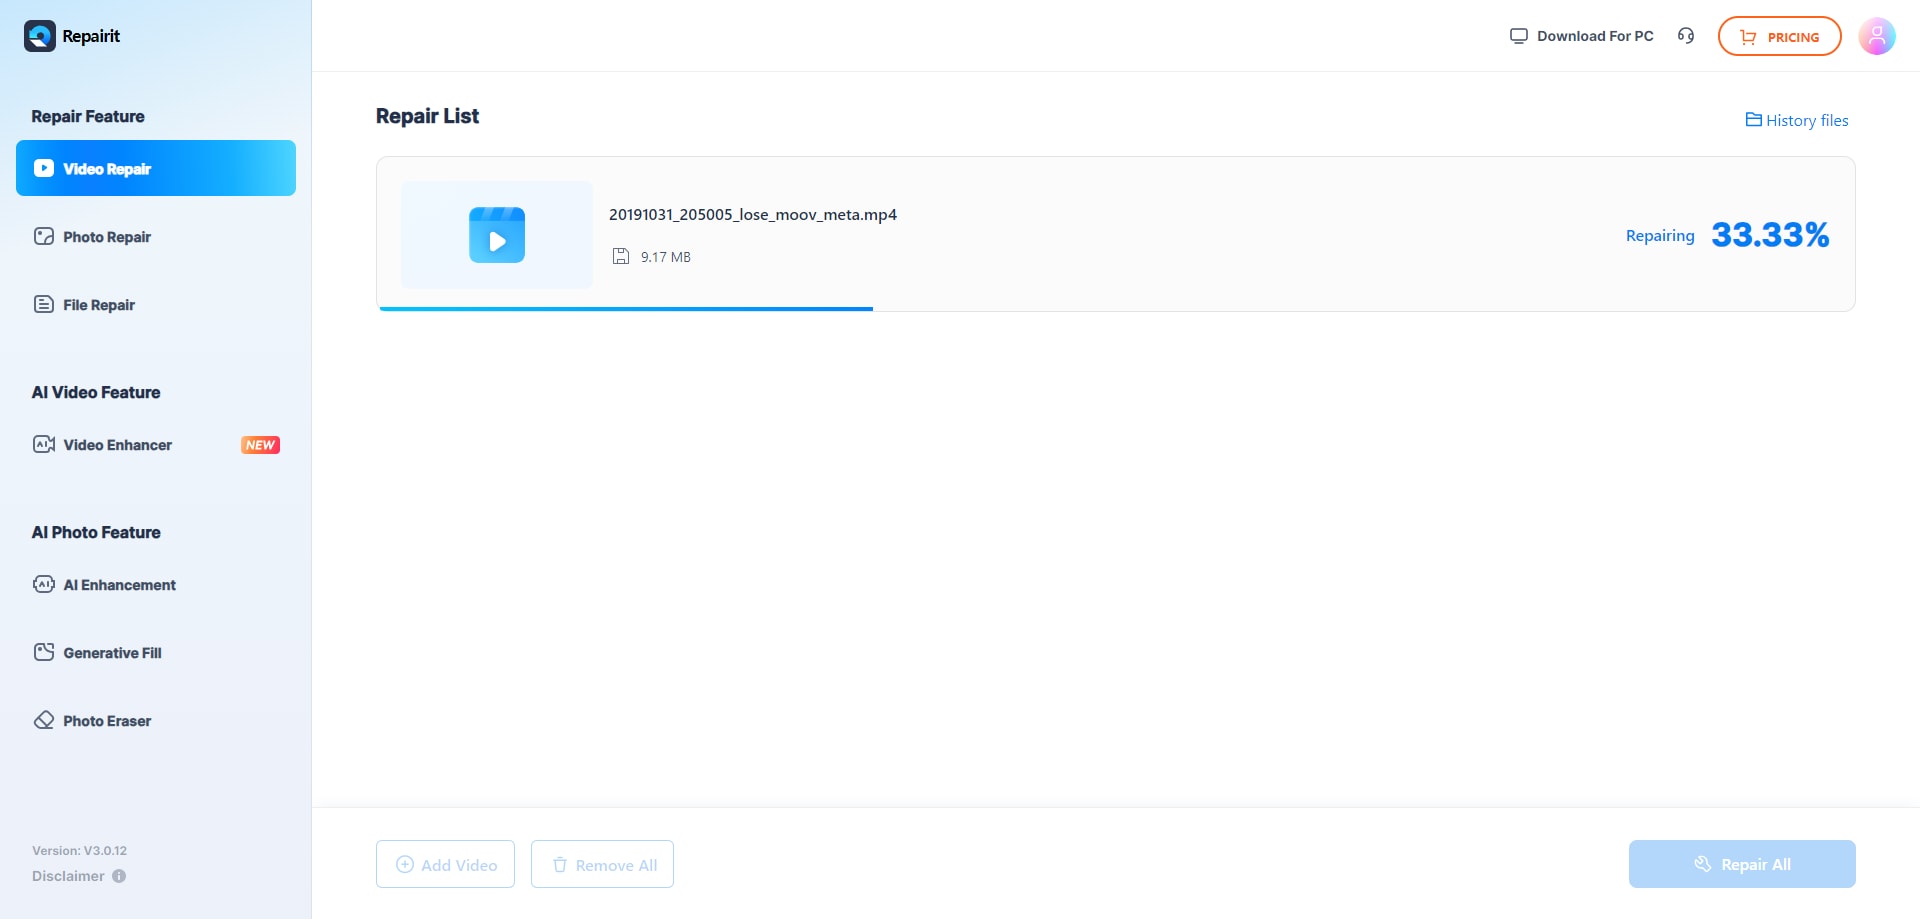
Step 4: Wait for the tool to finish the process. Then, click the video to preview the first ten seconds. Alternatively, you can save it to your PC by clicking Download.
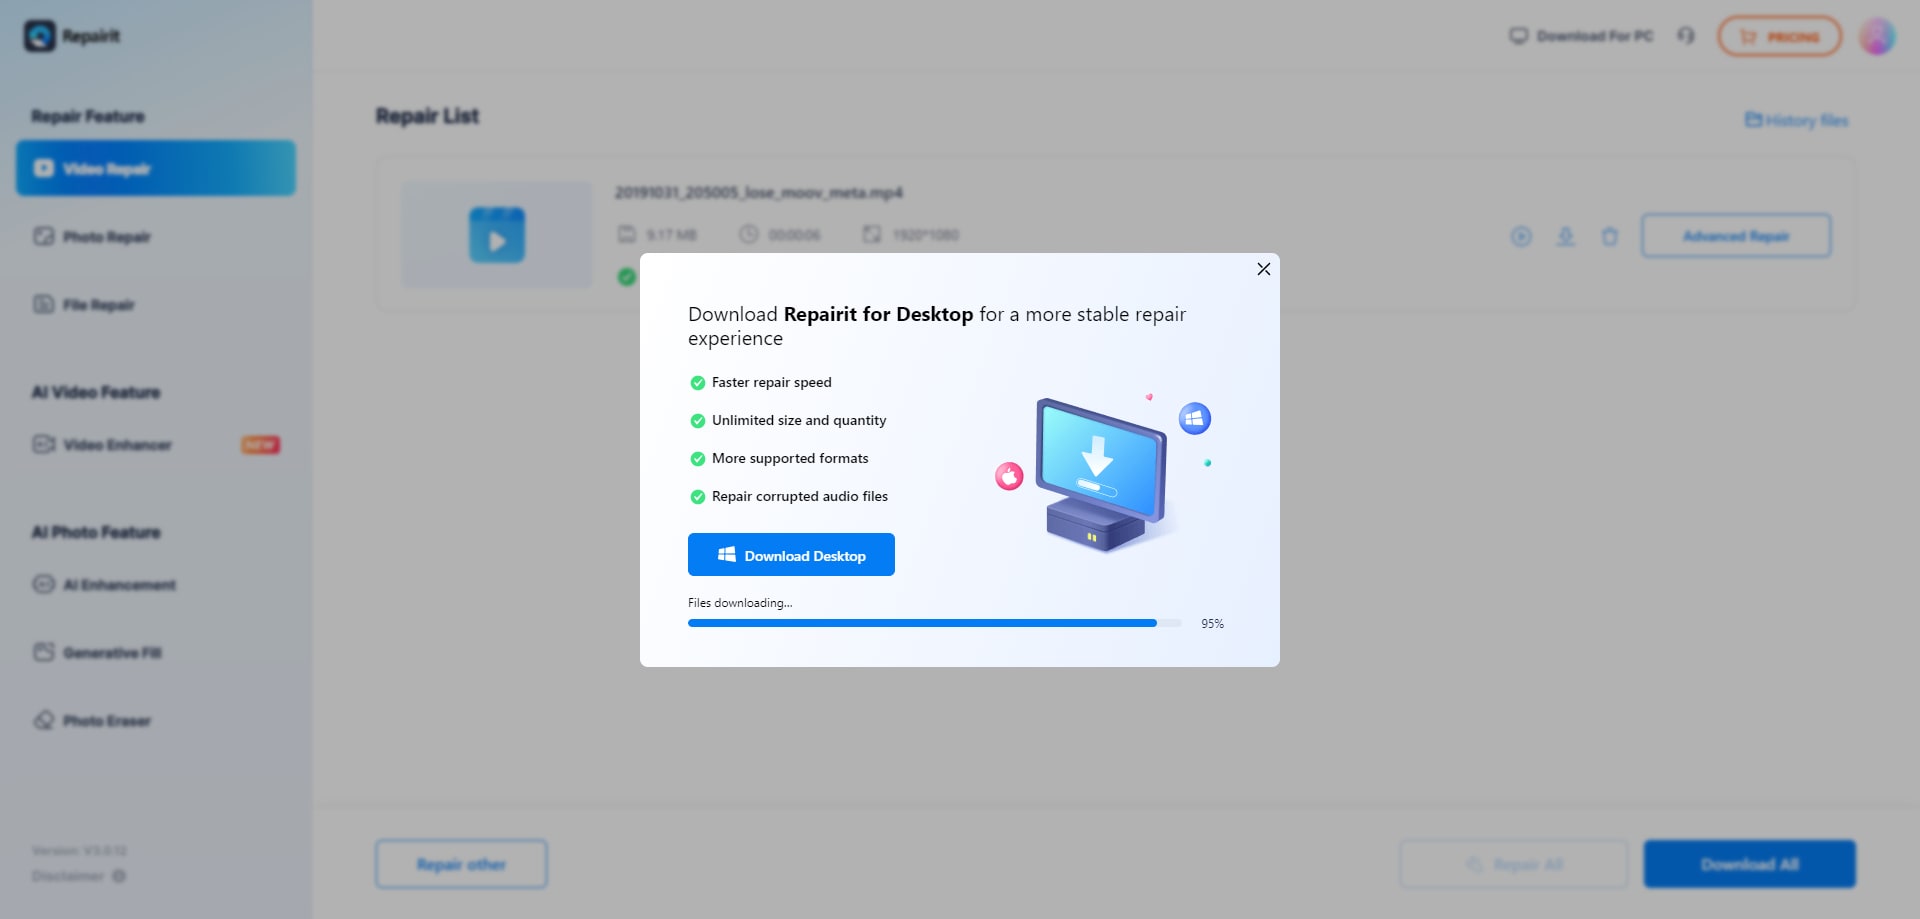
Wondershare Repairit Online has all the same capabilities as the desktop version, with one crucial difference—you can upload up to 150 videos monthly with a maximum size of 3 GB. If your video takes more space, you can use Repairit Online to test how the software works.
Conclusion
If you play many videos on your Windows 10, the black screen will appear sooner or later. It is a common problem that is difficult to diagnose because it could be related to the video or the computer.
Fortunately, you can try many different fixes. You can often resolve the video-related black screen with a professional video repair tool like Wondershare Repairit.


 ChatGPT
 Perplexity
 Google AI Mode
 Grok
Grok
