
A zoom lens is one of the most common tools you will touch when shooting photos or video on a dedicated camera, camcorder, or even a high-end smartphone. Understanding what it does and how it affects framing, sharpness, and file quality helps you capture better footage for editing, exporting, and sharing across platforms like YouTube, Instagram, and streaming services.
Repair Corrupted Files To Save Your Data
 Security Verified. Over 7,302,189 people have downloaded it.
In this article
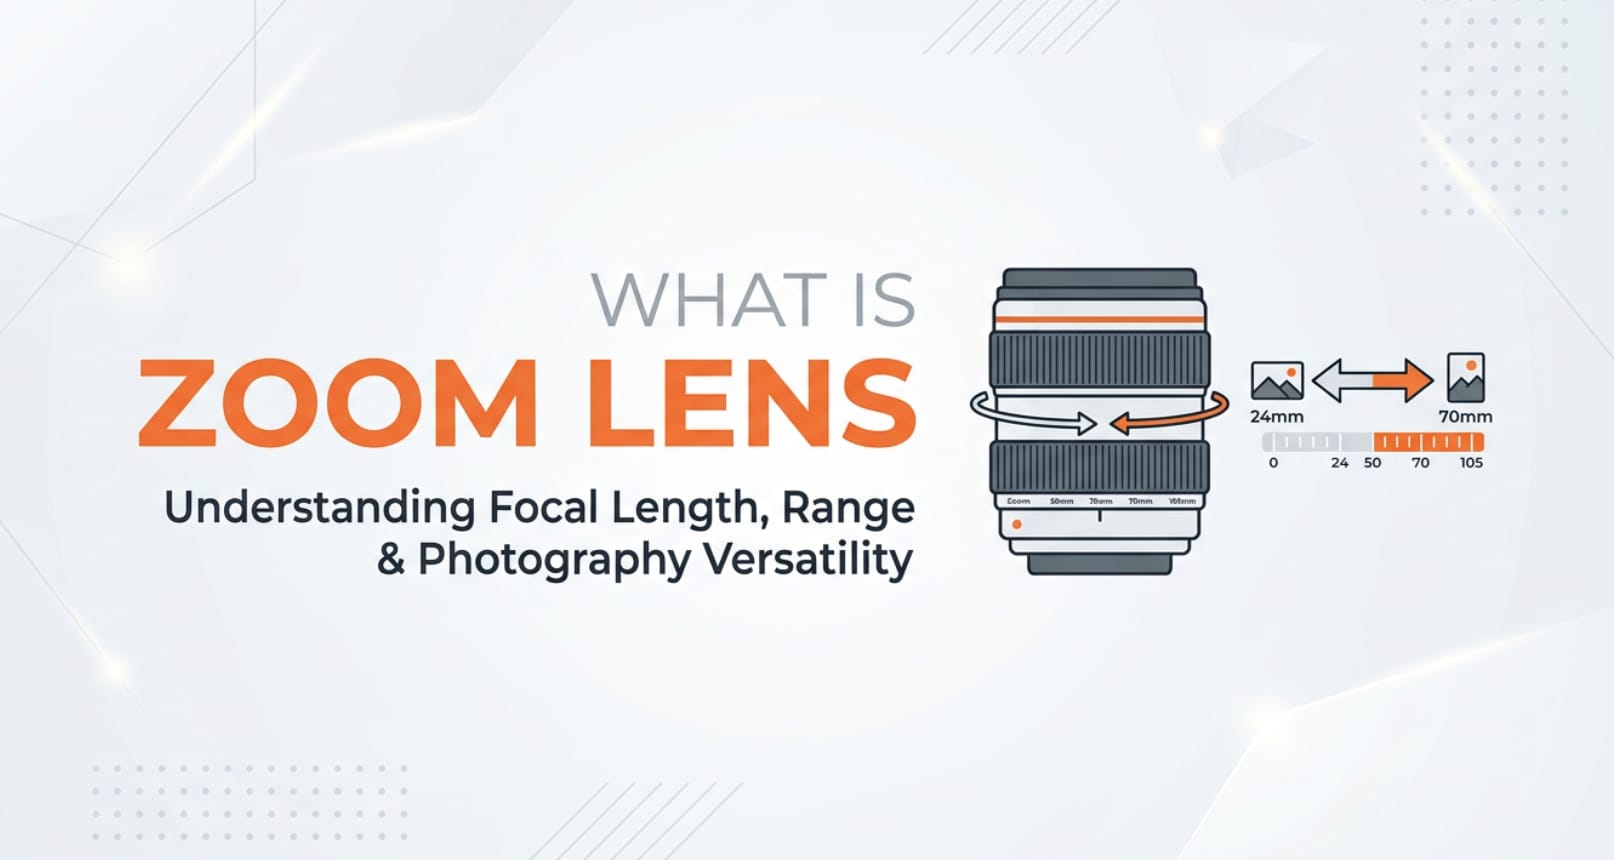
What Is a Zoom Lens?
A zoom lens is a camera lens with a variable focal length, meaning you can smoothly move from a wide view to a close-up without changing lenses. Unlike a prime lens with a single focal length, a zoom covers a range, such as 24–70 mm or 70–200 mm. It is a core concept in both photography and videography because it controls how much of a scene fits into the frame when recording, live streaming, or capturing stills.
On digital cameras, mirrorless systems, camcorders, and even many smartphones, the zoom function lets you reframe your subject quickly. Optical zoom adjusts the physical lens elements, while digital zoom crops the sensor output. In real workflows, this affects how your footage looks and how flexible you are during editing, stabilization, and delivery across platforms.
How Does a Zoom Lens Affect Your Image or Footage?
Framing, compression, and depth of field
The most obvious effect of a zoom lens is framing. At the wide end, more of the scene fits in the shot, which is useful for landscapes, group photos, and tight interiors. At the telephoto end, the frame tightens around your subject, ideal for portraits, sports, wildlife, or isolating details in a busy environment.
Changing focal length also changes perspective compression. Zooming in makes background elements appear closer to your subject, flattening the scene. This can enhance portraits and cinematic B-roll by making backgrounds look larger and more dramatic. Zooming out exaggerates distance and can make spaces feel more open but may introduce perspective distortion, especially near the edges.
Depth of field is also affected. Longer focal lengths (zoomed in) make it easier to blur backgrounds and separate subjects, especially when you stand further back. Wider focal lengths (zoomed out) keep more of the scene in focus, which is helpful for vlogging, architecture, and documentary-style shooting where you want context and detail.
Image quality, stabilization, and low light
A zoom lens also influences brightness and stability, which directly affect how clean your files look after editing, encoding, and playback. Many zooms have a variable maximum aperture, such as f/3.5–5.6. As you zoom in, the lens lets in less light, forcing the camera to raise ISO or slow shutter speed. This can introduce noise or motion blur, especially in low light or high-frame-rate video.
Higher-end constant-aperture zooms (for example, 24–70 mm f/2.8) maintain the same brightness across the entire zoom range, offering more consistent exposure when recording. This makes color correction and grading easier because your footage does not change brightness each time you adjust framing.
Many zoom lenses include optical image stabilization (OIS). When you zoom in, even small hand movements are magnified. OIS compensates for these shakes, helping you record steadier clips without a gimbal. Stable, sharp footage encodes better, avoids ugly compression artifacts, and plays back more smoothly on streaming services and social platforms.
How Does a Zoom Lens Work in Real Shooting?
Where you control zoom on cameras and lenses
On interchangeable-lens cameras, you control a zoom lens by rotating the zoom ring on the barrel. This mechanical movement shifts internal glass elements, changing focal length. The current value (for example, 35 mm or 100 mm) is usually printed on the lens and displayed in the viewfinder or on-screen overlay.
On camcorders and many mirrorless cameras with power zoom lenses, you may have a zoom rocker around the shutter button or a dedicated lever on the body. Sliding it in or out triggers a motor that moves the lens smoothly, which is useful for live events, weddings, or streaming where you need controlled zoom moves mid-shot.
Smartphones usually provide on-screen zoom sliders or preset buttons (0.5x, 1x, 3x, etc.). High-end models switch between multiple physical lenses to deliver true optical zoom, then apply digital zoom on top if you push further. Knowing when your phone leaves optical zoom and crops digitally helps you avoid soft or noisy footage that falls apart in editing or export.
Real-world shooting examples
For a talking-head YouTube video, you might set your zoom lens around 35–50 mm (full-frame equivalent). This gives a natural, undistorted look while allowing some background blur. During recording, you keep the focal length fixed for consistent framing and to avoid distracting zooming mid-sentence.
At a sports game, you would zoom in to 200 mm or beyond to bring distant players closer. You might enable image stabilization and use a monopod or tripod, because even tiny vibrations become obvious at long focal lengths. Later, when editing, this tight framing lets you cut dynamic highlight reels without heavily cropping your footage.
For travel vlogs or documentaries, a 24–105 mm or 18–135 mm zoom lens is a versatile choice. You can grab wide establishing shots of a city, then quickly zoom to capture details like food, faces, or street performances. This flexibility means fewer lens changes in dusty or wet environments and more reliable footage for post-production and multi-platform exporting.
Best Uses, Common Mistakes, and Quick Tips
When a zoom lens matters most
- Run-and-gun shooting where you cannot change lenses, such as events, travel, and documentary work.
- Hybrid creators who switch between photos and video, needing flexible framing on the same body.
- Recording for multiple platforms (horizontal, vertical, and square) where you must reframe quickly without moving your feet.
Common mistakes with zoom lenses
- Relying on digital zoom instead of optical zoom, leading to soft, pixelated images that degrade further during compression and streaming.
- Zooming during every shot, creating amateur-looking footage and making cuts harder in the edit.
- Not noticing a variable aperture zoom darkening the image when zoomed in, causing inconsistent exposure across clips.
- Shooting handheld at long focal lengths without stabilization or fast shutter speeds, resulting in blurry or shaky footage.
Quick tips for better results
- Use your zoom lens to set the frame, then stop zooming while recording for a more cinematic, professional look.
- Favor optical zoom over digital zoom, especially if you plan to crop further in editing or deliver 4K content.
- Watch your shutter speed and ISO as you zoom in; increase ISO or use a faster lens if your footage looks too dark or noisy.
- At long focal lengths, stabilize your camera with OIS, in-body stabilization, a tripod, or a gimbal.
- Test how your zoom behaves at different focal lengths so you know where sharpness, distortion, and vignetting are most noticeable.
The key takeaway: a zoom lens is not just about getting closer. Used thoughtfully, it shapes perspective, depth, and stability so your photos and videos hold up through editing, encoding, and playback on any platform.
How to Use Repairit to Fix a Corrupted Photo File
What is Repairit?
Even when you use your zoom lens correctly, photo files can still become corrupted due to bad memory cards, sudden power loss, transfer errors, or damaged storage. When that happens, Repairit official website provides a dedicated repair solution to restore unreadable, distorted, or broken photo files. Instead of reshooting or losing important moments, you can repair many issues in a guided, desktop-friendly workflow.
Key features of Repairit Photo Repair
- Repairs various kinds of corrupted or unreadable photo files, including issues like gray areas, color bands, or partial loading.
- Supports multiple popular image formats and storage sources, such as SD cards, cameras, external drives, and computers.
- Offers an intuitive interface with preview options, so you can check repaired images before saving them permanently.
Steps to repair corrupted photos with Repairit
- Add corrupted photo files
Download and install Repairit, then open the Photo Repair feature. Click the button to add photos and browse to the folder where your corrupted images are stored, such as the card you used with your zoom lens or a backup drive. Select all damaged files you want to fix and import them into the program.

- Repair photo files
After importing, start the repair process with a single click. Repairit will analyze the structure of each photo, fix header and data issues, and reconstruct the image so it can open correctly again. During this stage, you can track the progress on-screen and wait for the software to finish processing all selected items.

- Save the repaired photo files
When the repair is complete, preview the results to confirm that artifacts, color issues, or missing areas are resolved. Choose a safe output folder that is different from the original damaged location, then save your repaired photos. You can now edit, export, or share them as usual without worrying about corruption errors.

Conclusion
A zoom lens is a flexible optical tool that lets you control framing, perspective, and depth of field without swapping lenses. It influences how your photos and videos look, how easy they are to edit, and how well they hold up when compressed for online platforms, live streams, or client delivery.
By understanding how zoom affects image quality, exposure, and stabilization, you can make smarter decisions on set and avoid common pitfalls like noisy footage or awkward distortion. And if photo files from any shoot ever become corrupted, Repairit offers a practical way to bring them back so your hard work behind the lens is not lost.
Next: Shutter Angle
FAQ
-
1. Is a zoom lens better than a prime lens for video?
A zoom lens is more flexible because it covers multiple focal lengths without changing lenses, which is ideal for events, travel, and fast-paced shoots. However, prime lenses are often smaller, sharper, and brighter (wider aperture), which can be better for low light or a very shallow depth of field. Many creators use both: a versatile zoom for run-and-gun and a few primes for controlled setups. -
2. What is the difference between optical zoom and digital zoom?
Optical zoom uses the lens elements to magnify the image before it hits the sensor, preserving detail and image quality. Digital zoom crops and enlarges the captured image, which reduces resolution and can introduce noise and artifacts. For high-quality results, especially if you plan to edit or crop later, rely on optical zoom whenever possible. -
3. Why do my photos get darker when I zoom in?
Many zoom lenses have a variable maximum aperture, such as f/3.5–5.6. As you zoom toward the telephoto end, the lens cannot stay as bright, so the camera compensates with a slower shutter speed or higher ISO. This can lead to darker, noisier, or blurrier shots. A constant-aperture zoom or a higher ISO setting (with noise reduction in post) can help. -
4. How much zoom do I need for wildlife or sports photography?
For wildlife and field sports, a focal length of at least 200–300 mm (full-frame equivalent) is usually recommended to fill the frame from a distance. Many photographers use 70–200 mm, 100–400 mm, or similar telephoto zooms. On smaller sensors (APS-C, Micro Four Thirds), shorter focal lengths can give equivalent reach due to the crop factor. -
5. Can a corrupted photo from my zoom lens be fully recovered?
Recovery depends on how badly the file is damaged. If the header or structure is partially broken but the data is still present, tools like Repairit often can reconstruct and restore the image. If large parts of the data are missing or overwritten, full recovery may not be possible, but it is still worth running a repair before deleting or reformatting your storage.
