
A waveform monitor is a must-know tool if you shoot, edit, grade, or stream video. You will see it in camera menus, external recorders, software scopes in Premiere Pro, DaVinci Resolve, Final Cut Pro, live streaming switchers, and QC rooms. Understanding what this scope shows helps you expose scenes accurately, avoid crushed shadows or blown highlights, and deliver video that looks consistent on different screens and platforms.
Repair Corrupted Files To Save Your Data
 Security Verified. Over 7,302,189 people have downloaded it.
In this article
What Is a Waveform Monitor?
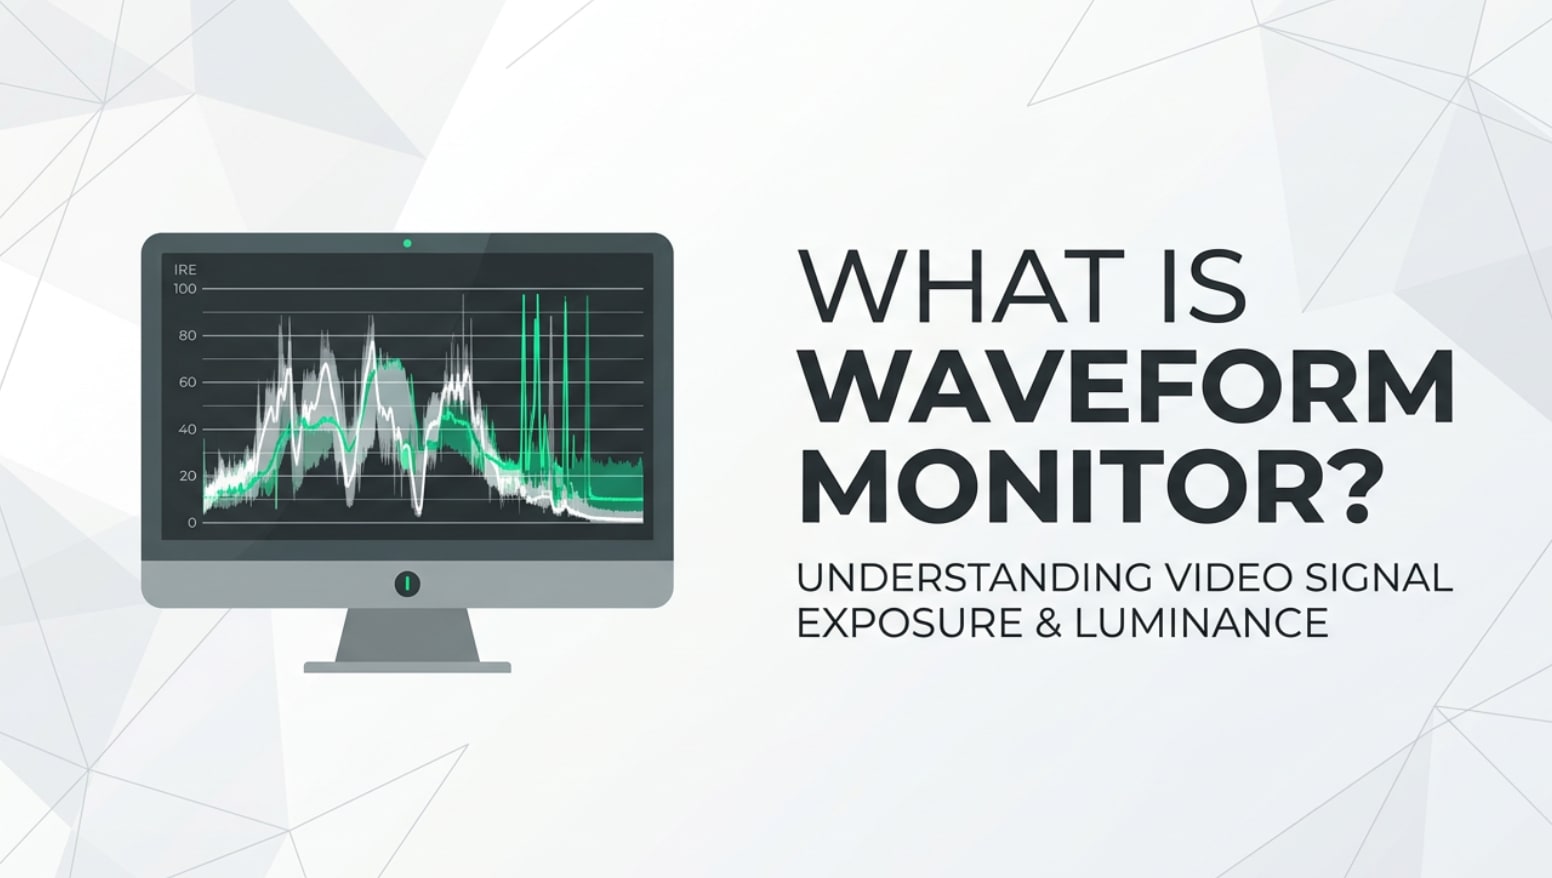
A waveform monitor is a type of video scope that graphs the brightness (luma) and sometimes chroma (color) of your image from left to right, top to bottom. It is not a camera style or effect; it is a measurement tool used in filmmaking, broadcast work, streaming, and video post production.
On a waveform monitor, vertical position represents signal level: 0 or 0 IRE is pure black, mid-tones and skin sit around the middle, and 100 IRE (or the top of the scale) represents peak white. Instead of guessing from your LCD, you can see exact values for exposure, contrast, and color channels. That is why it is one of the most trusted video scopes in professional monitoring and color grading tools.
Modern cameras, external recorders, and editing software often include a built-in waveform monitor. You might see several versions: luma-only, RGB parade, or YCbCr. Whichever you use, the purpose is the same: provide an objective reference so you can make consistent exposure decisions for recording, encoding, exporting, streaming, and playback across platforms.
How Does a Waveform Monitor Affect Your Image or Footage?
The waveform itself does not change your image; it changes how you decide to shoot and grade. By reading the scope correctly, you adjust settings such as ISO, shutter, aperture, ND, lighting levels, and grading curves to produce clean, detailed, and compliant images.
Waveform and exposure accuracy
The biggest effect is exposure. A video exposure tool like the waveform tells you whether the brightest parts of the frame are clipping (piling up at the top) or if shadows are crushed (sitting flat at the bottom). That feedback directly affects:
- Highlight detail: keeping bright windows, skies, and white clothing below clipping so you can still see texture.
- Shadow detail: lifting dark areas just enough so they are not noisy or muddy on streaming platforms and TVs.
- Skin tones: placing faces at a stable level so they look natural from shot to shot and across different viewing devices.
Compared with a waveform vs histogram view, the waveform lets you see where in the frame those exposure problems live, not just how many pixels are bright or dark. That precision leads to cleaner footage and fewer surprises when you encode, export, or compress for social platforms.
Waveform and contrast, color, and platforms
The waveform also guides how you shape contrast. By watching how the curve stretches between black and white, you can decide whether your image is too flat (log footage before grading) or too harsh (over-contrasty looks that break on mobile screens or web players).
On RGB or YCbCr waveforms, you see whether one channel is higher than others, revealing color casts that might not be obvious on an uncalibrated monitor. That matters for streaming and broadcast, where displays and encoders handle color differently. Keeping values within broadcast safe levels prevents illegal whites or crushed blacks that can cause QC rejections or weird artifacts in your final encoded files and live streams.
Ultimately, consulting the waveform as you record and grade helps you maintain stable brightness and color across scenes, cameras, codecs, and platforms. That stability improves the perceived sharpness, depth, and noise performance of your footage and reduces the amount of aggressive correction required in post.
How Does a Waveform Monitor Work in Real Shooting?
In real workflows, a waveform monitor appears in multiple places: on-camera displays, external monitors/recorders, switchers for live streaming, and NLE scopes when editing and grading.
On many cinema and mirrorless cameras, you can enable waveform in the monitoring menu. It shows as a small box overlay or a full-screen scope. As you ride exposure with aperture, ISO, shutter, or ND filters, you watch the waveform move up and down. For example, if you point the camera at a backlit subject and see their face too low on the scope, you add fill light or open your aperture until their skin tones sit comfortably in the mid-range.
On set with an external monitor, the waveform becomes the central reference for the entire crew. The DP and DIT confirm that log or RAW recordings are within the sensor's usable range, even if the viewing LUT is stylized. During multi-camera shoots, you match all cameras by comparing waveforms instead of trusting mismatched screens.
In post-production, your editing or grading software shows a software-based waveform monitor. As you apply contrast curves, exposure adjustments, or saturation changes, you check that nothing spikes above legal levels or disappears into black. Before exporting or streaming, you use the waveform to confirm that final masters stay consistent, avoiding surprises on different TVs, phones, and online platforms.
Best Uses, Common Mistakes, and Quick Tips
The waveform monitor matters most when exposure and consistency are critical: narrative work, commercials, interviews, multicam events, and any project tailored to broadcast or strict platform specs. It is also invaluable when dealing with unknown displays on client monitors, venues, or viewers' devices.
Common mistakes include:
- Chasing a "pretty" waveform instead of the creative intent. A dark, moody scene will naturally sit lower on the scope.
- Ignoring chroma channels and only watching luma, leading to color casts or oversaturated highlights.
- Forgetting that different gammas (log vs Rec.709) place mid-tones in different parts of the waveform and misjudging exposure as a result.
- Using waveform only in post, when the damage from bad exposure is already baked in and hard to fix.
Quick tips for using a waveform monitor correctly:
- Learn where healthy skin tones sit for your preferred gamma (for example, mid to slightly above mid in Rec.709) and use that as a reference.
- Watch both ends of the scale: keep highlights under clipping while ensuring shadows are not slammed at the bottom.
- Use waveform alongside other video exposure tool aids such as zebras, false color, and histograms; they complement each other.
- Check waveforms again after encoding or rendering, especially when delivering to strict TV or streaming specs.
The takeaway: a waveform monitor gives you numbers and shapes you can trust, so your creative decisions translate reliably from camera to edit, to grade, to final viewing platforms.
How to Use Repairit to Fix a Corrupted Photo File
Repairit introduction
Even with perfect exposure on your waveform monitor, files can still become corrupted during transfer, editing, or storage failures. Wondershare Repairit is designed to rescue those damaged media files so you do not lose important shots. With an intuitive interface and powerful repair engine, it lets you restore broken photos, videos, and audio without advanced technical skills. You can learn more and download it from the Repairit official website.
Key features of Repairit
- Fix corrupted video files and photos in various formats, handling multiple damaged items together in one convenient batch process.
- Use an advanced repair option that leverages a sample file from the same device or camera to rebuild severely corrupted media with higher accuracy.
- Preview repaired photos or clips before saving, ensuring that details, colors, and motion are correctly restored.
Step-by-step: repair corrupted photo files
- Add corrupted photo files
Install and launch Wondershare Repairit, then choose the Photo Repair feature from the main screen. Click the "Add" button to browse your computer, memory card, or external drive and import the corrupted images. You can add multiple photos from different cameras or folders in one go, which is ideal after a big shoot or backup issue.

- Repair photo files
Once the damaged files are listed, start the repair by pressing the "Repair" button. Repairit will automatically analyze each photo, reconstructing missing or broken data behind the scenes. You can watch the progress as it goes through all items in the queue. If a particular image is badly damaged, switch to Advanced Repair and provide a similar, healthy sample photo from the same camera to increase the chance of a perfect fix.

- Save the repaired photo files
After the repair completes, preview your recovered photos directly inside Repairit to confirm that important details, colors, and framing are intact. When you are satisfied, choose a new, safe output folder (avoid saving back to the same damaged drive) and click "Save" to export the repaired images. Your fixed files are now ready to be archived, edited, or delivered alongside the rest of your project.

Conclusion
A waveform monitor gives you an objective view of brightness and contrast so you can expose accurately, protect highlights, and avoid muddy shadows. By learning to read the graph and relate it to real scenes, you gain precise control over how your images will look on different displays and streaming platforms.
Combined with reliable backup habits and tools like Wondershare Repairit to fix corrupted video files and photos, mastering waveform monitoring ensures your footage not only looks professional but also remains safe, usable, and ready for any delivery format.
Next: Zebra Pattern
FAQ
-
1. What is a waveform monitor used for in video production?
A waveform monitor is used to measure and display the brightness (luma) and sometimes color levels of your video. This lets you set exposure accurately, keep signals within broadcast safe levels, and maintain consistent contrast across shots, edits, and delivery formats. -
2. How is a waveform monitor different from a histogram?
A histogram shows how many pixels fall at each brightness value but does not show where those pixels are in the frame. A waveform vs histogram comparison reveals that the waveform maps brightness according to the image from left to right, so you can see exactly which part of the frame is too bright or too dark. -
3. Do I really need a waveform monitor if my camera has zebras and peaking?
Zebras and focus peaking help with specific tasks, but a waveform monitor gives a full, quantitative overview of your entire image. It is especially valuable for matching multiple cameras, protecting skin tones, and avoiding exposure surprises when you encode, export, or stream. -
4. Can I use a software waveform monitor instead of hardware?
Yes. Most modern NLEs and grading tools provide accurate software scopes that work well for online and many professional projects. As long as your monitor is reasonably calibrated, a software waveform monitor is sufficient for shaping exposure and color before final delivery. -
5. Will a waveform monitor fix exposure problems in post?
A waveform will not fix bad exposure on its own, but it helps you understand what went wrong and guides your corrections in grading. The best use of a waveform monitor is during shooting, where it helps you avoid clipping or crushed shadows that no tool can fully recover later.
