
If you dive into cinema lenses, color grading, or advanced video settings, you will quickly run into the term t-stop. It looks similar to the familiar f-stop, but it actually measures the real light that reaches your camera sensor. Understanding what is t-stop helps you keep exposure consistent across shots, avoid flickering in edits, and get predictable results when recording, editing, encoding, and exporting your projects.
Repair Corrupted Files To Save Your Data
 Security Verified. Over 7,302,189 people have downloaded it.
In this article
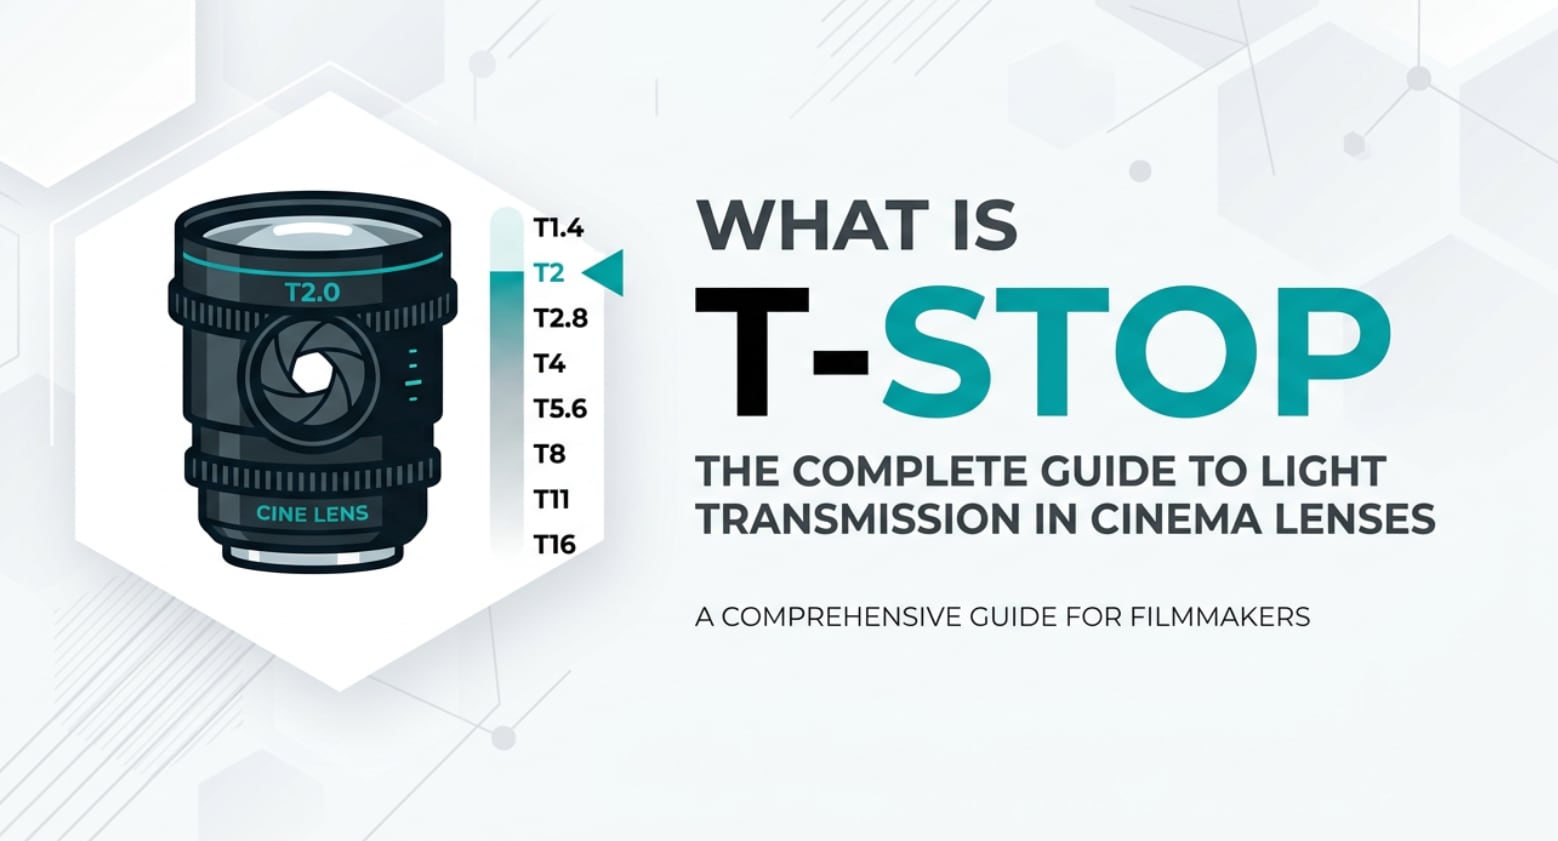
What Is T-Stop?
A t-stop (transmission stop or t-number) is a way of rating a lens based on how much light actually passes through it and hits the camera sensor. While f-stop is a mathematical value based on the lens design, t-stop is measured with light meters and accounts for glass coatings, internal reflections, and light loss.
In practical terms, what is t-stop in photography and video? It is a calibrated version of aperture used mainly in cinematography, where exposure must match from shot to shot, lens to lens, and camera to camera. A lens marked T2.8 is tested to deliver the same brightness as any other cinema lens marked T2.8, even if their f-stops differ slightly.
This makes the t-stop vs f-stop difference important whenever you are working with multi-camera setups, switching lenses mid-scene, or planning lighting for long-form, broadcast, or streaming productions.
How Does T-Stop Affect Your Image or Footage?
Exposure and visual consistency
The most direct effect of t-stop is exposure accuracy. Because t-stops reflect true lens transmission, you can trust that two different T2.0 lenses will create almost identical brightness at the same ISO and shutter speed.
- This keeps shot brightness consistent across a whole scene, making editing and color correction much easier.
- It helps avoid visible exposure jumps when cutting between angles, which is especially noticeable in HDR workflows and when exporting for platforms like YouTube or streaming services.
- It speeds up work on set, because your gaffer and camera assistants can set exposure from a lighting plan instead of constantly re-metering every lens change.
When you rely only on f-stop, two lenses both set to f/2.8 may produce slightly different brightness because one loses more light internally. That can force you to fix exposure shot-by-shot in post, which adds time and may increase noise if you have to push darker clips.
Depth of field, noise, and grading flexibility
A common confusion is whether t-stop changes depth of field. Physically, depth of field depends on the actual aperture diameter, which is what f-stop describes. T-stops are usually calibrated close to the matching f-stop, so T2.0 behaves almost the same as around f/2 in terms of background blur.
Where t-stop vs f-stop does matter is in noise and color grading headroom:
- If you expose using t-stops, you are less likely to underexpose by accident when swapping lenses, which means cleaner shadows and less noise after encoding, exporting, or streaming.
- Because every shot is more evenly exposed, you can apply LUTs or grading presets more consistently without constantly rebalancing brightness.
- Accurate exposure also helps maintain color accuracy across cameras, which prevents banding or weird color shifts after compression on social platforms.
In short, t-stops do not magically change bokeh, but they make your exposure more predictable, which improves overall image quality, editability, and platform compatibility.
How Does T-Stop Work in Real Shooting?
Where you see T-stops on set
In real-world shooting, you will mostly see t-stop markings on cinema lenses rather than typical stills lenses. These cine lenses have:
- Precise T markings (T1.5, T2, T2.8, etc.) engraved on both sides so the focus puller and camera operator can see them.
- De-clicked, geared aperture rings for smooth, silent adjustment while rolling.
- Consistent physical dimensions and gear positions so you can swap lenses on a rig without moving follow-focus or matte box.
Camera assistants, DPs, and DITs (Digital Imaging Technicians) often work from exposure charts and lighting diagrams built around t-stops. For example, they may plan: "Key at T2.8, background one stop under, practicals one stop over," and then use a light meter to match those values on every setup.
Real-world shooting scenarios
Here is how t-stop and t-stop vs f-stop play out in common scenarios:
- Multicam interviews or podcasts: With two or three cameras and different lenses, setting every lens to T2.8 helps keep faces equally bright so cutting between angles looks seamless, even after compression for streaming or playback on mobile.
- Drama and narrative work: When you move from a wide shot to a close-up, you may change to a different focal length but keep the same T-stop. That way, lighting ratios stay stable, saving time in color correction and maintaining continuity across episodes.
- Green screen or VFX plates: Consistent exposure at a fixed t-stop produces cleaner keys and less noisy midtones, which survive better through encoding, exporting, and compositing pipelines.
- Live streaming and broadcast: When exposure is rock-solid thanks to t-stops, your encoder does not have to deal with huge brightness changes, which reduces visible compression artifacts on platforms like Twitch or Facebook Live.
Even if your lenses only show f-stops, thinking in terms of "true lens brightness" and being aware of transmission differences helps you get closer to the controlled, repeatable results that t-stops were designed for.
Best Uses, Common Mistakes, and Quick Tips
When T-stops matter most
- Cinematic video work where shots must cut seamlessly.
- Projects with multiple cameras, lenses, or shooting days.
- Green screen, high-end commercial work, and HDR delivery.
- Any workflow that demands minimal exposure fixes in post.
Common mistakes with T-stops
- Assuming t-stop changes depth of field in a special way. It does not; it mainly improves exposure accuracy.
- Mixing lenses rated in t-stops and f-stops without testing, then being surprised by brightness shifts during editing.
- Ignoring light loss from adapters, filters, or speed boosters when planning exposure around t-stops.
- Believing there is a universal formula to convert t-stop vs f-stop. Each lens must be measured individually.
Quick practical tips
- If you mostly shoot stills, use your camera meter with f-stops, but remember that each lens may render slightly different brightness.
- If you shoot video or cinema, prefer lenses marked in t-stop for key projects and note your typical working values (for example, T2 for drama, T4 for interviews).
- When mixing lenses, create a simple test chart: shoot the same scene at the same settings and compare brightness, then record any offset.
- Lock in exposure decisions before a big shoot and stick to them, so your edit and grade stay consistent across various export formats.
The takeaway: think of t-stop as your tool for predictable, repeatable exposure, especially when image consistency matters more than anything else.
How to Use Repairit to Fix a Corrupted Photo File
Repairit introduction
After carefully planning exposure with accurate t-stop values, nothing is more frustrating than finding that your photos or video frames are corrupted and will not open or display correctly. Wondershare Repairit offers an easy way to rescue damaged visual files so your hard work in shooting, editing, encoding, and exporting is not wasted. You can learn more and download it from the Repairit official website.
Key features of Repairit
- Repairs a wide range of corrupted photo formats with minimal input.
- Offers both quick repair and advanced repair modes for stubborn files.
- Provides a preview of repaired photos before you save the final versions.
Step-by-step: repair corrupted photo files
- Add corrupted photo files
Open Wondershare Repairit on your computer and go to the Photo Repair module. Click the add button in the center of the interface and browse to the folder that contains your damaged images. Select one or multiple files; they will be listed in the window with basic information like name, size, and path so you can confirm you selected the right photos.

- Repair photo files
Once your corrupted photos are loaded, start the repair by clicking the Repair button. Repairit will automatically scan each file, detect structural issues such as header errors or missing data, and attempt to reconstruct a viewable image. During this step, you can monitor the progress for each file. When the process finishes, use the Preview option to check whether details, colors, and overall sharpness look acceptable.

- Save the repaired photo files
If you are satisfied with the preview results, select the photos you want to keep and click Save. Choose a secure destination folder on your drive, ideally different from the original location, so you do not overwrite the corrupted files. Repairit will export clean, usable versions of your images, allowing you to bring them back into your editing, grading, or archive workflow without having to reshoot.

Conclusion
T-stop gives you a practical measurement of true lens transmission, going beyond theory to show how much light really reaches your sensor. That makes it a powerful tool for filmmakers and advanced video creators who need consistent exposure when switching lenses, matching cameras, or delivering to demanding platforms.
By understanding what is t-stop and how t-stop vs f-stop affects real-world results, you can plan lighting more efficiently, reduce exposure corrections in post, and maintain reliable image quality from recording through editing, encoding, exporting, and streaming. And if any of your carefully shot images become corrupted, tools like Wondershare Repairit help you recover them and protect your effort.
Next: F-Stop
FAQ
-
1. What is the main difference between T-stop and F-stop?
The core difference in t-stop vs f-stop is that f-stop is a theoretical value based on the lens geometry, while t-stop is a measured value that includes all light loss inside the lens. T-stops tell you how much light actually reaches the sensor, which makes them more reliable for exposure in video and cinema work. -
2. Does using T-stops change my depth of field?
No. Depth of field is determined by the physical aperture size, focal length, and subject distance, which the f-stop describes. T-stops are calibrated close to the equivalent f-stops, so using a lens at T2.0 will give nearly the same depth of field as using it at about f/2. The benefit of t-stop is exposure accuracy, not different blur characteristics. -
3. Why do cinematographers prefer T-stops for exposure?
Cinematographers prefer t-stop markings because they need precise, repeatable exposure when switching lenses or cameras. A T2.8 on one cinema lens will render almost identical brightness to T2.8 on another. This keeps shots consistent across scenes, simplifies grading, and reduces visible changes after encoding and streaming. -
4. Can I convert between F-stop and T-stop for my lenses?
There is no universal conversion because t-stop vs f-stop depends on each lens's transmission efficiency. Manufacturers measure how much light a specific lens transmits and then assign a t-stop value. As a rough example, an f/2.8 lens might be around T3.0 or T3.1, but the exact number must be measured for that lens. -
5. Do I need T-stop lenses for regular photography?
For most still photography, lenses marked only in f-stops are enough, because your camera meter and histogram make it easy to correct minor exposure differences. T-stop lenses become more important when you shoot serious video, multicam setups, or projects where exposure must match perfectly across lenses and days.
