
Dual native ISO shows up in camera spec sheets, YouTube camera reviews, and menu screens on modern cinema and mirrorless bodies. It describes how your camera handles sensitivity in low light and bright scenes, which directly affects noise, dynamic range, and how far you can push exposure in editing or streaming. Understanding it helps you choose the cleanest settings when recording, exporting, or sharing video so your footage looks professional on any platform.
Repair Corrupted Files To Save Your Data
 Security Verified. Over 7,302,189 people have downloaded it.
In this article
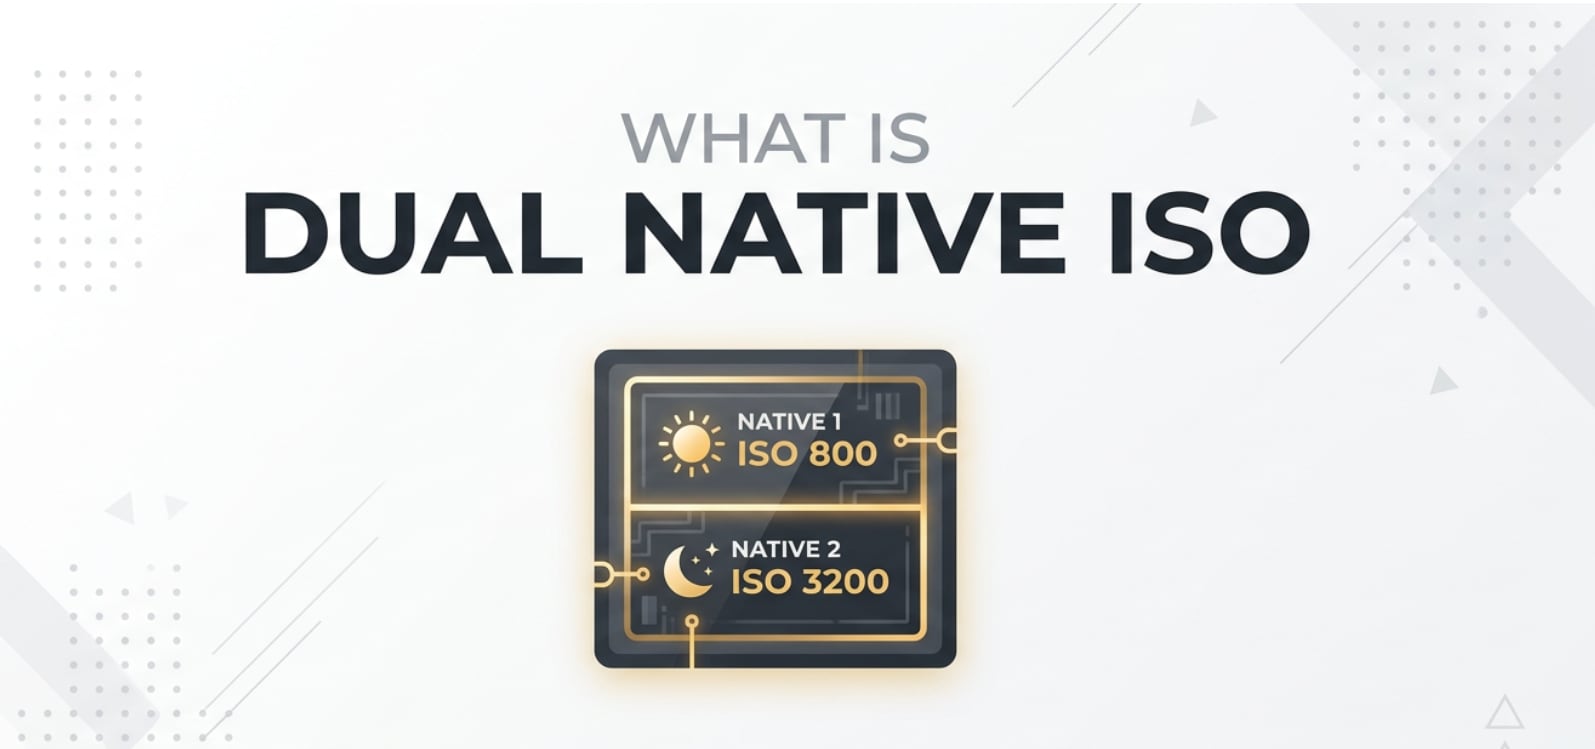
What Is Dual Native ISO?
What is dual native ISO? In simple terms, it means your camera sensor has two different "base" sensitivity points instead of one. Each base ISO has its own analog amplification circuit, so the sensor can work efficiently at a low ISO for bright scenes and a high ISO for dim scenes.
It is a sensor-level, exposure-related concept used in filmmaking, video production, and photography. You will find it in many cinema cameras and advanced mirrorless camera bodies, especially when shooting log profiles or HDR video.
In practical shooting, camera ISO sets how sensitive the sensor is to light. With dual native ISO, you get two "sweet spots" where noise is minimized and dynamic range is maximized, giving you cleaner footage straight out of the camera and more flexibility when you grade, encode, and export.
How Does Dual Native ISO Affect Your Image or Footage?
Noise, brightness, and dynamic range
Changing ISO always affects brightness, but with dual native ISO, the impact on noise and dynamic range depends on which base ISO you are using.
- Brightness: Both native ISOs let you expose correctly, but the high native ISO is designed for darker scenes, so you can raise exposure without the usual heavy grain.
- Noise: Compared with a traditional single-native sensor, the high native setting can show noticeably lower video noise reduction needs. Shadows and midtones look cleaner, so you do not have to overuse noise-reduction in post.
- Dynamic range: At each native ISO, highlight and shadow detail are better preserved. This matters a lot when you shoot with a log profile, because log relies on wide dynamic range for grading.
These benefits carry through the whole pipeline: when you edit, encode, compress for streaming, or upload to platforms like YouTube and TikTok, cleaner source material will survive heavy compression and still look sharp and detailed on playback.
Editing, exporting, and platform playback
Footage shot at the correct native ISO responds better at every stage after recording:
- Color grading: Log or flat footage from a native ISO tends to band less and breaks up less when you push contrast or saturation.
- Sharpening and denoising: Because the image is cleaner, light sharpening makes it pop without enhancing ugly grain, and you can dial in subtle denoising instead of aggressive cleanup.
- Encoding and streaming: Dynamic, noisy clips need more bitrate to look good once encoded as H.264 or HEVC. Cleaner images compress more efficiently, so they hold detail better when exported for social media or live streaming.
- Playback compatibility: On phones, TVs, and laptops, low-noise, properly exposed files look more consistent, even when different apps apply their own tone mapping or brightness curves.
How Does Dual Native ISO Work in Real Shooting?
In real-world shooting, dual native ISO shows up in your camera menus, monitoring tools, and on-set workflow.
- Camera menus and displays: Many cameras label the two base values, such as ISO 400 and ISO 2500. Some switch automatically around a threshold; others let you choose the native mode manually.
- Log and picture profiles: With log gamma, cameras often recommend a specific native ISO (or two) to get full dynamic range. For example, V-Log, S-Log3, or C-Log can each have preferred dual base ISOs.
- On-set exposure tools: You might use zebras, waveforms, or false color on an external monitor to expose at the correct native ISO, protecting highlights while keeping shadows clean.
Here are a few practical examples:
- Interview indoors: With moderate lighting, you might use the low native ISO for maximum highlight detail on skin and keep ISO low for minimal noise.
- Night street scene: Instead of cranking a regular sensor to ISO 6400 and getting grainy results, you switch to the high native ISO (for example, ISO 2500 or 3200) and adjust aperture or shutter speed. The image stays usable with smoother shadows.
- Event streaming: When live streaming from a dim conference room, using the high native ISO helps the encoder receive a clean, well-lit signal that compresses efficiently, reducing artifacts at lower bitrates.
Once captured, your dual native footage can be imported into your NLE (Premiere Pro, DaVinci Resolve, Final Cut Pro), graded, exported, and uploaded just like any other clip, but you start from a cleaner baseline.
Best Uses, Common Mistakes, and Quick Tips
When dual native ISO matters most
- Low-light shoots such as weddings, concerts, and night exteriors.
- Scenes with high contrast where you want to protect both highlights and shadows.
- Projects that rely heavily on color grading and HDR delivery.
Common mistakes and misunderstandings
- Assuming dual native means "no noise at any ISO." It only optimizes two specific ISO points; going far above them can still get very noisy.
- Staying on the low native ISO and underexposing instead of switching to the high native value in dark environments.
- Ignoring the recommended native ISO for your chosen log profile, which can reduce dynamic range and make grading harder.
- Misreading automatic switching and thinking that all intermediate ISOs perform identically to the two native bases.
Quick tips for using dual native ISO correctly
- Learn your camera's two base ISOs and how it indicates switching between them.
- Use the low native ISO for well-lit scenes; switch to the high native ISO once you are in genuinely low light.
- Expose carefully with zebras or waveform; do not rely on ISO alone to "fix" exposure mistakes.
- When in doubt, test both native ISOs in the same scene and compare noise, highlight roll-off, and grading flexibility on your editing system.
The takeaway: use dual native ISO to keep noise low and detail high at both bright and dark exposure levels, then let your editing and encoding workflow bring out the best in that clean signal.
How to Use Repairit to Fix a Corrupted Photo File
Repairit introduction
Even when you expose perfectly at the right native ISO, files can still become damaged during recording, transfer, or storage. Wondershare Repairit is a dedicated media repair tool that helps you restore corrupted photos and videos from DSLRs, mirrorless camera bodies, action cams, and smartphones. With an intuitive interface and automated analysis, you can quickly diagnose broken files and repair them without needing technical expertise. Visit the Repairit official website to explore all supported formats and platforms.
Key features of Repairit
- Repairs corrupted photos and videos from DSLRs, mirrorless, action cameras, and smartphones.
- Supports batch repair so you can restore multiple damaged files in a single pass.
- Lets you preview and then save only the repaired results that meet your quality needs.
Step-by-step: repair corrupted photo files
- Add corrupted photo files
Open Repairit on your computer and choose the Photo Repair option from the main interface. Click the button to add files, then browse to the folder or external drive where your corrupted photos are stored and import them into the repair list.

- Repair photo files
After the photos are loaded, select the items you want to fix and start the repair process. Repairit will automatically scan each file, analyze the damage, and reconstruct the underlying image data so your photos can open and display correctly again.

- Save the repaired photo files
When the repair finishes, preview your photos inside Repairit to confirm that details and colors look right. Then choose a safe destination folder that is different from the original location and save the repaired files so they are ready for editing, sharing, or archiving.

Conclusion
Dual native ISO gives you two optimal sensitivity points on a single sensor, letting you capture cleaner images and video in both bright and dim conditions. By understanding where those native ISOs sit and how they relate to your log profile, you can balance brightness, noise, and dynamic range for footage that grades well and compresses cleanly for export and streaming.
Combine smart ISO choices with careful exposure and you will get more usable shots and more consistent results across cameras and platforms. If technical issues corrupt your files along the way, tools like Wondershare Repairit can help you recover damaged photos and videos so your work and memories do not go to waste.
Next: Exposure Compensation
FAQ
-
1. What is dual native ISO in simple terms?
Dual native ISO means a camera sensor has two base ISO values, one low and one high, where it performs at its cleanest. Each value uses a separate analog gain circuit, so you can shoot in bright or dark conditions with less noise and better dynamic range. -
2. Is dual native ISO the same as dual gain or dual base ISO?
Yes in practical usage. Manufacturers use names like dual native ISO, dual gain, or dual base ISO, but they all describe a sensor design with two optimized gain stages for different ISO levels. -
3. Does dual native ISO remove noise in low light?
It does not remove noise completely, but it reduces it significantly at the high native ISO compared to a traditional single-native sensor at the same ISO. Shadows look cleaner, so you need less aggressive noise reduction in post. -
4. Do all cameras offer dual native ISO?
No. Dual native ISO is common in cinema cameras and higher-end mirrorless or hybrid models. Many entry-level cameras and older DSLRs still have a single native ISO, so they do not provide the same low-noise performance at high ISOs. -
5. Can I repair corrupted videos or photos shot on a dual native ISO camera?
Yes. Dual native ISO affects image quality, not file structure. If your clips or photos become corrupted or will not play, you can use Wondershare Repairit to scan, repair, and export working versions of those files.
