
Color temperature in photography and video is something you encounter every time you shoot, edit, export, or stream visuals. It influences how warm or cool your scene looks on camera screens, editing monitors, TVs, and phones. Understanding color temperature helps you keep skin tones natural, product colors accurate, and your footage consistent across different cameras and platforms.
Repair Corrupted Files To Save Your Data
 Security Verified. Over 7,302,189 people have downloaded it.
In this article
What Is Color Temperature in Photography and Video?
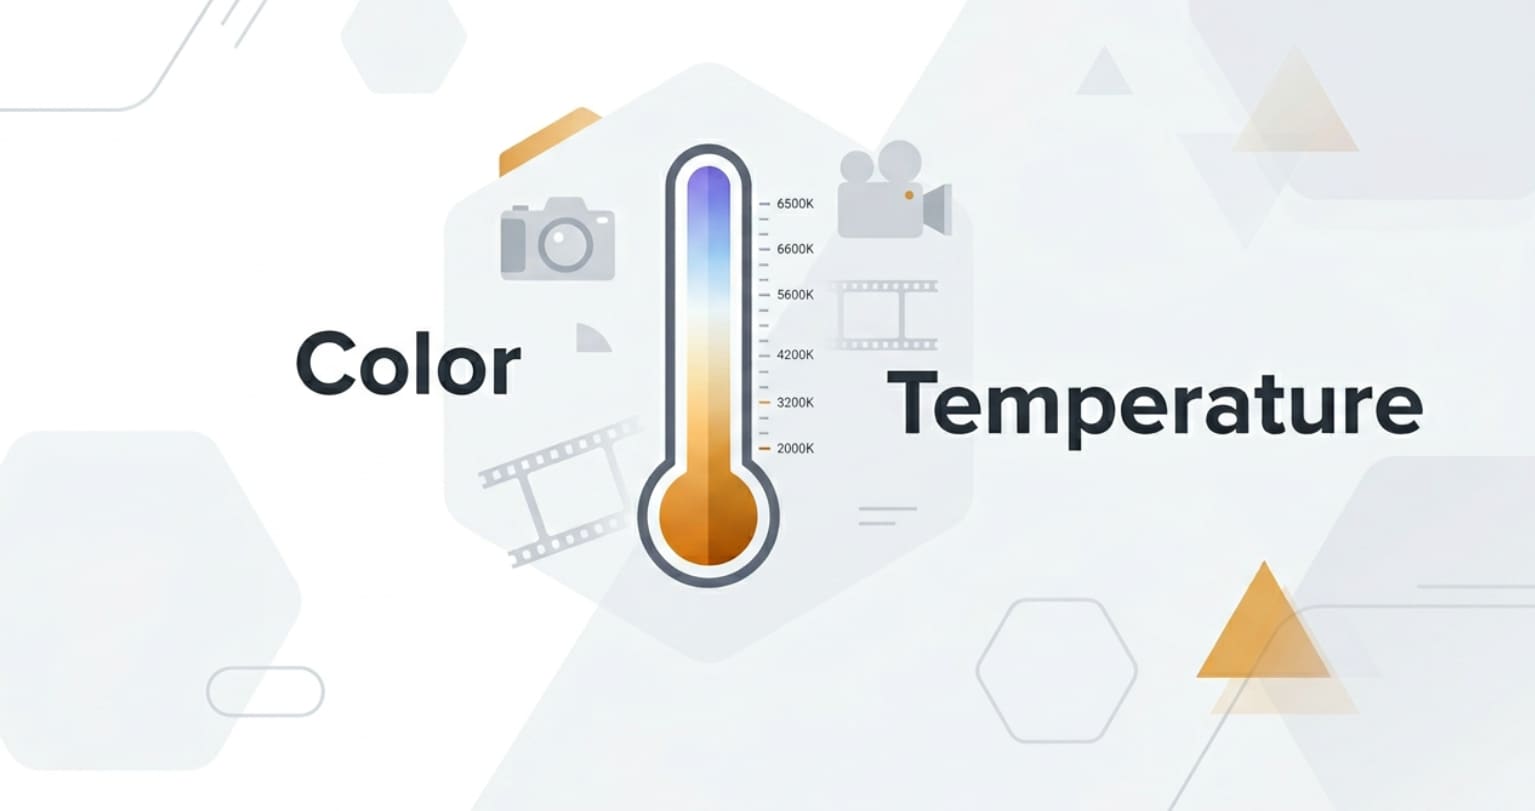
Color temperature is a way of describing how warm (orange/yellow) or cool (blue) a light source appears, measured in Kelvins (K). In imaging, it is a core exposure and color concept that affects every still photo and video frame you capture, edit, encode, export, or stream.
On the Kelvin scale, lower values like 2700K look warm and tungsten-like, while higher values like 6500K look cool and daylight-like. Your camera, phone, or cinema rig uses color temperature as part of its white balance system to decide what should appear neutral gray or white. That decision then flows through your entire workflow: from recording to editing, from video color correction to final playback on web, TV, and social platforms.
In shooting, color temperature guides how you set white balance presets (Daylight, Tungsten, Fluorescent) or manual Kelvin values. It also informs lighting choices, such as picking warm LED panels for a cozy look or neutral 5600K lights for broadcast and product work.
How Does Color Temperature in Photography and Video Affect Your Image or Footage?
Color temperature in photography and video affects the perceived color of everything in your frame, especially skin tones, whites, and neutrals. When your white balance matches the actual light, whites look clean and colors stay believable. When it does not, you get unwanted orange or blue color casts that are distracting and harder to fix in post-production.
Creative mood and storytelling
Changing color temperature in photography and video directly shifts mood:
- Warmer settings (around 2800–4000K) make scenes look cozy, intimate, nostalgic, or romantic. They are common in candlelit interiors, golden hour shots, and lifestyle footage.
- Cooler settings (around 6000–9000K) give a clean, futuristic, clinical, or even dramatic feeling. They often appear in sci-fi, tech ads, or night cityscapes.
- Neutral daylight (around 5200–5600K) is favored for realism, product accuracy, and corporate or educational content.
These shifts do not change brightness, sharpness, or motion blur directly, but they heavily influence how viewers emotionally read your footage, whether it is played locally, streamed, or embedded in web pages.
Realism, skin tones, and platform playback
Because color temperature interacts with your entire pipeline, it has practical effects far beyond the camera:
- Skin tones: Too warm makes skin look overly orange or sunburned; too cool makes it look pale, sickly, or gray. This matters especially in interviews, vlogs, and portrait sessions.
- Brand and product color: If your Kelvin choice is off, product packaging, clothing, or brand colors will not match what clients expect once the video is encoded and viewed on different screens.
- Editing and grading: Misjudged color temperature forces heavier corrections in editing tools and video color correction software, increasing noise or banding, especially in compressed formats.
- Export and streaming consistency: A clip balanced at 5600K will usually look more consistent across TVs, laptops, and phones than a poorly balanced clip that needs aggressive fixes before export or upload.
Accurate color temperature at capture stage supports cleaner color correction, smoother encoding, and more predictable playback on platforms like YouTube, TikTok, or streaming services.
How Does Color Temperature in Photography and Video Work in Real Shooting?
In real-world shooting, you handle color temperature through your camera and your lights.
Most cameras offer several ways to control it:
- Auto white balance (AWB): The camera guesses the temperature based on the scene. It is fast and convenient but can shift from shot to shot, especially in mixed or changing light.
- Presets: Daylight, Shade, Cloudy, Tungsten, Fluorescent, and Flash presets apply predefined Kelvin values that match common environments.
- Direct Kelvin entry: Manual Kelvin mode lets you dial in a number like 3200K or 5600K for precise control and repeatability.
- Custom white balance: You shoot a gray/white card and let the camera calculate a custom setting, ideal for controlled sets or product work.
On the lighting side, LED panels and practical bulbs are labeled with their Kelvin ratings. Bi-color and RGB fixtures let you tune temperature to match ambient light or create a deliberate contrast, like a warm key light against a cooler background.
In practical workflows:
- Interviews: You might set your lights to 5600K, set the camera to 5600K as well, and then fine-tune in editing using white balance, temperature, and tint sliders.
- Run-and-gun vlogging: You may rely on AWB but lock manual Kelvin when moving between interiors (3200K) and exteriors (5600K) to avoid jumps between shots.
- Multi-camera shoots: You match all cameras to the same Kelvin value and picture profile to keep cuts seamless across different angles and recording formats.
- Editing and grading: In post, you correct color temperature in RAW photo editors or NLEs (such as DaVinci Resolve, Premiere Pro, or Final Cut Pro) before exporting. This ensures your encoded files and streams look neutral on most calibrated displays.
Best Uses, Common Mistakes, and Quick Tips
Color temperature matters most any time consistency and realism are critical: portraits, corporate videos, product photography, livestreams, and multi-camera events. It is also central when your footage will be reused across different platforms, exported in multiple formats, or combined with graphics and brand colors.
Common mistakes include:
- Relying on AWB in complex mixed lighting, causing color shifts between clips.
- Setting the wrong preset (for example, Tungsten outdoors), resulting in overly blue footage.
- Ignoring tint (green/magenta) while only adjusting the Kelvin slider, leaving a colored cast.
- Changing Kelvin mid-shoot without noting it, making grading more difficult later.
Quick tips for better control:
- Pick a Kelvin value and stick with it for an entire scene whenever possible.
- Match your lights to your camera setting (or vice versa) rather than letting everything drift.
- Use a gray card or color checker when you can; it makes post-production white balance far easier.
- When shooting log or RAW, aim for a close but not perfect balance; this protects latitude for color correction.
- Before exporting or streaming, check your content on at least two different displays to catch obvious color temperature issues.
Takeaway: Treat color temperature as a foundational setting, like exposure or focus. Get it close in camera, refine it in post, and your images and videos will look more polished on every screen.
How to Use Repairit to Fix a Corrupted Photo File
Repairit introduction
Even when your photography lighting and lighting for video are perfect, file corruption can ruin carefully balanced shots. Wondershare Repairit is a dedicated media repair tool that helps you recover damaged or unreadable photos so your color work is not lost. You can learn more and download it from the Repairit official website.
Key features
- Fixes corrupted, distorted, or unreadable photo and video files automatically.
- Supports many formats from DSLRs, mirrorless cameras, action cams, drones, and smartphones.
- Offers a clear, guided workflow that fits both beginners and professional editors.
Step-by-step guide
- Add corrupted photo files

Open Wondershare Repairit and select the Photo Repair feature on the main screen. Click to add files, then browse to the folder, memory card, or drive that contains your damaged images. Select one or multiple corrupted photo files and load them into the repair queue.
- Repair photo files

After the photos are listed, check the ones you want to recover and start the repair process. Repairit analyzes each file structure, fixes detectable errors, and reconstructs the image data. When the repair completes, preview the results inside the program to confirm that details, colors, and composition look correct.
- Save the repaired photo files

Once you are satisfied with the previews, choose a safe output location that is different from the original source drive. Save your repaired photos, then reopen them in your usual editing or color grading software to continue adjusting white balance, Kelvin values, and overall look without having to reshoot.
Conclusion
Color temperature in photography and video defines how warm or cool your images appear, shaping mood, realism, and brand consistency. By understanding the Kelvin scale and setting white balance with intention, you can keep skin tones natural, reduce unwanted color casts, and make later editing and video color correction far easier.
Whether you are shooting portraits, live events, or content for web streaming and social media, consistent color temperature decisions at capture, edit, and export stages will pay off on every screen. And if technical issues corrupt your media, tools like Wondershare Repairit ensure your carefully crafted photos and videos remain safe, recoverable, and ready for final delivery.
Next: Focal Length
FAQ
-
1. What is color temperature in simple terms?
Color temperature describes whether light looks warm and orange or cool and blue, measured in Kelvins. Lower values are warmer, higher values are cooler, and your camera uses this information to decide what should appear neutral white. -
2. What Kelvin setting is best for portraits?
For natural indoor portraits under soft white light, 4500K to 5500K usually works well. Outdoors in daylight, a setting around 5200K to 5600K tends to deliver clean, neutral skin tones that grade easily. -
3. Why do my videos look too orange or too blue?
This usually means your white balance and color temperature do not match the actual lighting. If footage looks too orange, your Kelvin setting is likely too low; if it looks too blue, your Kelvin setting is probably too high for the scene. -
4. Should I use auto white balance or set Kelvin manually?
Auto white balance is convenient for quick or changing situations, but manual Kelvin settings or custom white balance give more consistent results, especially in controlled environments or mixed lighting where AWB can shift between shots. -
5. Can I fix color temperature in post-production?
Yes. You can adjust white balance, temperature, and tint in photo editors and video color grading tools. However, you will get cleaner, less noisy results if your original capture is reasonably close to correct color temperature.
