
Camera ISO is a core setting you will see on DSLRs, mirrorless cameras, cinema cameras, and even smartphone camera apps. It appears in exposure dials, auto modes, and video recording menus, and it affects how bright or noisy your photos and clips look. Understanding ISO in photography and video helps you avoid grainy results, keep details clean, and balance your exposure whether you are shooting, editing, exporting, or playing back footage on different platforms.
Repair Corrupted Files To Save Your Data
 Security Verified. Over 7,302,189 people have downloaded it.
In this article
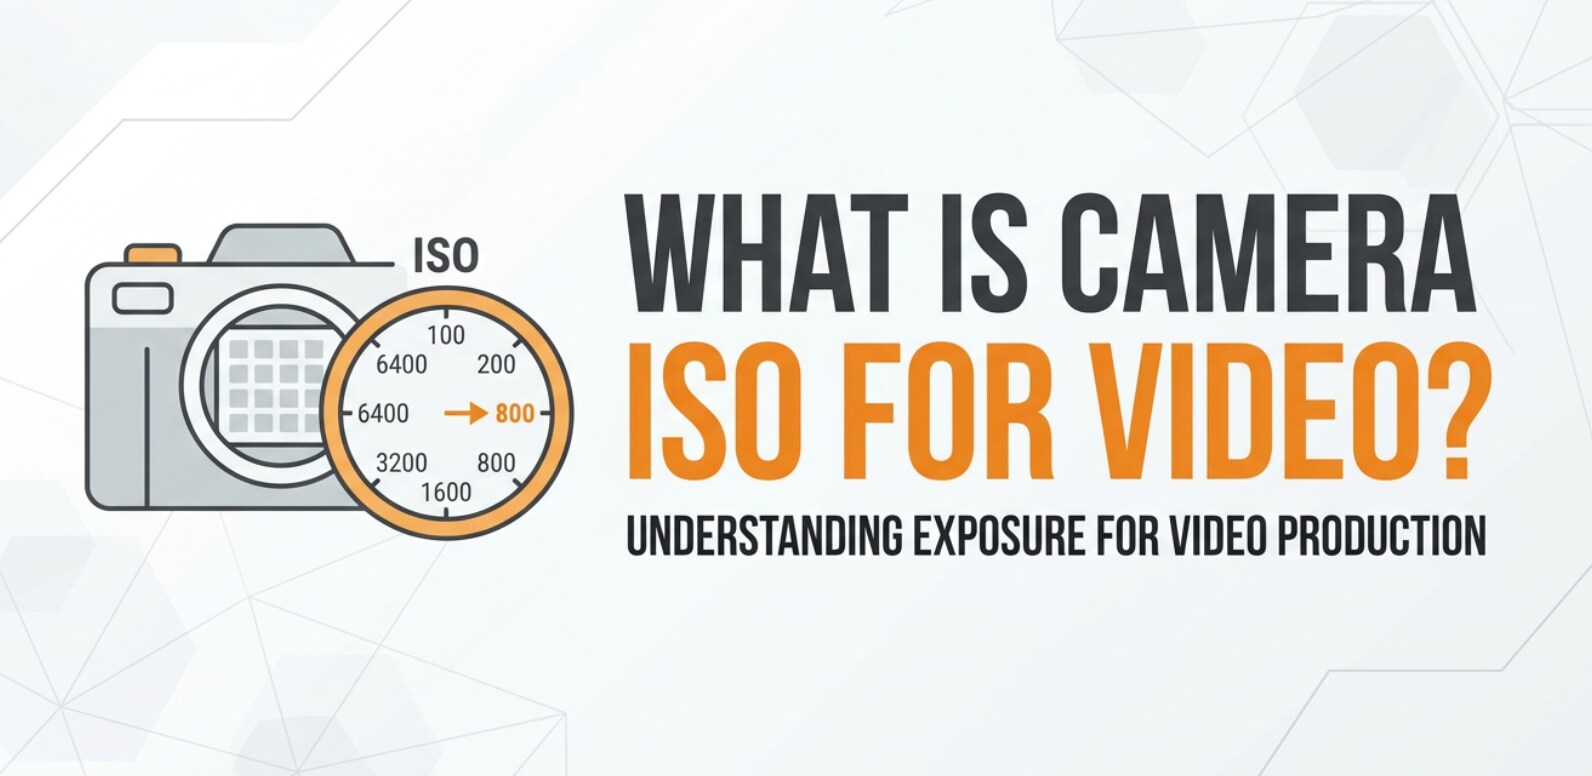
What Is Camera ISO?
Camera ISO is the setting that controls how sensitive your camera sensor is to light. In traditional film, ISO (or ASA) described how light-sensitive the film stock was. In digital camera basics, it is a core part of the exposure triangle along with aperture and shutter speed.
On modern stills and video cameras, ISO settings are usually shown as numbers like 100, 400, 1600, or higher. A low value (ISO 100) means low sensitivity and cleaner images, while a high value (ISO 3200 or more) means high sensitivity so you can shoot in darker scenes, but with more ISO noise and visible grain.
Because ISO is tied to the signal your sensor outputs, it affects not just how your footage looks during capture, but also how far you can push exposure, color grading, and noise reduction in post-production and during encoding and export for different streaming platforms.
How Does Camera ISO Affect Your Image or Footage?
Brightness and exposure balance
The most obvious effect of changing ISO in photography and video is brightness. Doubling ISO (for example, from 100 to 200) roughly doubles the brightness of your captured image, assuming aperture and shutter speed stay the same.
This is why ISO is often adjusted when you cannot change aperture or shutter. If you want to keep a certain depth of field for portraits or avoid motion blur in sports, you can increase ISO to brighten the frame without compromising those settings. For video, matching a specific shutter angle or frame rate for natural motion often locks your shutter, leaving ISO as the main way to adapt to changing light.
However, using very high high ISO values can make exposure easier at the cost of image purity. In extreme low light, raising ISO is still preferable to recording a file that is too dark, but there is always a trade-off.
Noise, color, and detail
The main downside of higher ISO is iso noise and image grain. When you boost ISO, the camera amplifies the electrical signal coming from the sensor. It also amplifies electronic noise and imperfections, which show up as speckles, colored blotches, or a rough texture across shadows and midtones.
Higher ISO can also affect:
- Perceived sharpness – Heavy grain or aggressive in-camera noise reduction can hide fine details, making the image look softer.
- Color accuracy – At very high ISO, color can become less accurate, with shifts in skin tones and muted saturation, especially after heavy color grading.
- Dynamic range – Low ISO usually gives you more information in highlights and shadows. Pushing ISO often reduces how much you can recover in post without artifacts.
These side effects influence editing, encoding, and streaming. A file full of noise compresses less efficiently, so streaming platforms may blur details or introduce blocky artifacts as their codecs struggle with the noisy texture.
| ISO level | Typical result |
|---|---|
| Low ISO (100–400) | Clean image, rich detail, better dynamic range; needs more light or slower shutter. |
| Medium ISO (800–1600) | Balanced brightness and moderate noise; usable in many indoor and evening scenes. |
| High ISO (3200+) | Bright in low light but with obvious grain and softer details; needs noise reduction. |
How Does Camera ISO Work in Real Shooting?
You will find camera ISO on a physical ISO button, in the quick menu, or inside the exposure settings of your stills or video mode. On many cameras, you can set ISO manually or leave it on Auto ISO so the camera adjusts for you as scenes brighten or darken.
Common real-world workflows include:
- Street photography – You might start at low iso (ISO 100–200) in daylight for clean images, then let Auto ISO raise sensitivity as the sun sets while you keep your shutter speed fast enough to freeze motion.
- Event and wedding coverage – Indoors, you may set ISO 1600–3200 to keep shutter speeds high and apertures around f/2.8, balancing sharpness, depth of field, and noise so faces remain clean even when people move quickly.
- Video recording – For 24 fps video with a 1/50 shutter and fixed aperture, ISO becomes your main exposure lever. Many cinema and mirrorless cameras have a "base ISO" or "native ISO" for log profiles, which gives the best dynamic range and lowest noise; you try to stay near that while using lighting to adjust the scene.
- Mobile and action cameras – These often manage ISO automatically, but you can still control limits via "max ISO" or "Pro" modes. Setting a reasonable ISO cap prevents the camera from cranking sensitivity so high that footage becomes unusably noisy.
Once captured, your ISO choice carries through editing, encoding, and playback. Clean, low-ISO files tolerate heavier color grading and compression for YouTube, social media, or broadcasting, while very noisy high-ISO footage may require careful noise reduction and higher bitrates to maintain acceptable quality.
Best Uses, Common Mistakes, and Quick Tips
When ISO matters most
- Low-light situations where you cannot add light or slow down shutter speed.
- Fast action scenes where you must freeze movement with a quick shutter.
- Video projects that lock shutter speed at a consistent value for natural motion blur.
- Shoots where you plan heavy color grading and need clean source files.
Common mistakes with ISO settings
- Using excessively high high iso when you could simply open the aperture or slow the shutter slightly.
- Leaving Auto ISO with a very high maximum limit, resulting in unexpectedly grainy images.
- Underexposing at low ISO and trying to "fix" exposure in editing, which often reveals more noise than exposing properly at a slightly higher ISO.
- Assuming ISO changes the actual light in the scene; it only affects how the sensor records that light.
Quick practical tips
- Start at ISO 100–200 outdoors, 400–800 indoors with good light, and 1600–3200 in darker venues; adjust as needed.
- Know your camera's comfortable maximum ISO (for example, 3200 or 6400) and try not to exceed it unless absolutely necessary.
- Expose as accurately as you can in-camera; a correct exposure at ISO 1600 will usually look cleaner than an underexposed ISO 400 file brightened later.
- For video, test your camera's base ISO for your chosen profile (standard, log, HLG) and design your lighting and ND filter use around that value.
The takeaway: treat camera iso as a flexible tool, but prioritize the lowest usable iso settings that still give you a well-exposed photo or clip with sharp details and manageable noise.
How to Use Repairit to Fix a Corrupted Photo File
If your images become unreadable or distorted after shooting, transferring, or editing, specialized repair software can often save them. Wondershare Repairit offers a guided workflow to recover broken files, so corrupted camera photos do not erase your hard work. You can learn more and download it from the Repairit official website.
Key features of Repairit
- Repairs corrupted or unreadable photo and video files from popular cameras
- Offers a clear, step-by-step repair process suitable for beginners
- Supports batch repair to handle multiple damaged files in one go
Step-by-step: repair corrupted photo files
- Add corrupted photo files
Open Wondershare Repairit on your computer and choose the Photo Repair module from the main interface. Click the button to add files, then browse to the folder where your damaged camera images are stored. Select one or more corrupted photos and load them into the queue so Repairit can prepare them for analysis.

- Repair photo files
After your corrupted photos appear in the list, start the repair process with a single click. Repairit automatically scans each file for structural errors, header problems, and visible defects, then reconstructs the image data where possible. When the repair finishes, use the preview option to check key photos and confirm that colors, sharpness, and framing look correct.

- Save the repaired photo files
Once you are satisfied with the preview results, choose a safe output location that is different from the original storage folder. Click Save to export your repaired photos in bulk. Repairit will write clean copies of the images so you can back them up, edit them again, or share them online without worrying about hidden corruption.

Conclusion
Camera iso is simply your sensor's sensitivity to light, but it has a powerful impact on how bright, clean, and flexible your photos and videos will be. Lower ISO values produce cleaner images with more detail, while higher ISO values let you work in low light at the cost of increased grain and potential color shifts.
By understanding how iso settings interact with aperture and shutter speed in the exposure triangle, you can choose the best exposure for every scene and keep your media looking its best through editing, exporting, and playback. When technical issues damage your files, Wondershare Repairit provides a practical way to repair corrupted photos and videos so you do not lose important work.
Next: Exposure Triangle
FAQ
-
1. What is a good ISO setting for everyday photography?
For most outdoor scenes, ISO 100–400 is ideal because it delivers bright, clean images with minimal grain. Indoors with decent light, ISO 400–800 usually works well, but always adjust based on how fast you need your shutter and how wide you can open your aperture. -
2. Why do my high ISO photos look so grainy?
High ISO amplifies the signal from the sensor and also boosts electronic noise. This noise appears as grainy texture, colored speckles, or blotchy shadows, especially in low light. Every camera has a practical ISO limit above which noise rapidly becomes distracting. -
3. Is it better to raise ISO or slow down the shutter speed?
It depends on the scene. For moving subjects, it is usually better to increase ISO so you can keep a fast shutter and avoid motion blur. For static scenes, especially with a tripod, you can keep ISO low and use a slower shutter to maintain cleaner image quality. -
4. Does ISO affect image sharpness?
ISO does not change optical sharpness or focus, but high ISO adds noise and often triggers stronger noise reduction. Both can hide fine details and make images look softer, which is why lower ISO values usually preserve perceived sharpness better. -
5. Can I fix noisy high ISO photos in editing?
You can reduce noise using editing tools, but you cannot fully restore detail that was never captured. Heavy noise reduction can also blur textures. It is best to capture a well-exposed image at the lowest usable ISO, then apply gentle noise reduction during post-processing.
