0x800ccc78 usually comes out as an "unknown error" tag, which makes it look difficult to be diagnosed and repaired. It is one of the most common errors of Microsoft Outlook. If you get it as other users do, this post is designed for your taste. It will tell you everything about the outlook 0x800ccc78 error. Most importantly, four error fix methods will be shown to you step by step.
In this article
Part 1. About Outlook 0X800CCC78 Error
The 0x800ccc78 Microsoft Outlook error pops up and reads"Sending' reported error(0X800CCC78):' Cannot send the message. Verify the email address in your account properties. The server responded: 550 access denied-Invalid Helo name(See RFC2821 4.1. 1.1)".
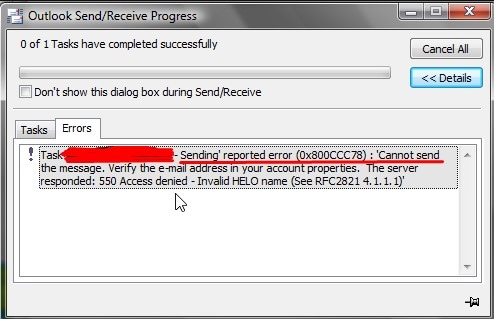
0x800ccc78 is also called Outlook receiving and sending error. It occurs when sending messages or emails in Outlook. You are prohibited from sending emails, but you can get incoming messages. It means Outlook is not currently configured to authenticate when sending emails.
Error 0x800ccc78 in Outlook is caused when your Internet Service Provider blocks the port and changed it to another one. Internet Service Providers(ISP) synchronize data through the port on a domain. Through it, data transmission and reception are made possible. In the case of Outlook, port 25 is the transmission port that is used in email transfer. When the port is blocked, Outlook error 0x800ccc78 will occurs.
The following are other Outlook errors caused by ISP problems:
Part 2. 4 Methods: How to Fix Outlook Error 0X800CCC78?
1 One-stop solution: Wondershare Repairit for Email
This method shows how to fix your all Outlook-related errors and repair your damaged PST/OST file using Wondershare Repairit for Email.
Repairit for Email is a unique PST repair tool for instant restoration of broken PST/OST files with 100% precision and integrity. It has a powerful scan engine that can reconstruct and repair badly damaged PST files of any size to retract data including deleted contacts and emails in your existing or new Outlook profile.

-
Repair damaged PST & OST Files in Outlook in all Email corruption scenarios, such as hard disk crashes & bad sectors, virus attacks & tojan horse, outlook corruption & malfunctions, improper shutdown procedure, etc.
-
Restore Outlook Emails deleted for a long time and extract the Email messages, folders, calendars, etc. within seconds.
-
Repair corrupted Emails and restore deleted Emails with a very high success rate.
-
Repair Emails in bathes without size limits and support to preview all of them before saving.
-
Compatible with Windows 7/8/8.1/10/11, Windows Server 2012/2016/2019, and MacOS X 10.11~ MacOS 12 (Monterey).
Step 1: Downlaod and install Repairit for Email, then click the "+Select File' options to add the PST/OST file.
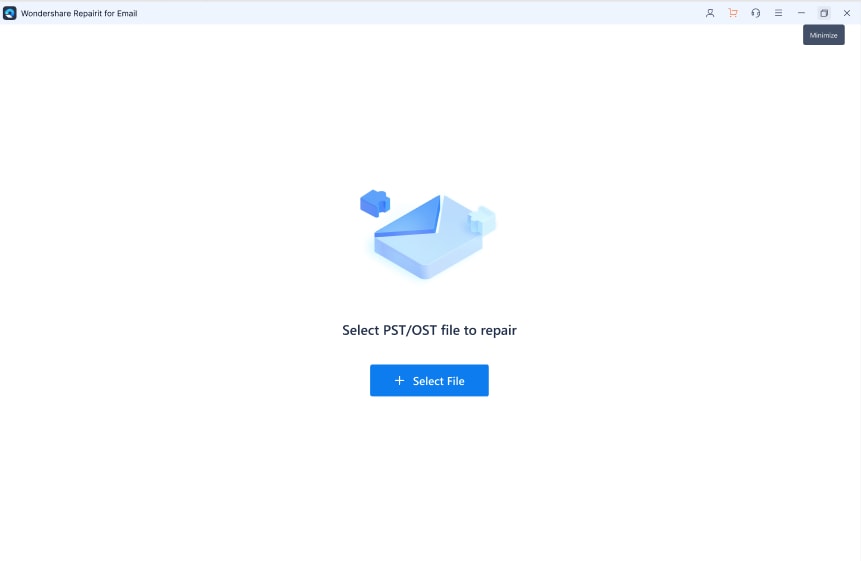
Step 2: After selecting the drive folder where the corrupted PST files are located, click on the "Repair" option to start the data repairing process.
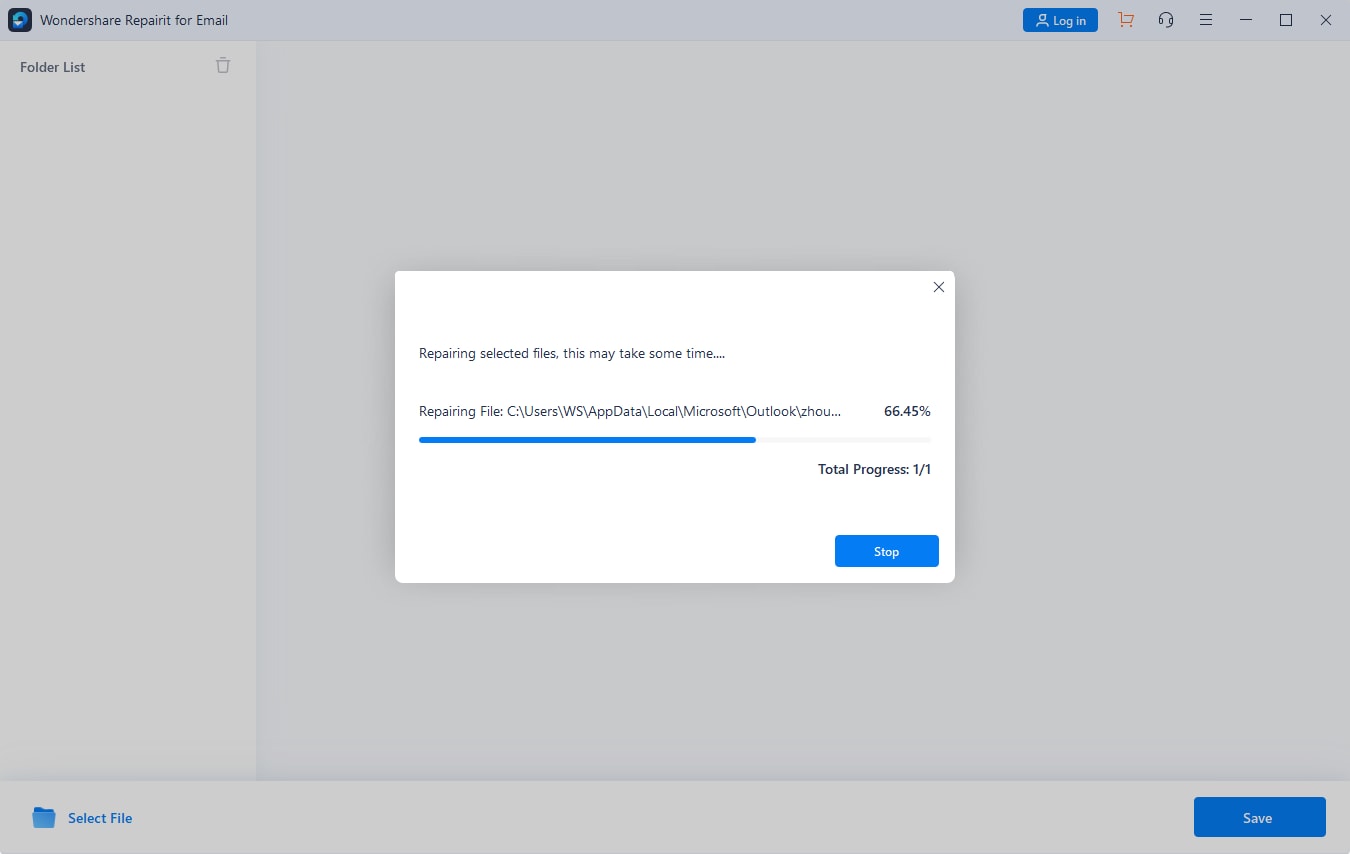
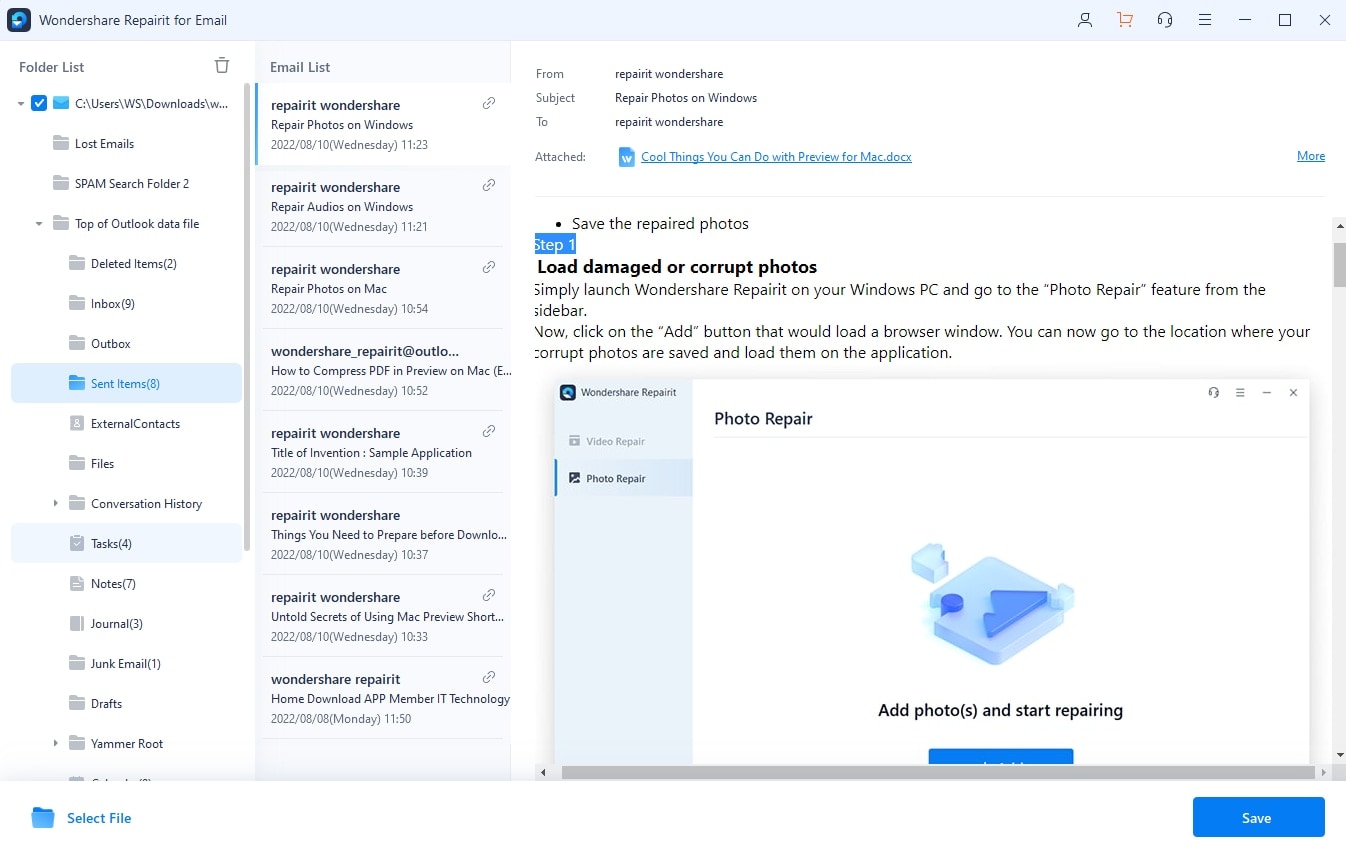
Step 3: After Repairit fixes the PST/OST files, you can click "Preview" to check the contents of the fixed files, then click "Save" to download them on your computer or Mac.
2 Repair PST File
One easy to use tool that repairs the PST file header while also deleting data it cannot understand or recognize from the file. It is an old and still useful Microsoft tool.
This tool can be found in all versions of Windows from 2000 and XP. It is located in the directory below:
C:\Program Files\Common Files\System\Mapi\1033\NT
In-Office 2007, you can find it C:\Program Files\Microsoft Office\Office12\)
If for one reason or another you can't find it in the above directory, go to start in your windows and do a search for scanpst.exe. alternatively, you go to the Microsoft website and download the inbox repair tool. After downloading, it should run automatically.
Now go to browse and select the corrupted PST file. If you are certain where the PST file is stored, you can look in the directory below.
C:\Documents and Settings\username\Local Settings\Application Data\Microsoft\Outlook
After choosing the PST file, click on the start button.
After its completion, the program will pop up the errors inside your PST file. Now click on repair to start the repairing of your file.
After it is completed, it will tell you the errors found in your PST file. Go ahead and click on repair now to begin the repair of the file.
After restarting your Outlook, the application should normally be working, and you will see your emails inside it. You should try sending emails and see if it works. If you are still getting errors, go to the next method. This tool can be also be used to repair OST files.
3 Configure your SMTP Server
To use this method, open up your Outlook the usual way you do, if the error popped up while it was running, close your Outlook and restart it to continue this method.
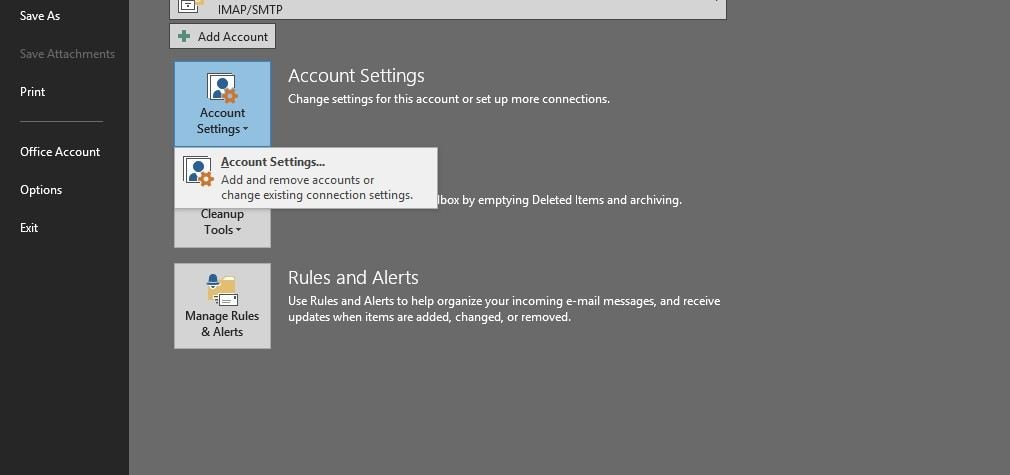
Step 1: Click on File. This is at the top of the program banner. Now click on the resulting "account settings" in the drop-down menu. You may need to click the file, then info to see account settings in some versions of Outlook.
Step 2: Click the email tab under account settings. After clicking the email tab, your email address would appear.
Step 3: Double click on your email. After double-clicking on your email, new windows would pop up, now click on outgoing to go to the right setting.
Step 4: Check your Outgoing Settings: Here, you need to ensure two of the settings are set properly. Two of these settings are important and must be checked so Outlook can work properly. Check the following boxes
- "My outgoing server (SMTP) requires authentication."
- Click the bubble named "Use same settings as incoming mail server" or if you have that option missing, simply ensure the information on outgoing and incoming mail server are the same.
Step 5: Now click on, ok. Go back to your email after clicking ok. Please do not test account settings. This won't work and can undo some settings. Click Finish and then close to leaving account settings.
Note: Some versions of Outlook may look slightly worded. Just ensure you don't click "cancel".
Step 6: Restart Outlook and then try sending an email. Now after restarting your Outlook, try to send out a message and see if the error shows again. If the error comes up back, try moving to the next method.
4 Change Port Number to 587
Another method of resolving error 0x800ccc78 when sending emails in Outlook is by changing the port number has been changed by ISP. You can change the port number by following the steps below
Step 1: Start your Outlook. Click tools and go to Account Settings.
Step 2: Under account settings, click the change button. Go to more settings under add new email account. Click on the tab, labeled "Advanced."
Step 3: Go to the port numbers of SMTP and IMAP, set 587 as the port number for SMTP (Outgoing server). Now click, Ok. Click on Next and then the finish button.
Step 4: Close your outlook application and restart it. Try sending a message and see if it works. If the error pops up again, move to the next method.
Relevant articles:
Solutions to Fix 0xc10100aa Error in Windows
Camera Error Code 0xa00f4244 on Windows 10
Fix Outlook Not Receiving Emails But Can Send Problem
Conclusion
Only a few PST repair tools on the internet can perform quite extraordinarily like Repairit for Email. The several impressive features this tool has makes it the best software to repair your damaged PST file.
Some fantastic features of this incredible software are:
1. Recovers all components of the mailbox components such as contacts, journals, emails, notes, attachments, and calendar items.
2. Recover your accidentally deleted emails which you might have mistakenly deleted or lost due to improper formatting.
3. Allows users to save recovered emails in MSG, RTF, HTML.
4. Allows the saving of recovered mails in EML, MSG, RTF, HTML, and PDF formats

 ChatGPT
 Perplexity
 Google AI Mode
 Grok
Grok
