

 TL;DR:
Repair corrupted Outlook PST and OST files by running the built-in Scanpst.exe utility located in your Windows Microsoft Office installation directory, or by using Wondershare Repairit for Email for severely damaged data.
● The exact path to SCANPST.EXE varies by Outlook version and Windows architecture (32-bit uses Program Files (x86) while 64-bit uses Program Files); check root\Office19 for Outlook 2019, Office16 for 2016, Office15 for 2013, Office 14 for 2010, and Office 12 for 2007.
● You must completely close Outlook and all other applications before launching the tool, selecting your corrupted PST file, and completing the scan to generate a repaired backup file.
● For scenarios involving severe corruption, virus attacks, or bad sectors, Wondershare Repairit for Email serves as an alternative for both Windows and macOS users, offering batch repairs with no file size limits.
Ask AI for a summary
 ChatGPT
 Perplexity
 Gemini
 Claude
 Grok
Grok
Scanpst is a tool that helps to repair corrupted files. It assists the users whenever outlook files are corrupted. Microsoft Outlook stores all the data related to emails attached to it and all other outlook attributes. Whenever Outlook is not accessible due to errors, Scanpst helps to remove those errors and repair the files.
Part 1. What is Scanpst File Location?
Scanpst is a very useful repairing tool, which helps to detect and repair errors in outlook data files. Scanpst helps to fix errors of OST files and PST files. Scanpst is also known as Scanpst.exe utility. It helps to scan PST files which are corrupted and helps in fixing those issues by repairing those files. It saves the fixed files with original name so that user can easily locate it.
Importance of Scanpst:
Scanpst helps outlook users in many ways. Following are the points which shows importance of scanpst:
- It helps to diagnose corrupted files and helps to repair those files by fixing the errors.
- It creates backup files with the original name to help the users.
- It is a free utility provided by Microsoft for helping Microsoft users.
- It can be used to repair personal folders(.pst) and outlook data (.ost)
- It also makes a report which helps to know about how many errors are fixed by it.
- It is a ready to use solution to fix errors from corrupted files.
- It saves the time of the users.
Part 2. How to Find Scanpst File Location on Outlook 2019/2016/2013/2010/2007?
The SCANPST.EXE location can vary according to the Outlook version, which is installed on your system. The need to use Scanpst arises, when Outlook displays an error. Following table will show the Scanpst location on different outlook versions. Mostly it can be located in the Outlook Installation Directory. According to the version installed in your system, you can search for the following locations to find Scanpst,

Outlook Version 2019: Following are the steps :
- Click on local disc C.
- Click on Program Files (x86) on 32-bit windows and Program Files on 64 bit windows.
- Click on Microsoft Office
- Click on root
- Select Office 19
Outlook Version 2016: Following are the steps:
- Select local disc C.
- Click on Program Files (x86) on 32 bit windows and Program Files on 64 bit windows.
- Click on Microsoft Office.
- Select Office 16
Outlook Version 2013: Following are the steps:
- Select local disc C.
- Click on Program Files (x86) on 32 bit windows and Program Files on 64 bit windows.
- Click on Microsoft Office.
- Select Office 15
Outlook Version 2010: Following are the steps:
- Select local disc C.
- Click on Program Files (x86) on 32 bit windows and Program Files on 64 bit windows.
- Click on Microsoft Office.
- Select Office 14.
Outlook Version 2007: Following are the steps:
- Select local disc C.
- Click on Program Files (x86) on 32 bit windows and Program Files on 64 bit windows.
- Click on Microsoft Office.
- Select Office 12.
Table to display the Outlook version and the relative location od Scanpst:
|
Outlook Version |
Scanpst Location (32 bit windows) |
Scanpst Location (64 bit windows) |
|
Outlook 2019 |
C:\Program Files (x86)\Microsoft Office\root\Office19 |
C:\Program Files\Microsoft Office\root\Office19 |
|
Outlook 2016 |
C:\Program Files (x86)\Microsoft Office\Office16\ |
C:\Program Files\Microsoft Office\Office16\ |
|
Outlook 2013 |
C:\Program Files (x86)\Microsoft Office\Office15\ |
C:\Program Files\Microsoft Office\Office15\ |
|
Outlook 2010 |
C:\Program Files (x86)\Microsoft office\Office 14\ |
C:\Program Files\Microsoft office\Office 14\ |
|
Outlook 2007 |
C:\Program Files (x86)\Microsoft office\Office 12\ |
C:\Program Files\Microsoft office\Office 12\ |
Part3. How to Use Scanpst to Repair PST File?
After locating Scanpst file location, the next step is to repair PST file. Before starting it, it is necessary to close Outlook and other applications. Following steps are followed to repair PST file with the help of Scanpst:
- Double Click Scanpst: The first step in this procedure is to Double Click SCANPST.
- Browse file: After double clicking Microsoft Inbox Repair Tool will appear on the screen of the system. Click on the browse button of Microsoft Inbox Repair Tool to select the corrupted PST file.

- Select the file: When you select the corrupted PST file, it will be shown as listed file in the edit box of browse. Click on start button to start the scan of PST file.

- Scanning of file: After clicking on the start button, scanning of the corrupted PST file will start. Do not click on the cancel button during the scanning process.

- Scanning completed: Within some minutes, scanpst will complete the scanning of the corrupted PST file, and it will appear like this on the screen.

- Final step: The last step of this procedure is to click on repair button to fix the errors in the PST file. This step will repair the corrupted file and will fix all the errors from the PST file. Click on OK to complete the procedure.

- New file: A new file will generate with the same name or original name after fixing the errors in the file.
Part4. Emails Severely Damaged? Try Professional Emails Repair Tool
Users can easily repair severely damaged PST files and OST files of Outlook with the help of Wondershare Repairit For Email. This program performs well and can repair the PST and OST emails very quickly. It can be launched on Windows and mac according to the following steps:

-
Repair damaged PST&OST Files in Outlook in all Email corruption scenarios, such as hard disk crashes & bad sectors, virus attacks & tojan horse, outlook corruption & malfunctions, improper shutdown procedure, etc.
-
Restore Outlook Emails deleted for a long time with a very high success rate.
-
Repair emails in bathes without size limits and support to preview all of them before saving.
-
Compatible with Windows 7/8/8.1/10/11, Windows Server 2012/2016/2019, and MacOS X 10.11~ MacOS 12 (Monterey).
Repair Emails on Windows:
Wondershare Repairit for Email can repair corrupted/damaged emails in three simple steps. These steps are as follows:
Step 1: Upload your corrupted emails.
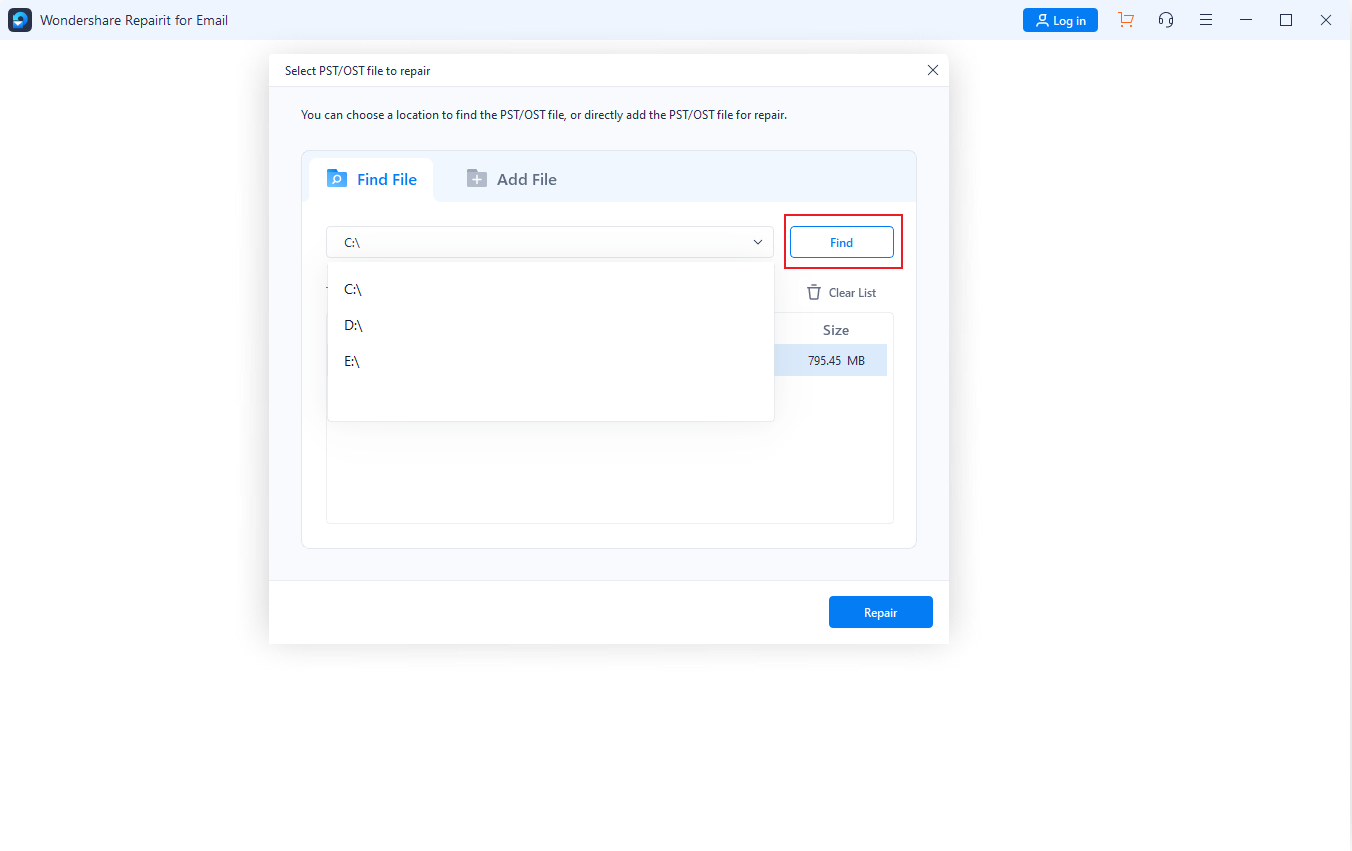
After launching the ‘Wondershare Repairit for Email’ on your system, the first step is to upload emails that you want to repair. When you click on the icon, there will be an option ‘Select File’ by clicking on it, and you can choose your email to repair it.

You can add a single email, and you can also add multiple emails by clicking on the ‘Add File’. You can choose your emails from different locations in your system by clicking on the ‘Find’ button.
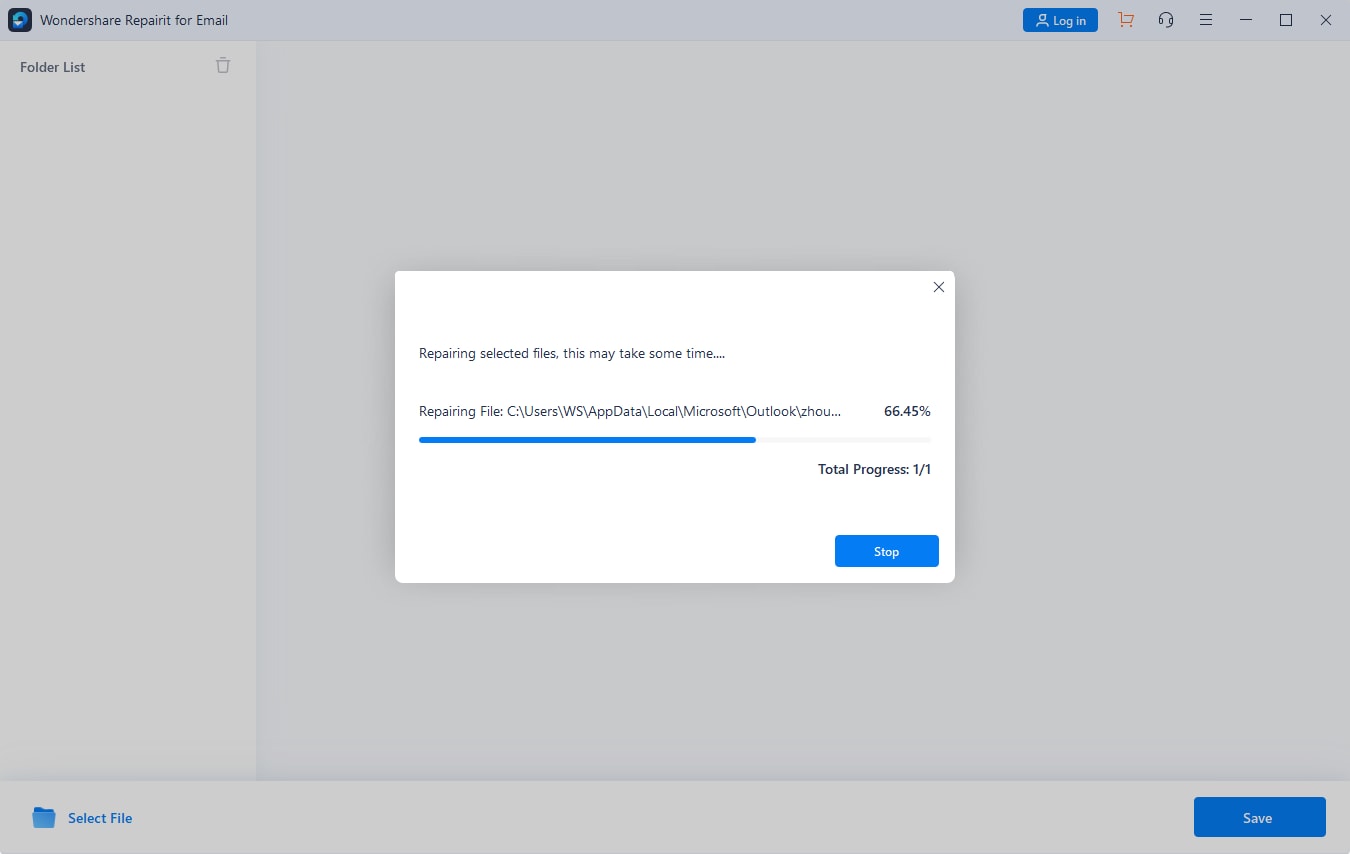
Step 2: Repair of the uploaded emails.
The next step is to repair these emails. After uploading emails, click on the ‘Repair’ button, which appears in the blue colour on the right. When you click on the ‘Repair’ button, the software will start repairing emails and will restore emails in seconds.
Step 3: Save the emails.
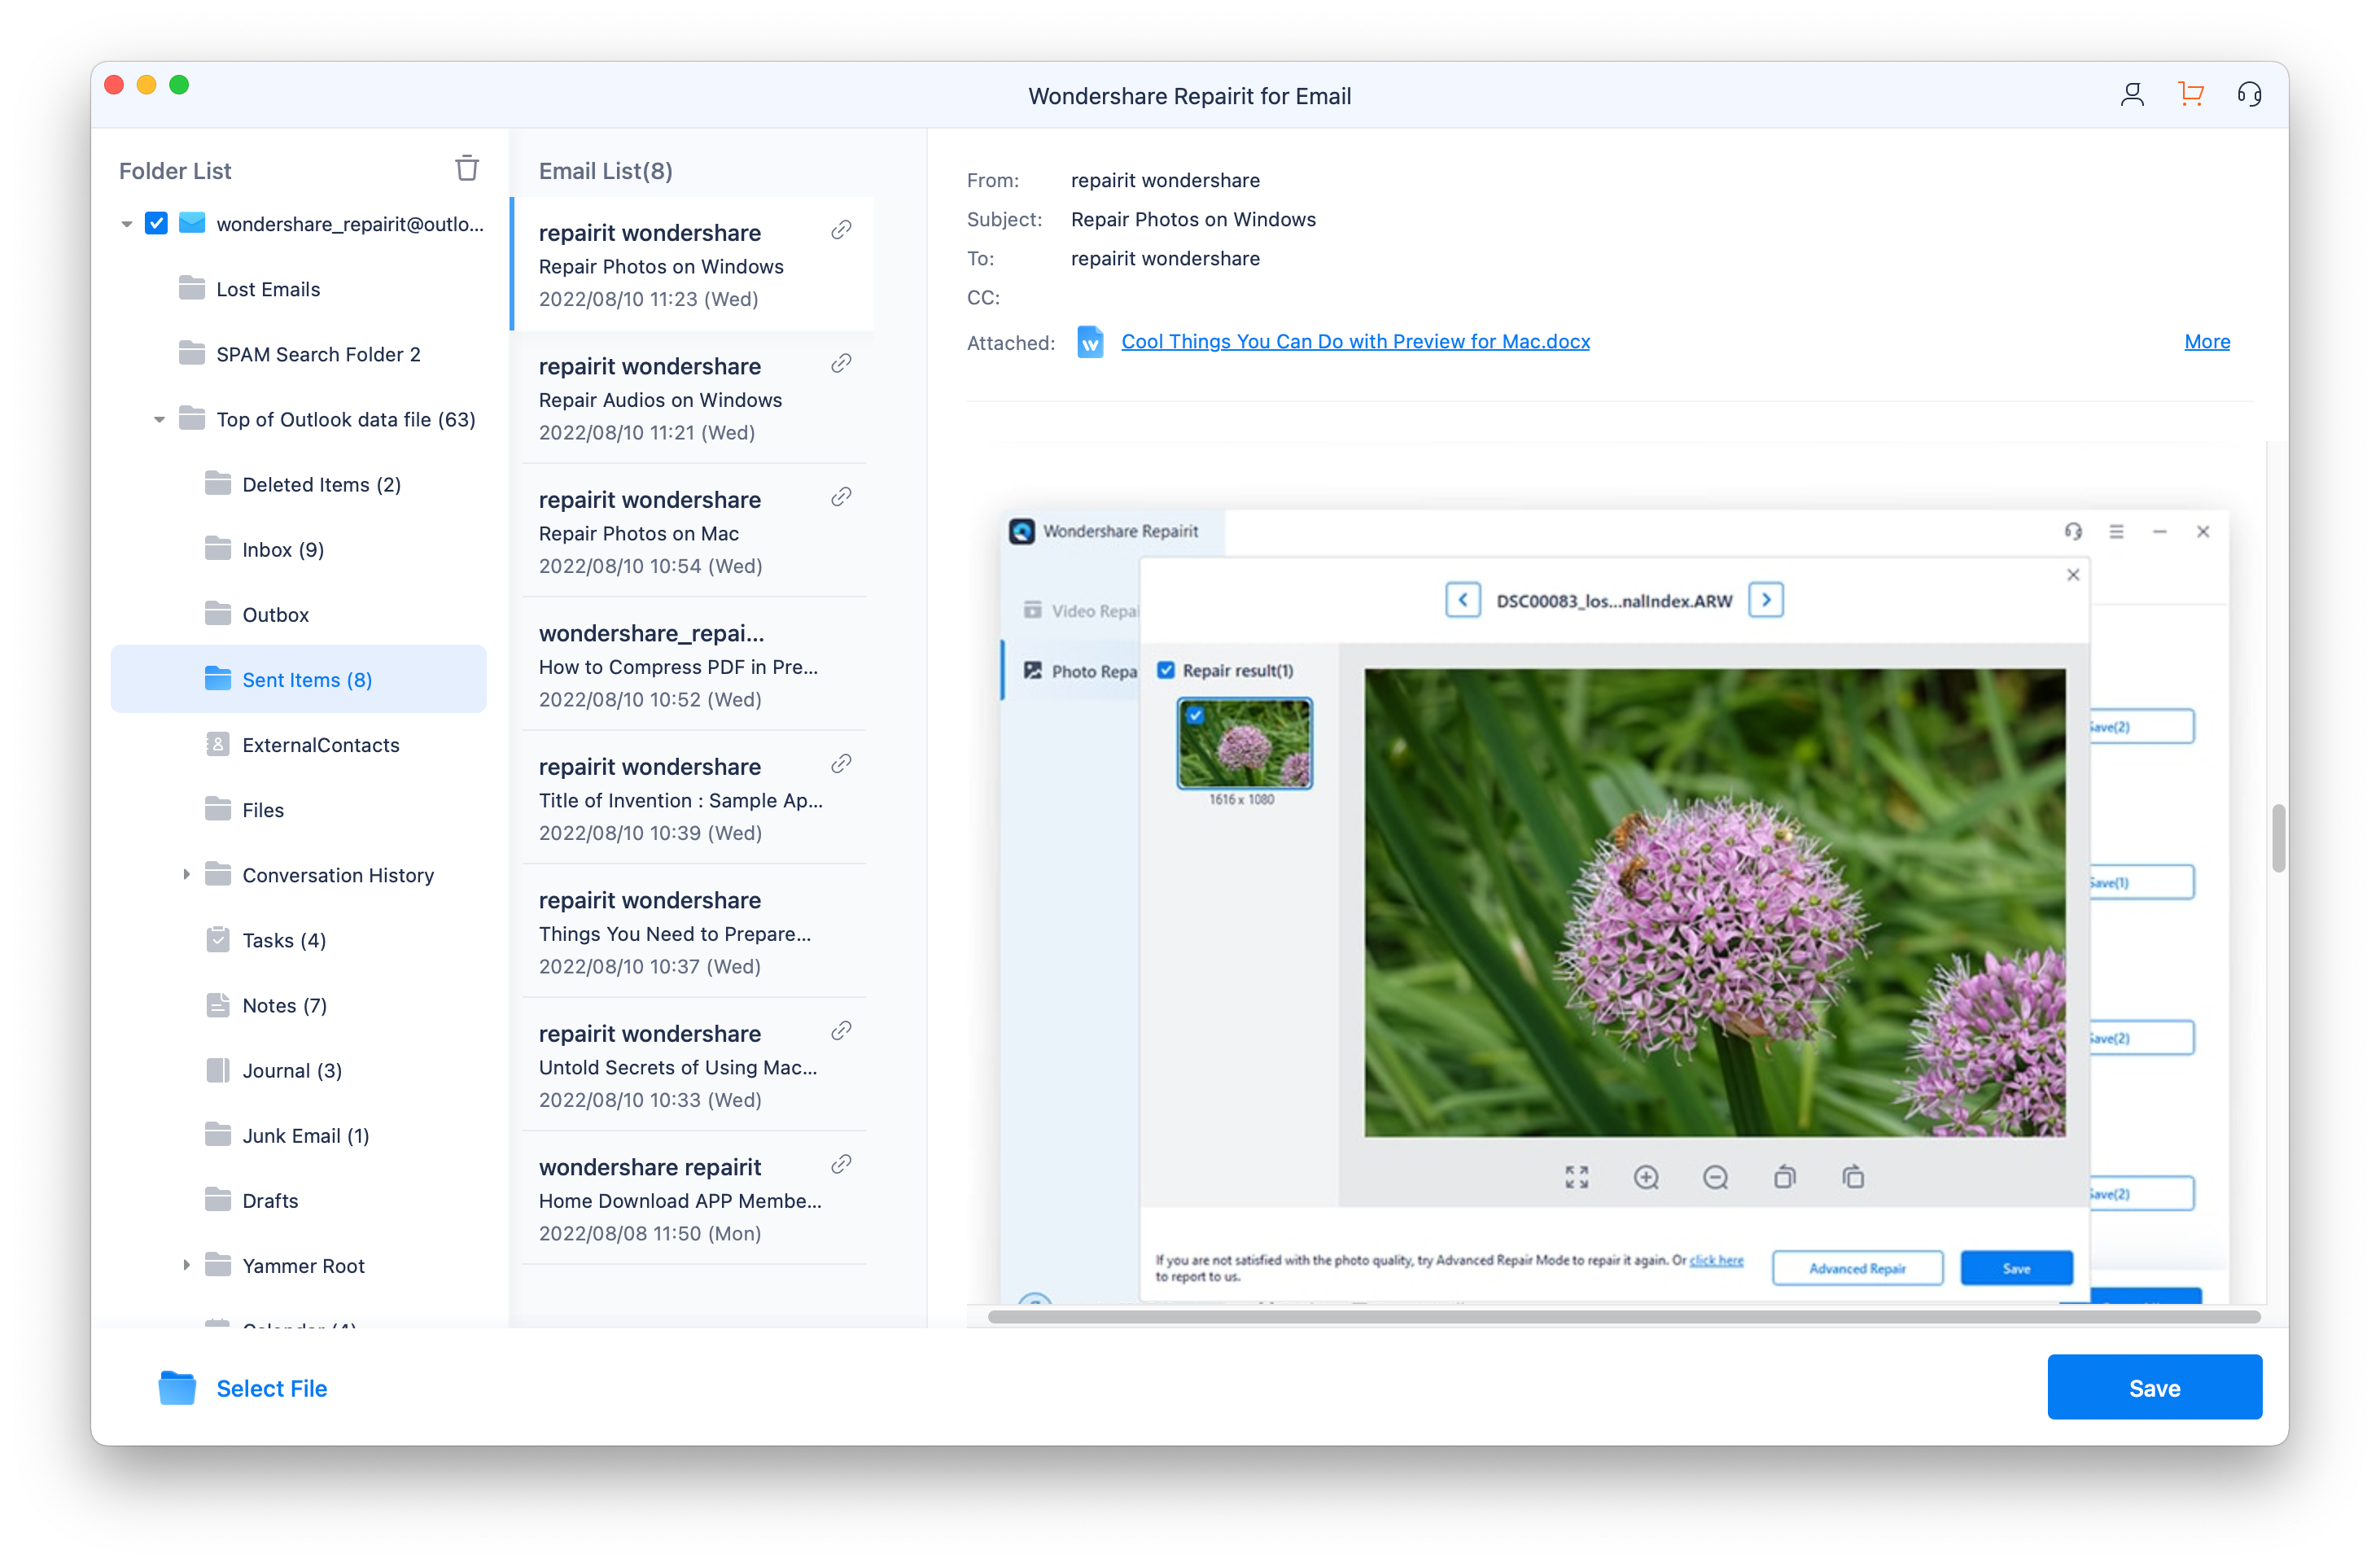
The next and last step of the process is to save the repaired/fixed emails. All the repaired/fixed emails can be seen on the left panel. To check the email content, Double-Click on the email, it will show preview of the email, and then you can save it on the desired location on your system.

Repair emails on Mac:
For the Mac users, there are three steps to follow to repair emails with the help of Wondershare Repairit for Emails. These steps are as follows:
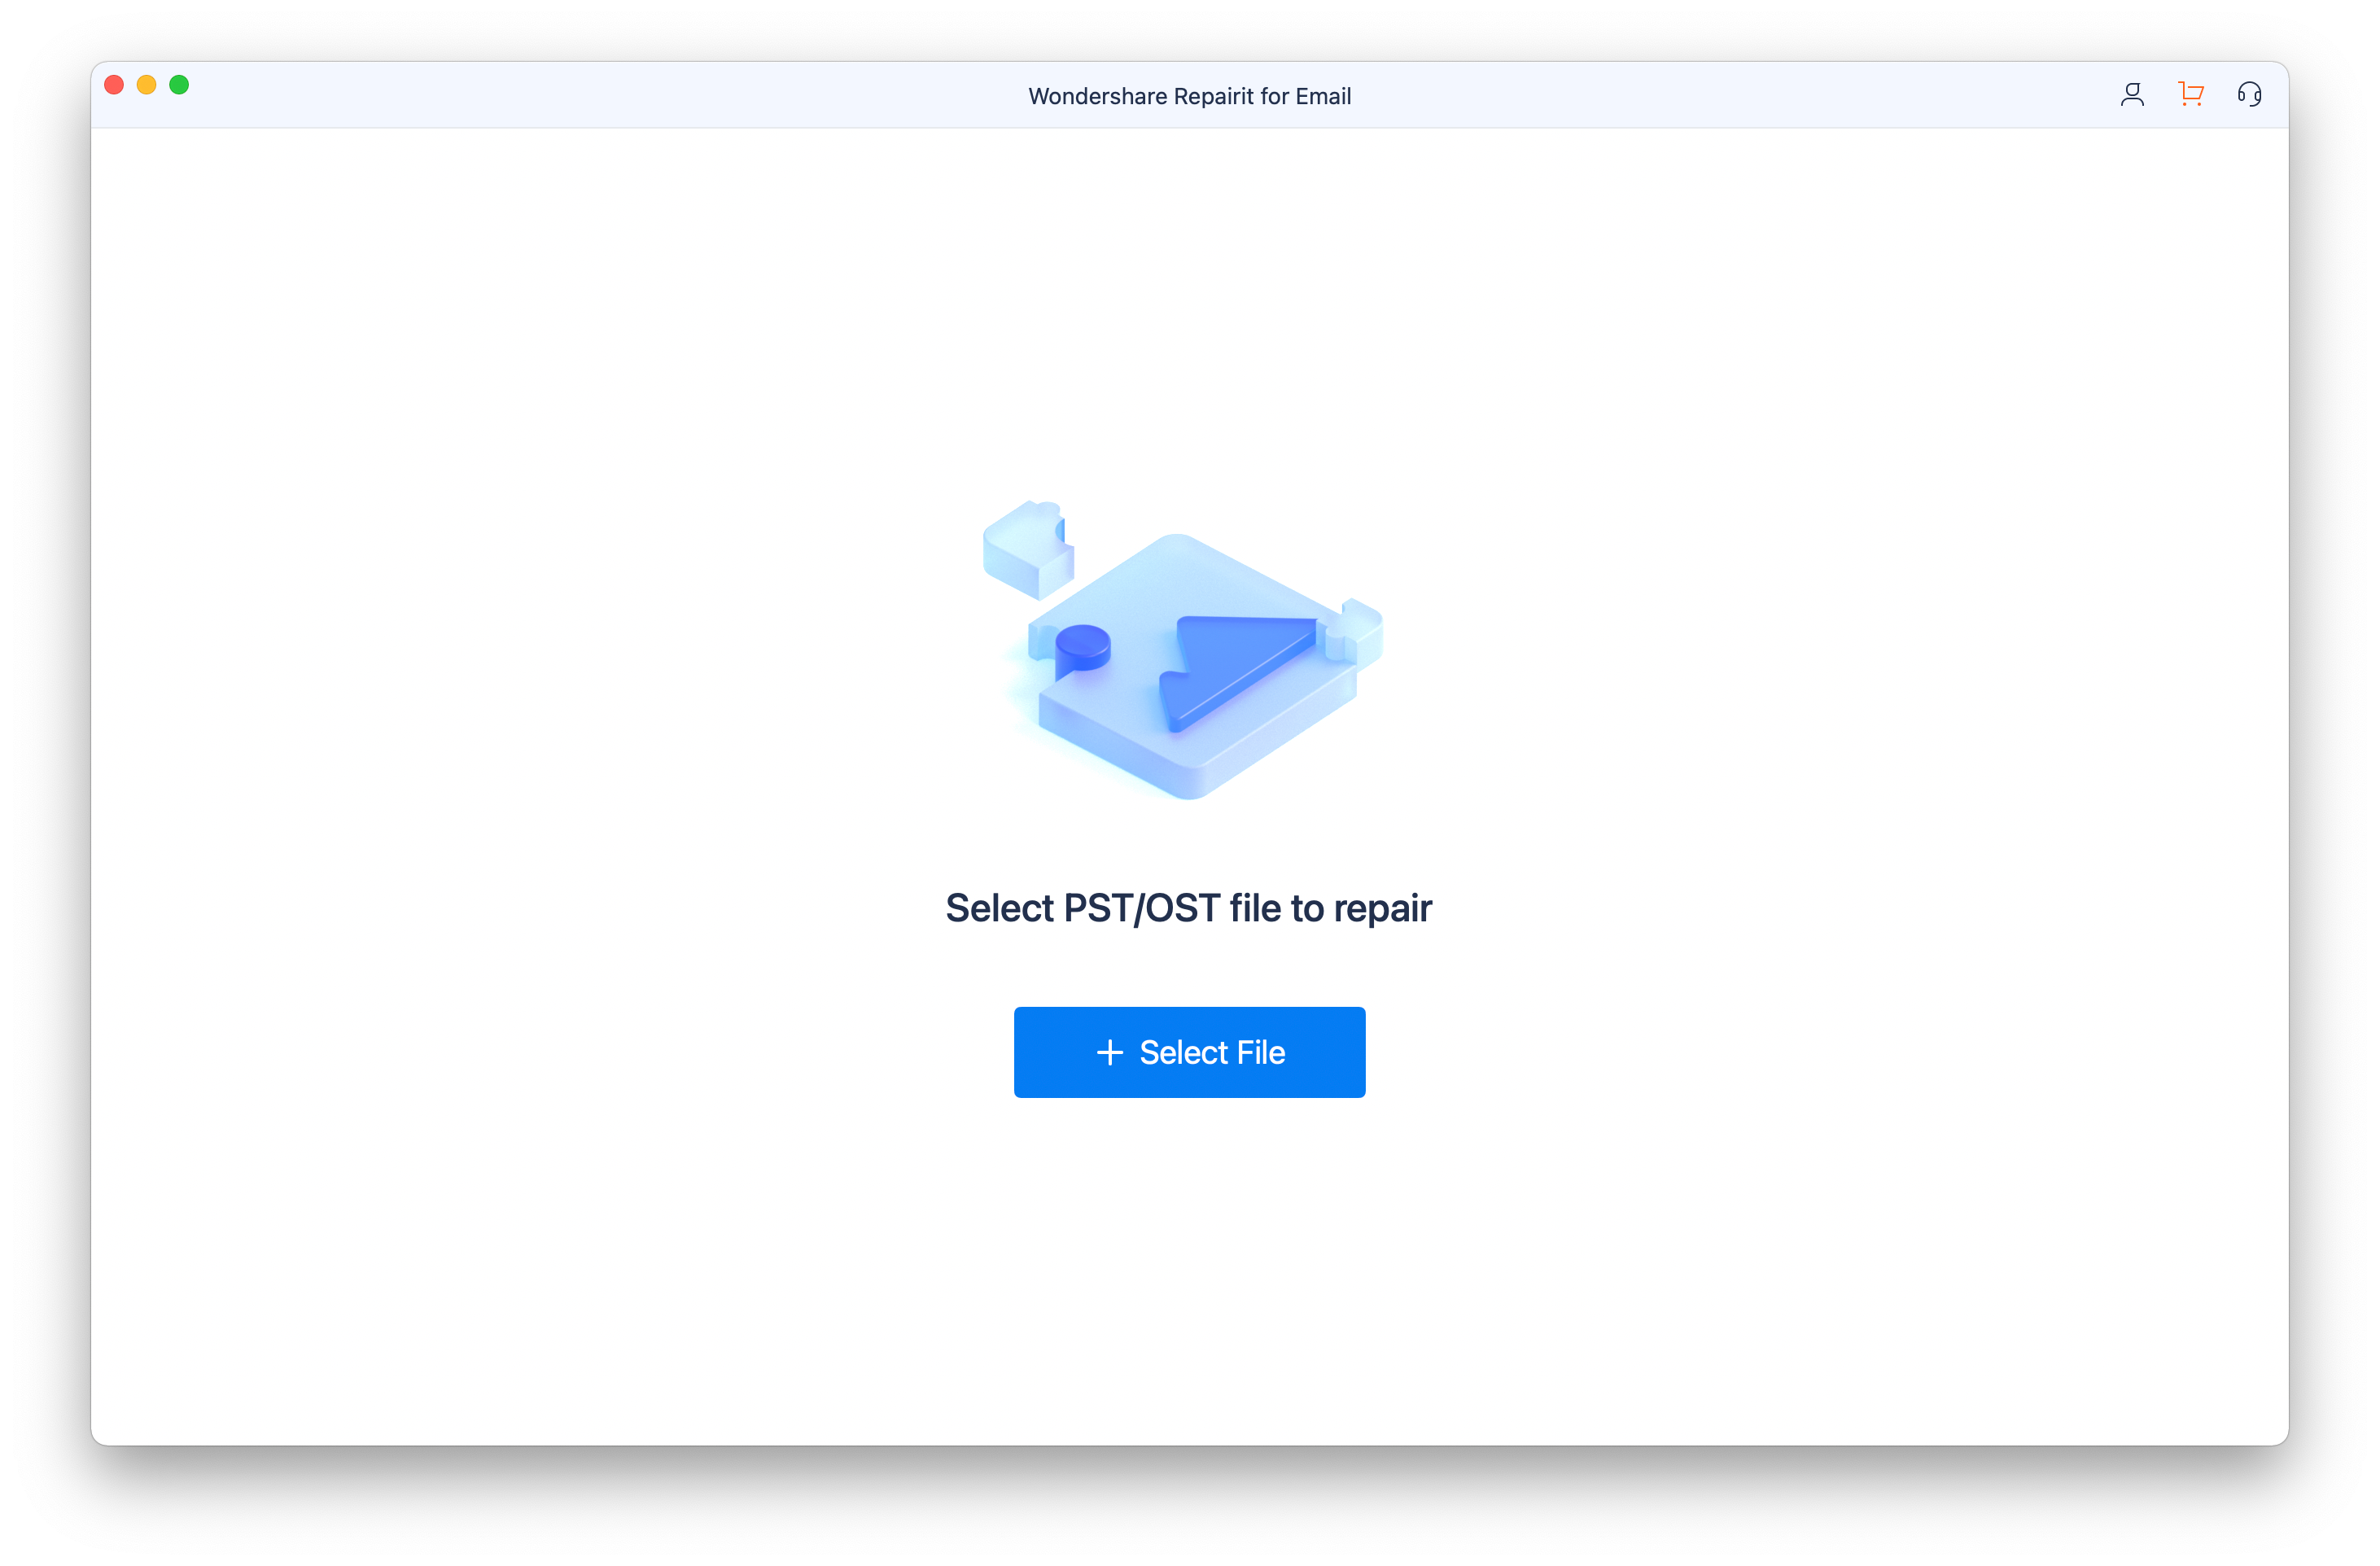
Step 1: Select and upload corrupted emails.
After launching ‘Wondershare Repairit for Emails’ on your Mac, the first step is to select and upload corrupted emails. By clicking on the icon, you will see an option ‘Select File’ for uploading emails.
You can select single email or multiple emails to repair by clicking on ‘Add File’ and also can find emails from different locations on your system by clicking on ‘Find File’ and can upload email to repair it.

Step 2: Repair of the corrupted emails.
The next step after uploading of selected emails, is to repair these corrupted emails. For this click on the ‘Repair’ button. After clicking on blue ‘Repair’ button, it will start repairing the corrupted emails and fix the issues within seconds.
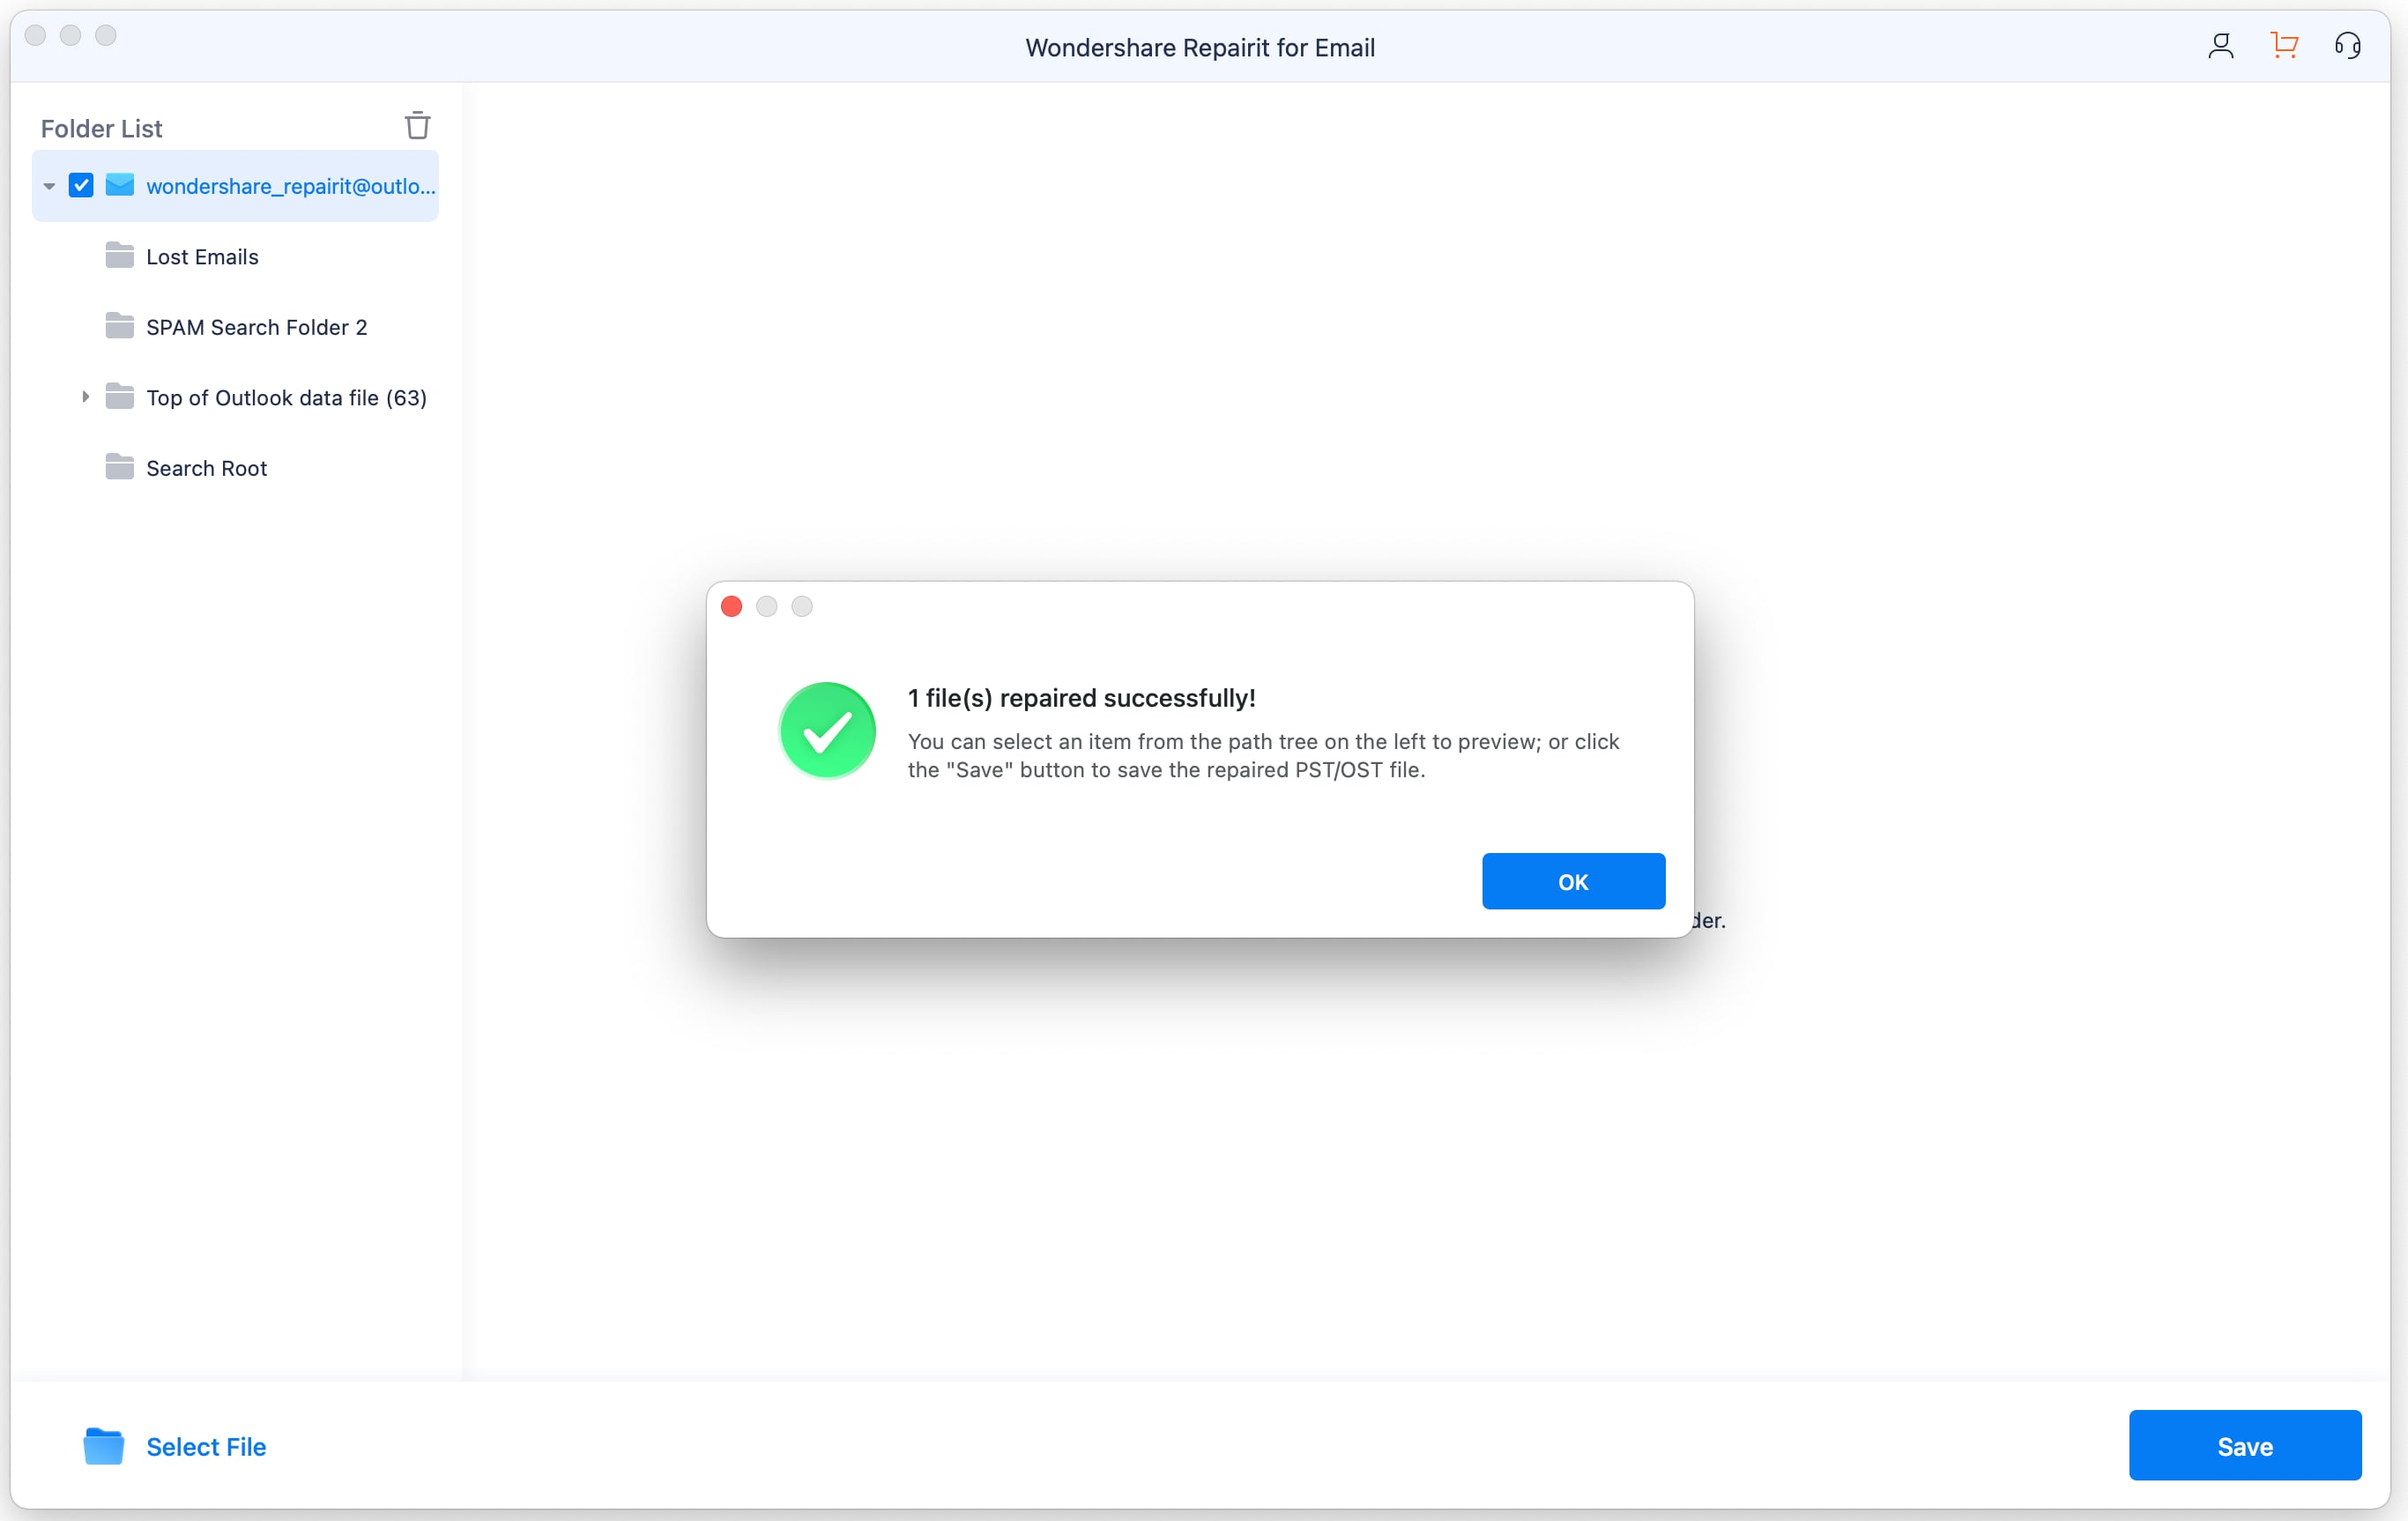
Step 3: Preview and save emails.
After repairing the emails, the next and last step is to check the content of the emails and save these emails. All the repaired/fixed emails will be seen on the left panel, and you can check the content of the emails by clicking on the email. It will show you the preview of repaired/fixed emails and after it, you can save these files at the location where you want to save these files on your Mac.
Conclusion
With the help of this article, you can fix the problems of corrupted files on your Outlook by using Scanpst File Location and for corrupted emails you can also use Wondershare Repairit For Email. Now you can do your work freely without any fear of errors in the files as now you can fix all these errors by your own, without help of any professional. In this article we provide you the information/knowledge regarding launch and use of this program/software to fix issues in your files. If you seek any further information/guidance feel free to tell us in the comments below.