
 TL;DR:
To manually add an administrator-authorized shared mailbox in Microsoft Outlook 365, navigate to Account Settings within the File tab, click Change under your primary email, and use the Advanced tab in More Settings to input the shared email address.
● Shared mailboxes do not require a separate license if they remain under 50GB in size, but they cannot send encrypted emails or be accessed through Outlook for iPhone, Android, or Mac.
● Sending an email from the shared account for the first time requires users to manually enable the Show From option in the new message window and specify the shared address to add it to the drop-down menu.
● Corrupted PST and OST files caused by hard disk crashes, virus attacks, or improper shutdowns can be scanned and restored using Wondershare Repairit for Email across compatible Windows and macOS systems.
Ask AI for a summary
 ChatGPT
 Perplexity
 Gemini
 Claude
 Grok
Grok
People always use Outlook to maintain their regular communication with their employees. If you also use Outlook for email, you may need to set up a shared mailbox at some point. Adding a shared mailbox is a simple process, but there are a few things you should do before you begin. In this article, we will go over shared mailboxes and how to add shared mailbox in Outlook. So, if you're seeking something similar, keep reading!
Part 1: What Is Mailbox?
A mailbox (electronic mailbox) is a location where email messages are stored, either on a remote server or on the user's computer. In software email applications, the mailbox is divided into several folders: inbox, outbox, sent items, and deleted items. Mailboxes must purchase a license. To log in and use email, users must have a mailbox.
Part 2: How To Add Shared Mailbox To Outlook?
First of all, there are some basic conditions that must be met before you may add shared mailbox in MS Outlook.
Condition 1: Set up a shared mailbox and make it available to Microsoft Outlook 365.
Condition 2: An Office 365 account is required to use Microsoft Outlook.
Condition 3: Access to a shared mailbox must be granted by the administrator.
Condition 4: The shared mailbox must have an email address and a display name.
When your administrator adds you to a Microsoft Office 365 shared mailbox, you must do and restart Outlook. When you restart Outlook, the shared mailbox may display in the folders pane below the primary mailbox.
If this does not happen, you can manually add the shared mailbox.
Here's how to add a shared mailbox in Outlook
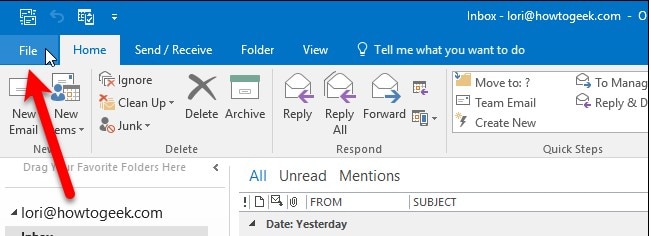
Step 1: Open Outlook. Then, navigate to the File tab.
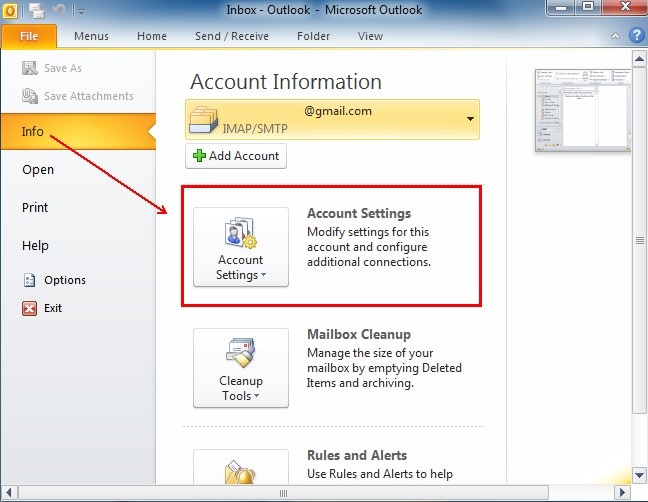
Step 2: Click Account Settings and choose Account Settings from the menu.
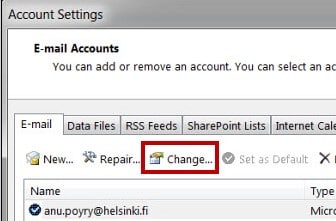
Step 3: Now, go to the Email tab and make sure the correct account is marked.
Step 4: Click Change at the bottom of the Email tab.
Step 5: On the screen, a new tab will appear; click More Settings>Advanced>Add.
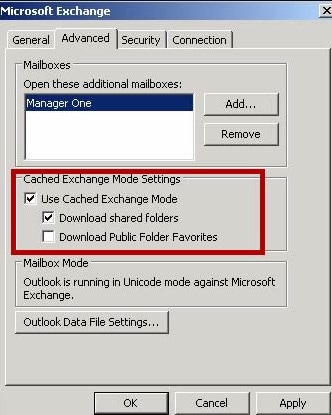
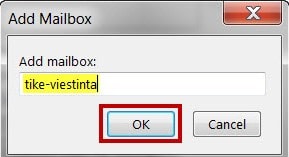
Step 6: Now, enter the shared email account that the administrator has added you to. Then, click OK.
Step 7: Then, select Next>Finish>Close.
The shared mailbox will now show below the primary mailbox in MS Outlook.

But still, if you are not able to add a shared mailbox to Outlook, then you must know some points about shared mailboxes.
Point 1: You do not need to give licenses to shared mailboxes that are less than 50GB in size.
Point 2: To use the shared mailbox, you must provide users authorization. Persons within your organization can only access a shared mailbox.
Point 3: You cannot provide anybody outside your company access to your shared mailbox. If you wish to do this, try making an Outlook group instead.
Point 4: A shared mailbox cannot send emails that are encrypted.
Point 5: From Outlook for iPhone, Android, or Mac, you cannot access a shared mailbox. Use Outlook on the web if you want to use one of these devices to access a shared mailbox.
Part 3: How To Send Emails from Shared Mailbox in Outlook and Office 365?
After you add the mailbox to outlook, you can also send emails from the shared mailbox in office 365. But In case you are unable to send email from a shared mailbox office 365, you must know the correct way to do it.
So, in this part, I will let you how to send email from a shared mailbox office 365. Let's have a look at the steps.
Step 1: Open Microsoft Outlook and select New Email from the folder list.
On the screen, a new message window will emerge.
Step 2: Select Show From by clicking the '...' symbol at the top of the message.
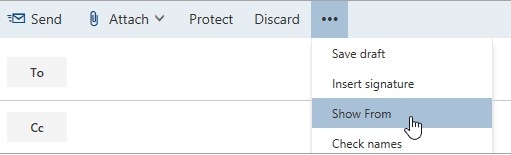
Note:The 'Show From' option displays that the receivers will get the email from a shared mailbox address.
Step 3: If this is your first time using the shared mailbox, you must provide the following email address in the from section drop-down list:
Right-click on the 'Form' Then, click 'Remove.'
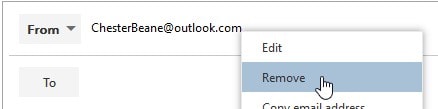
Input the shared mailbox address so that it appears in the 'From' drop-down menu the next time you send an email from the shared mailbox.
Step 4: Type the email address or name of the person in your contact list or the address list of the company to add recipients.
Step 5: Type the email's subject first, followed by the message you want to send.
Step 6: Click Send after finishing the message.
From this point forward, the address will be accessible in your 'From' drop-down list whenever you want to send a message from your shared mailbox.
Your recipients will only be able to see the shared email address once you send a message from your shared mailbox.
Part 4: What To Do When Outlook Emails Are Corrupt and Cannot Be Sent?
Till now, you have learned how to add a shared mailbox in Outlook and send email from a shared mailbox in office 365. Now, what do you do if your Outlook emails are corrupt and not getting opened? Obviously, you would try to resolve this problem. But, if you want to resolve this problem within a few minutes, then you must use a third-party tool.
There is a plethora of third-party tools available on the internet that would help you to restore your damaged emails. But, I would recommend Wondershare Repairit for Email only. When your emails get corrupted due to virus attacks, hard disk failures, or incorrect shutdown procedures, then this tool fixes the corrupted PST emails instantly. It is a reliable tool that scans corrupt email files, fixes Outlook errors, and enables you to save fixed data in different formats. The repair procedure is simple and quick. Check more of its advantages below:

-
Repair damaged PST & OST Files in Outlook in all Email corruption scenarios, such as hard disk crashes & bad sectors, virus attacks & tojan horse, outlook corruption & malfunctions, improper shutdown procedure, etc.
-
Restore Outlook Emails deleted for a long time and extract the Email messages, folders, calendars, etc. within seconds.
-
Repair corrupted Emails and restore deleted Emails with a very high success rate.
-
Repair Emails in bathes without size limits and support to preview all of them before saving.
-
Compatible with Windows 7/8/8.1/10/11, Windows Server 2012/2016/2019, and MacOS X 10.11~ MacOS 12 (Monterey).
Now, let's look at the procedure for using this software to repair corrupted emails.
Repair Emails On Windows
You may fix your emails by following three easy steps:
Let's discuss each step in detail.
Step 1: Upload Corrupt Emails.
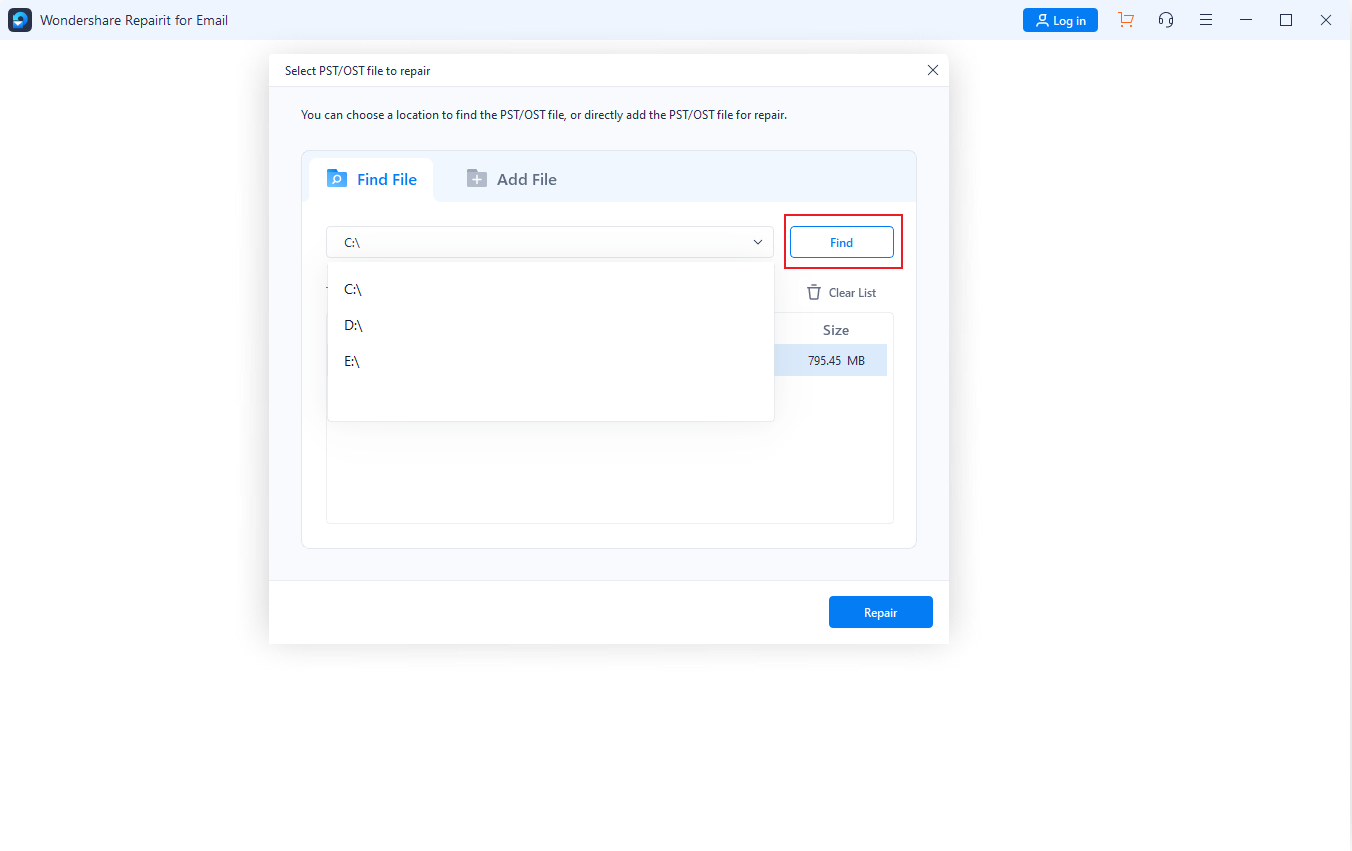
Start Wondershare Repairit for Email and choose "Select File" from the menu.

You will receive a window prompting you to choose files from the selected place. You can use the "Find" button to search through several locations for corrupt emails. Alternatively, you can also use the "Add File" button to choose an email directly if you know where it is. Emails can be added one at a time or in groups.
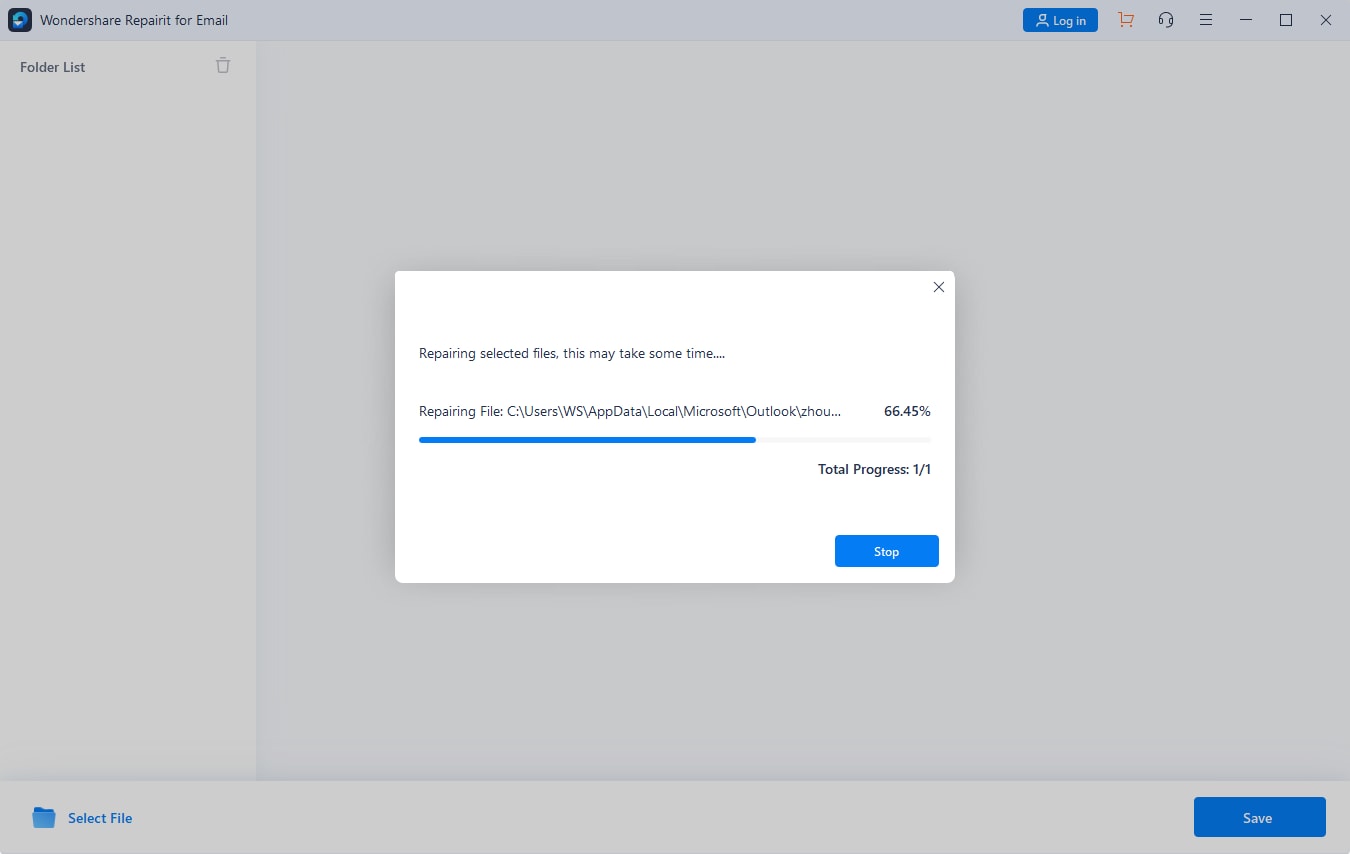
Step 2: Start the Repair Process.
You can see the repair process as Repairit for Email quickly and automatically fixes damaged Outlook PST files.
Step 3: Preview and Select a Path to Save.
When the repair process is complete, Repairit allows you to preview the data from your recovered Outlook mailbox. To save the repaired PST file to your computer, select what you wish to save. And, then, click the "Save" button.

Related Reading:
Fix "Outlook Outbox Not Sending Messages"
Conclusion
With shared Mailboxes, you may send and receive emails from a single email address. This is one of Microsoft 365's best features. I hope you have understood how to add shared mailbox in outlook and add mailbox to Outlook. Moreover, if your emails are severely corrupt and not getting opened, you must try Wondershare Repairit for Email.