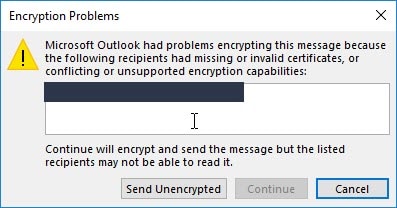
Have you run into Outlook encryption problems while sending emails? Is the error message "Microsoft Outlook had problems encrypting this message" bothering you? The solution to this problem is important to resume procedures across Outlook. This article provides coherent solutions to this encryption problem across Outlook.
Part 1: Reviewing Why Microsoft Outlook Had Problems Encrypting this Message
We will start with an overview of why Outlook encryption problems occur. Going through the reasons will help you utilize the right set of solutions. These outlined reasons target some of the directions that can be led to this error:

Mistyped Hostname
The simplest reasons can cause the Outlook encryption problems. If you have set a wrong hostname or mistyped it, this would lead to such scenarios. You will be unable to send your emails properly due to a simple mistype error.
Problems with Device's Date and Time
Your device may have the wrong date and time settings. With such misinformation, it would cause issues with the security certificate. This would leave you with "Microsoft Outlook had problems encrypting this message."
Malfunctioning Add-ins
If you have installed Outlook add-ins on your email client, it can lead to many complications. One appropriate case is having problems encrypting the messages. Under such circumstances, it is best to disable or remove these third-party add-ins.
Blocked SSL Ports
Outlook's SSL ports are blocked, causing Outlook encryption problems. The best way to deal with such a case is to replace it with other port numbers.
Irregularities in Port Numbers
The port numbers added for the mail server or Outlook are incorrect. Such incorrect details can lead to connectivity problems, which causes encryption problems. The only perfect way to eliminate such a case is to change the port numbers.
Part 2: 4 Solutions to Resolve MS Outlook Had Problems Encrypting this Message
The details about the reasons were absolute in helping understand the encryption issues. It is time to look over the solutions for resolving Outlook encryption problems. Although these problems seem basic, it stops you from sending emails. Thus, it is vital to figure out the best solutions for resolving this Outlook problem.
Solution 1: Correct Domain Names and Ports
Outlook encryption problems can occur from basic information mistakes. Incorrect addition of domain names or ports across Outlook exists as one case. Issues with domain names and ports can occur on having a similar subdomain. Furthermore, another domain might be listed across Outlook instead of the actual one. This information needs can be done through:
Step 1: Access the email configuration settings across your computer.
Look for the mail settings and locate your device's SSL/TLS settings.
Step 2: Observe the domains for the incoming and outgoing servers.
Confirm that the IMAP, POP3, and SMTP ports are filled out.
Step 3: Launch Outlook on your computer and access the "File" tab.
Lead through the "Info" tab to find the "Account Settings" button. Select the option of "Account Settings" from the drop-down menu to launch a new window.

Step 4: Find the email that needs to be modified under the "Email" tab.
Select it and hover over the "Change" button to access the account details. Look through the details and confirm the incoming and outgoing servers, as noted down.

Step 5: Proceed to the "More Settings" button to launch a new window.
Access the "Advanced" tab to verify the ports configured across Outlook. Change the details and click "OK" to save all settings.

Solution 2: Consider Changing Outgoing SMTP Server Port Number
Another scenario involving the encryption error is a blocked port number causing it. To resolve this, the best way is to change the Outgoing SMTP server port number. This particular port number is mostly blocked by ISPs (Internet Service Providers). To avoid the "Outlook had problems encrypting this message," you'll have to try these steps:
Step 1: Begin the process by launching Outlook on your computer.
Direct yourselves into the "File" tab on the top-left section.

Step 2: On selecting the "Info" tab, redirect to the "Account Settings" option on the right.
Go for selecting "Account Settings" from the provided options to open its window.

Step 3: Select an email account under the "Email" tab that needs to be assessed.
On successfully selecting the account, click on "Change" to proceed with its settings.

Step 4: In the account email settings, select "More Settings" on the bottom to open a small pop-up window.
Go for the "Advanced" tab from the top menu and find the port number details. Change the "Outgoing SMTP Server Port" as required and click "OK" to confirm the settings.

Solution 3: Look Over the Security Certificate Name
The issue of "Microsoft Outlook had problems encrypting this message" can relate to the SSL certificates. Problems in the security certificate, such as mismatched names, can cause such errors. The solution to this problem is to verify the names before getting the error. Check out the security certificate name by the following technique:
Step 1: Tap on the "View Certificate" button present across the error that appears on the screen.

Step 2: Find the certificate's name in the "Issued to Name" section.
Verify that the name is similar to the email server's name. If not, it needs to be changed to resolve this error.
Solution 4: Remove Add-ins from Outlook
Outlook add-ins can be a cause of many Outlook errors. They are also responsible for being a reason for Outlook encryption problems. To have this exempted, you need to disable the add-ins from Outlook. For that, you will have to disable them across your email client with the following steps:
Step 1: Start by opening Microsoft Outlook on your computer.
Direct into the "File" tab on the top and look for the "Options" button. As you find it, click to open a new Outlook Options window.

Step 2: Navigate through the sections on the left column to locate "Add-ins" among them.
Find the "Manage:" section in the available options for Add-ins. Change the option to "COM Add-ins" and tap "Go" to open a new screen.

Step 3: Disable all the third-party plugins by unchecking them from the list.
You can also select them and click "Remove" to delete them from Outlook. Once executed, click "OK" to save your settings.

Bonus Tip: How to Repair Corrupted Outlook Email Data Files?
In other scenarios, you might face other Outlook problems stopping you from functioning. One such error can involve corrupting Outlook data files. While they can get corrupted for many reasons, there is no one exact cause for it. So rather than wasting your time looking through unnecessary details, you should resolve this.
Wondershare Repairit for Email works to repair email data files. It provides an interface that is extensive in helping your repair your files. Without any expertise in this field, you can resolve it through the platform in minutes. See more features from the below part:

-
Repair damaged PST & OST Files in Outlook in all Email corruption scenarios, such as hard disk crashes & bad sectors, virus attacks & tojan horse, outlook corruption & malfunctions, improper shutdown procedure, etc.
-
Restore Outlook Emails deleted for a long time and extract the Email messages, folders, calendars, etc. within seconds.
-
Repair corrupted Emails and restore deleted Emails with a very high success rate.
-
Repair Emails in bathes without size limits and support to preview all of them before saving.
-
Compatible with Windows 7/8/8.1/10/11, Windows Server 2012/2016/2019, and MacOS X 10.11~ MacOS 12 (Monterey).
To repair the email files using Repairit, look across the steps offered below:
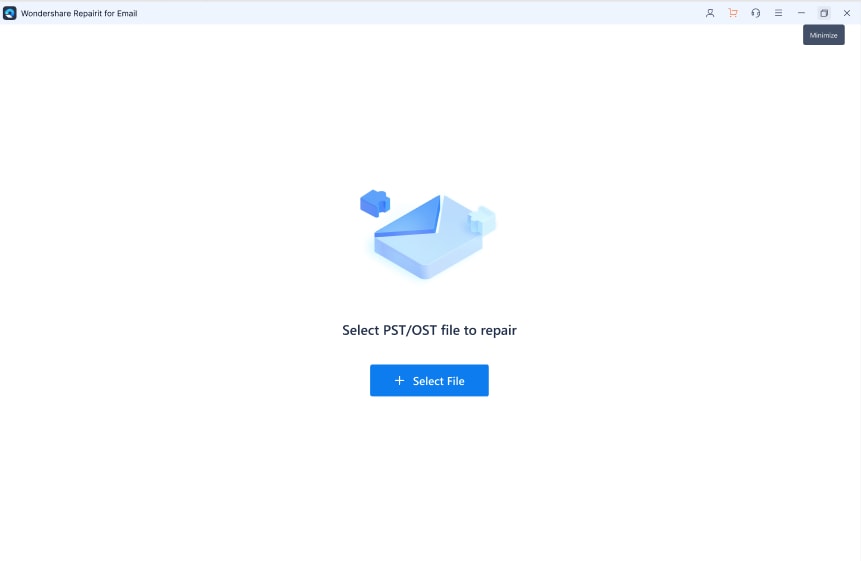
Step 1: Start Repairit for Email for Repairing Corrupt Data File.
Find the application of Wondershare Repairit for Email on your computer. Launch the tool and direct your cursor to the "Select File" button.

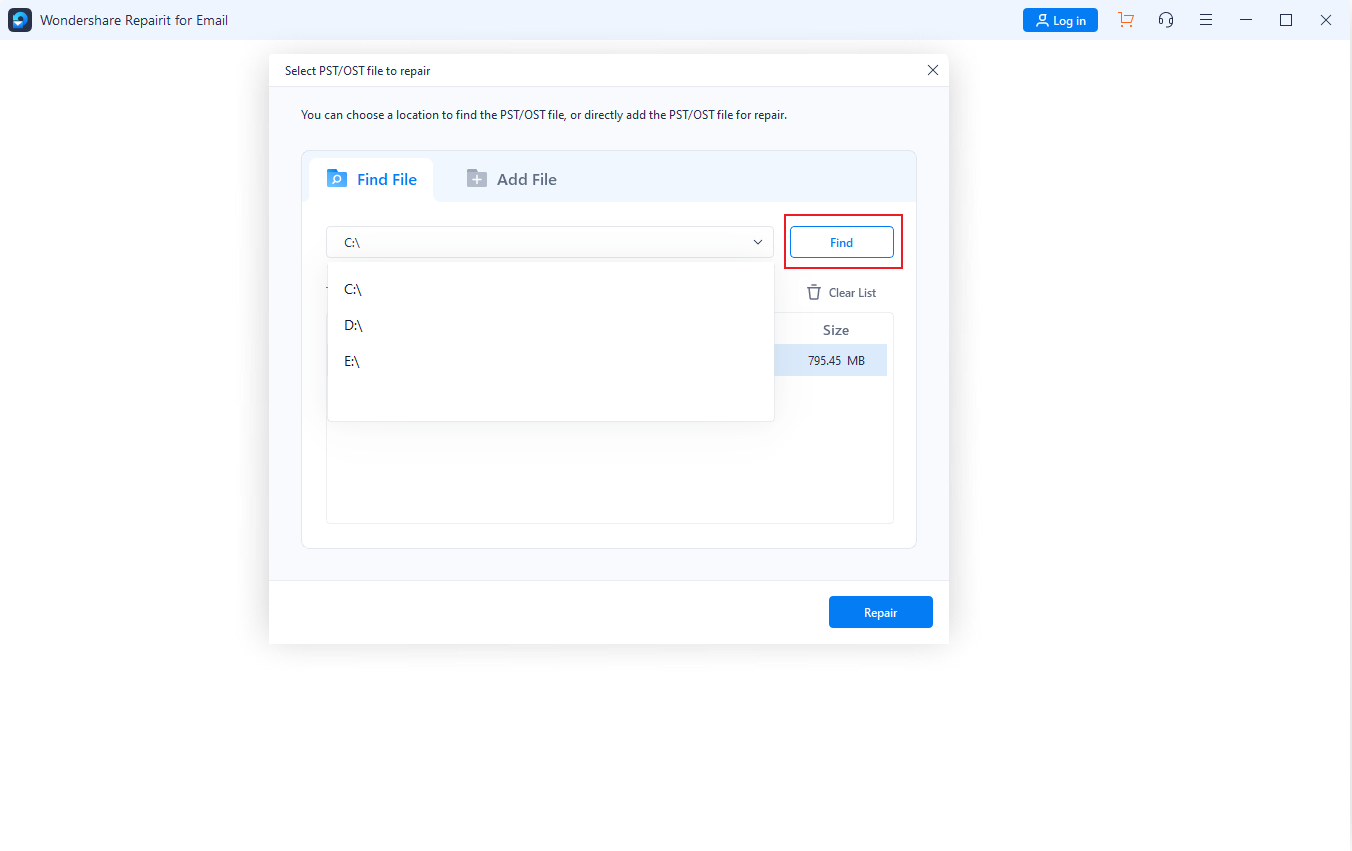
Step 2: Find or Add File Manually to Repair.
You can search or add the corrupted data file on the email repair platform. First, use the "Find File" tab to search for the corrupted Outlook data file. To know the location of the data file, hover into the "Add File" tab. After browsing the file successfully, hit the "Repair" button to start.

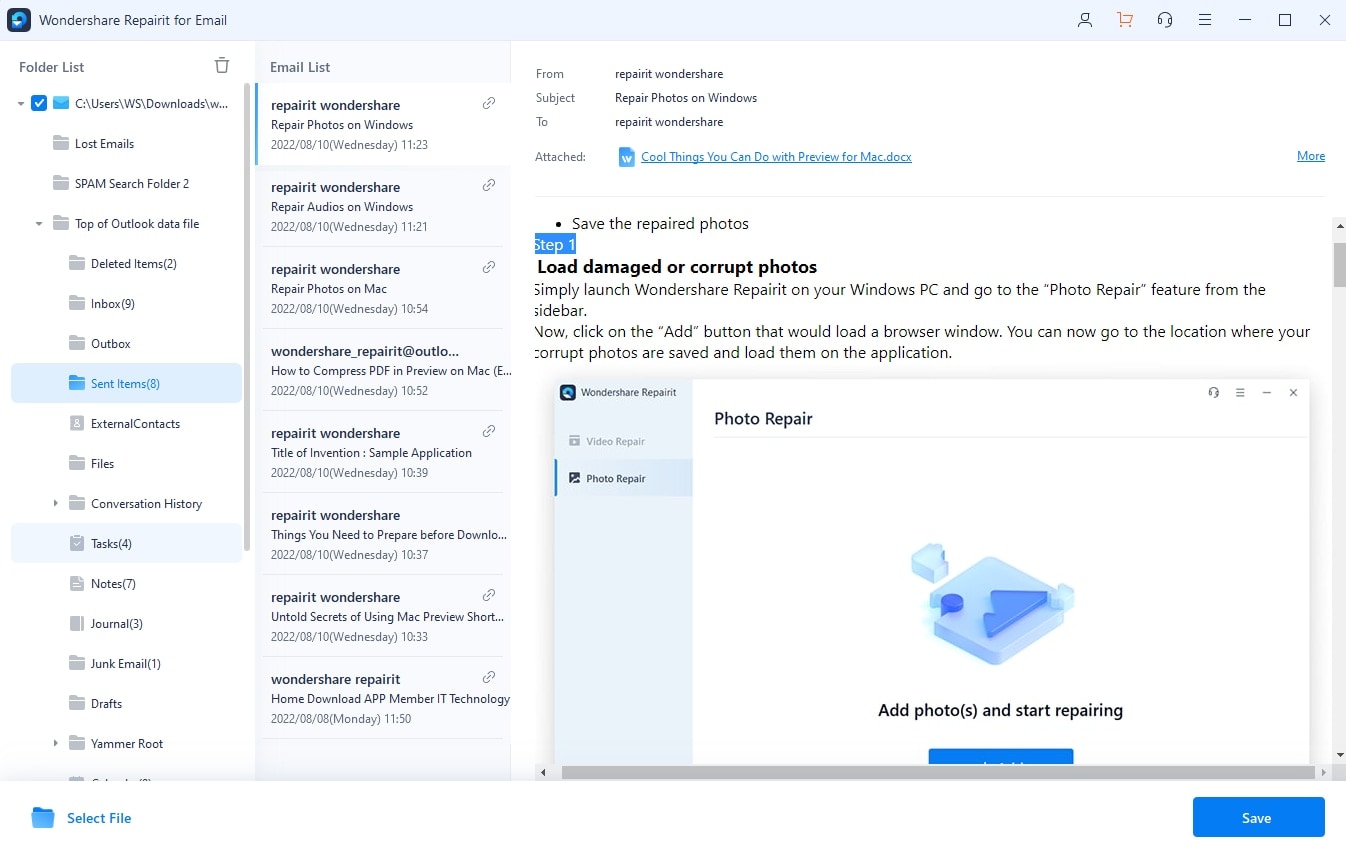
Step 3: Repair File and Save Email Data.
The file is repaired and displayed in the preview window across the next screen. Read through the repaired data, select it, and export it across the computer. After selecting the files, you can use the "Save" button to execute this process.

Concluding Part
The "Microsoft Outlook had problems encrypting this message" error is evident. As you understand this error, use the solutions provided for a perfect resolution. You can try out an email repair tool if you have a corrupted email data file. Wondershare Repairit for Email fits the description of being the best in the market.


 ChatGPT
 Perplexity
 Google AI Mode
 Grok
Grok
