

 TL;DR:
You can restore blurry Android pictures using the Repairit App on mobile for instant AI-driven sharpening or switch to its desktop software to process multiple files simultaneously.
● The mobile application specifically utilizes the Nano Banana algorithm within its AI Quality Enhancer, allowing you to process images using either General or Portrait mode.
● The desktop program is better suited for deep noise reduction and utilizes a Facial Recognition capability to explicitly identify and reconstruct distorted facial details and adjust lighting.
● To prevent motion blur natively before capturing, physically move closer instead of using digital zoom, activate Optical (OIS) or Electronic Image Stabilization (EIS), and manually set the camera's shutter speed to 1/250 or higher in Pro Mode.
Ask AI for a summary
 ChatGPT
 Perplexity
 Gemini
 Claude
 Grok
Grok
Imagine a situation where you snap and end up with a blurry Android picture that fails to capture the moment. It doesn't matter whether the blur happened because of a shaky hand on your phone or during transfer to your desktop; the result is stressful. The confusion ultimately becomes a lost opportunity to preserve a memory that neither time nor money can restore.
With current AI possibilities, what once seemed like a ruined shot can transform into a vivid memory you’ll actually want to share. To proceed, simply read the guide below and learn how to remove blurriness on both mobile and desktop.
Table of Contents
Part 1. How to Fix Blurry Android Pictures on Mobile
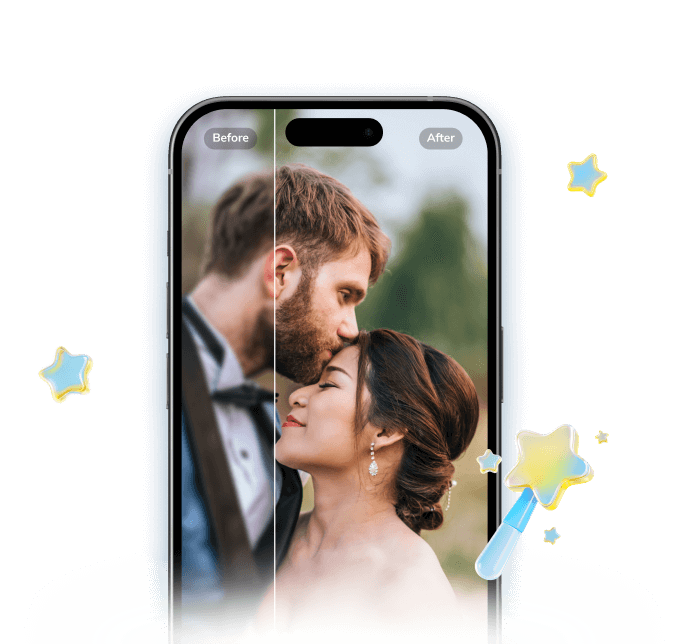
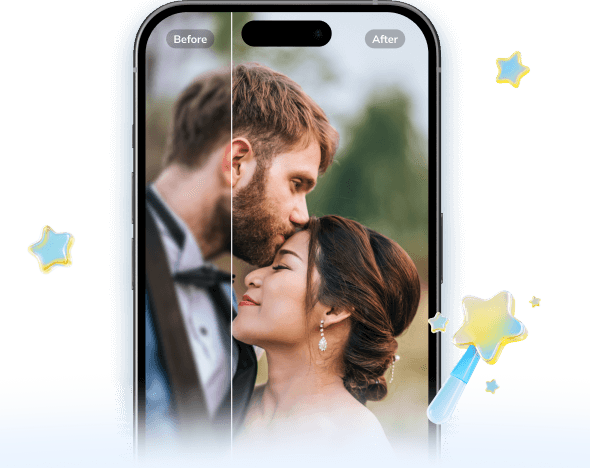
For every Android user, a perfectly captured shot appearing blurry doesn’t have to be permanent with the Repairit App. To address Android blurry pictures, it has newly integrated the latest Nano Banana algorithm for enhanced performance. Its AI Quality Enhancer offers 2 Enhancement modes that are named General and Portrait modes.
The app enhances photo clarity through advanced sharpening technology that recovers natural textures and fine details. Most importantly, you can compare your before and after results to see what difference the tool has made. Besides, it provides a one-click processing process, allowing users to save their enhanced creations directly on their devices.
Key Features
Repairit Al Photo Enhancer
Edit Photos with Words, Create Magic with Al
 Text-to-Edit: Describe it, AI repairs, enhances & colorizes instantly.
-
Memory Revival: Restore old photos, fix scratches & blur, relive details.
-
Creative Freedom: Remove objects & turn ordinary shots into unique stories.
-
Universal Recovery: Rescue corrupted photos from 2,000+ devices & RAW formats, all securely processed.
Comprehensive Guidelines to Remove Blurriness on Android
Instructions. Open the All-Photo Tools section, choose the “Enhance” tool, and import your blurry image. Once done, tap “General” mode, then press “Start Enhancing” to clear the added image. Here, compare your enhanced image, then hit the "Save” button to secure it to your device for posting.

Part 2. How to Fix Blurry Android Pictures on Desktop
Besides how to fix blurry pictures on Android, sometimes, you might need a powerful solution that goes beyond mobile editing. Its desktop version allows users to add multiple blurry images at once for instant enhancement. The software excels in sharpening blurred edges, uncovering hidden details, and improving the quality of each image.
Most importantly, you can review and save your enhanced images once the process completes. The Facial Recognition capability identifies and enhances blurry facial features, providing greater detail and realism. This version precisely adjusts the lighting and brightness, rescuing pictures with natural colors and vibrancy. It even works as a denoiser, reducing noise and unwanted grains without sacrificing original quality.
In-Depth Tutorial to Fix Blurry Android Pictures on Desktop
Follow the provided stepwise guidelines to broaden your understanding beyond how to fix blurry photos on Android:
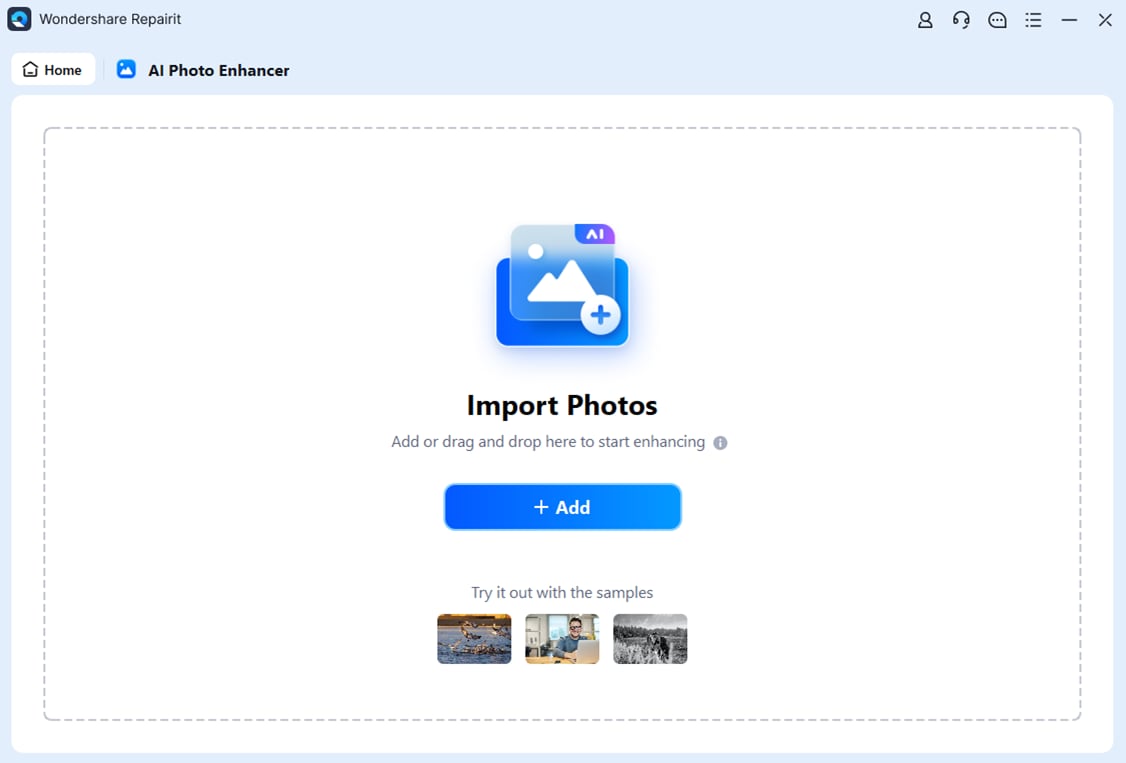
Step 1. Enter AI Media Enhancer & Import Your Blurry Images
At first, access the “AI Media Enhancer” module and press the “+Add” button to import your blurry Android pictures.
Step 2. Begin the Process of Enhancement on Pictures
Once the added pictures are confirmed, select “General Mode” and click the “Start Enhancing” button.

Step 3. Analyze and Save Enhanced Photos
After the enhancement finishes, review your improved Android photos and hit the “Export All” button to save them.

Part 3. 8 Tips & Tricks for Preventing Blurry Android Pictures
Even though apps like Repairit can easily restore Android blurry pictures, prevention is always better than repair. Considering the listed adjustments while snapping can surely help you capture sharper and more professional images every time:
1. Keep Your Hands Steady
Blurriness often starts with shaky hands, and the slightest movement while pressing the shutter can distort images. To overcome this, hold your phone firmly with both hands or keep your elbow close to your torso for better stability. When you capture photos in low light or zoomed in, consider resting your phone against a stable object.
2. Utilize Burst Mode for Moving Subjects
For action scenes, instead of relying on a single click, activate your Android’s burst mode. This feature takes a rapid series of photos in a few seconds, increasing the chances of snapping pictures in focus. It's one of the professional tricks photographers use to freeze movement with precision.
3. Tap to Focus Before Shooting
Before you snap, tap on your subject on the screen to lock focus, because your phone doesn’t know what to focus on. This helps the camera adjust exposure and sharpness based on your chosen area, ensuring key parts stand clearly. For how to fix blurry pictures on Android, this step can be the difference between a sharp and unfocused image.
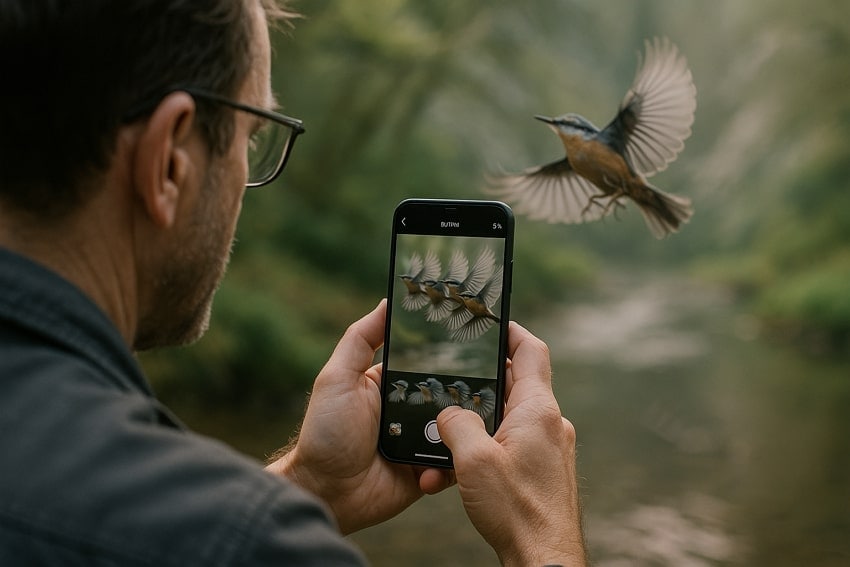
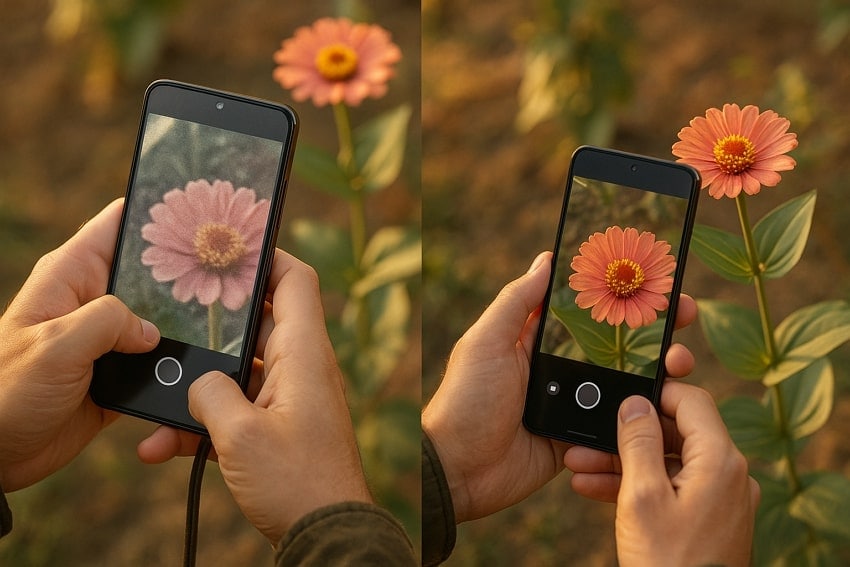
4. Avoid Digital Zoom Whenever Possible
When you zoom in digitally, it crops the image and stretches pixels, often leading to blurry photos on Android. Instead, move closer to your subject that will help you maintain detail and clarity. If your device offers optical zoom, use it because it physically adjusts the lens rather than digitally, preserving quality.
5. Adjust the Shutter Speed in Pro Mode
Many current Android models have a Pro or Manual mode where you can adjust your camera settings. A faster shutter speed reduces motion blur caused by either camera shake or moving subjects. Moreover, set the shutter speed to 1/250 or higher for fast motion, and to a slower speed for still scenes.
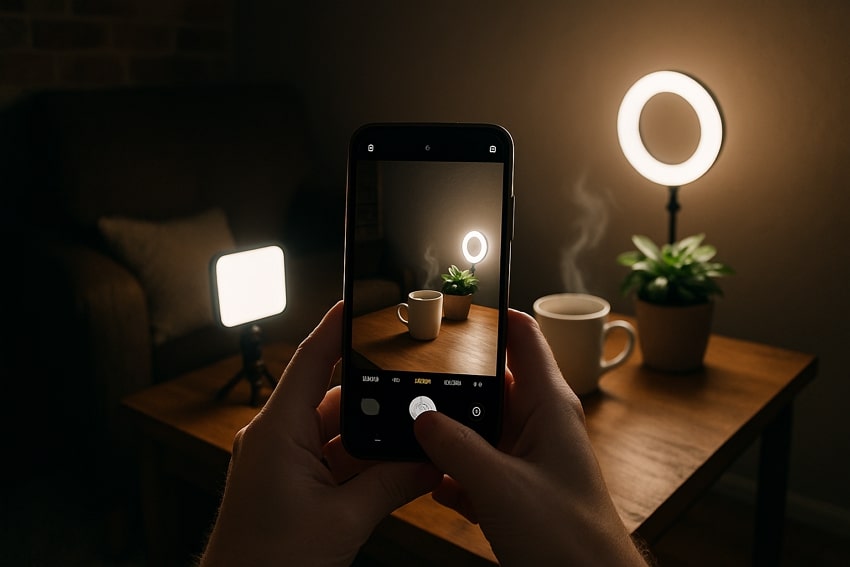
6. Use Proper Lighting
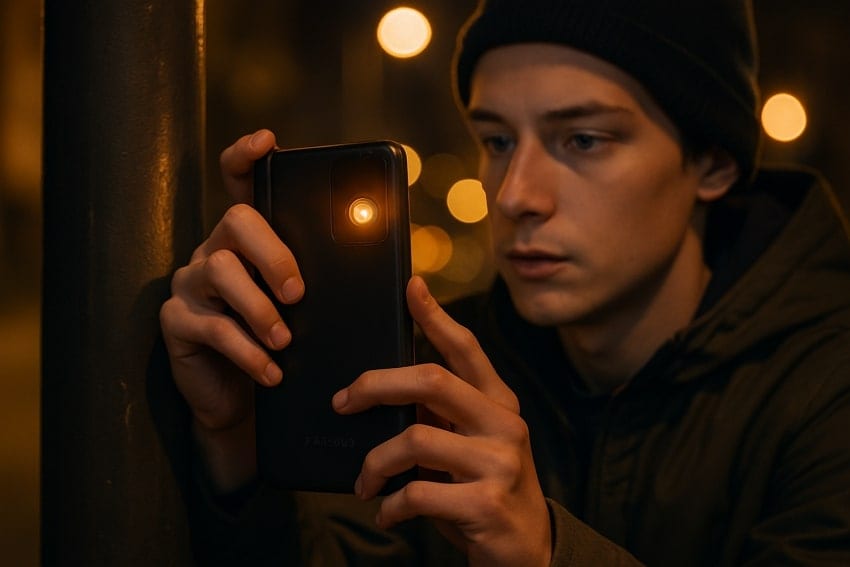
In dim or uneven lighting, your camera automatically lowers the shutter speed to compensate, increasing the chances of blur. Shoot in natural light whenever possible, like near a window or outdoors during golden hour, to minimize Android blurry pictures. For indoor shoots, add extra lighting or enable flash to give your photos that extra sharpness and prevent noise.
7. Enable Image Stabilization
Most Android phones come with Optical (OIS) or Electronic Image Stabilization (EIS) features designed to reduce shake. These technologies work by adjusting lens movement or digitally stabilizing the frame in real-time. Make sure this setting is turned on in your camera app for handheld video, night photography, and long exposure shots.
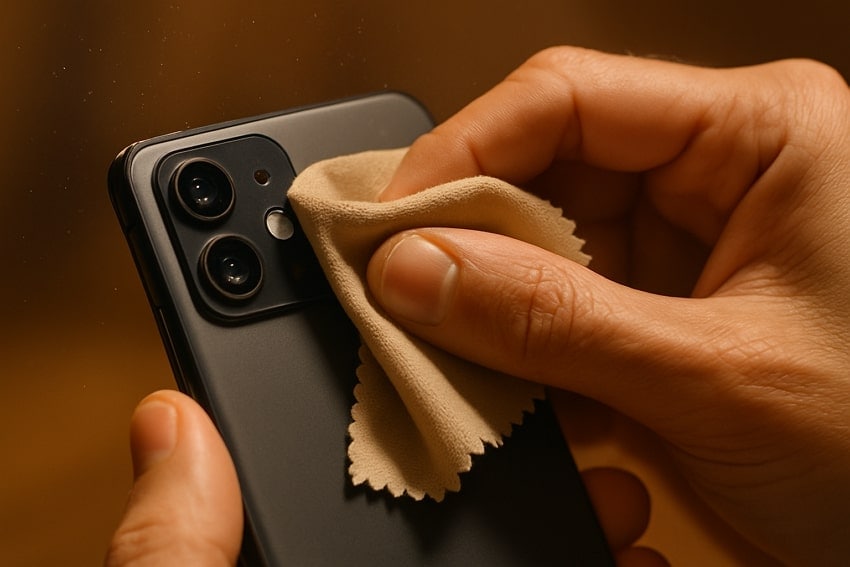
8. Clean Your Camera Lens
This one is a simple step that's often overlooked but can have a massive impact while snapping. Even if your technique is perfect, dust or fingerprints can scatter light entering the lens, causing haze. Keep your lens clean using a soft microfibre cloth or lens wipe to capture every detail as they are.
Conclusion
In conclusion, any blurry Android picture can turn a memory into an ultimate disappointment, but now it doesn't have to stay forever. Whether you opt for the Repairit App or the desktop convenience, the results are exceptional, making photos as vivid as possible. In the future, pair proactive habits with Repairit to confidently preserve every detail with clarity and precision.
Frequently Asked Questions
-
Q1. Is it better to fix blurry photos on mobile or desktop?
Both options work well; the Repairit App is convenient for quick enhancement on the go. Conversely, its desktop version offers an advanced AI Enhancement with modes for deeper restoration and batch processing. -
Q2. Does repairing blurry photos take a long time?
Not at all; Android blurry pictures can be fixed in seconds, whether you prefer the Repairit App or the desktop program. -
Q3. Does enhancing a photo remove noise as well?
Indeed, Repairit excels at enhancing images, not only in sharpness but also in reduced noise and restored minor details.

