Voice recording applications are quite important for creating audios that can be utilized across multiple platforms. However, while using these applications, you might encounter a case where you are not able to open your voice recorder. On the other hand, you may have constantly failed to save the file as the voice recorder crashes.
To make sure your audio recording app does not malfunction or crash while opening or saving files, this article features some unique and explicit solutions that would resolve all prevalent concerns of the voice recorder app.
Part 1: 6 Methods to Stop Voice Recording App From Not Opening or Saving Files
In this part, we shall focus on the important remedies that can be used to figure out a solution to the voice recorder not working or saving files across the computer. Following these methods will help you figure out a clear pathway to manage your files easily.
Method 1: Updating the Audio Driver Within the Computer
One of the first reasons that may have led to such a case would be the outdated driver settings that are saved across the computer. If the driver has not automatically updated itself for some time, there will come the point where it will start malfunctioning and lead to such an error in your device.
It is considered optimal to update the audio driver in such cases, which can be done by following the steps displayed below:
Step 1: Open the "Search" box by clicking on the respective icon on the screen of your Windows. Type in "Device Manager" and open the appropriate window on the computer.

Step 2: You will find the "Sound, video and game controllers" section in the available list of drivers. Click to expand the options.

Step 3: Right-click on the audio driver within the list and select the "Update Driver" option in the drop-down menu. You can also opt for the option of automatically installing the driver when an update is available.

Method 2: Resetting or Reinstalling the Application
The next solution involves managing the application that is being used by the user across the computer. If you own a voice recorder that is continually crashing or not opening on your computer, it is considered best to reset or reinstall it to revamp all the processes associated with it.
To make sure that the application keeps on working properly on your computer, you need to follow the steps defined below:
Step 1: Proceed into the "Settings" of your computer and find the "Apps" option in the list. Click on the option showing "Apps and Features" to display all the applications installed across the computer.

Step 2: Locate the voice recorder application in the list and proceed to click on "Advanced Options" to open a new window with more options. Tap "Reset" if the user needs to reset the application. Click on "Uninstall" if it needs to be reinstalled on your computer.

Step 3: For users, who have to reinstall the app, they need to access the necessary platform for downloading it again on your device.
Method 3: Clearing the Windows Store Cache
The next solution involves managing the Windows Store cache present in the computer. Usually, the issues involving the voice recorder not working comes from such problems within a device. Thus, it is considered best if the user clears the cache and makes the device run smoothly. They need to cover the following steps in detail for this:
Step 1: Go across the "Search" bar and find "Run" or use the shortcut keys of 'Win + R' to open the dialog box on the computer.

Step 2: Type in "WSReset.exe" across the provided space and click "Enter" to open the Windows Store to complete the process of clearing its cache.

Step 3: Once done, restart the computer to check if the problem has been resolved.
Method 4: Running the Audio Troubleshooter Feature on Computer
This procedure can come in quite handy if tried properly on the computer. Usually, the errors involving the recording application not working or saving files involve errors and glitches within the computer or software.
To make sure that it does not happen frequently, you can use the Audio Troubleshooter to check the audio server status and the drivers so that it may potentially save the user from such conditions:
Step 1: You need to start by launching the "Settings" application on your computer. Lead into the "Update & Security" category on the screen that opens up.

Step 2: For the next screen, find the "Troubleshooter" option in the left-side panel to lead to new settings. With the options displayed on the front, find the "Additional Troubleshooters" option and scroll down the page to find the audio troubleshooting options.

Step 3: Click on the "Recording Audio" section and press the option of "Run the Troubleshooter" to select the audio device that you need to check and troubleshoot. Once selected, click "Next" to detect and resolve the fixes across the device.

Method 5: Troubleshoot in Clean Boot Mode
If your voice recorder cannot open on your computer, another significant method that can help you figure out the solution to this error is by troubleshooting the issue in the Clean Boot mode. This procedure only functions the minimal startup programs and drivers to help the user in finding the cause of the issue in the first place.
For this, they need to follow a set of steps that would effectively help them move in the required mode:
Step 1: To open the "Run" dialog box, go across the "Search" bar to open it. Type in 'msconfig' to lead to "System Configuration."

Step 2: Locate the "Services" tab in the new window and check the option of "Hide all Microsoft services" to hide all core operations.

Step 3: Proceed to click the "Disable All" operations and open Task Manager on your computer.

Step 4: Lead to the "Startup" tab on the new window and select every item, and "Disable" it. You need to click on "OK" across the other opened window to close it properly.

Step 5: Once done, restart the computer and open the voice recorder to re-record the audio. If the issue prevails, the issue would be present across the third-party application that is being used to record.
Method 6: Providing Access to Applications
Under certain circumstances, the issue can also direct to some privacy settings that are turned on for controlling the access of these applications across the computer. There might be a case where the recording application may have been halted from saving the files or recording them properly. To make sure this issue is resolved, go through the steps featured below:
Step 1: Open "Settings" and proceed into the "Privacy" section.

Step 2: Find the option of "Microphone" on the left-hand side of the screen and turn on the slider of "Allow apps to access your microphone."

Step 3: To allow specific applications with this permission, turn on their sliders across the same window.

Part 2: The Ultimate Technique to Recover All Lost Voice Recordings
Although there are many remedies available featuring solutions to resolve errors across voice recording applications, there might be certain cases where you are not able to resolve them completely. This leaves you in a situation where you cannot access the recorded files from the application directly.
Thus, you then need a third-party application that can help you recover these lost voice recordings easily.
Wondershare Recoverit is known for attenuating such exemplary features of recovering the lost files across the computer. With its steady interface and process speed, it is surely a great option for reviving your lost voice recordings. If your voice recorder crashed and you are not aware of the status of your audio, you should consider using this tool according to the provided guide below:
Firstly you need to download this tool
Step 1: Open and Select Drive
Launch the installed application of Wondershare Recoverit on your computer and select the hard drive that contains the lost voice recording on the screen.

Step 2: Scanning Drive
You have to tap on the "Start" button to initiate the scan. Recoverit potentially scans the selected location and displays the results on your front in the preview window.

Step 3: Preview and Recover Voice Recordings
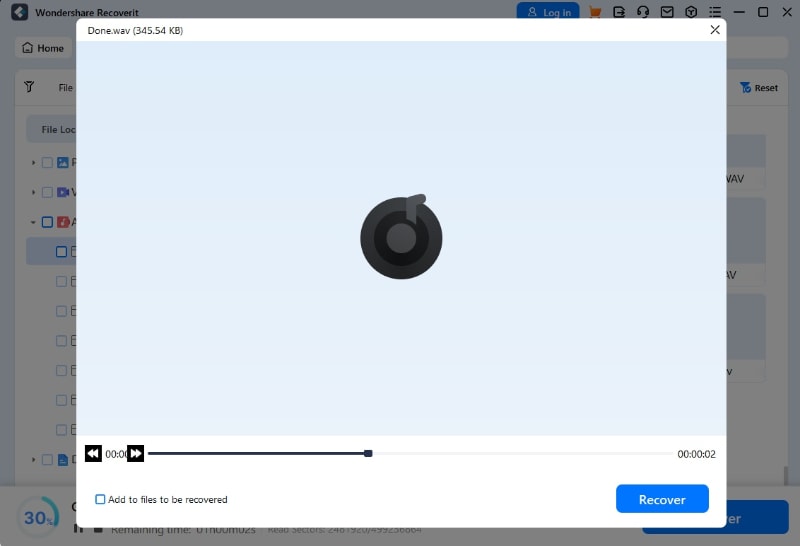
Once the process concludes, select any file available in the list and preview it before recovering it on your computer. If you find the necessary voice recordings, click on "Recover."

Bonus Tip 2: Use the Audio Repair Tool to Repair Corrupted Voice Recordings
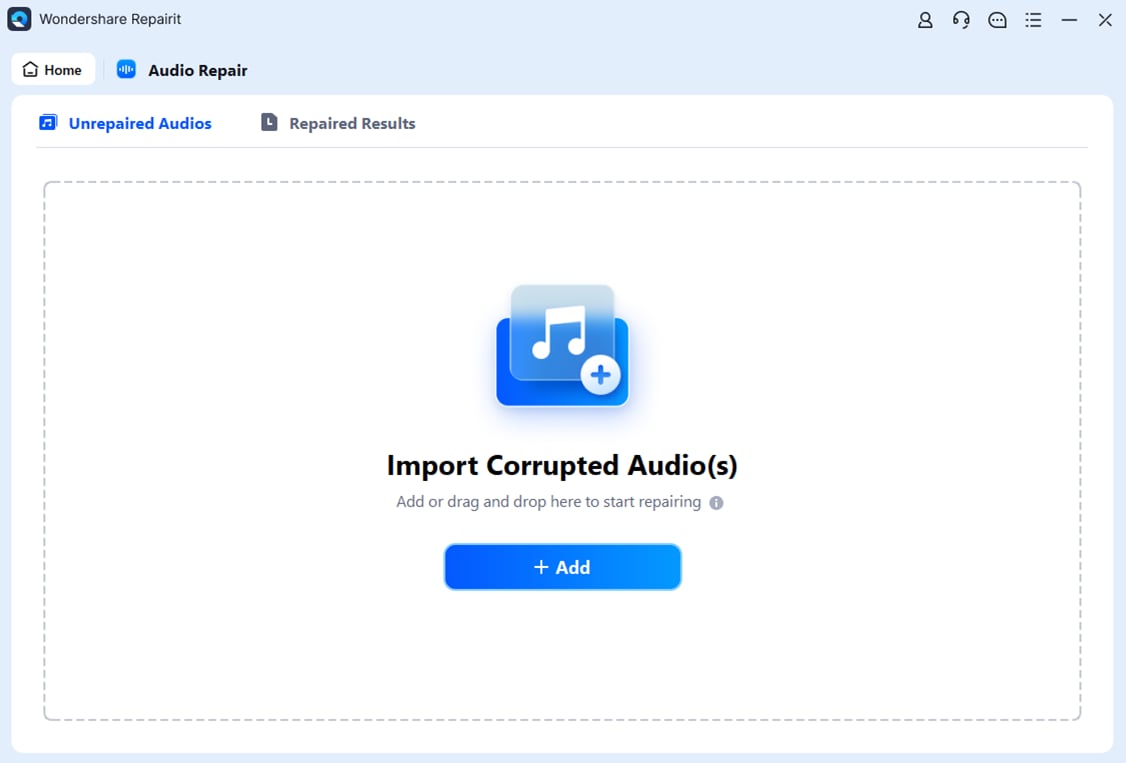
Once you are aware of the potential remedies and methods that can help you retrieve your voice recordings, you should also be made known the right direction that you need to select if your voice recording accidentally corrupts. Wondershare Repairit has recently launched its new feature of Audio Repair, which provides a very clear and efficient system of repairing a corrupt audio file for the user.
The user can use this advanced feature of Repairit by uploading a sample file of the same source and format in which the corrupted audio file is added. The audio repair feature of Repairit will repair the audio and make its quality according to the sample. This is how they can easily make sure that their voice recordings do not remain corrupted.

This video can help you fix your corrupted voice recordings with a step-by-step guide.
Conclusion
This article has introduced the users to multiple solutions that can be executed across the computer and resolve the problems occurring within the audio recording app. With the help of these remedies, the user can ensure that their voice recordings can be accessed by resolving the matters of the voice recorder not working or saving files.


 ChatGPT
 Perplexity
 Google AI Mode
 Grok
Grok
