

 TL;DR:
To resolve the lack of HDMI sound on a MacBook, you must manually route the audio to your external display by selecting the connected TV as the default sound output device.
● Hardware connections require a direct HDMI cable, an Apple USB-C Digital AV Multiport Adaptor, or a Mini DisplayPort converter, with 2021 MacBook Pros supporting 4K resolution at 60 Hz and 2015 models restricted to 4K at 30 Hz.
● If selecting the HDMI TV via the Output tab or by holding the Option key while clicking the menu bar speaker icon fails, launch Audio MIDI Setup and reset the HDMI device format to 41000.00Hz.
● For silent playback caused by corrupted media rather than system settings, Wondershare Repairit can fix the files, provided you upload an intact sample audio or video file in the exact same format to utilize its Advanced Repair function.
Ask AI for a summary
 ChatGPT
 Perplexity
 Gemini
 Claude
 Grok
Grok
Several users have encountered Mac HDMI no sound. They gripe about videos playing silently. Well! Most often, these issues stem from various configurations and settings. Since you are reading this post, you must also be experiencing this problem. Thankfully, some fixes can assist in resolving the HDMI sound issue. Keep an eye on the screen and know what to do if there is no HDMI sound. So, let's dive into it!
Part 1: What's The Advantage Of Using HDMI On Mac?
The main advantage of HDMI on Mac is that it offers a fully digital signal that sends audio and Video over a single connection, simplifying things. Although HDMI and DVD are "completely backward-compatible," only Video, not audio, may be transmitted via HDMI when a DVI-equipped device, such as a Mac mini, is connected to an HDMI-equipped TV or vice versa.
Part 2: Why there's No Sound When Connecting HDMI to Macbook?
There are some reasons why there is no HDMI sound when you are connecting an HDMI to a MacBook. The first reason is that your system may occasionally have a bug that is creating audio issues. Another reason is that if you attach the HDMI cable to an already turned-on TV, the sound won't function. Moreover, the HDMI output does not have sound if the HDMI device is not selected as the default device.
Note: You might also be interested in how to convert MP3 to WAV
Part 3: How to Fix Mac HDMI No Sound?
Here are some solutions you need to follow to fix Mac HDMI no sound.
Solution 1: Adjust System Preferences
- Select system options by clicking the Apple icon on the menu bar of your Mac.
- Click the sound button now.
- Out of the three choices, pick the Sound Effects tab. These options are Output, Input, and Sound Effects.
- Select your TV from the drop-down menu in the "Play sound effects through" area which is located somewhere in the middle of the window.

- Then, choose the middle tab-Output.
- Choose your TV in the section "Select a device for sound output"

- Now, go to Applications>Utilities>Audio MIDI Setup via the Finder or Launchpad, and double-click it to launch it.

- Now on the left side of the window, you should see HDMI. When you see "Source:" in the Output tab, somewhere in the middle of the window, select your TV from the drop-down menu.
- The following should be done if you cannot see a speaker symbol next to HDMI in the list on the left:
- In the bottom left pane, click the triangle-shaped wheel icon.
- Make that the speaker icon is next to HDMI in the list of devices, and that sound output is selected.

- If the sound from your TV is still not working, log out and then back into your account on your MacBook Pro. The audio from your Macbook should now be playing on your TV.

Solution 2: Select Your TV as a Sound Output Device
- Click the speaker icon in the Mac menu bar while holding down the Option key on the keyboard. (in the top right corner of your screen)
- Choose the HDMI-connected TV from the drop-down selection.
- Check to see if your issue is now resolved. If it did not, try the next approach.
Solution 3: Reset the Format to 41000.00Hz
- Go to Applications.
- Select Utilities, and double-click on MIDI setup.
- On the left panel, select the HDMI device. And change the "Format" values to 00 Hz.
Note:
If your TV is connected to your Macbook Pro through a DisplayPort-to-HDMI cable, you may need to perform some or all of the aforementioned procedures to obtain sound coming from the TV.
Solution 4: Check if it's Video Or Audio Sound Problem
If the problem lies in the Video or audio itself, I recommend you fix this issue with Wondershare Repairit.
If there is a problem with the video
If your videos got corrupted, damaged, or inaccessible, then you must go with Wondershare Repairit to fix unplayable videos recorded.
Several exclusive features set it apart from the competition.

-
Repair damaged videos with all levels of corruption, such as video not playing, video no sound, out-of-sync video or audio, header corruption, flickering video, missing video codec, etc.
-
Repair videos of diverse formats, including MOV, MP4, M2TS, MKV, MTS, 3GP, AVI, FLV, MXF, KLV, INSV, M4V, WMV, MPEG, ASF, etc.
-
Repair damaged or corrupted videos caused by video compression, system crash, video format change, etc.
-
Repair critically damaged or corrupted videos available on SD cards, phones, cameras, USB flash drives, etc.
-
Repairit has a quick and advanced scanning mode. You can use either depending upon the level of corruption the video file has undergone.
-
Compatible with Windows PC, Mac OS, and supports PC to mobile transferring/sharing.
Steps to Repair Videos On Mac
The steps for fixing videos on Mac are pretty simple. Please follow the three steps below to fix videos on Mac:
- Include Corrupted Video.
- Repair Video.
- Save the Video.
Step 1: Include Corrupted Video
Install the software on your device, and then drag and drop the corrupted Video into the software interface.
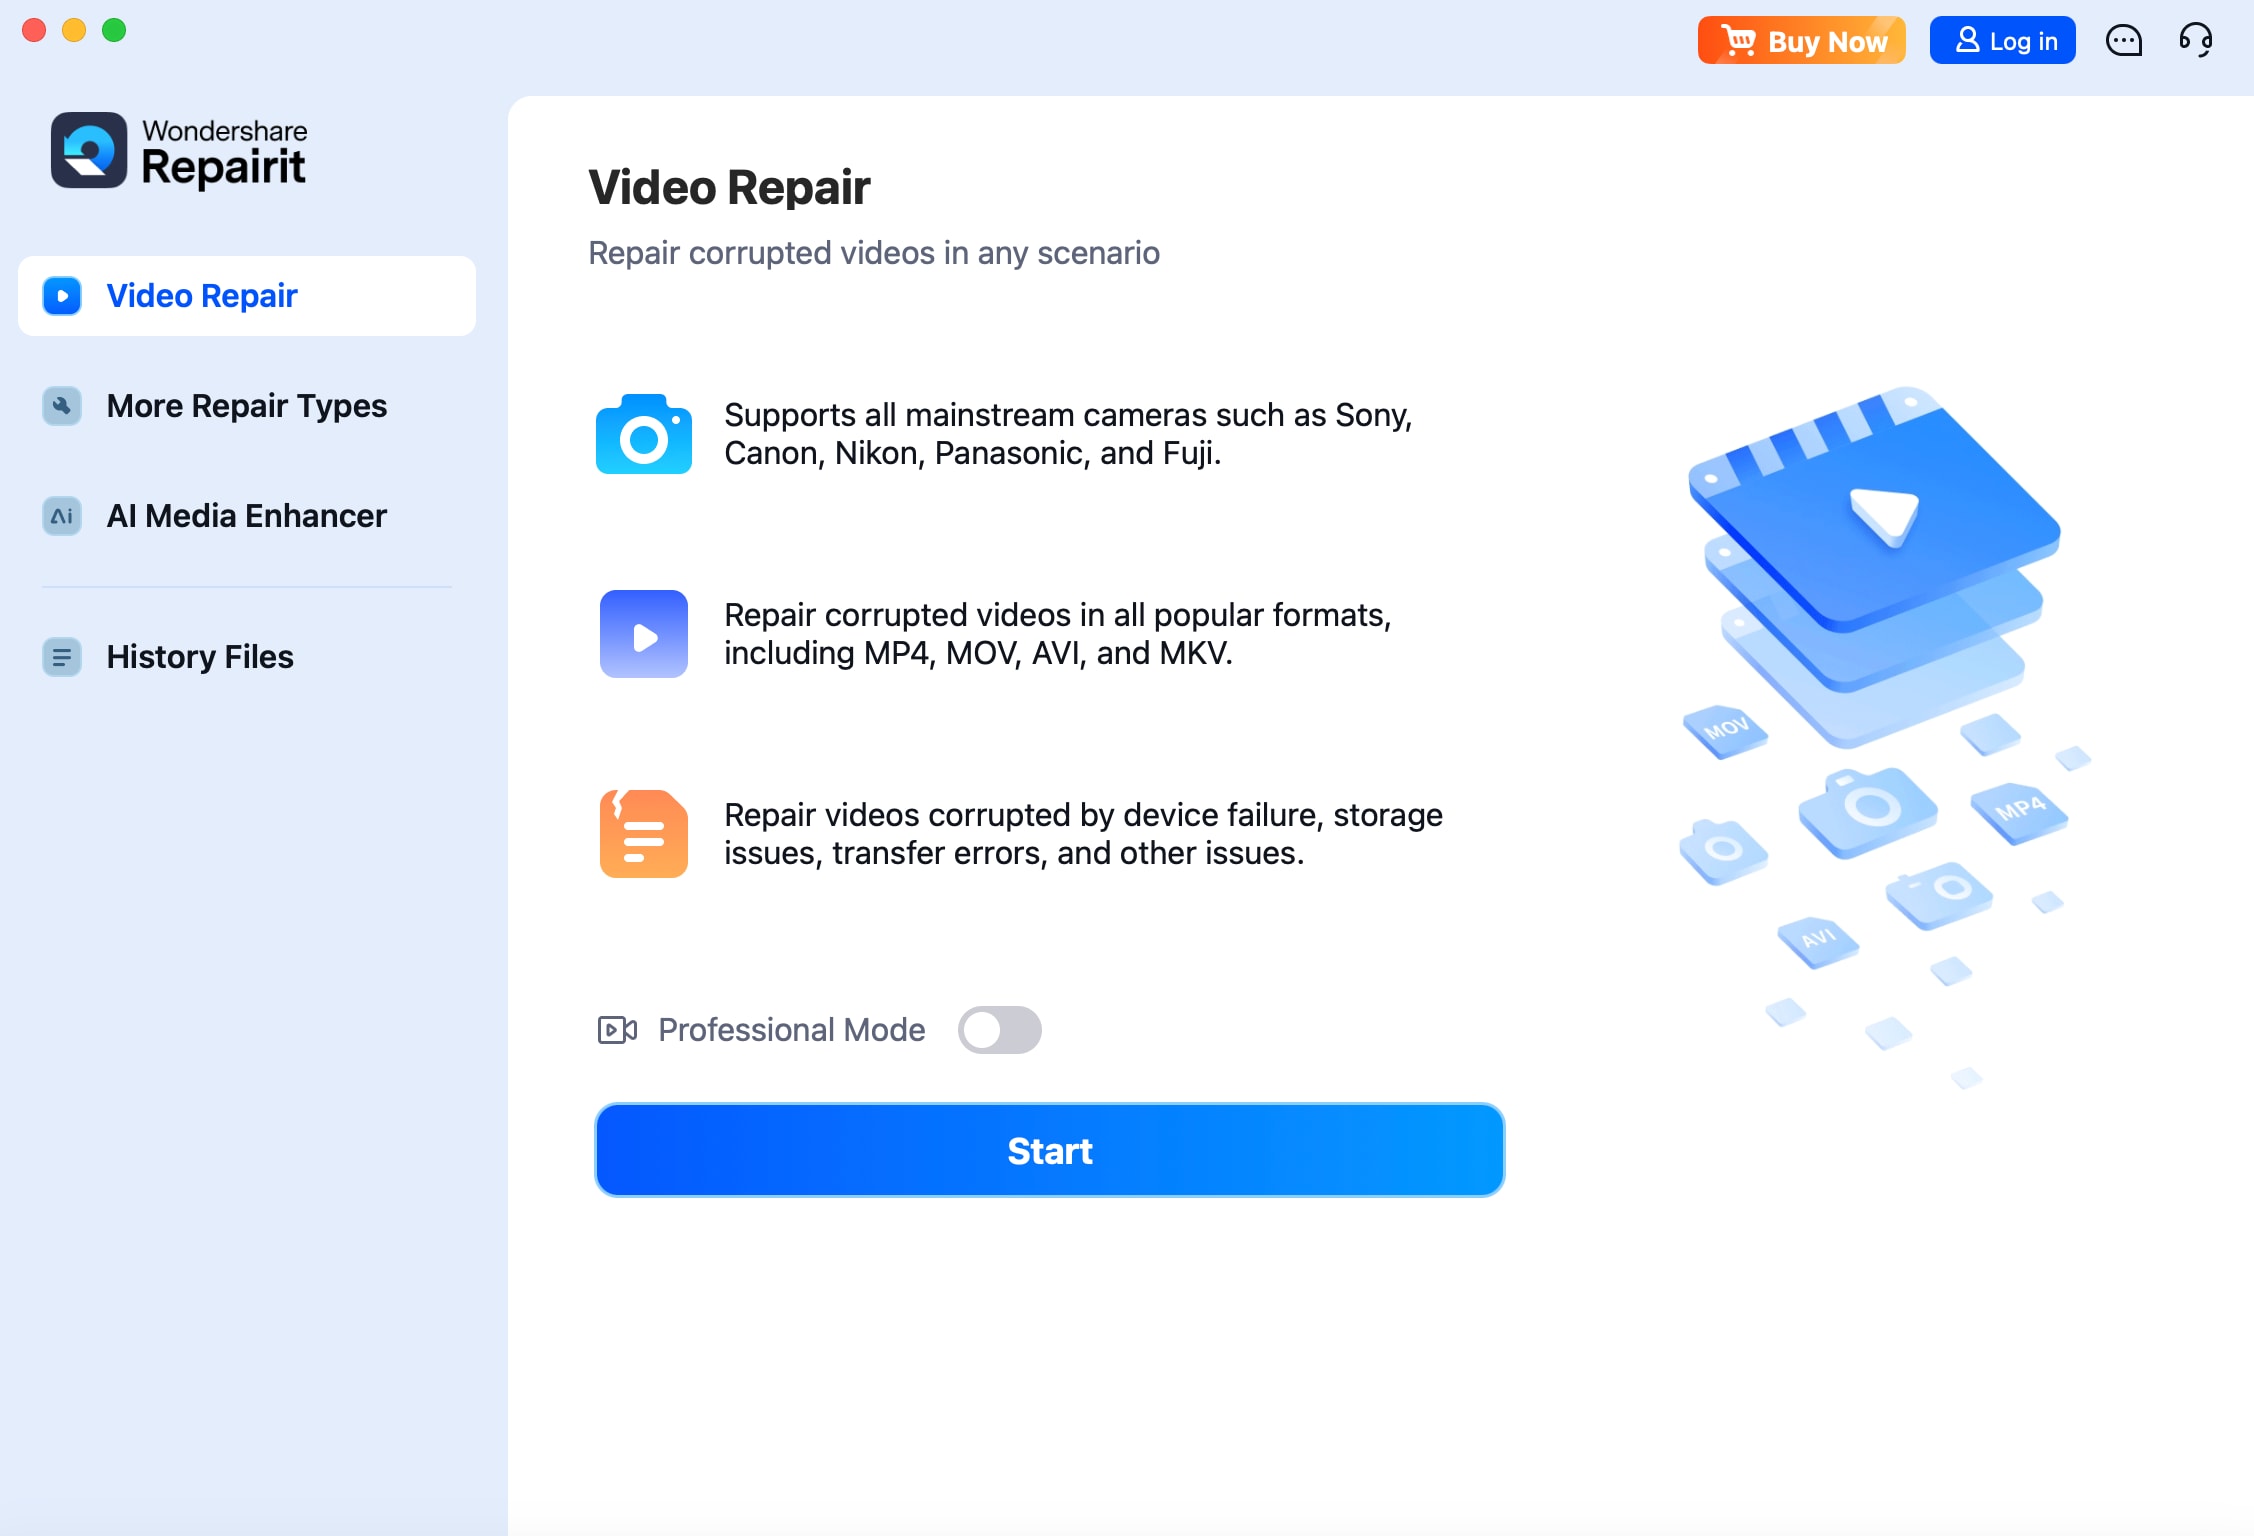
After you add a corrupted video, it will provide the following information about it: File Name, File Size, Video Watching Time, Video Resolution, Filming Equipment, and File Path.
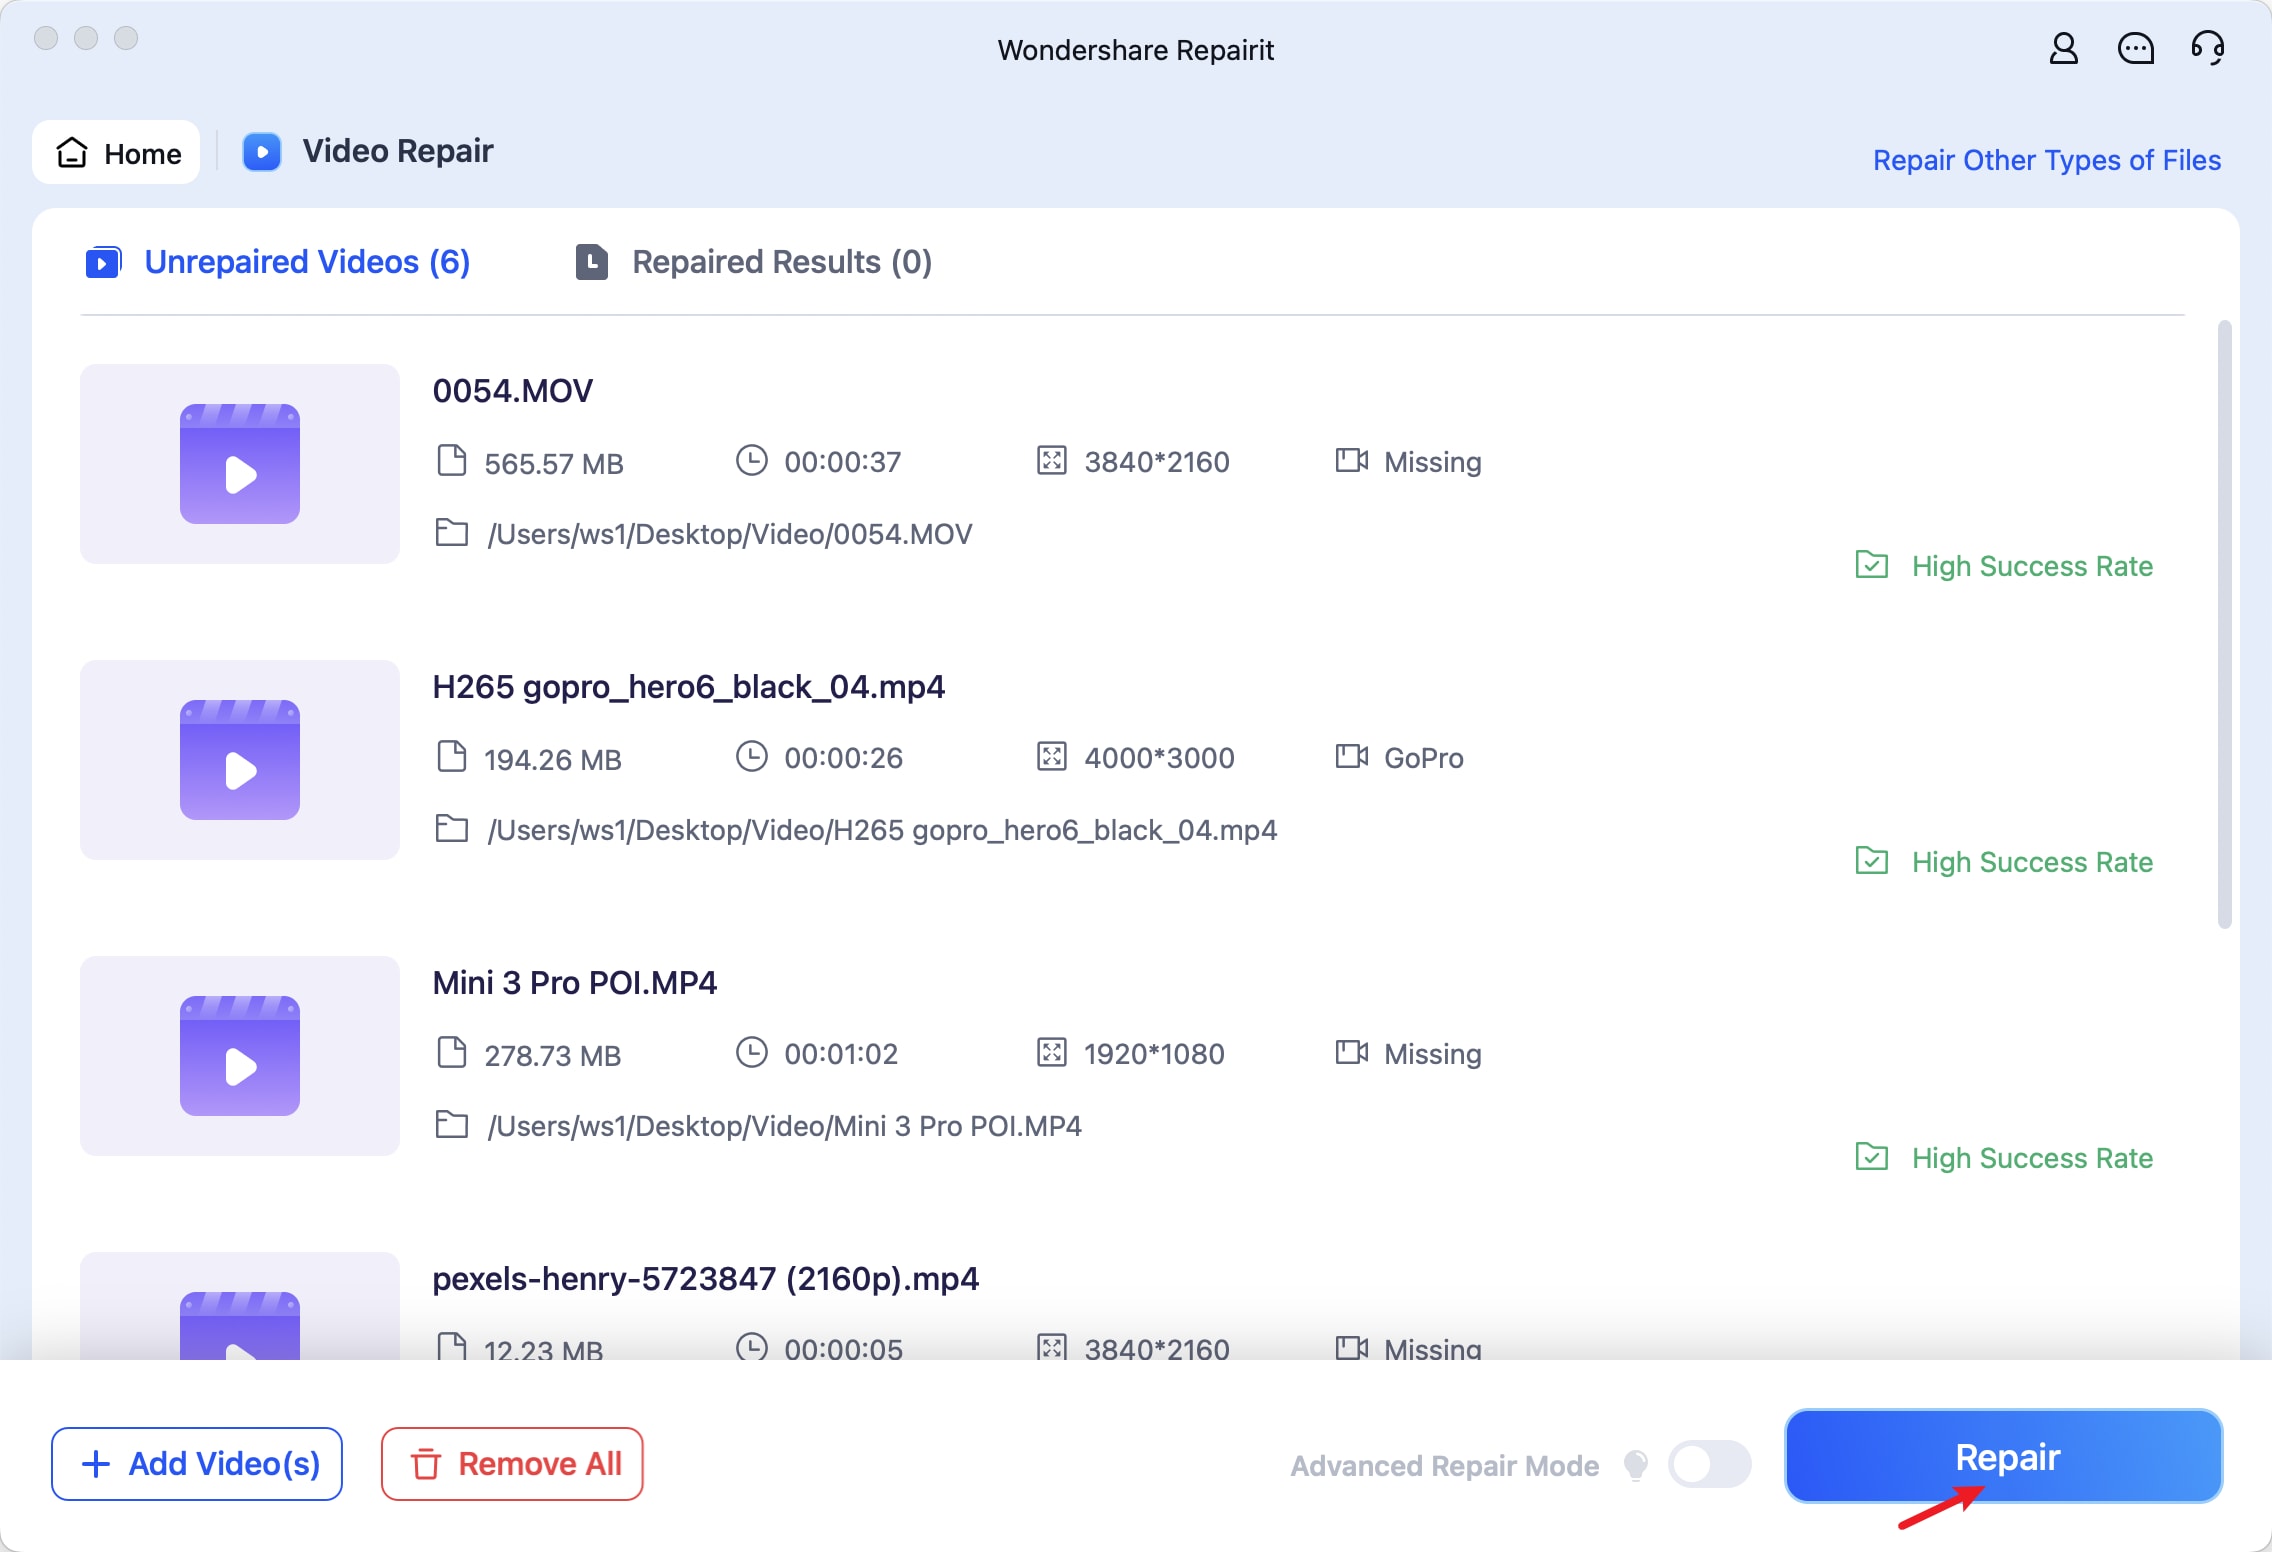
Step2: Repair Video
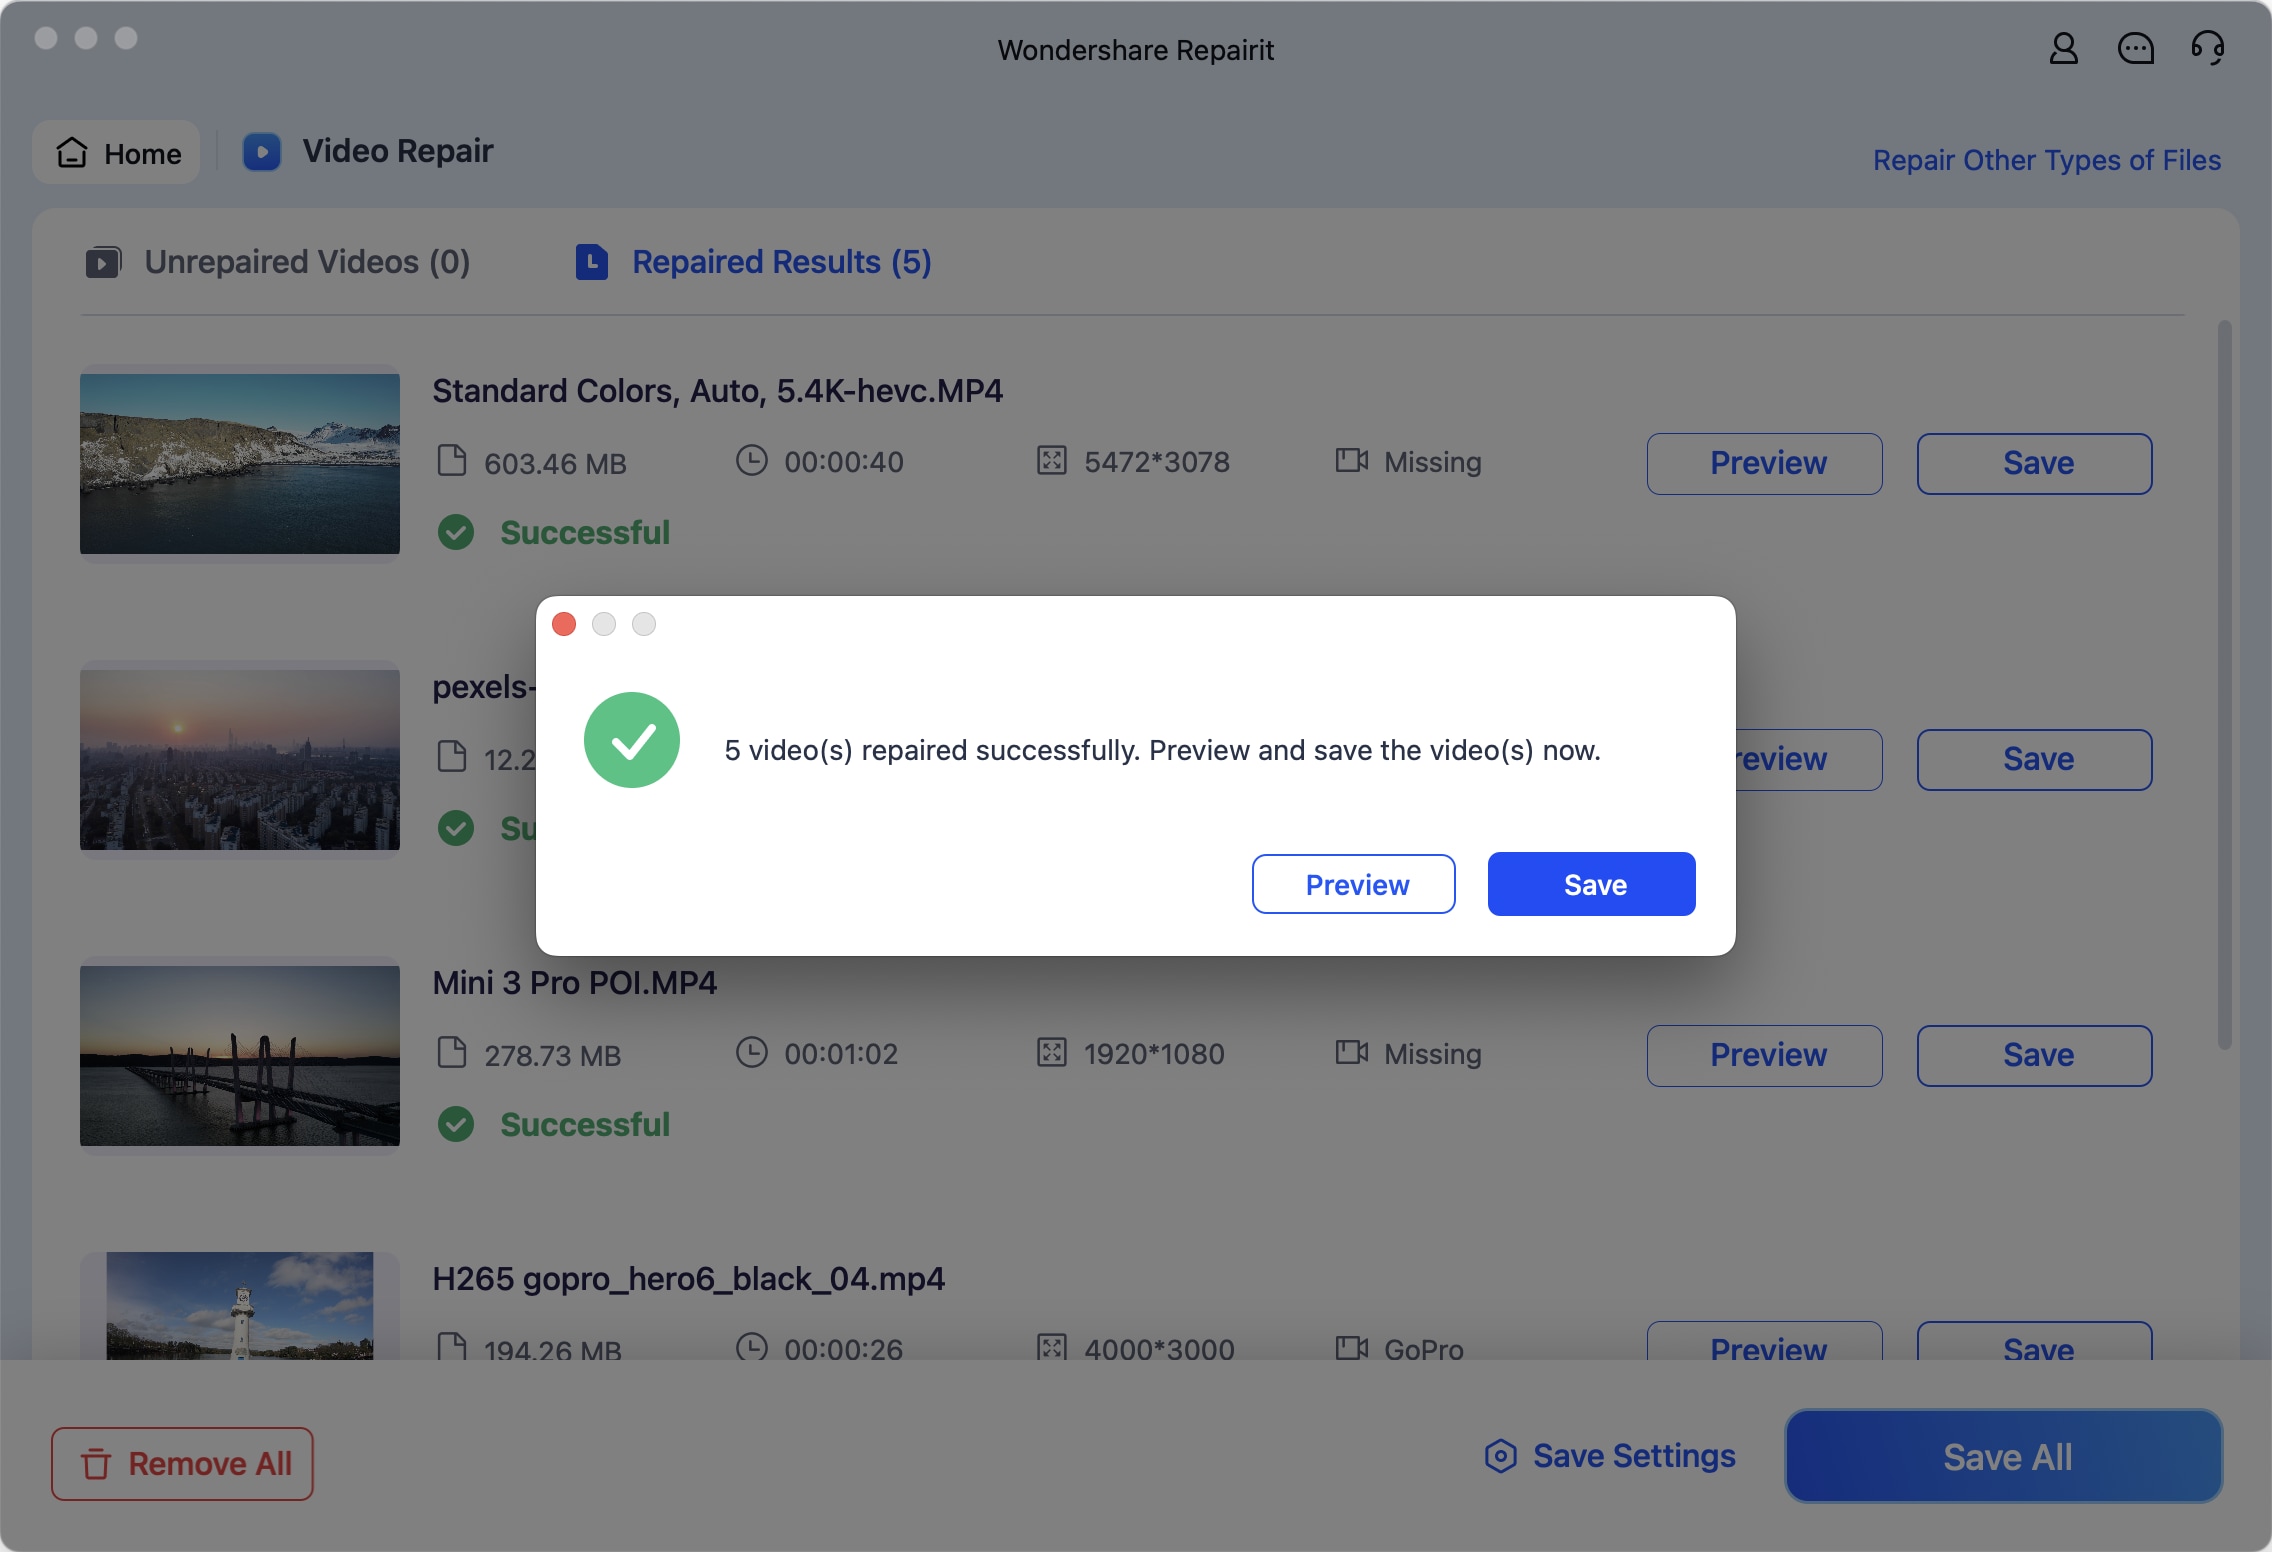
Select the Repair Video option. A window will display when the repair mechanism is finished, indicating that the video repair is complete. To save and preview the corrected Video, click OK.
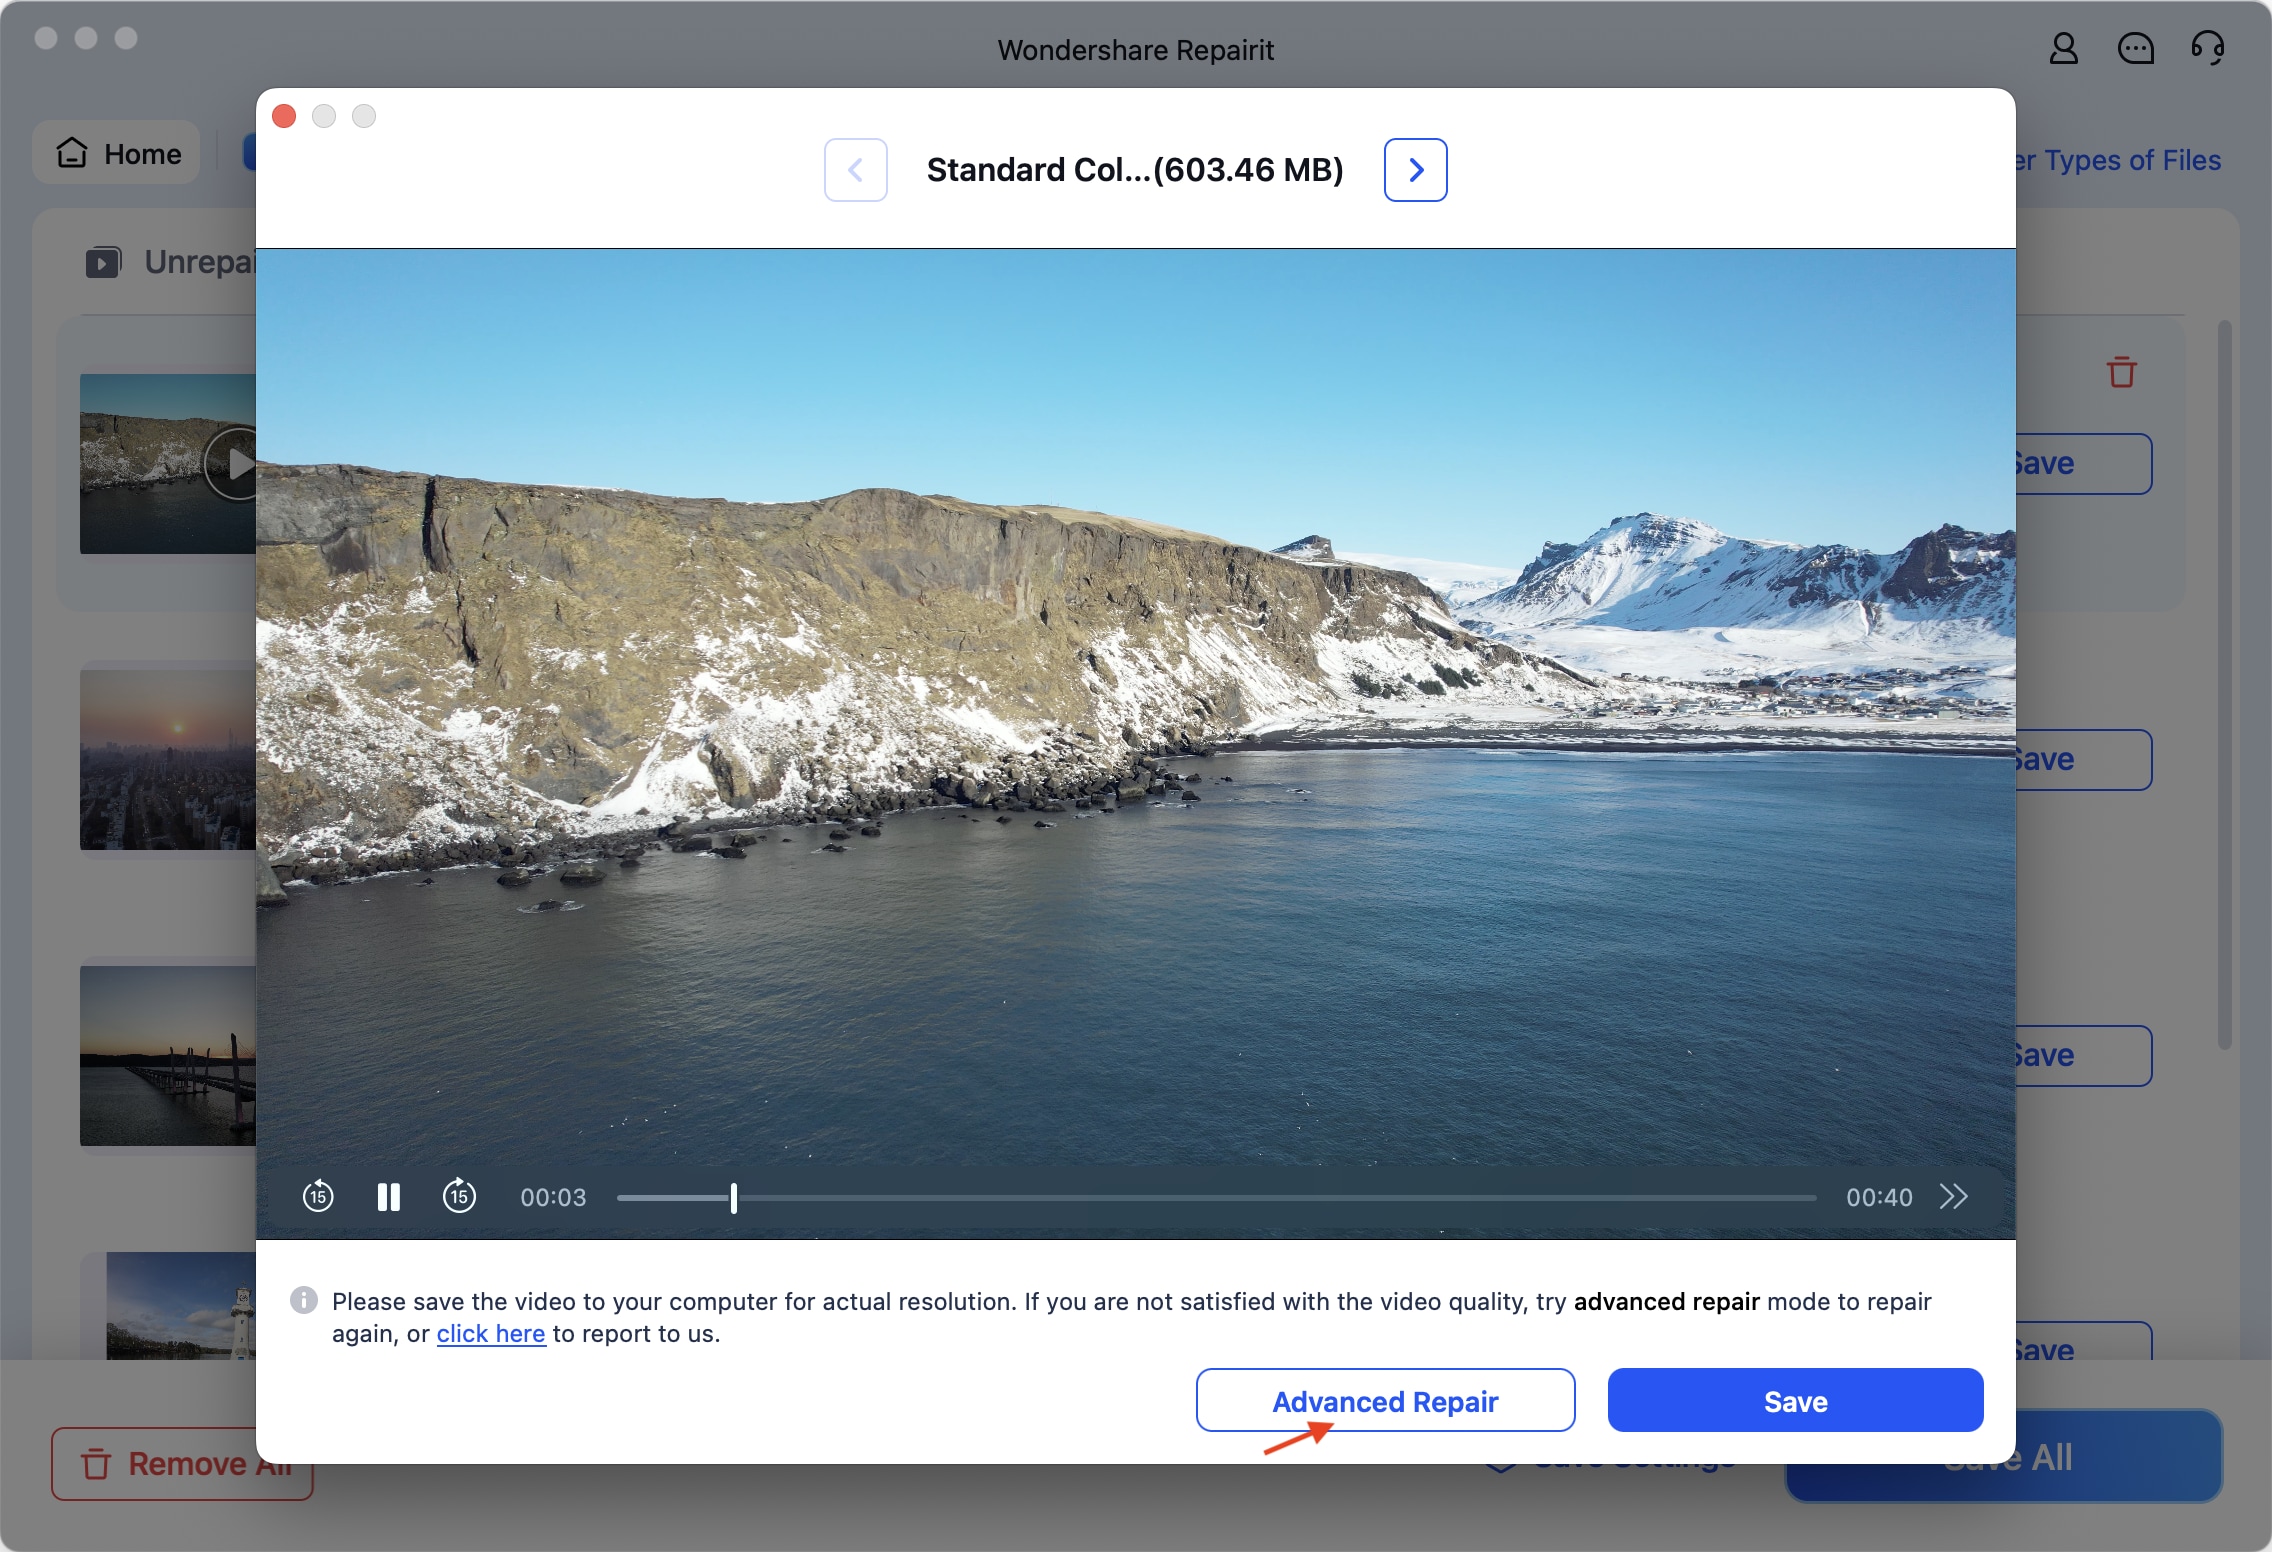
Watch the Fixed Video
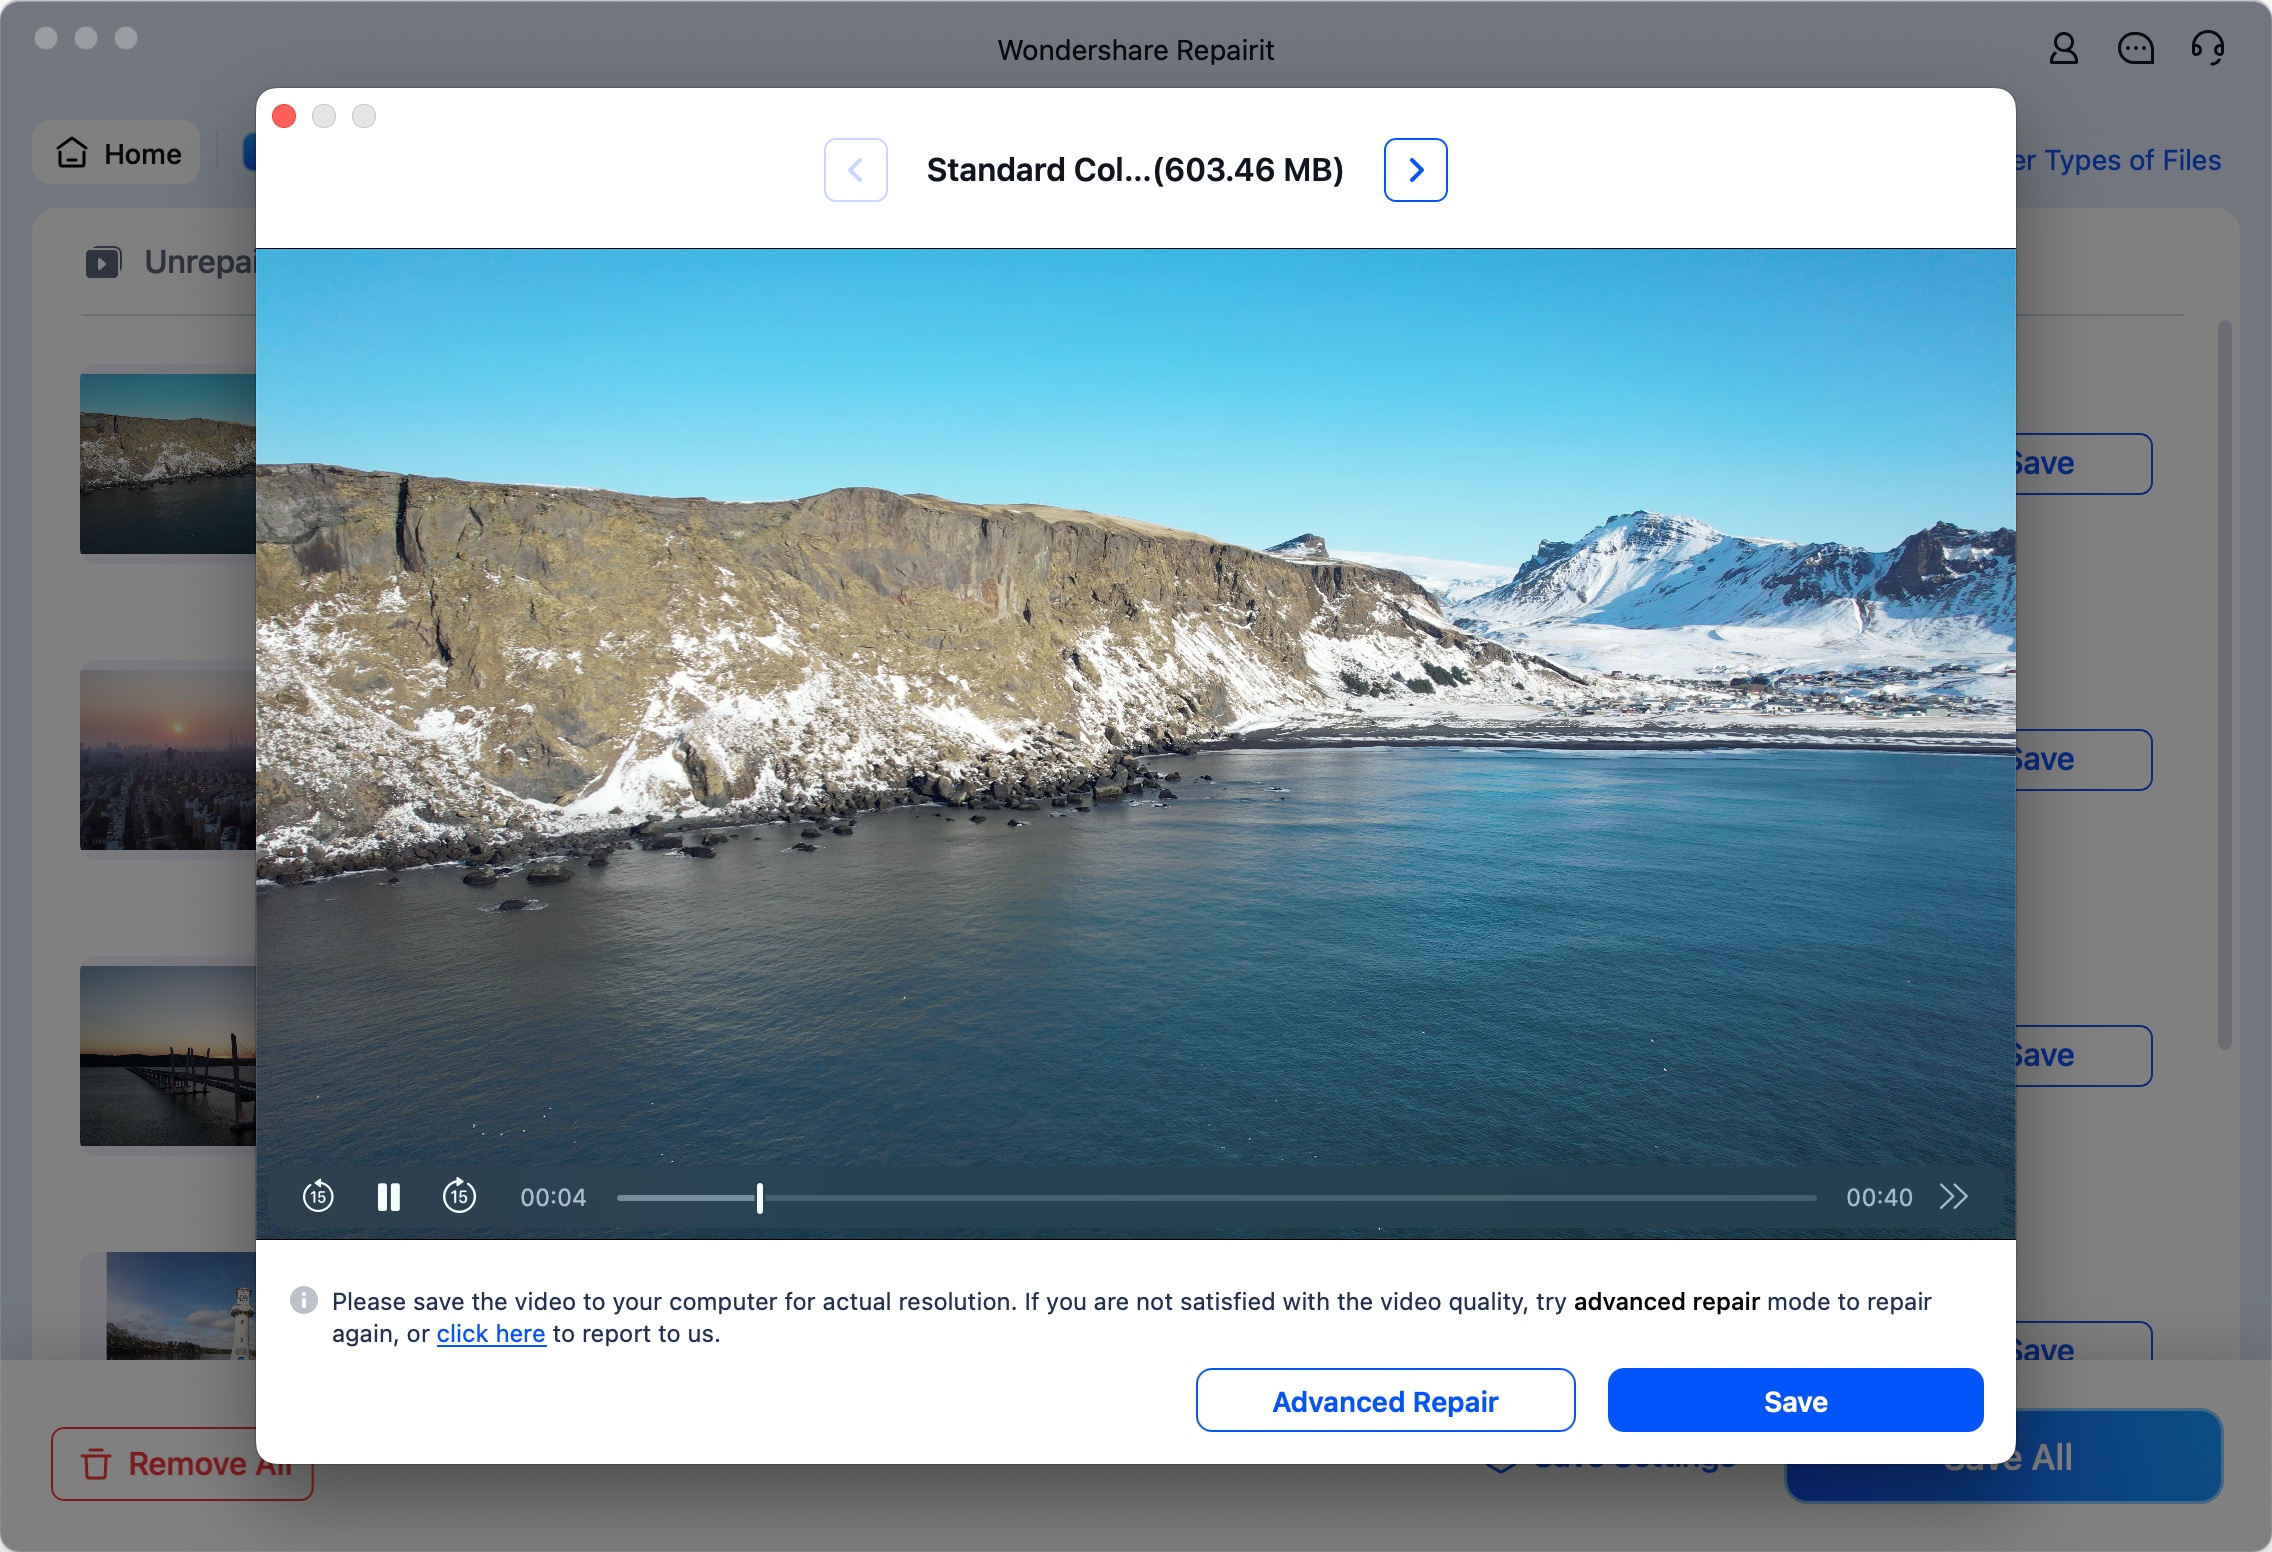
To view the repaired Video, click the "Preview" button.
Before saving it to any location, the app provides a full preview. What you see is exactly what you get. Predict the repairing impact by previewing the video's contents.
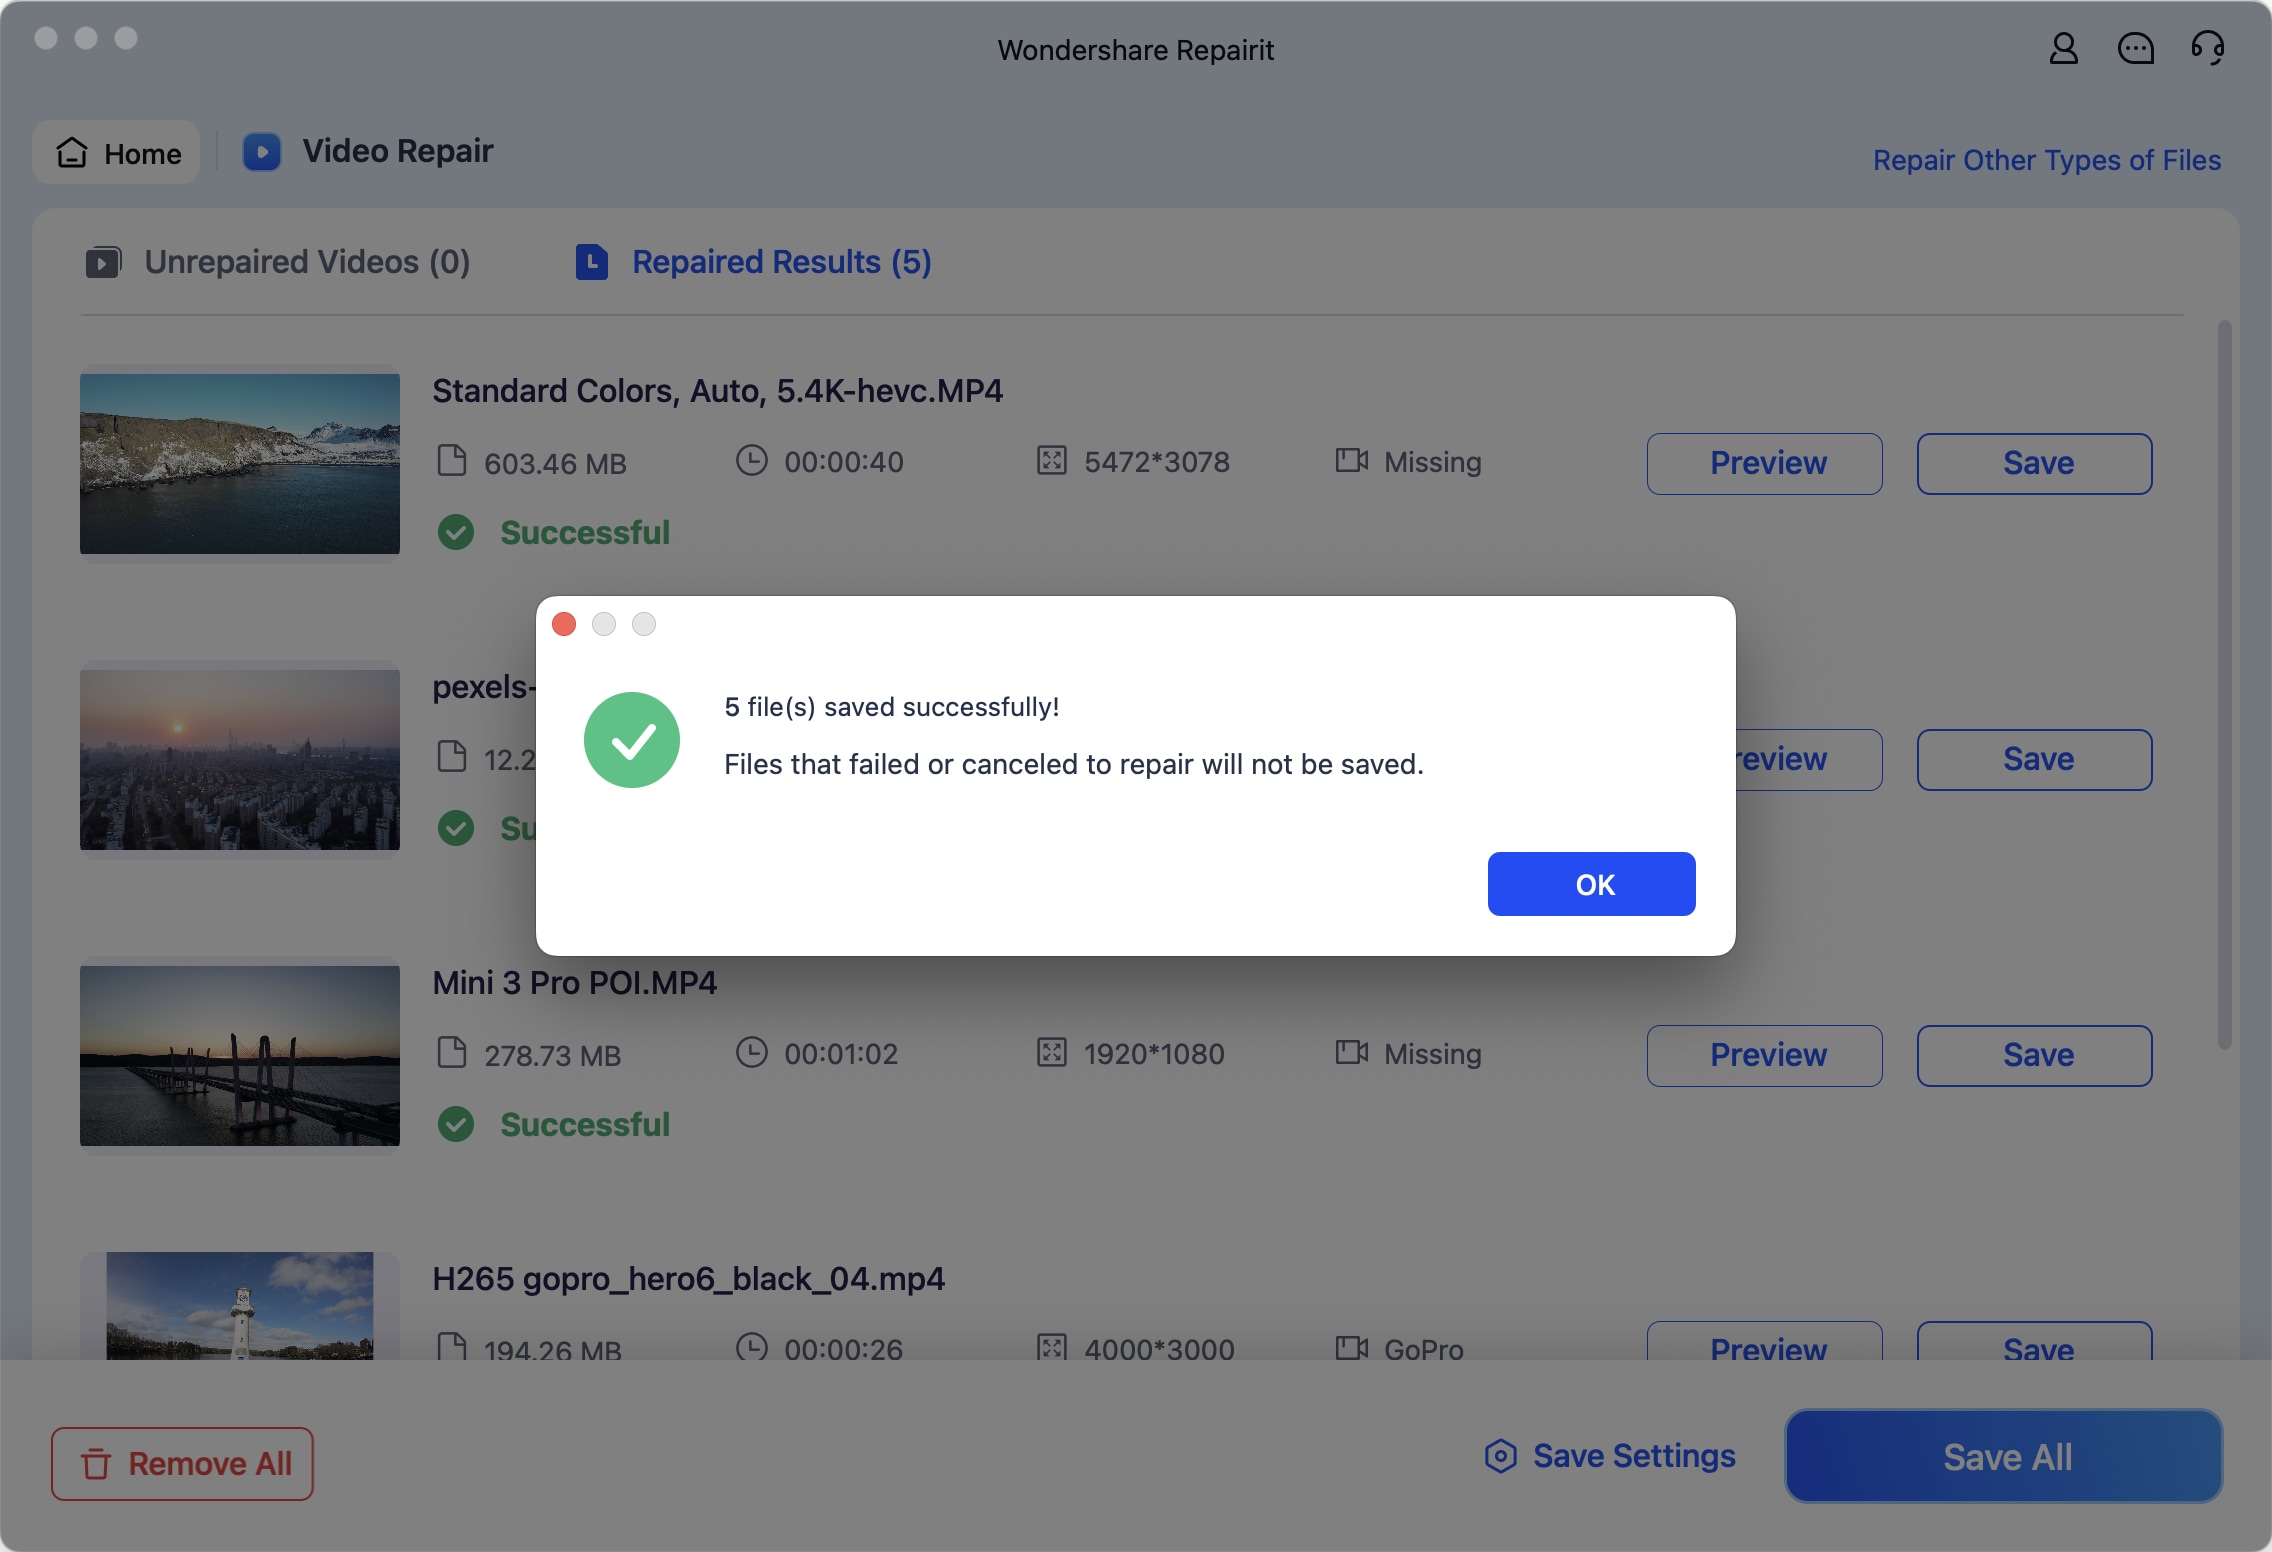
Click the "Save" button to select a location to save the repaired video if it meets your expectations. However, do not save videos to the location where you deleted them.
The repaired Video will be saved after a short while.
Advanced Repair – Add Sample Video
Select advanced repair if the video is substantially corrupted and does not pass repair standards.
If using the advanced repair, add the sample video from your device and then click the folder icon to begin.
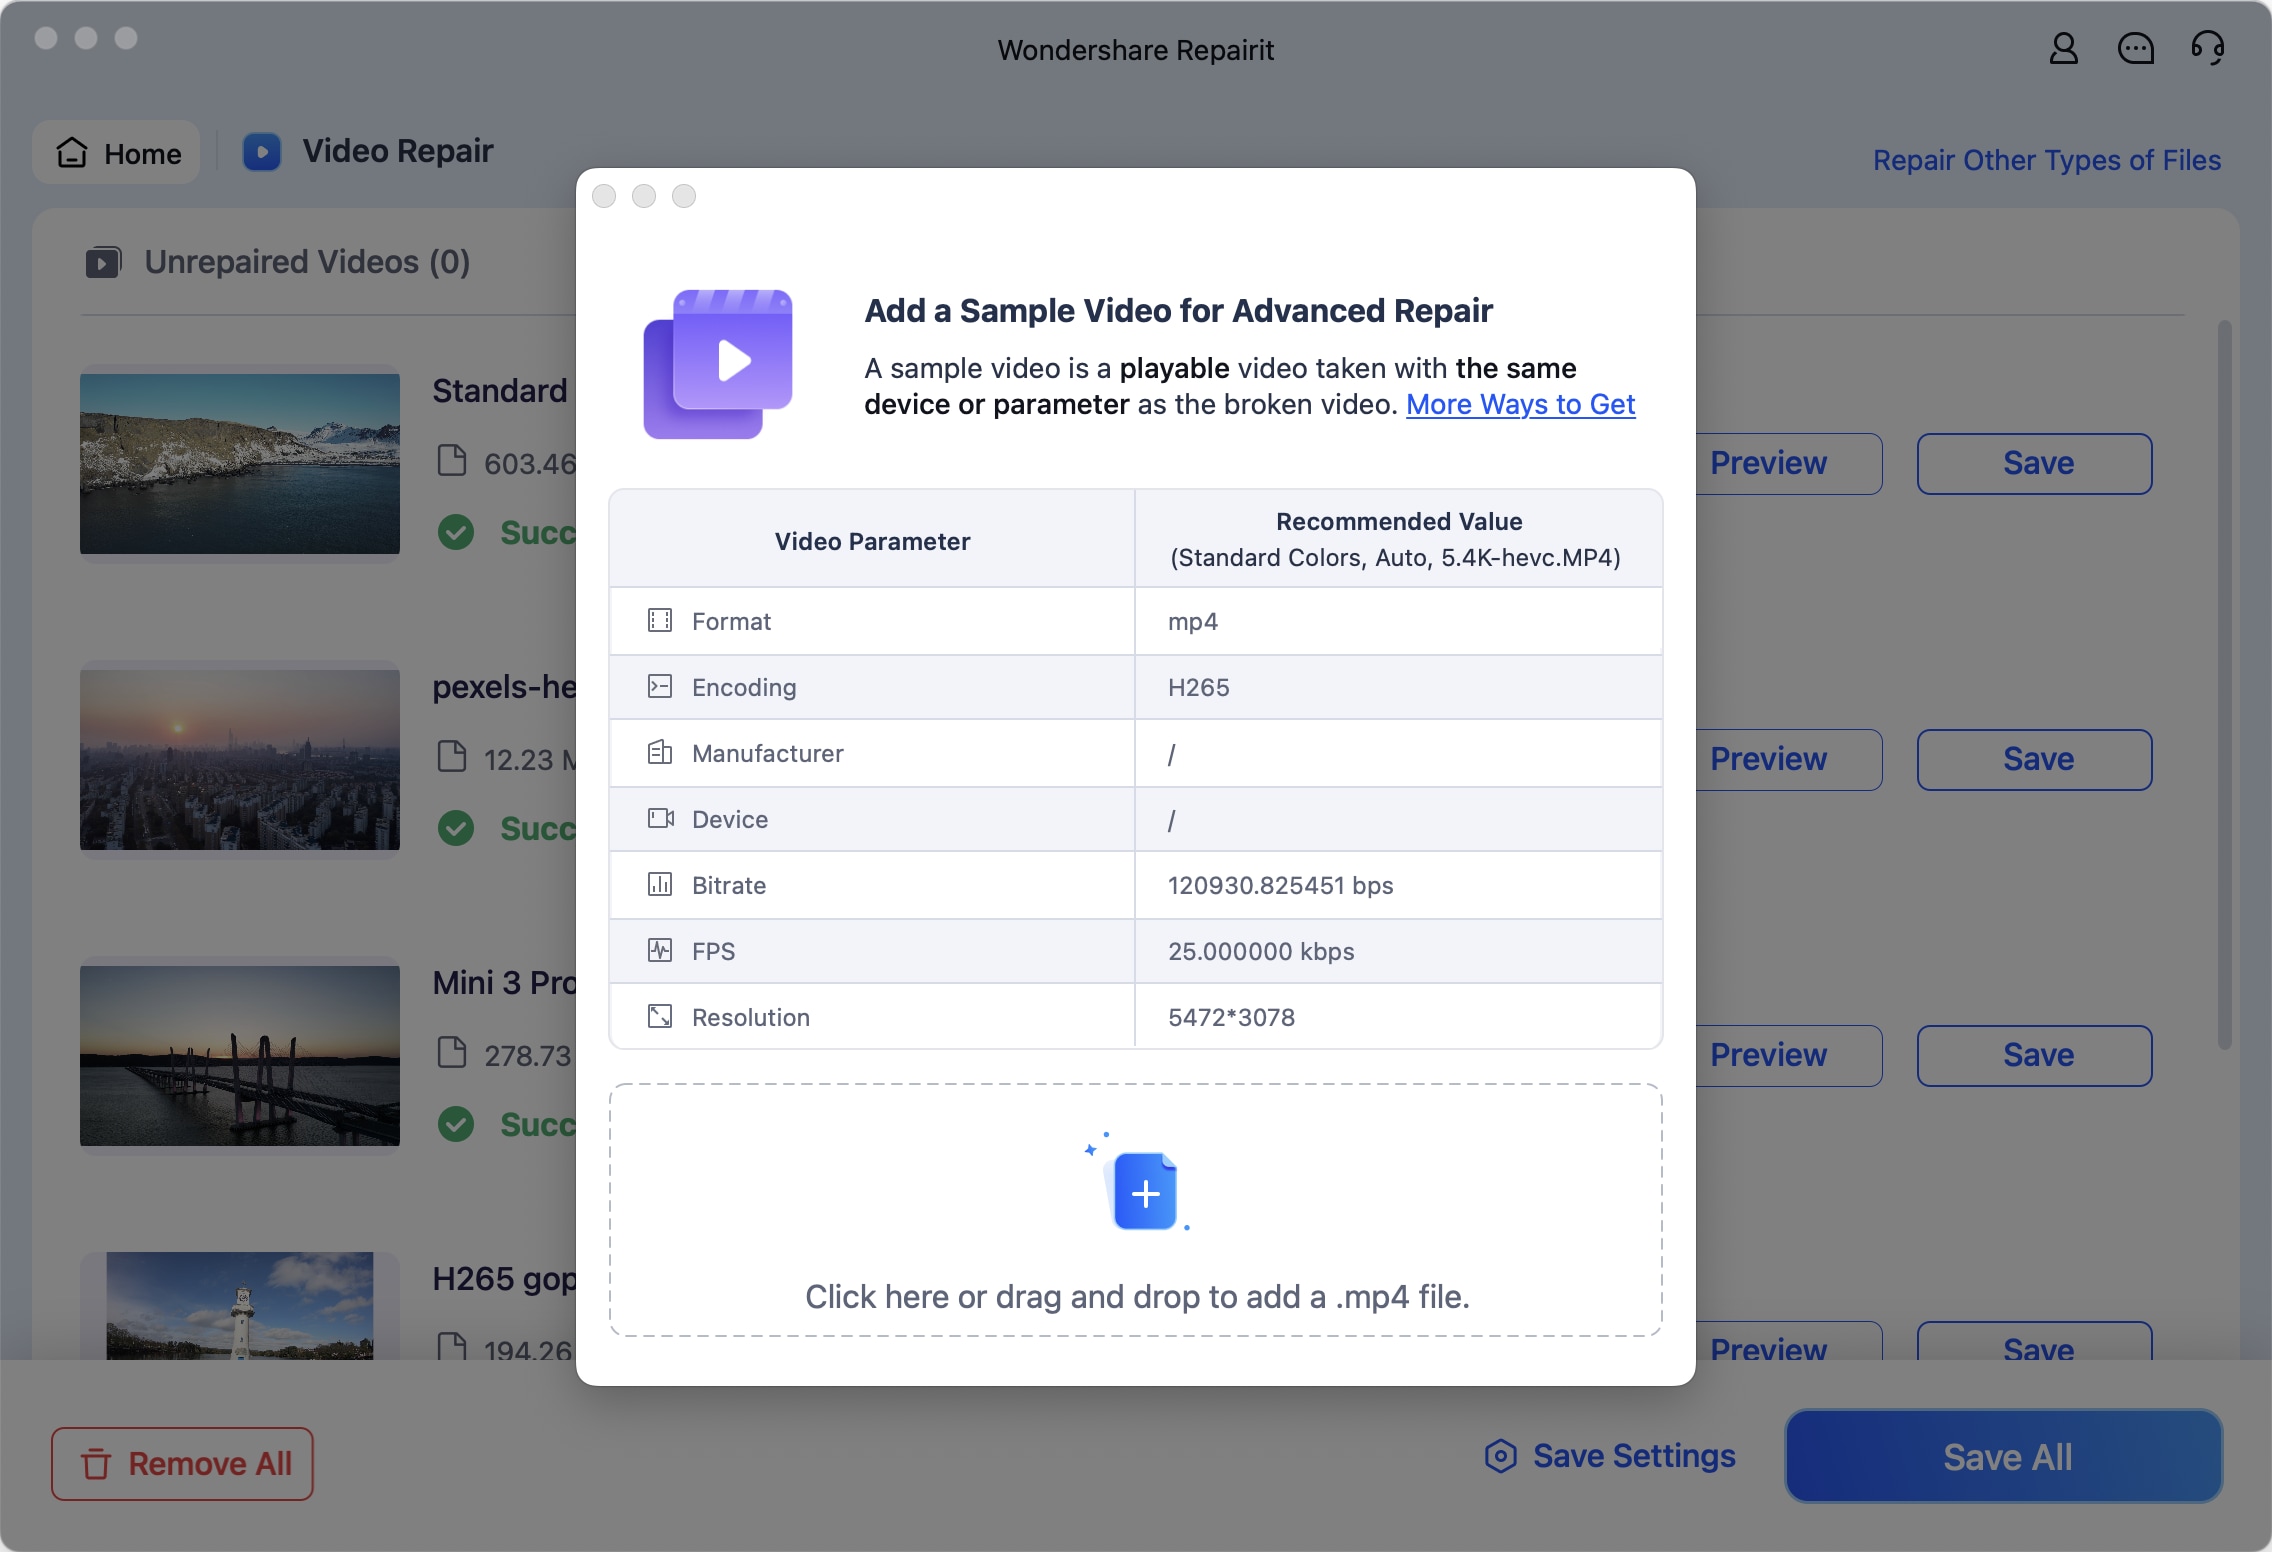
The Advanced Repair function will then automatically check if your corrupted video is available.
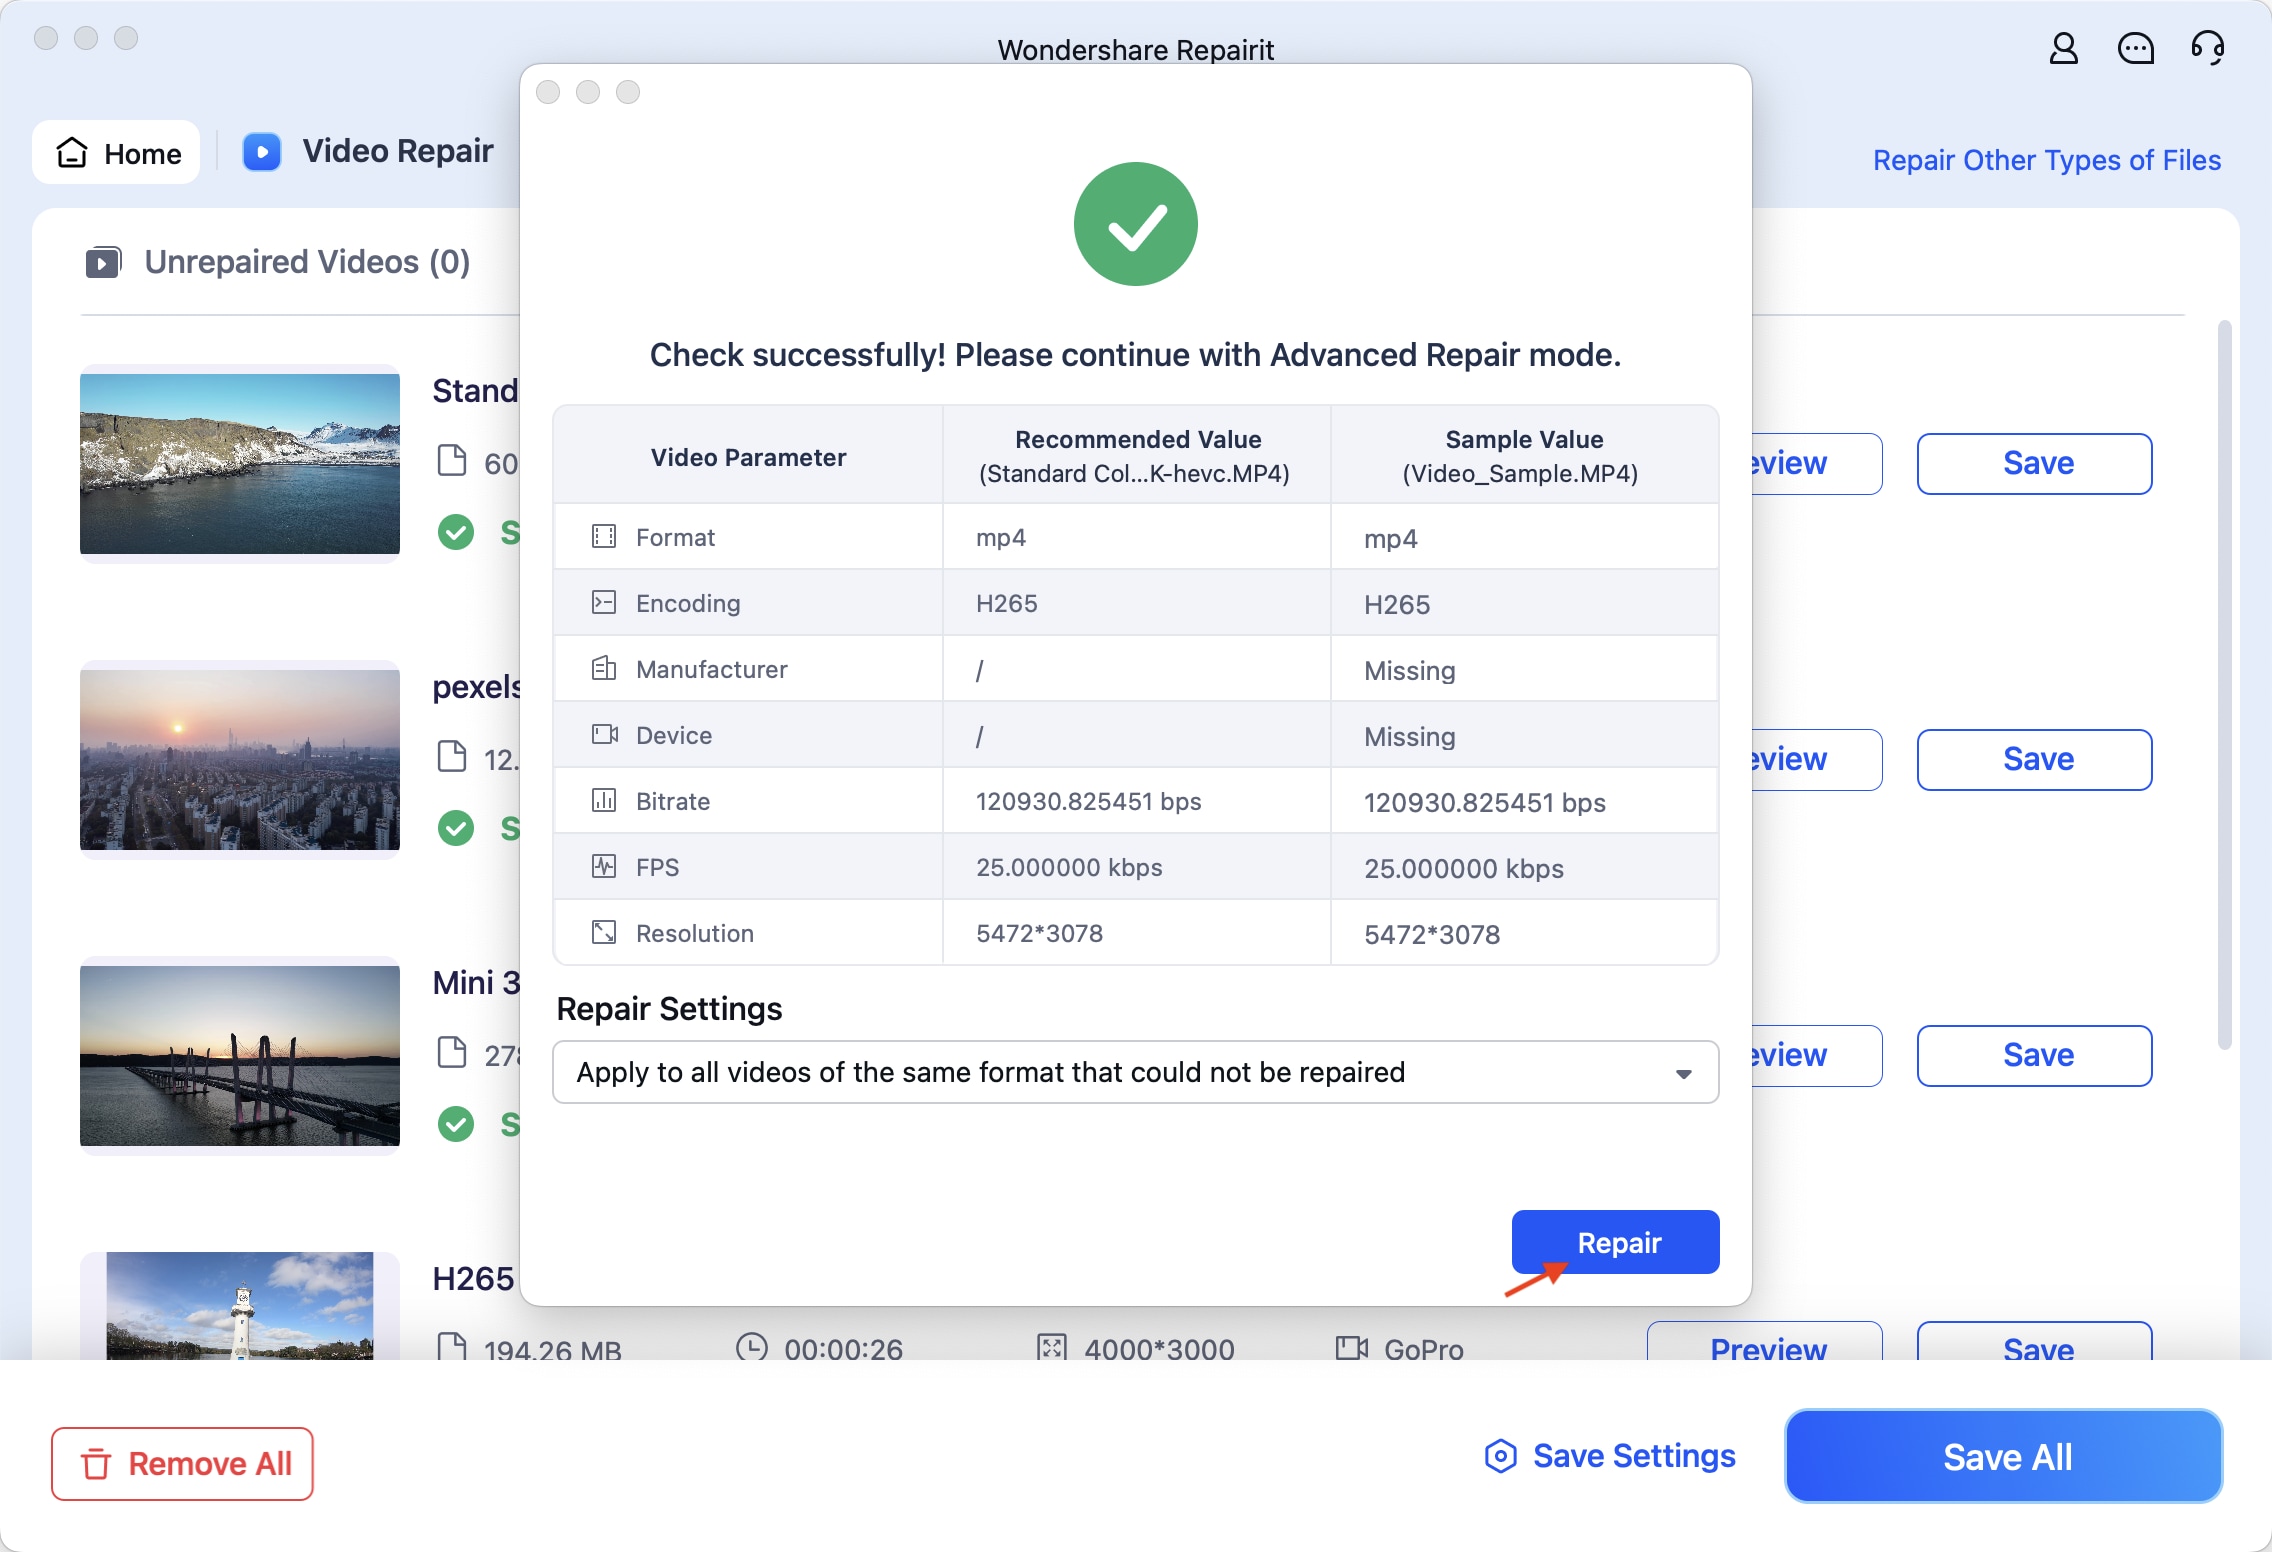
The repair process can be started by clicking the "Repair Button".
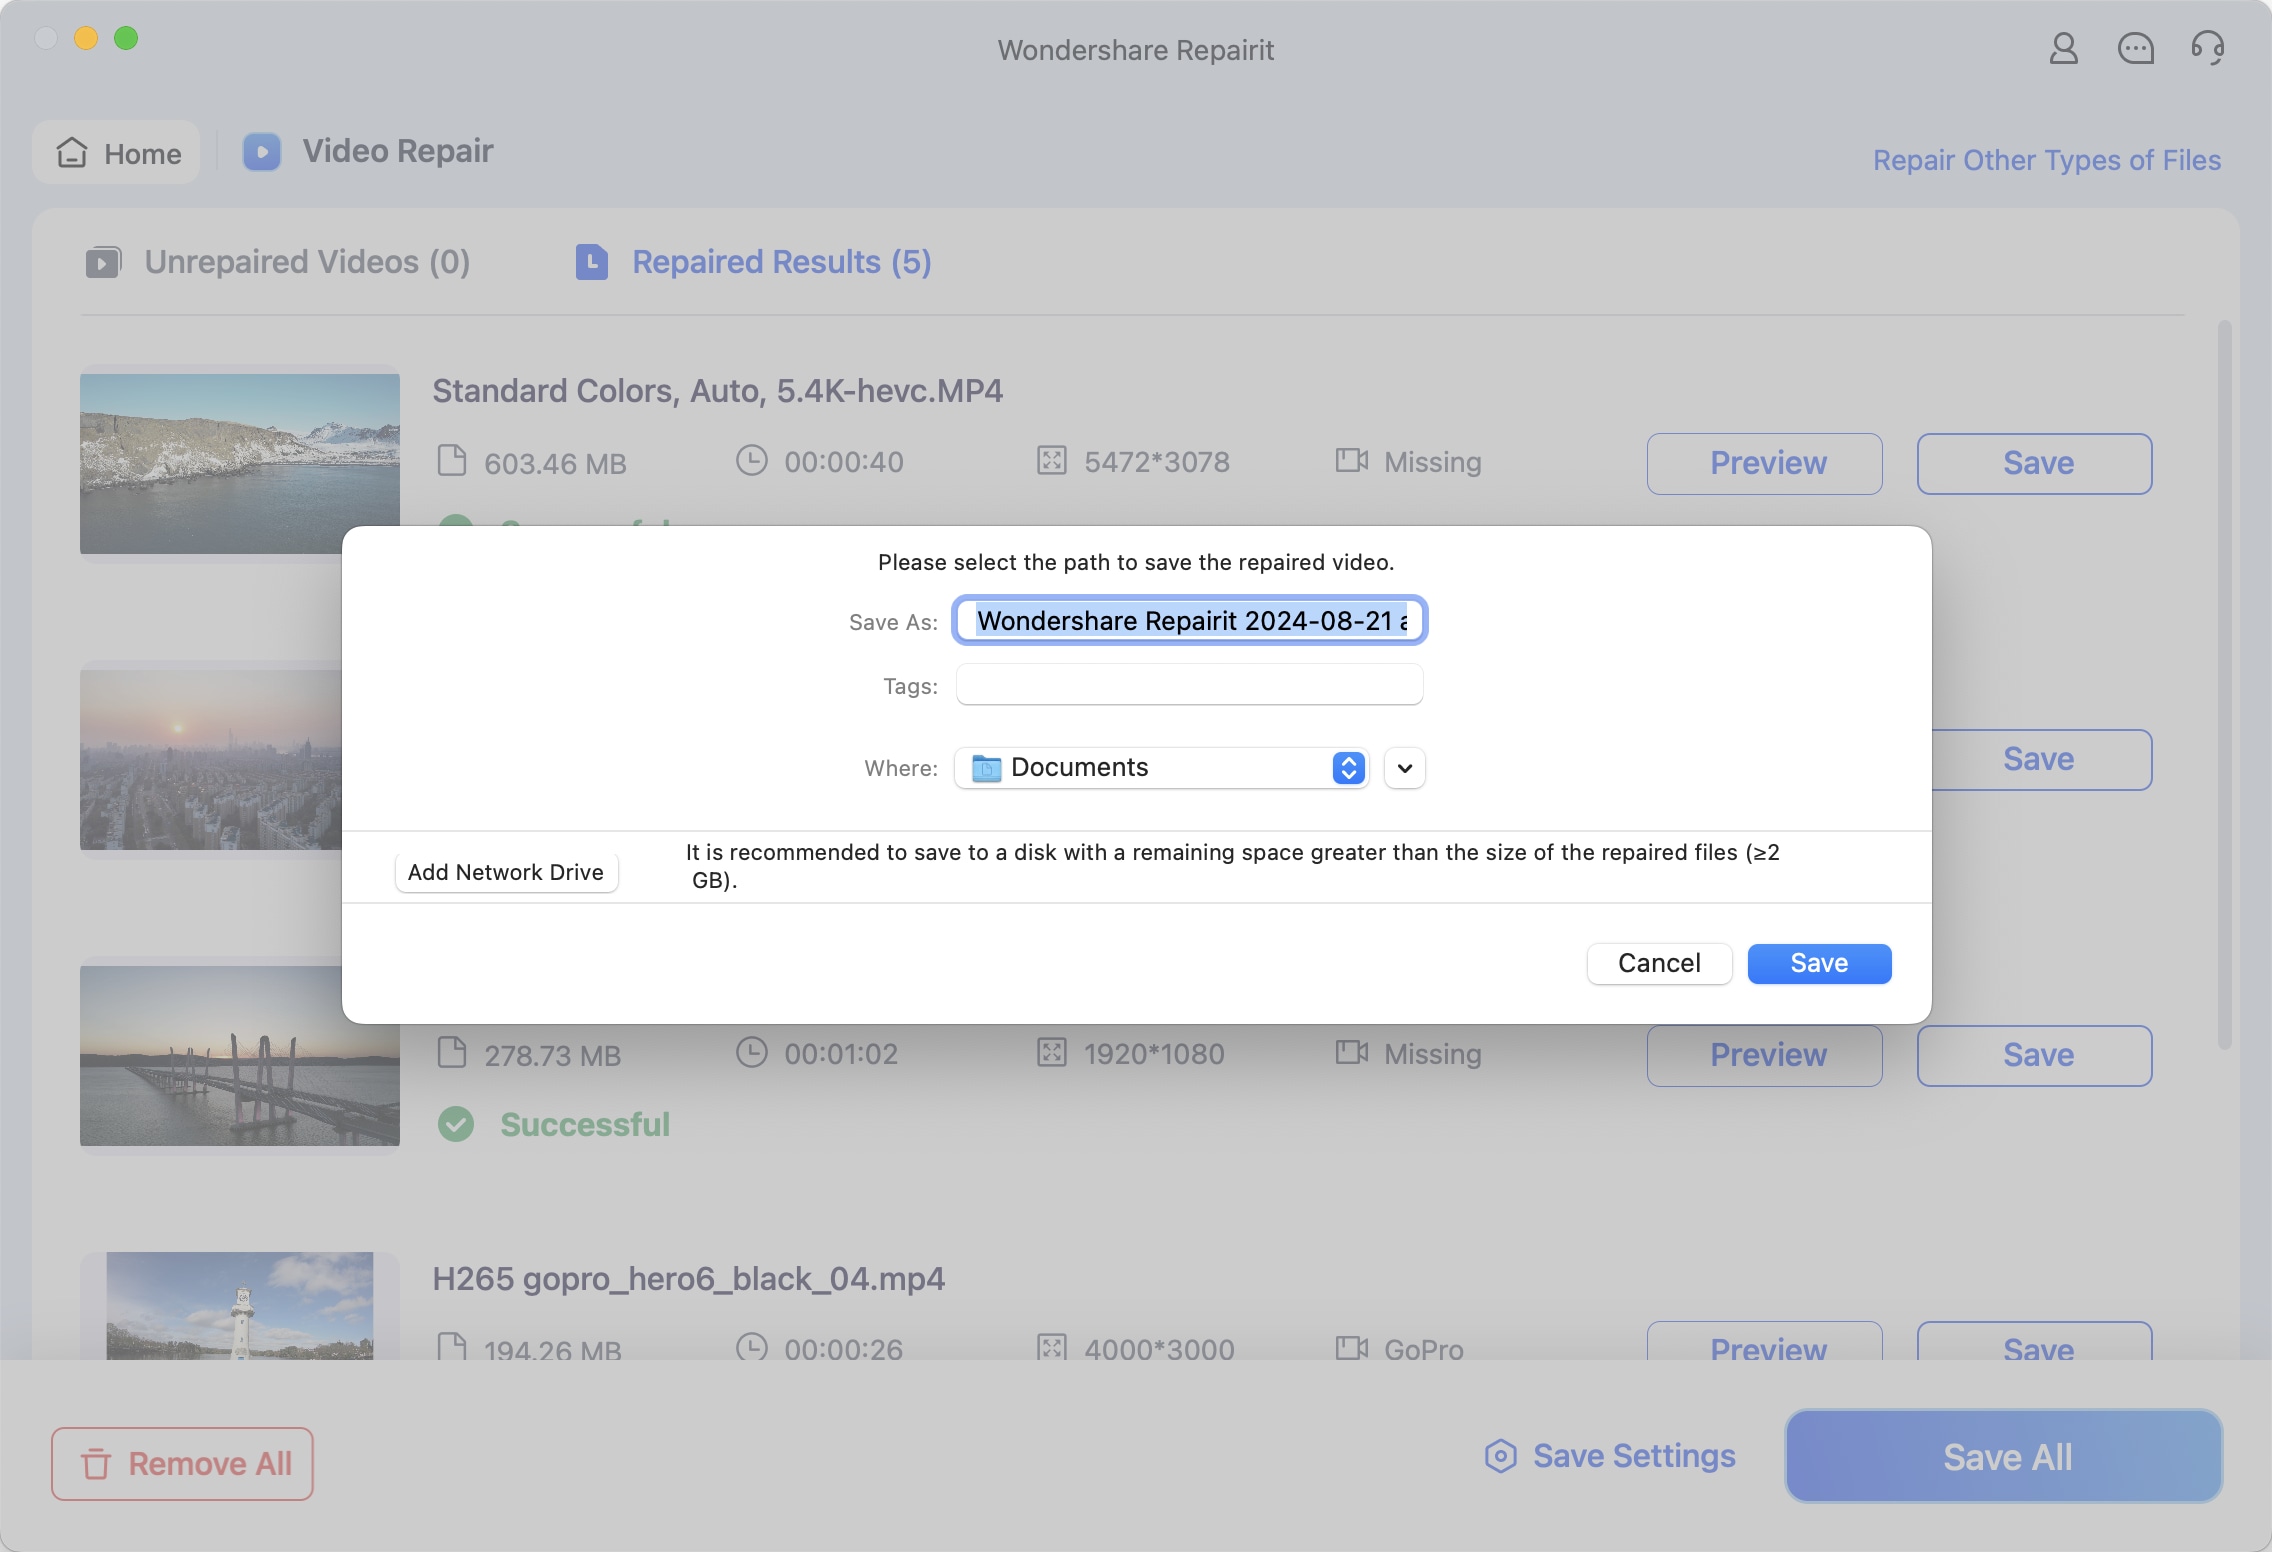
Step3: Save the Video
The video can be saved however you choose. The repaired video can be given a name, tags added, and it can be kept at the pointed spot. Plus, a new folder can be created to save the repaired video.
The corrupted video is rectified once the repair process is finished and the repaired file has been saved.
If there is an Issue in the Audio
To recover your damaged audio files and make them functional again, Repairit assists you. It has some commendable features like-
- With only 3 clicks, all the audio files are fixed effectively simultaneously.
- Because of its modern audio repair, which allows you to repair your damaged audio by comparing it to the sample audio uploaded to this tool, Repairit is worth using.
Steps to Repair Audio on Mac
Following these three easy steps will enable Mac users to quickly and fix their corrupted audio files with Wondershare Repairit.
- Add any damaged audios.
- Fix the uploaded audios.
- Check out and save your repaired audios.
Step1: Add any Damaged Audio to Repairit on Mac
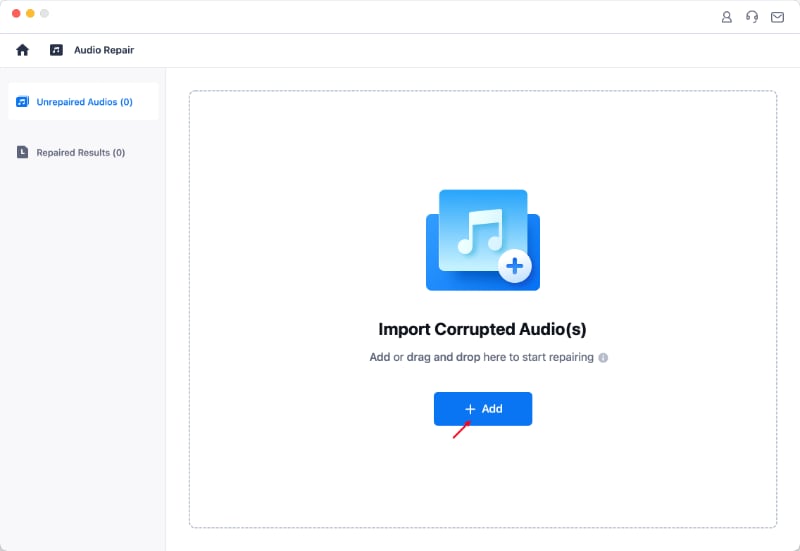
Open Repairit on your Mac after downloading it, choosing "More Types Repair" from the sidebar, then, tap "Audio Repair". Click the "Add" button to upload any damaged or corrupted audio files from your computer.
Once your audio files have been uploaded to Repairit, you can view each one's specific details and check the File Name, File Size, and File Path. Then, delete any audio file by selecting the trash icon next to its information or by selecting the "Remove All" button at the bottom to eliminate all audio files that have been uploaded.
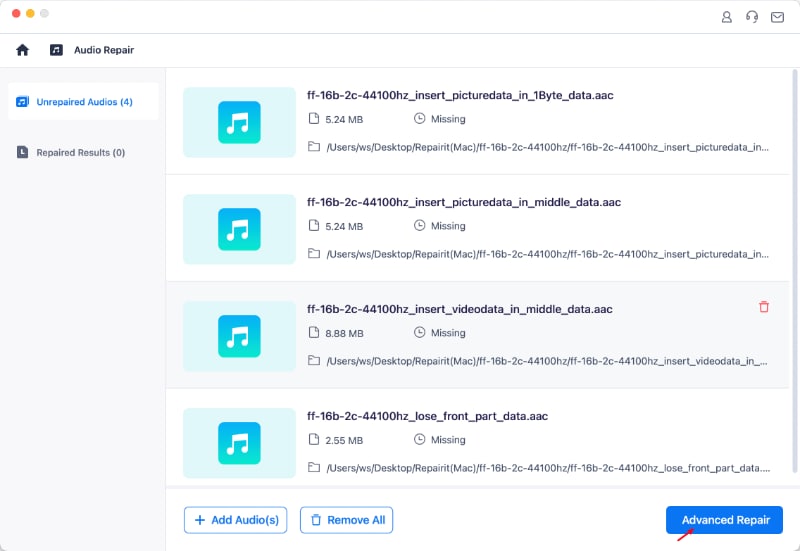
Step2: Fix the Uploaded Audio via Repairit
Please click the "Advanced Repair" option to begin the audio repairing procedure after verifying the uploaded audio. You will see a new box telling you to add sound samples in the same format as the damaged audio samples.

Step3: Check Out and Save your Repaired Audio.
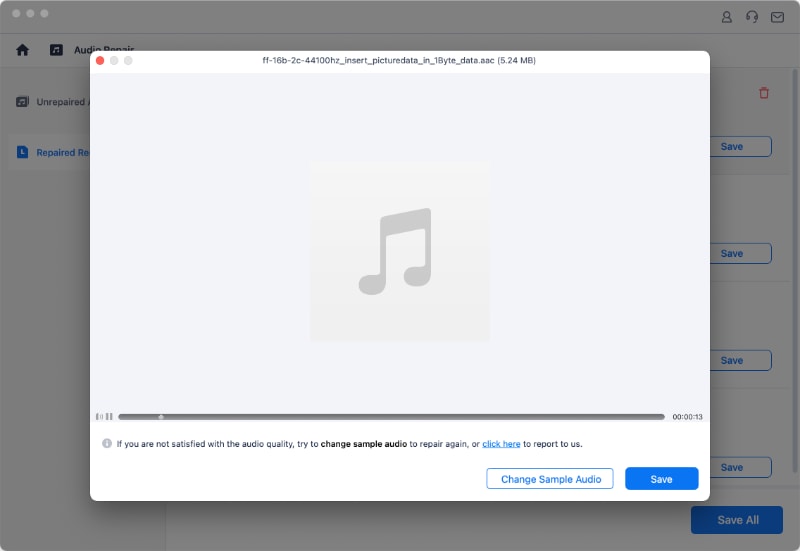
When the uploaded audios have been successfully fixed, Repairit will display a "Completed" status and the results of each audio's repair on the screen below.
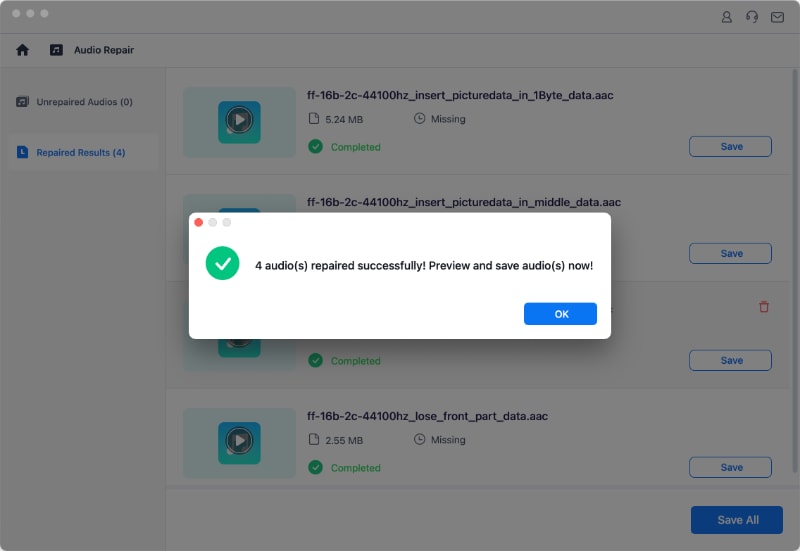
To hear a sample of the repaired audio, click the "Preview" button next to it. If you are happy with the result of the repair, select a location to save the repaired audio by clicking the "Save" button.
After a few seconds, the repaired audio will be saved.
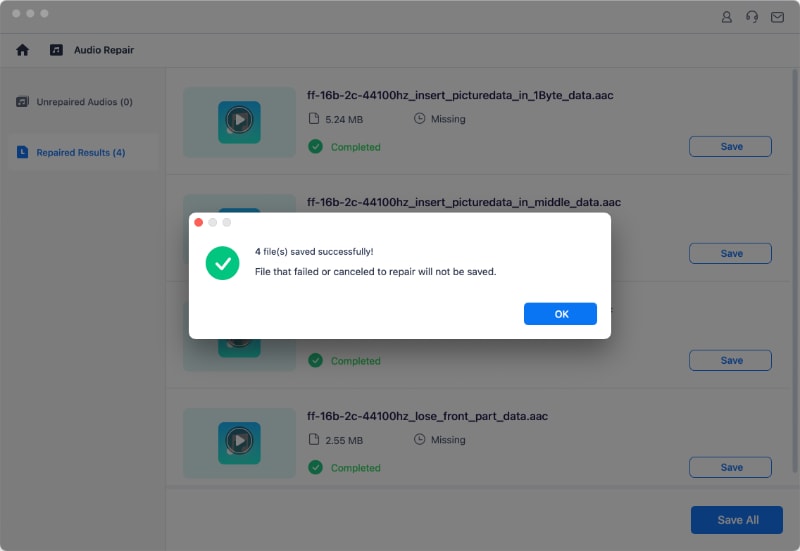
The audio files you choose will be successfully saved by Wondershare Repairit to the directory you have chosen on your Mac after you have finished the previous steps.
Part 4: How to Connect HDMI to Macbook to Watch Videos
Mac computers can connect to a TV, display, or other HDMI device using an HDMI cable.
See if You Need an Adaptor
Any of the aforementioned ports on Mac laptops can be used to link to HDMI devices:
- You can connect straight to an HDMI cable if your Mac has an HDMI port.
- If your Mac supports USB-C ports, you can use an adaptor, such as the Apple USB-C Digital AV Multiport Adaptor, to connect to HDMI.
- You can use a Mini DisplayPort to HDMI converter to connect to HDMI if your Mac has Mini DisplayPort.
Check the Details
Built-in HDMI ports on Mac laptops are HDMI 1.4 and support the following features:
- You can attach a display with a resolution up to 4k at 60 Hz to the HDMI port in the MacBook Pro introduced in 2021.
- You can connect a display with a resolution up to 4k at 30 Hz to the HDMI MacBook Pro introduced in 2015.
- HDR on Mac models that support it.
If the Full Image is Not Displayed on Your Display
Press Option-F1 on your keyboard to access displays options, then move the Under scan slider* for a better fit if the footage on your HDTV or display stretches beyond the edges of the screen.

You can have an HDCP issue if your Mac goes to sleep while a video is running or paused. Close the video-playing program, then launch it once more. If the problem persists, select System Preferences from the Apple menu, click Energy Saver, and change the settings to prevent your display from turning off.
Conclusion
Now, I hope you have understood the steps to fix Mac HDMI no sound. So, you must follow these steps. However, you can recover the best quality of your damaged audio files and make them functional again with the powerful tool Wondershare Repairit.