

 TL;DR:
Final Cut Pro provides Mac users with precise, manual color grading tools for high-resolution video, though its $299.99 price tag makes automated, mobile alternatives like the iOS Repairit App more practical for beginners seeking quick text-to-edit workflows.
● Press Command + 6 to access the Color Inspector, utilizing the Color Board for rapid global exposure shifts, Color Wheels for detailed shadow and midtone adjustments, and Color Curves for isolated luma and RGB channel control.
● Prevent over-saturation and accurately measure natural skin tones by editing on a calibrated monitor and analyzing light distribution through built-in scopes (Command + 7), specifically the Vectorscope and Waveform.
● While Final Cut Pro supports up to 8K ProRes and RAW video editing, the alternative Repairit App functions strictly as a mobile photo tool that relies on AI prompts to instantly colorize, repair scratches, or modify backgrounds.
Ask AI for a summary
 ChatGPT
 Perplexity
 Gemini
 Claude
 Grok
Grok
Final Cut Pro raises professional video editing to the next level with powerful AI tools and optimizations for Apple silicon. The tool is unmatched, from editing to creating high-end color grades to audio mixing and delivery. It’s designed to help creators work faster and smarter, all in one interface that is easy to use.
This post will focus on how to do Final Cut Pro color grading and use its built-in tools for creating a specific style. Let’s get started!
Table of Contents
Part 1. What is Final Cut Pro and Why Use It for Color Grading?
Final Cut Pro for Mac is an Apple professional video editing software built for producing and editing high-quality videos. Final Cut Pro supports editing from standard definition up to 8K footage. This includes ProRes and RAW formats. You can also edit 360° video, add 3D titles, and preview the project with a VR headset.
Here are its features:
- It’s designed to be fast and smooth to work on. Magnetic Timeline gives you all the tools to easily organize your clips, all without gaps or sync issues. You have tools like ripple, roll, slip, and slide, which fine-tune each cut.
- You’ll be able to sync and edit your camera angles. You can sync and edit up to 64 camera angles at once, perfect for multi-camera shoots.
- Final Cut Pro keeps your projects conveniently organized with Smart Collections and automatic tagging that allow for detecting people and/or shot types.
- It condenses audio tracks for dialogue, music, and effects with just one click, which helps speed up your editing time and improves organization and clarity of your workflow.
- You can easily enhance visuals by selecting effects, transitions, and titles from over 300 built-in options.
- It provides you with tools for stabilizing shaky videos, reducing noise, and adding cinematic motion effects.
- Color grading is effective and simple. You have the option for automatic balance of color or manual balancing by adjusting either color wheels or curves.
- For audio editing, you can add plug-ins, reduce background noise, or send your project to Logic Pro for complex sound mixing.
Final Cut Pro color grading capabilities are truly unparalleled and allow for adjustment of tone, highlights, and shadows in real time. This brings out the appropriate mood, setting, and emotion within every shot you make.
It also takes full advantage of Apple's hardware for reliable speed and stability. For you as a creator, you will spend less time waiting and more time creating. With Final Cut Pro, you get the perfect combination of professional-level control and precise color correction, while also seamlessly integrating into the Apple ecosystem.
Part 2. How to Start Color Grading in Final Cut Pro (Step-by-Step)
Color grading is the phase after producing and editing a video in which colors, shadows, and highlights are fine-tuned. This means creating a color palette that elicits a mood or emotion that aligns with what you intend to show. Warm tones can make a viewer feel happy and welcome while cool or dark tones can invoke sadness and suspense.
Final Cut Pro color grading can be accomplished by following a few short steps.
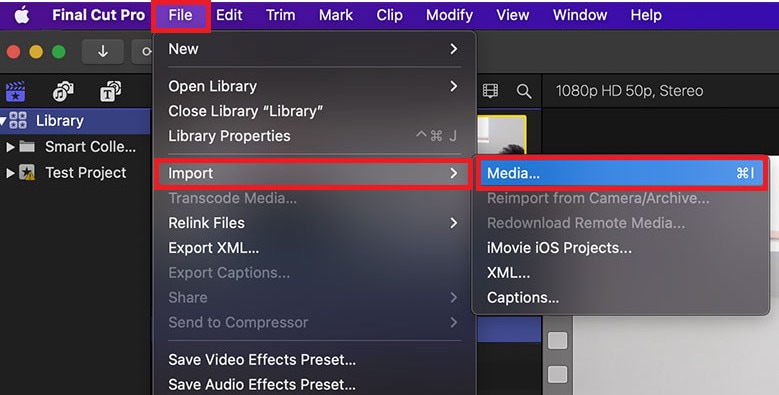
Step 1: Import Your Video
Import all your clips and perform basic edits prior to color grading.
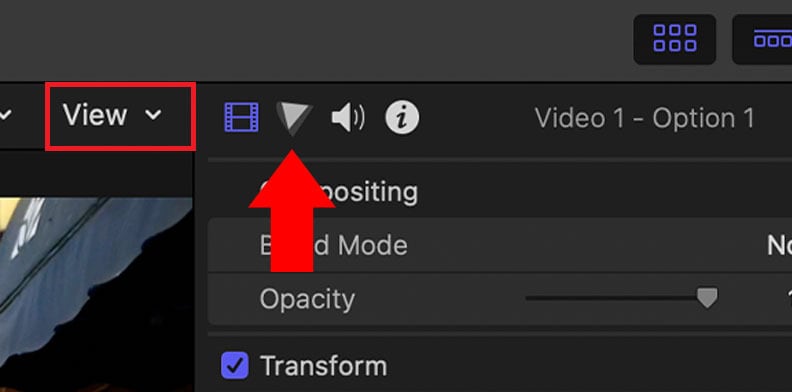
Step 2: Open Color Grading Tools
After you have chosen the clip you wish to color grade, click the Color Inspector in the upper-right panel of the app, or click Command + 6.
There are options you will choose from here:
- Color Board
- Color Wheels
- Color Curves
- Hue/Saturation Curves
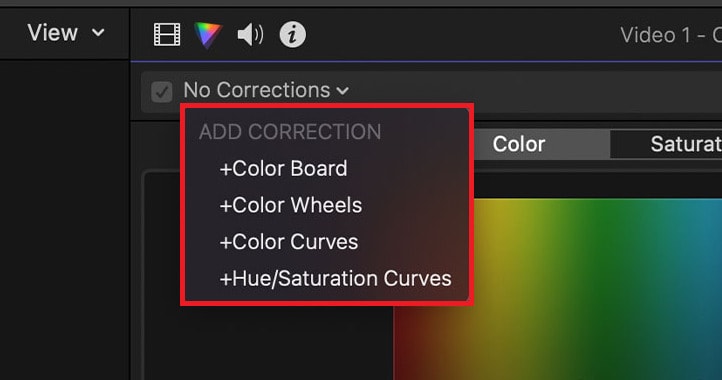
You will have the option to personalize the color looks when you use a combination of options above. Choose one option which gives you settings for the Color Inspector to add to your clip.
Step 3: Color Grade Using the Color Board
If you are color grading quickly, you will use the Color Board. Use the circles by dragging to adjust color (tint), saturation, and exposure.
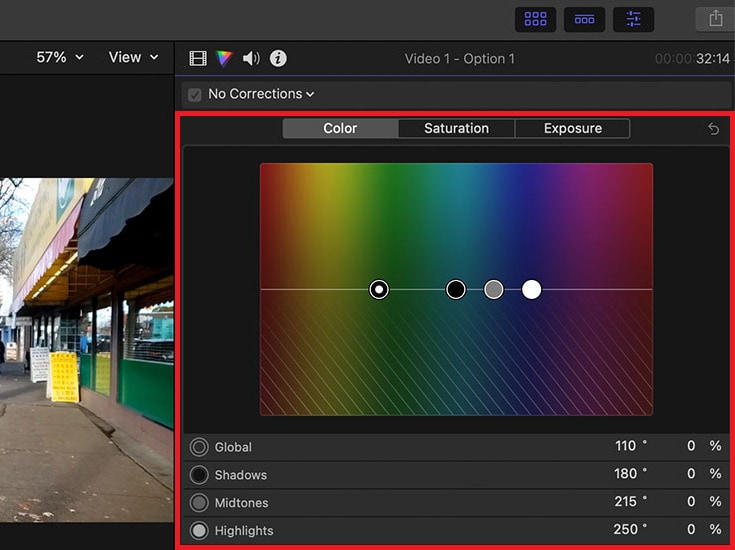
The color board includes a circle for global adjustments. It will adjust the appearance of the entire image. Adjust Shadows, Midtones, and Highlights using the slider levels on the bottom.
Step 4: Adjust with the Color Wheels
The Color Wheels provide greater detail of the tweak. In this panel, you will see four wheels, which are Global, Shadows, Midtones and Highlights.
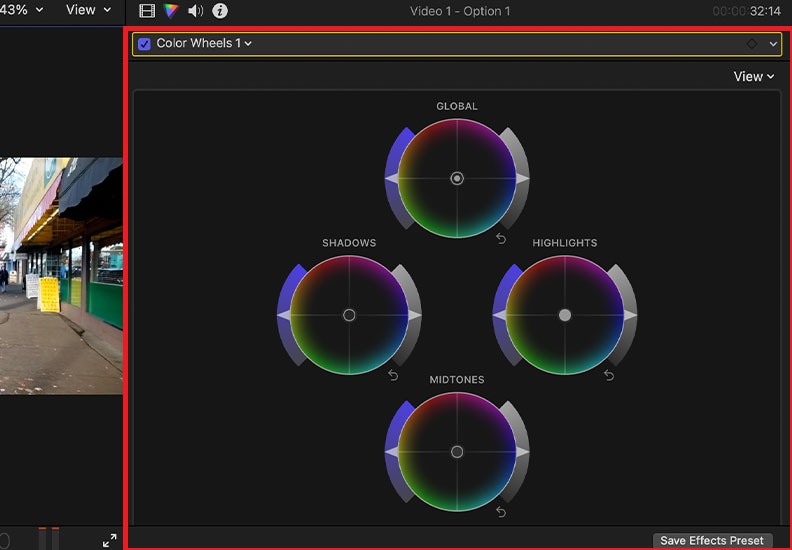
Move the circle, and you will change the color. Use the sliders to the side to change saturation and brightness. You can also adjust temperature, tint or hue using the sliders beneath.
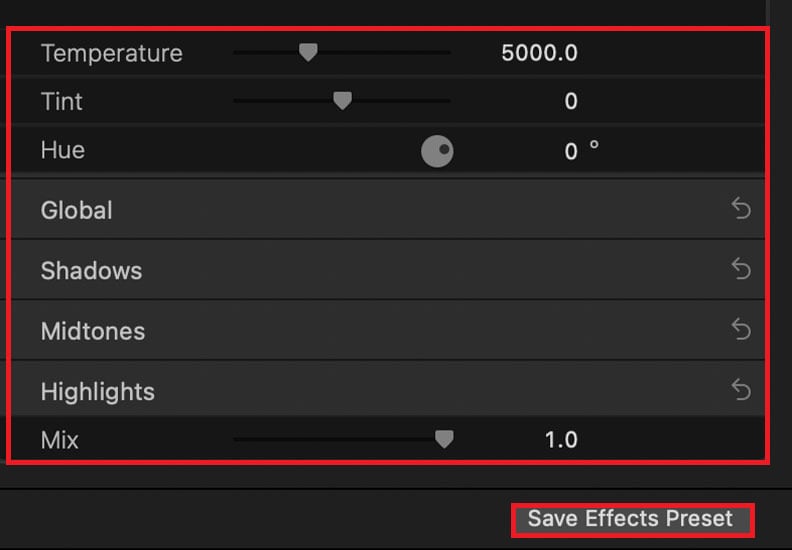
Tip: Click Save Effects Preset to save this color look and re-use the effect at another time if desired.
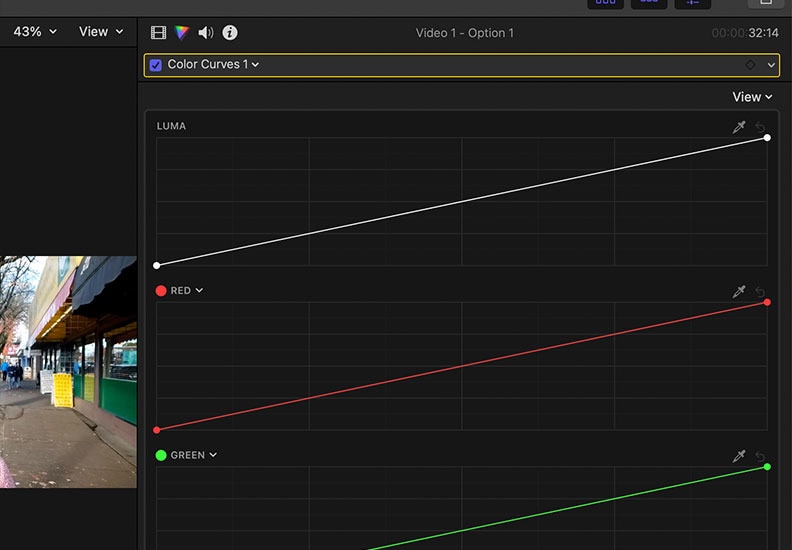
Step 5: Adjust with Color Curves
Color Curves offer precision and control over tones and colors. You can adjust the luma curve for light, and the red, green and blue channels in separate curves. You can click the curve to add a point, and drag up or down to change the brightness or intensity of the color in the tonal area for that point.
Step 6: Adjust with Hue/Saturation Curves
You can use these curves for specific control over colors in your scene. The curves in this panel are Hue vs Hue, Hue vs Sat, Hue vs Luma, and the others down their panel.

You can also select a color in your video with the eyedropper, and adjust its hue, saturation and brightness in these curves.
Step 7: Use Scopes for Measurement
The scopes are handy to ensure that your color grading looks balanced. To open, go to View and Video Scopes or press Command + 7.
There are three options to choose from:
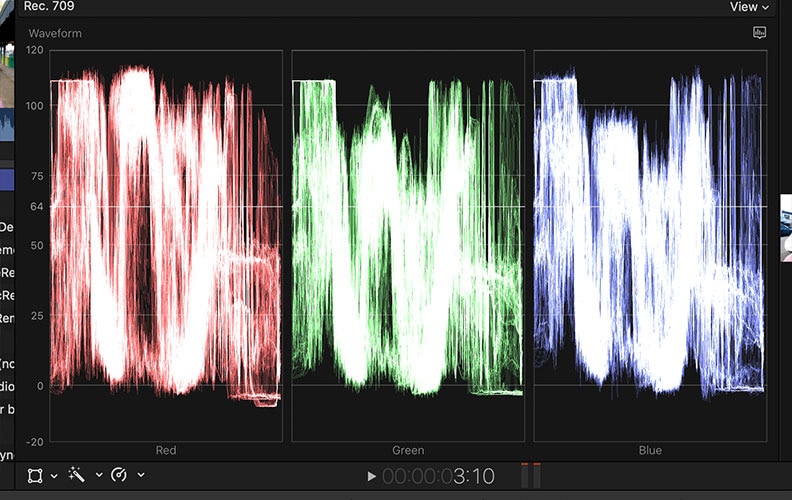
- Waveform: Shows brightness and color levels.
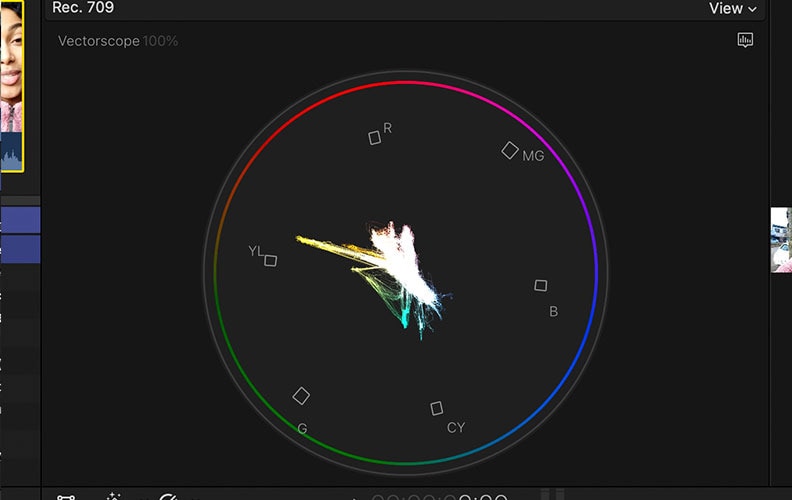
- Vectorscope: Displays hue and saturation to accurately measure skin tones.
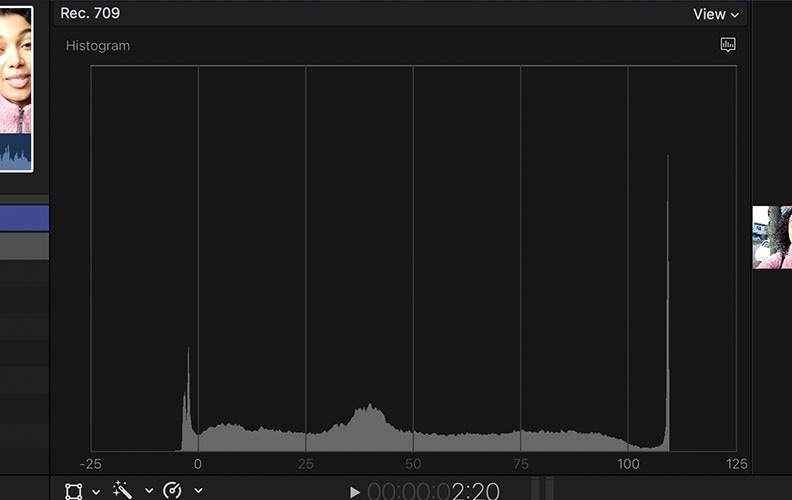
- Histogram: Shows light and pixel distribution.
Part 3. Practical Tips for Final Cut Pro Color Grading
To take full advantage of the color grading features in Final Cut Pro, equip these simple tips:
- Use a properly calibrated monitor. A calibrated monitor will help ensure that your colors look the same across all devices. If your display is too bright or too cool, the way your video looks will be different on other screens.
- Use scopes to ensure accuracy. Even if you know how to be objective when evaluating color, Final Cut Pro has tool: Waveform, Vectorscope, and Histogram so that you can:
- Balance exposure correctly.
- Avoid over-saturation or color clipping.
- Maintain a consistent look across all clips.
- Utilize the Match Color tool to maintain a consistent look between shots. If you have just edited multi-camera footage, or very different scenes, the Match Color tool can make all of your clips look similar and cohesive.
- Make small adjustments. It is almost always better to make smaller changes, rather than big changes. Subtle adjustment will make your video look more natural and professional.
- Use LUT Packs for instant outcomes. When you want to quickly apply a cinematic look to your footage, use Editors Keys LUT Packs. These quick filters will give your footage an almost instant facelift just with a few clicks:
- Cinematic LUTs give you a cool movie look.
- Vintage LUTs give you a look of classic video quality from the 50’s or vibrant colors of the 80’s.
- Cinematic Pro LUTs for both color corrected and uncorrected footage.
- Asteroid City LUT Preset inspired by the bold colorscapes in Wes Anderson's filmmaking.
Part 4. Best Alternative to Final Cut Pro for Color Grading
Final Cut Pro is a great tool, but it can be overwhelming and costly if you're a beginner looking to make a few quality videos quickly. While a free 90-day trial of the app is available to download, the software will run you $299.99 to purchase.
Alternatively, if you're just getting started with video editing software or want something that will work easier, there are several AI-powered options. One of the best options available is the Repairit App. Repairit App on iOS is your one-stop shop AI photo editor. This is excellent for quick color grading, photo enhancement, and photo restoration without needing to rely on the desktop tools like Final Cut Pro.
With Repairit, you can:

Repairit Al Photo Enhancer
Edit Photos with Words, Create Magic with Al
 Text-to-Edit: Describe it, AI repairs, enhances & colorizes instantly.
-
Memory Revival: Restore old photos, fix scratches & blur, relive details.
-
Creative Freedom: Remove objects & turn ordinary shots into unique stories.
-
Universal Recovery: Rescue corrupted photos from 2,000+ devices & RAW formats, all securely processed.
Step-by-Step Guide:
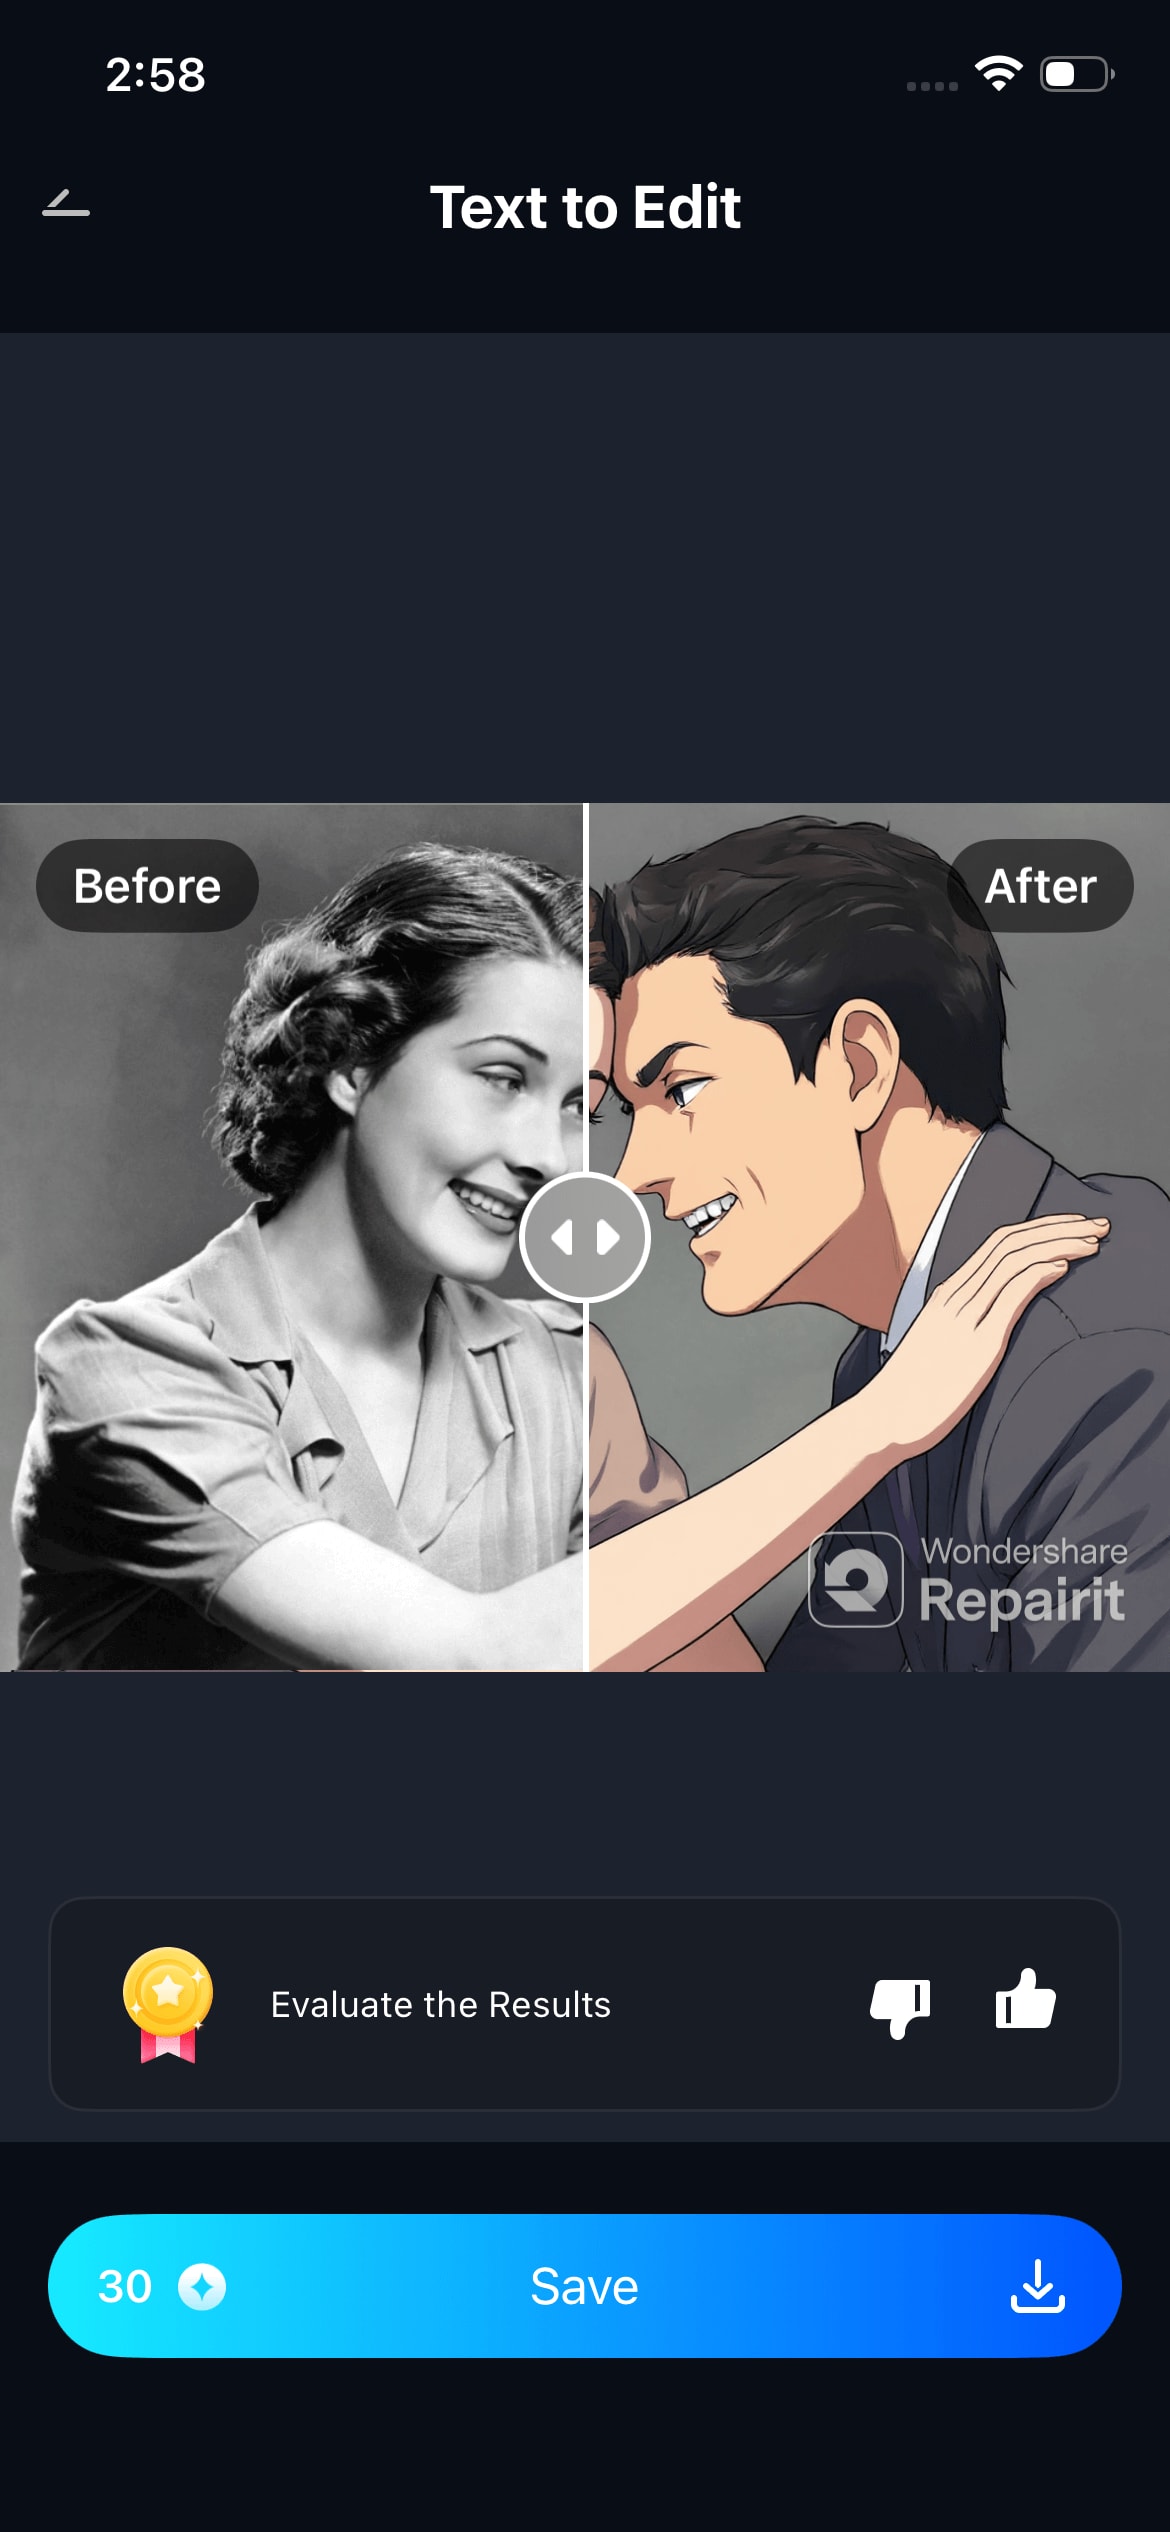
Step 1: Open the Repairit App and click Text to Edit, then select the photo you'd like to enhance or change.
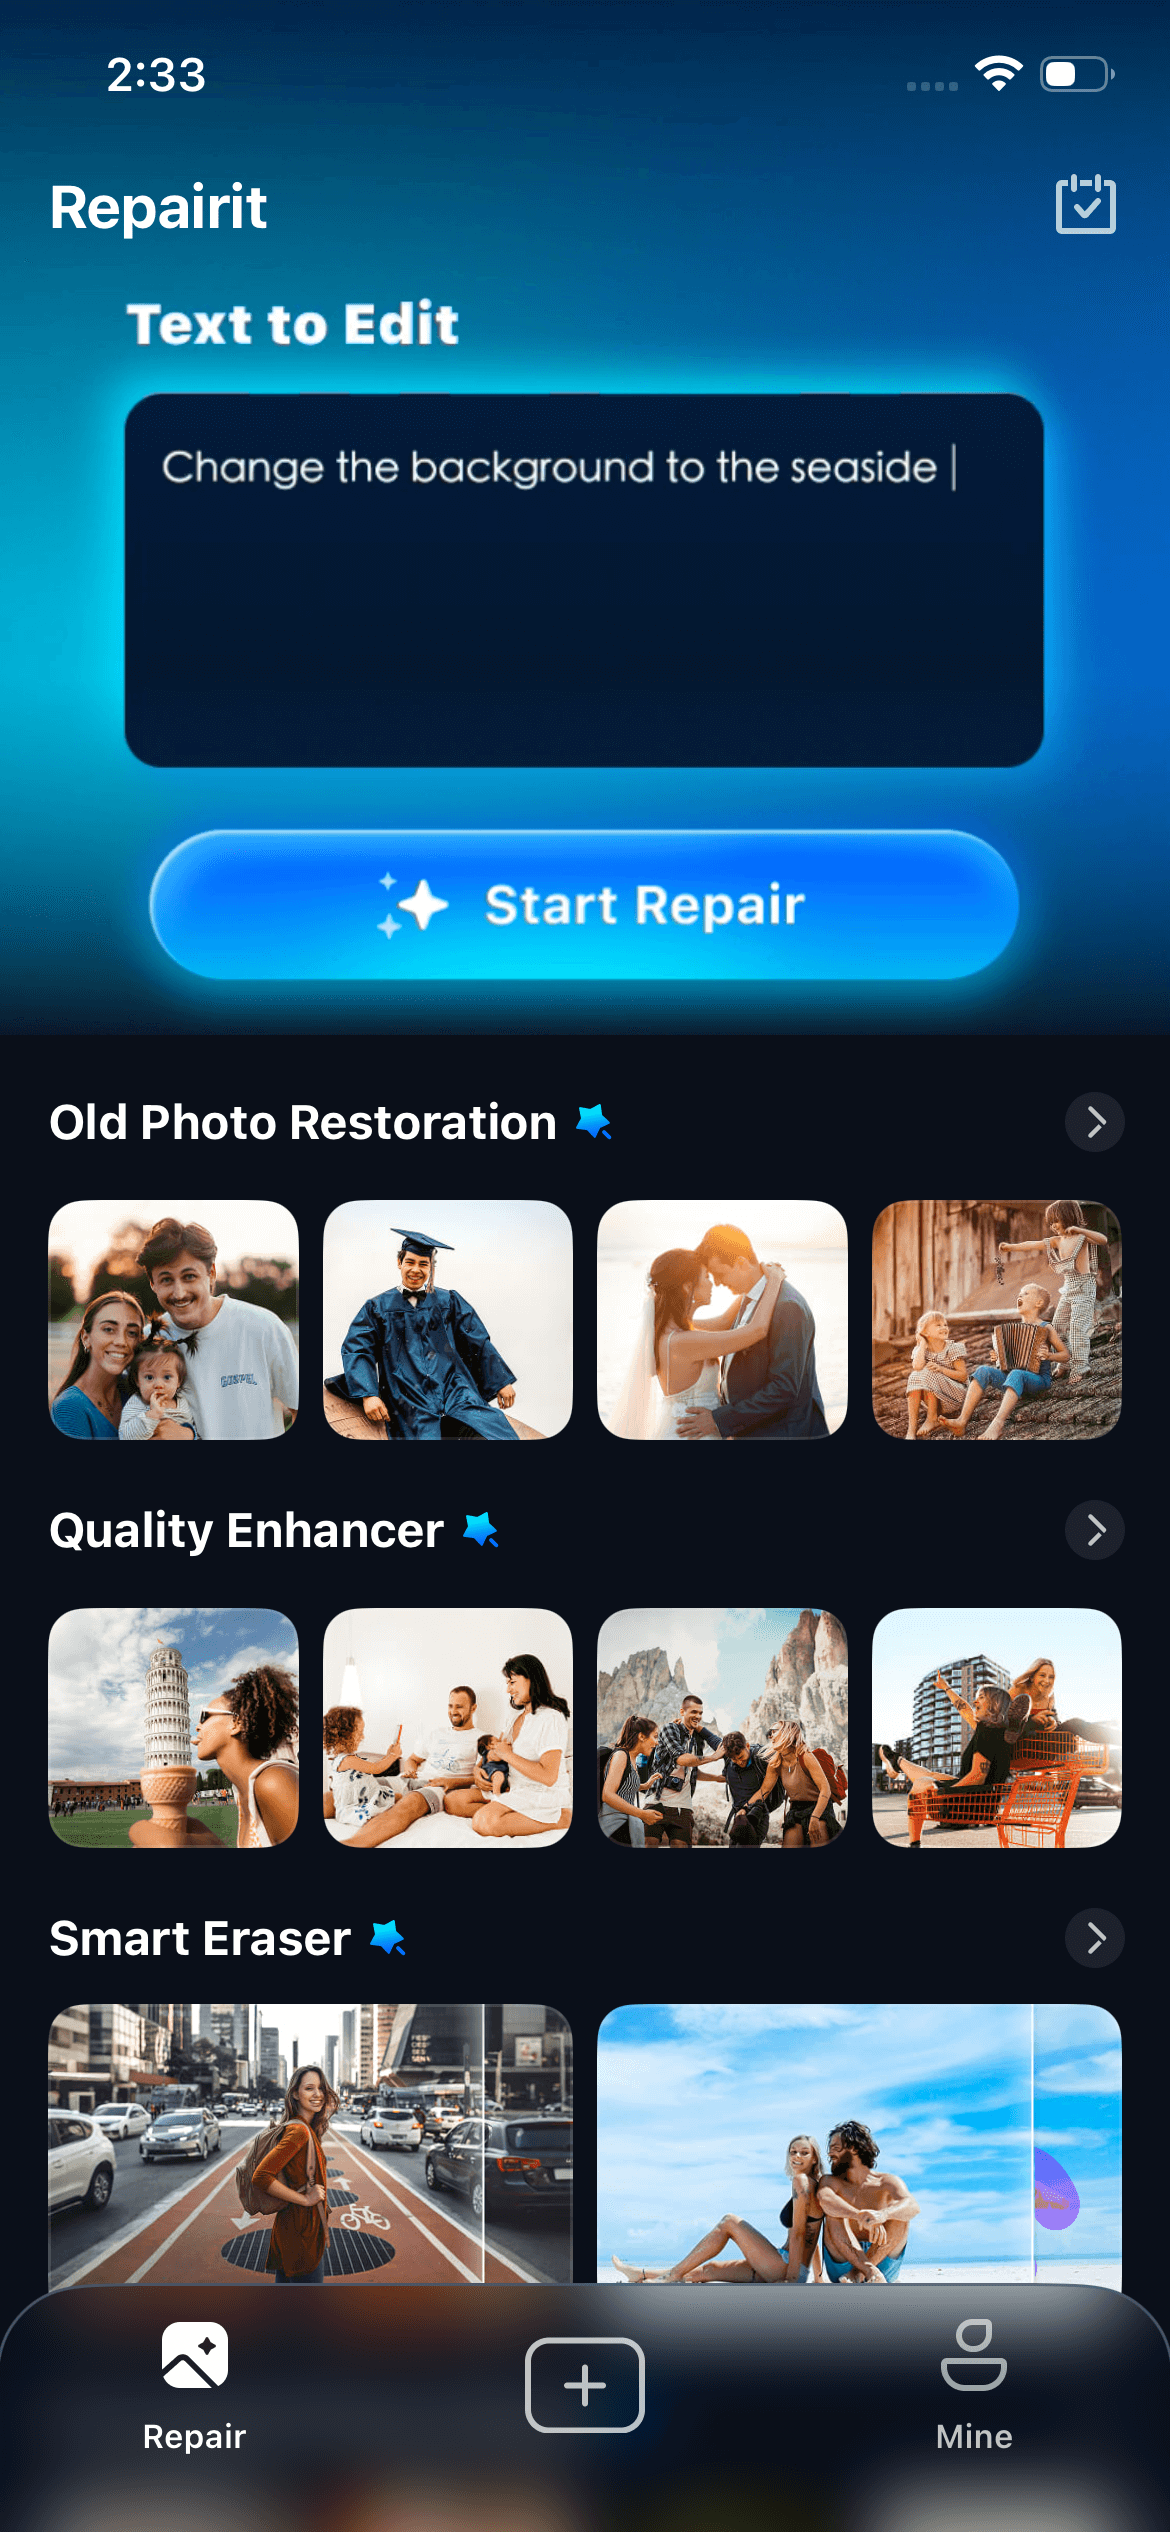
Step 2: Type your idea or choose from the suggestions provided for you like:
- "Make the background beach"
- "Remove people in the background"
- "Fix scratches and colorize"
- "Change to 3D figurine"
- "Change to anime"
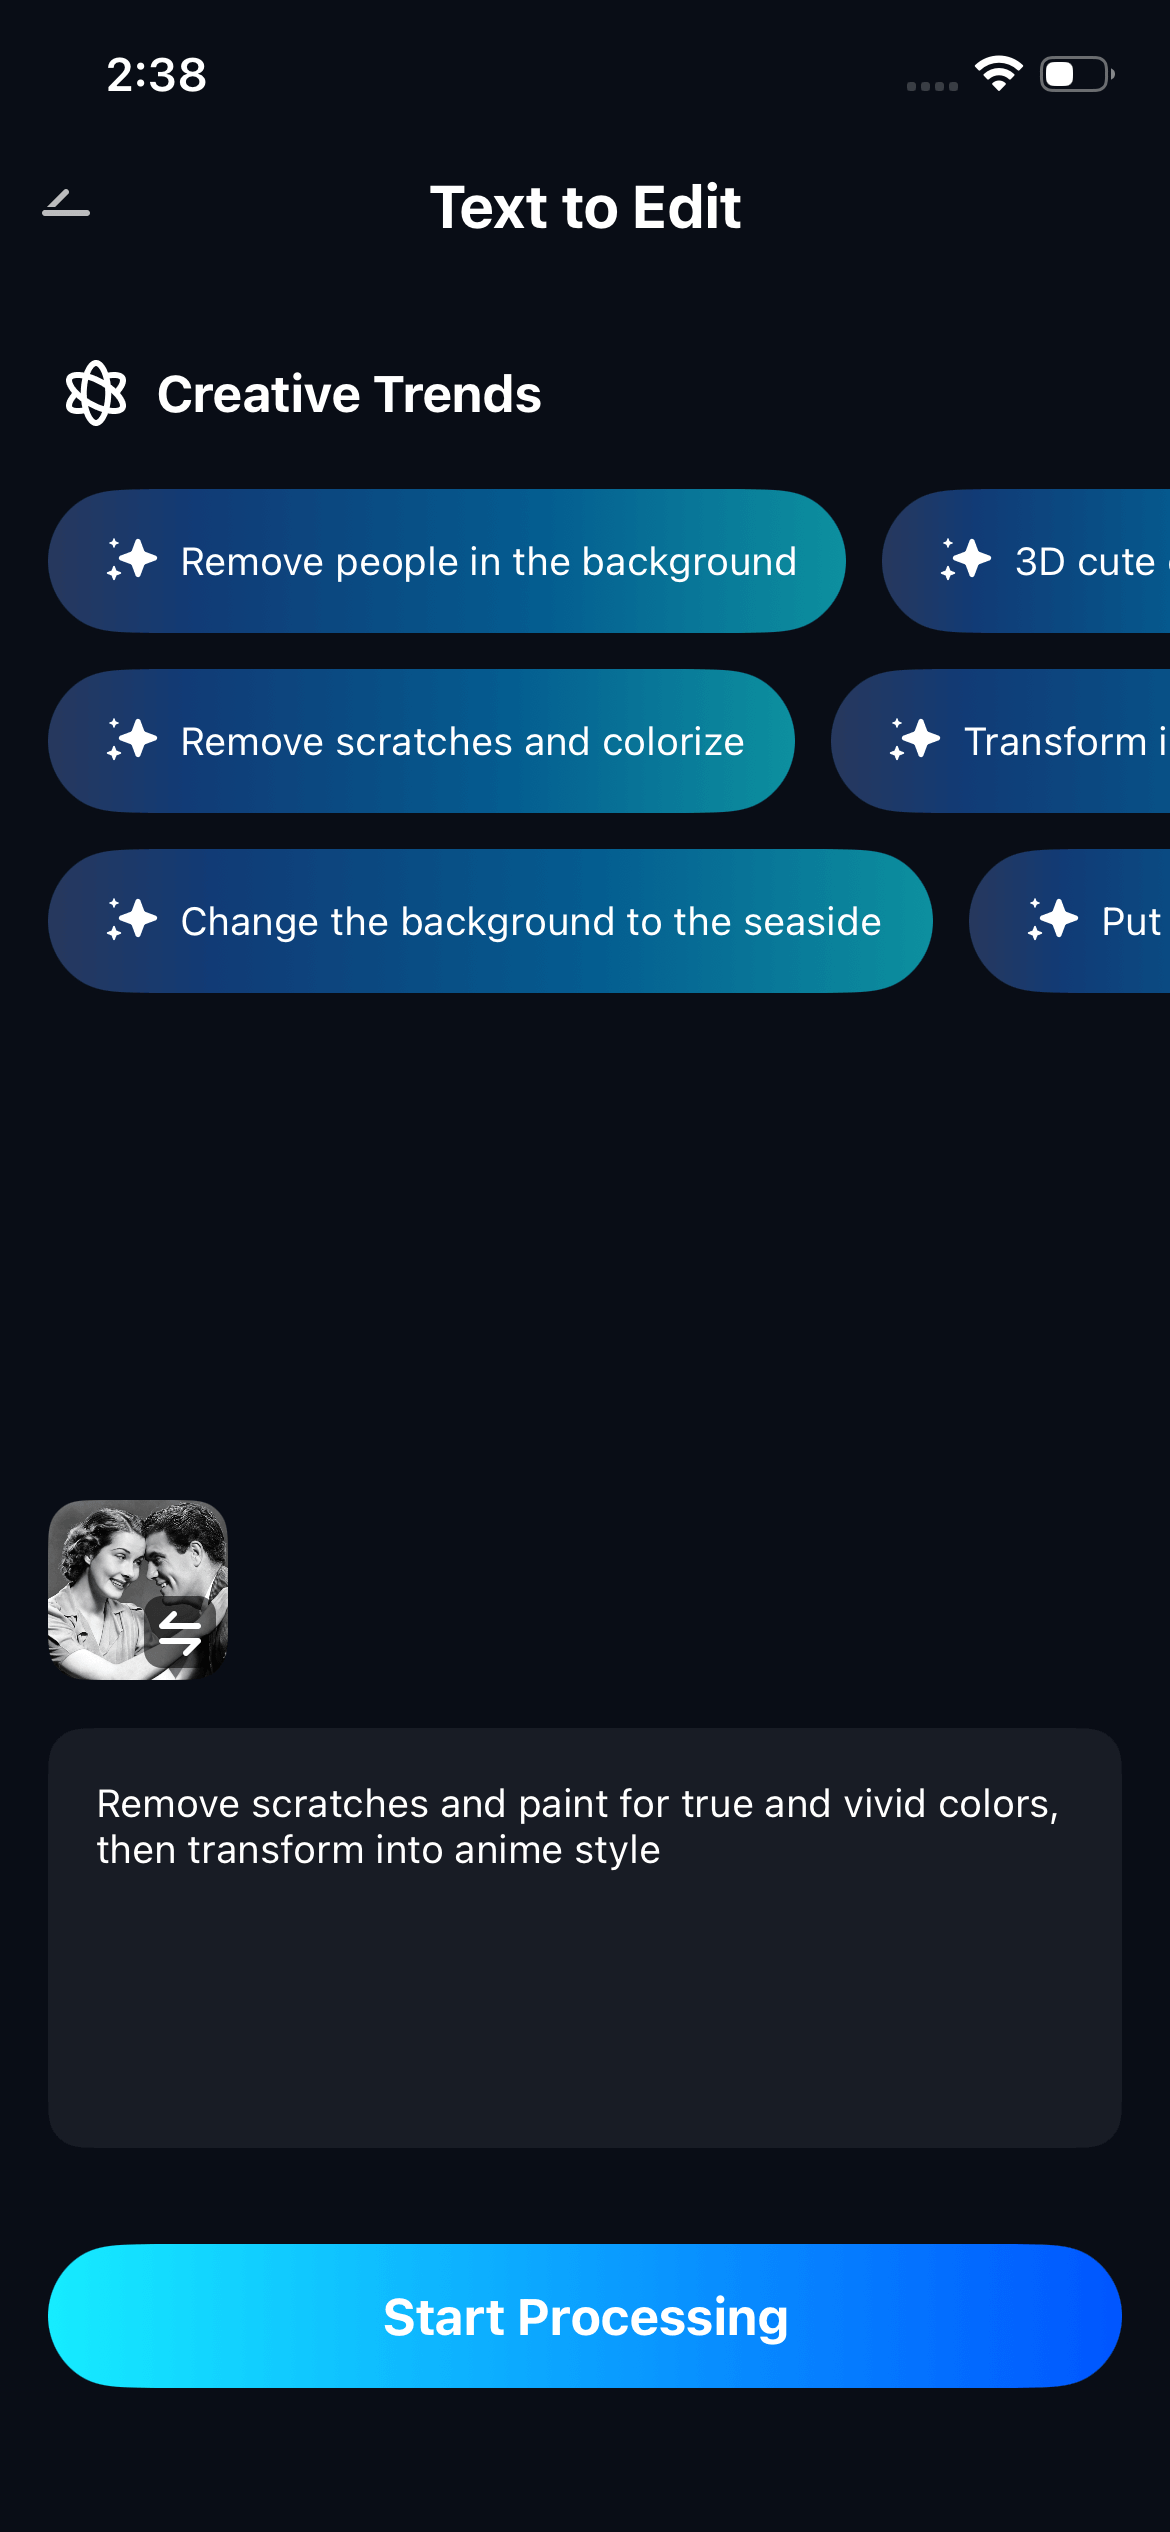
Then press Start Processing and the AI will do the rest of the work for you.
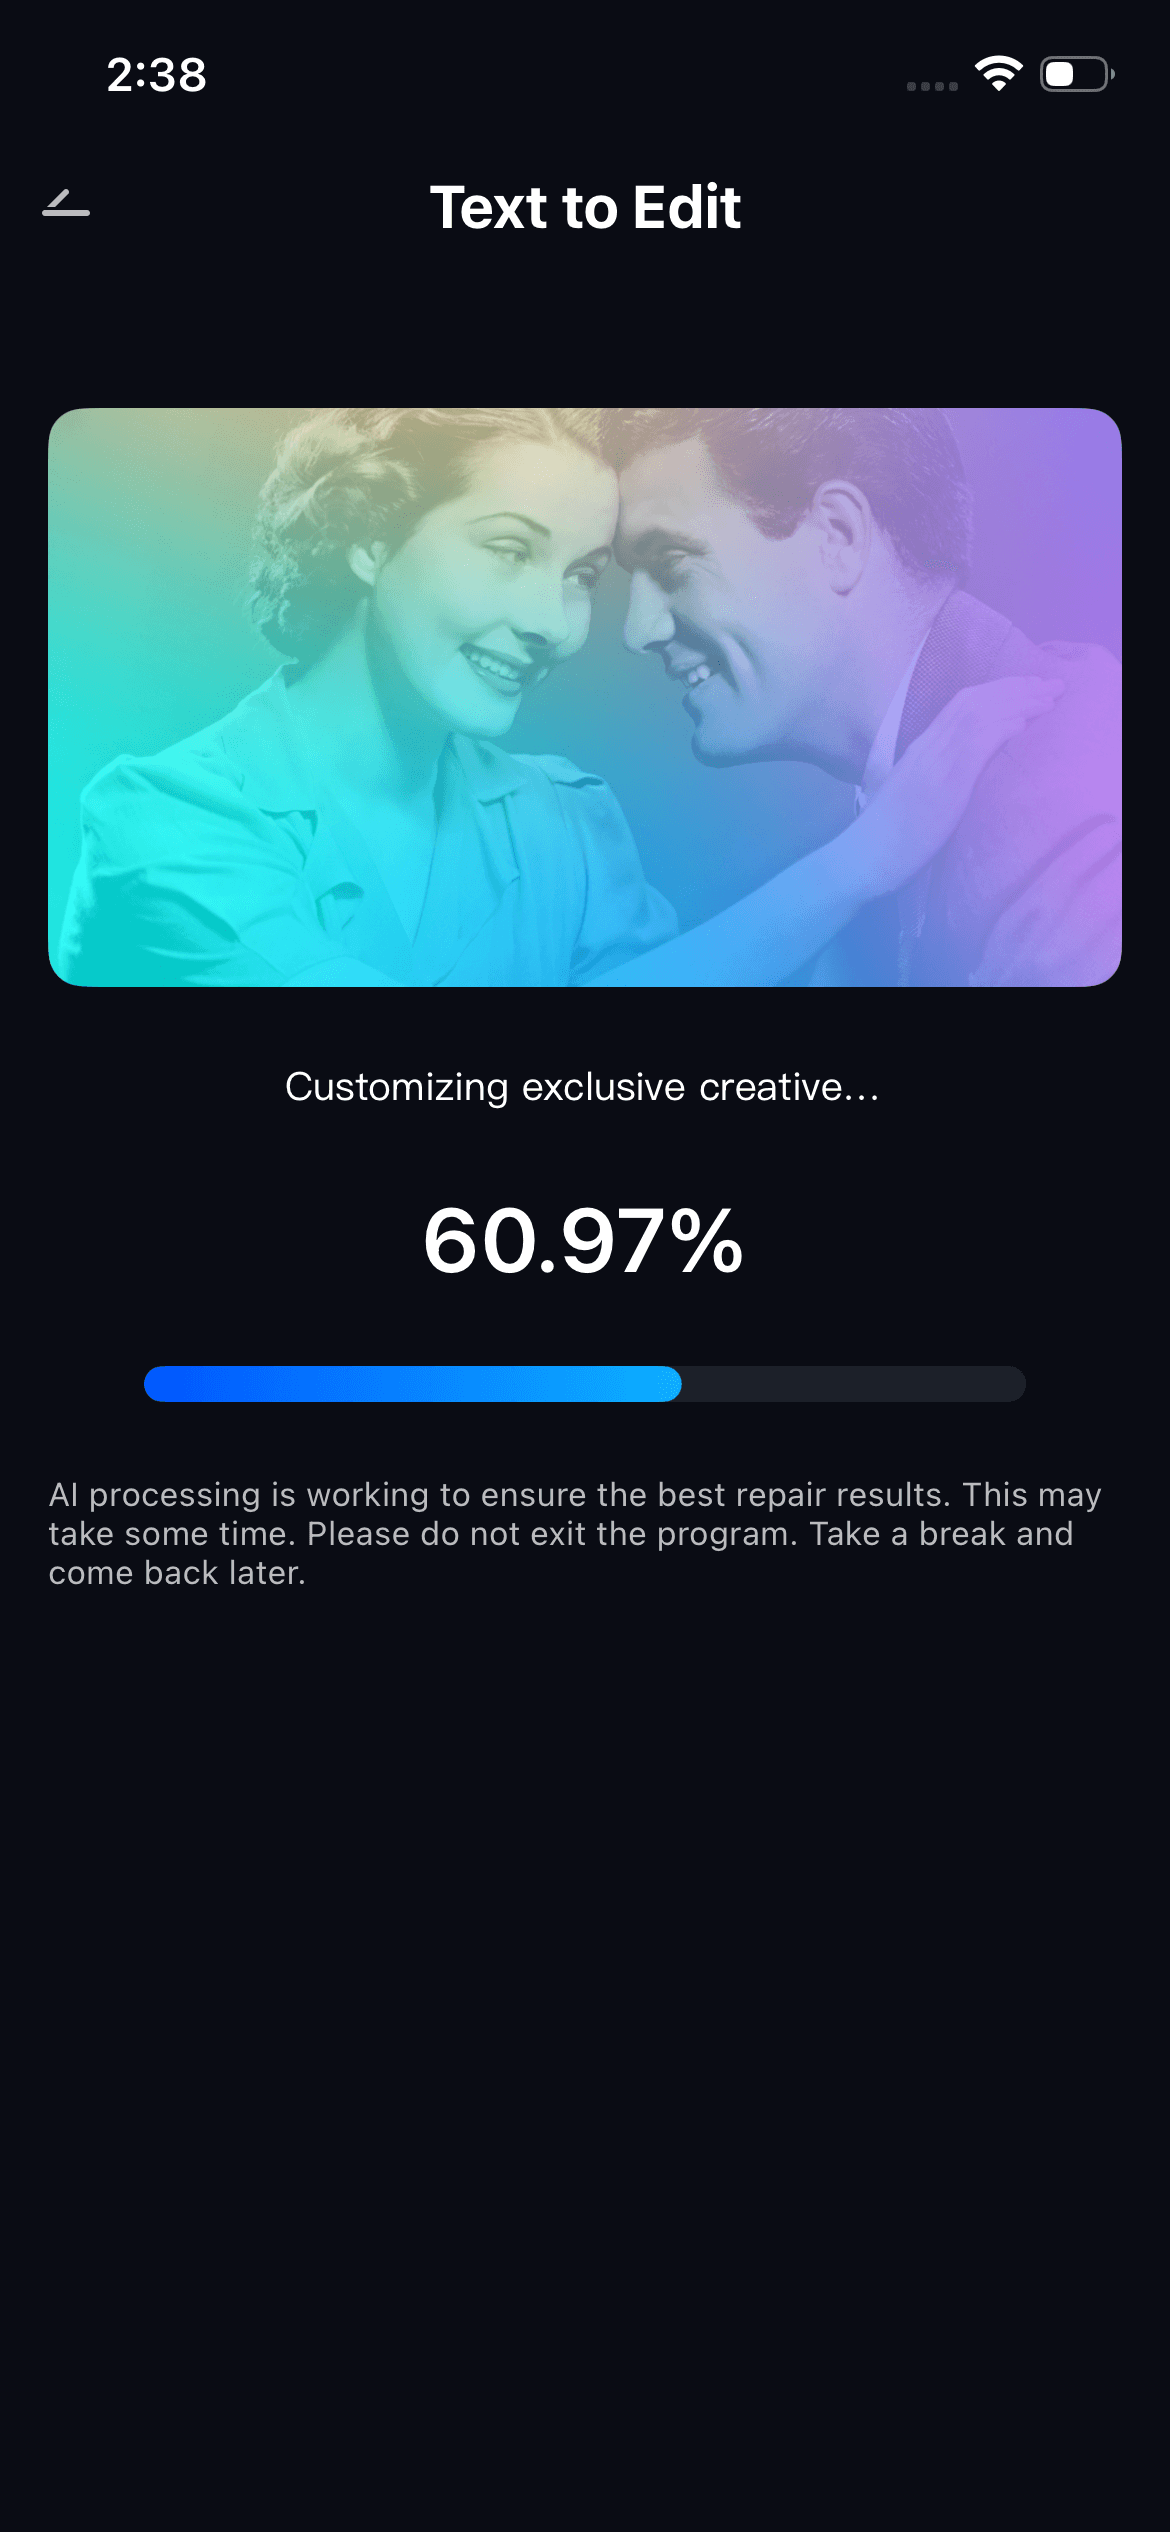
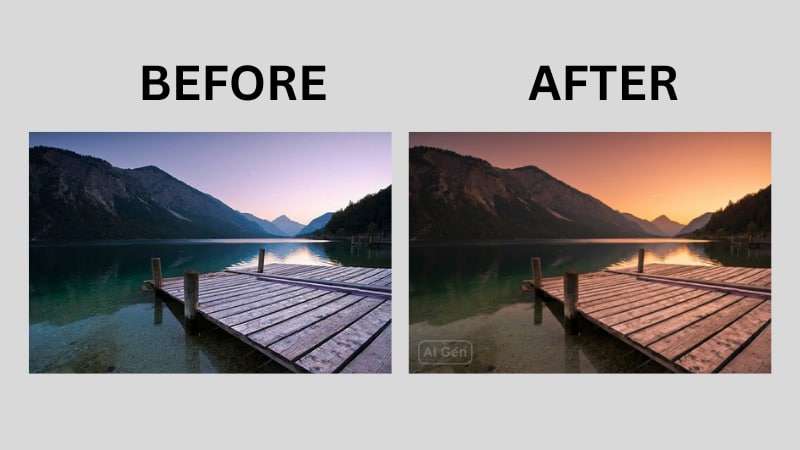
Step 3: Review the AI created image, compare it with the original image, and hit Save when happy.
Conclusion
Color grading in Final Cut Pro might seem technical at first, but it is actually one of the most creative elements of editing. Color Wheel, Curves and Scopes allow you to balance the mood and emotion in your footage.
Try different tones and watch your video become what you envisioned. If you need a faster option, the Repairit App is a mobile and AI-driven option for faster enhancements for the color in your videos.
FAQs
-
Is Final Cut Pro a good tool for a beginner to learn about color grading?
Yes. Final Cut Pro is a great beginner program once you learn your way around it. You will have basic tools like the Color Wheels and Color Board for essential adjustments. -
What is the easiest way to keep skin tones looking natural in Final Cut Pro?
Watch the skin tones with the Vectorscope and keep the levels with the skin tone indicator. If necessary you can readjust the levels with the Color Wheels or the Hue/Saturation Curves, but avoid over-saturation. -
Can I use LUTs in Final Cut Pro without sacrificing quality?
Yes, Final Cut Pro allows for high-quality LUTs (Look-Up Tables) which will retain original footage. You can apply LUTs, using the Custom LUT effect in the Color Inspector. As long as your source video is high-quality, LUTs should improve the aesthetic look of the video, without losing quality.

