At times, Windows 10 might have trouble starting up because of an issue with the master boot record. In such situations, fixing the master boot record is necessary to get your computer up and running again.
To perform a boot repair on Windows 10, you can use the recovery environment, which has an automatic option to handle this task. If that doesn't work, you can manually repair it using other effective solutions. This article provides step-by-step methods to help you perform Windows boot repair. Let’s get started.
In this article
Why Won't Windows 10 Boot on Your Computer?
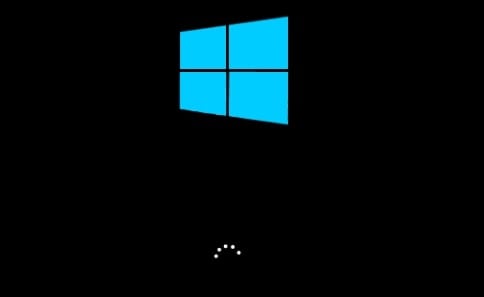
People often express frustration online because their Windows 10 computers won't start like they normally do. It might display a blue or black screen, a message about loading incorrectly, and a boot failure error. What makes this happen?
Here are some of the reasons why:
🧐The operating system might not load properly after installing the latest update or antivirus software.
🧐You updated drivers and BIOS or added new hardware.
🧐If important files needed for the operating system to work properly get damaged or corrupted, it can stop Windows from starting.
🧐The BCD contains details on how the operating system should start, and any problems with this data can cause issues when starting up.
When Windows doesn't boot, your computer becomes essentially useless. You can't access your files, applications, or any other data stored on your system until you fix the boot problem. Moreover, boot problems can lead to downtime, affecting your productivity. If your computer is essential for work or daily tasks, being unable to access it can cause disruptions and delays.
Built-in Windows 10 Boot Repair Tools
Windows 10 has tools designed to help you fix issues related to booting up your computer. These tools are built into the operating system, providing users with native solutions for resolving common startup problems.
When you encounter problems with your computer's boot process, Windows 10 offers built-in utilities that you can use for repair.
1. Perform a Windows Startup Repair
If you're having issues with your computer, a good initial step is to enter the recovery environment and do a startup repair.
The Startup Repair tool is like a helpful assistant for your computer. It automatically fixes many common problems and can even handle more complicated ones. When your computer senses a startup issue, the Startup Repair tool turns on. Once it starts, the tool checks things out, like looking at log files, to determine what's causing the problem. After figuring it out, the tool tries to fix it all independently.
To use this Startup Repair tool, follow these steps:
Step 1: Start your system using the installation media for your Windows version.
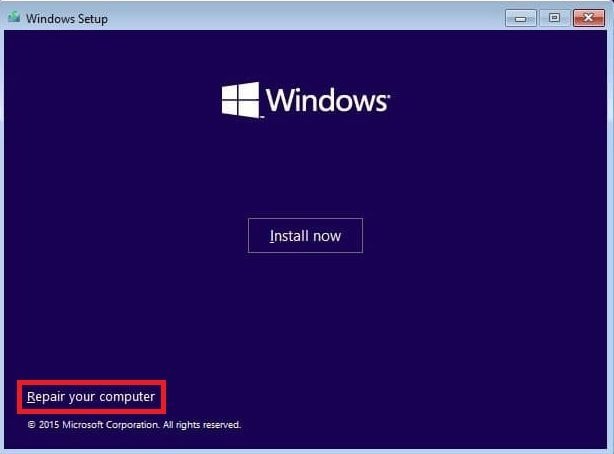
Step 2: On the Install Windows screen, choose Next. Then, click Repair your computer.
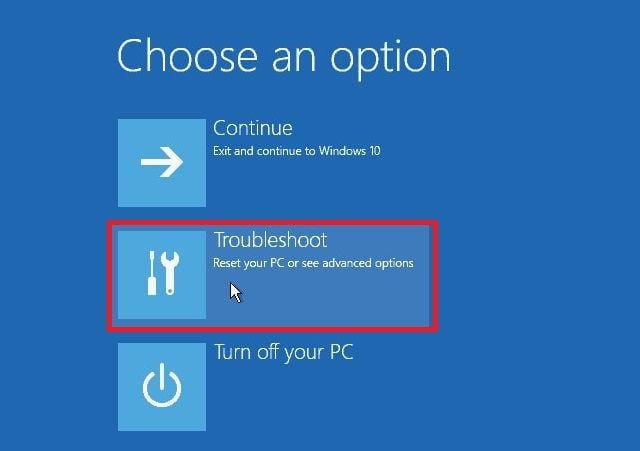
Step 3: On the Choose an option window, select Troubleshoot.
Step 4: Click the Advanced options screen.
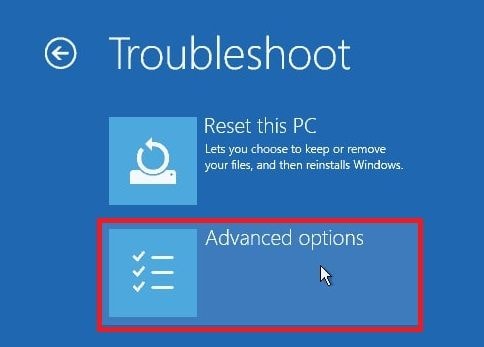
Step 5: Press Startup Repair.

Step 6: After the repair, choose Shutdown. Then, turn on your PC again to check if Windows can start properly.
The Startup Repair tool also creates a log file that shows what problems were found and what fixes were done. You can find this log file here:
- %windir%\System32\LogFiles\Srt\Srttrail.txt
2. System File Checker (SFC)
SFC stands for System File Checker. It is like a computer tool that checks whether important Windows files are okay. If it finds any broken or missing files, it fixes them with good copies it knows about.
To use it, you just type the following syntax in the Command Prompt and tap Enter:
- sfc /scannow
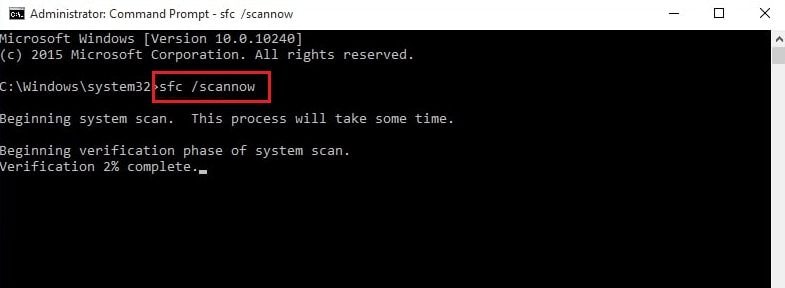
Once it's done checking, you can restart your computer to see if the problem is still there.
Top 5 Boot Repair Tools for Windows 10
Dealing with startup issues can frustrate and disrupt your work and daily routine. Whether you're using Windows 10 or 11, finding the right Windows 10 boot repair utility to tackle this problem is important. We've explored the top 2 popular solutions to make things easier for you.
1. Wondershare Recoverit
Introducing Wondershare Recoverit, a reliable bootable data recovery software to help you recover lost data effectively. Recoverit offers a bootable solution, allowing you to recover data even when your computer won't start. Aside from this, it also proudly represents its other features.
Key Features
- This software can retrieve various files, including documents, photos, videos, and more, ensuring a comprehensive recovery experience.
- With an intuitive and user-friendly interface, Recoverit makes the data recovery process accessible for beginners and experienced users.
- It supports many file systems and storage devices, making it versatile for various data recovery needs.
- Wondershare Recoverit prioritizes the security of your data. This provides a reliable and safe environment for the recovery process.
Windows 10 boot repair problems might be confusing, but Recoverit handles everything. Let's go through the steps to get your system working again.
Step 1Getting Ready for Crash Recovery
Begin by downloading and installing Recoverit on a functional computer, and have a blank USB drive ready to connect to this computer.
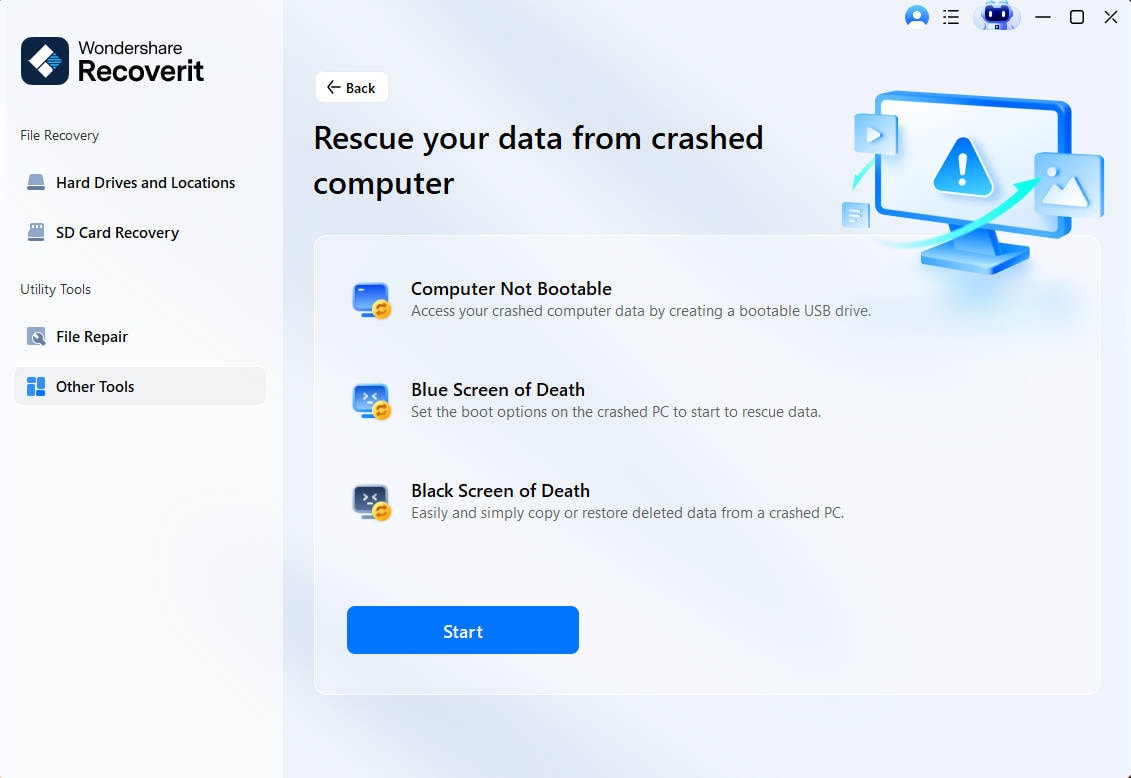
Within the Recoverit application, simply navigate to the left side of the interface and choose the System Crashed Computer option. Then, press Start to initiate the recovery process.
Step 2Generating Bootable Media
To initiate data recovery on a non-bootable computer, you must first generate bootable media to kickstart the system.
a. Generate a Bootable Drive
If your Windows computer cannot start, you can utilize Recoverit to produce bootable media and retrieve your data.
Ensure that a blank USB drive is connected to the operational computer and is recognized. Choose the drive for bootable media creation and then click Create to commence the process.

Creating a bootable drive involves two essential steps:
- Formatting the USB drive
- Crafting a bootable drive
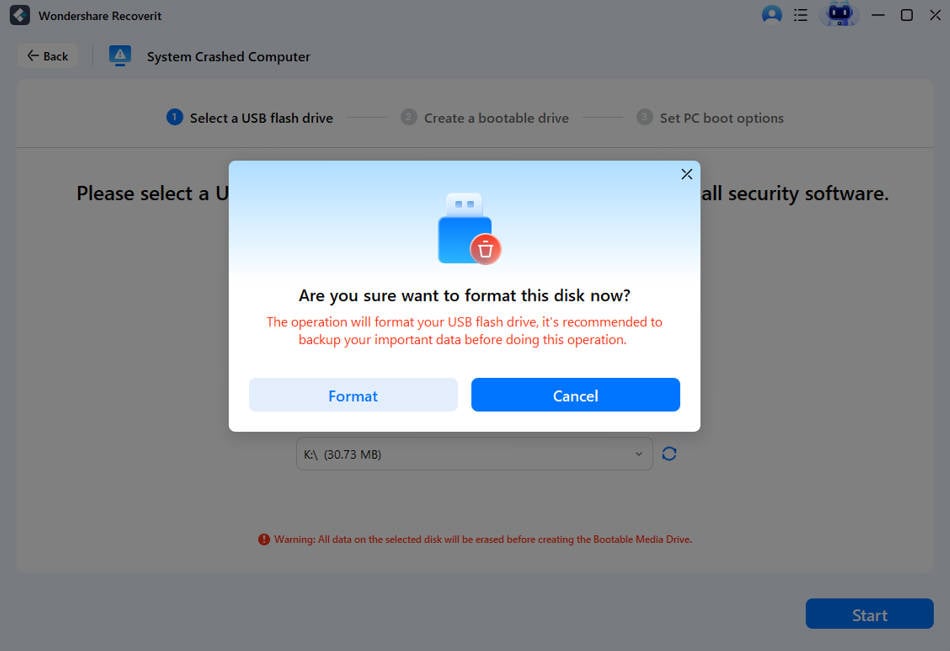
When you create a bootable USB drive, a notification will warn you about the need to format the USB flash drive. Ensure that you have backed up important data before proceeding with the formatting.
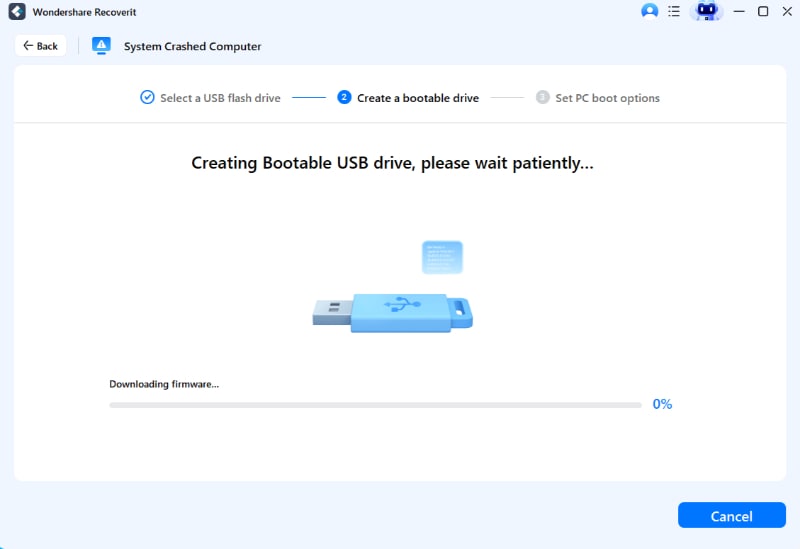
Once both processes are completed, the bootable drive required to initiate your crashed computer will be successfully generated.
b. Boot Your Unresponsive Computer Using a USB Drive
Once you have completely created a bootable USB flash drive, Image name the USB flash drive to your computer.
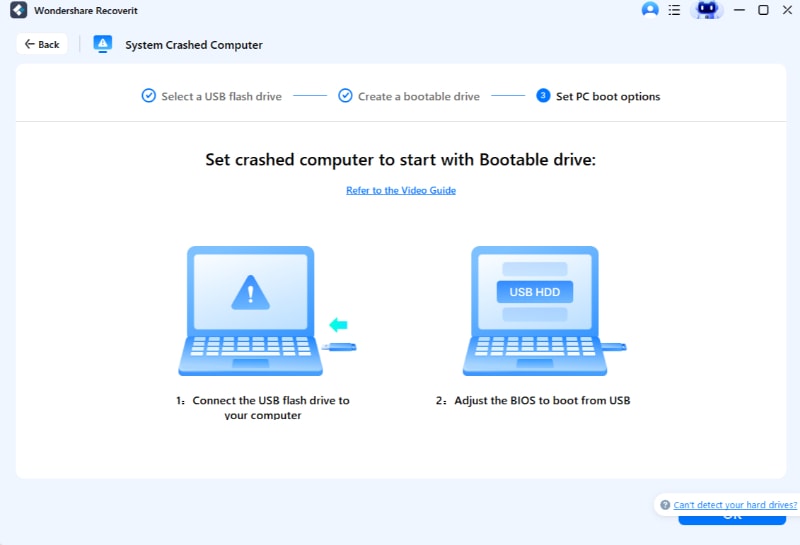
Adjust the BIOS settings to enable booting from the USB drive. To do this, restart your non-responsive computer and press the BIOS entry key when the initial screen is displayed.
Every computer system features a BIOS option that allows users to make custom adjustments to BIOS settings. To access it, press the BIOS Entry key as your computer powers up.
Step 3Revieving Data from the Crashed Computer
After following the preceding instructions, you will notice that your previously unresponsive computer is now operational. At this point, you can select either Hard Disk Copy or Data Recovery based on your specific needs.
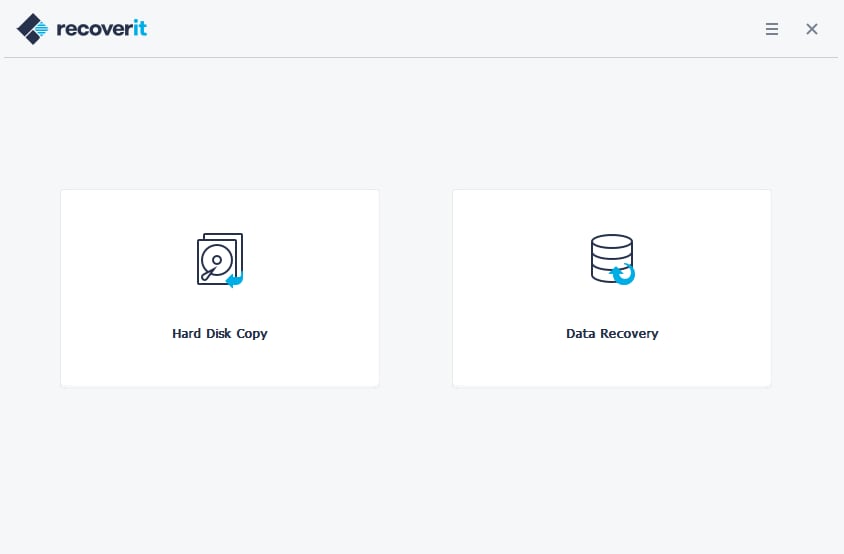
a. Hard Disk Copy
- Select Hard Disk Copy, and then specify the directory for the copy.
- Attach a functional hard drive to the crashed computer.
- Select the connected hard drive and click the Copy button. You can monitor the data copying process from the crashed computer to the hard drive.
- Once the copying process is complete, a message will appear stating, "Data copy completed.”
b. Data Recovery
- If you choose Data Recovery, you can begin by selecting a disk for scanning.
- Connect a functional hard drive to the crashed computer.
- After the scanning, you can designate a location to save the recovered data. You can choose the hard drive connected to the crashed computer and tap Recover. Recoverit will then recover data from the crashed computer to the hard drive.
- A successful recovery will be confirmed with the message "Congratulations! Files recovery completed."
After retrieving the data, it is advisable to save them to a secure location.
2. Ultimate Boot CD
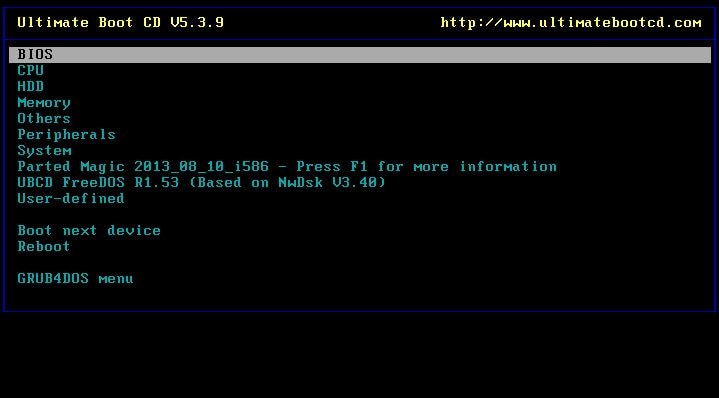
The Ultimate Boot CD (UBCD) is a free recovery CD that can start your computer and help you fix or recover things. It's based on Debian and comes with many tools built into it. These tools let you do basic and medium-level rescues and fixes on your computer. It fixes almost any issue with Windows startup. It includes additional software like antivirus, antispyware, file managers, network programs, and other useful tools.
You should get the Ultimate Boot CD for the following conditions:
- Use this if you want diagnostic tools, usually on floppy disks.
- Don't want to deal with the slow speed of floppy drives. Even if you have one, using diagnostic tools from the CD drive is much faster.
- Prefer having all your diagnostic tools in one place. Instead of searching for the right floppy disk, you can have them all on one bootable CD.
- Need to use Ultimate Boot CD from a USB memory stick. The CD has a script that prepares your USB stick so you can use it on newer computers that can boot from USB devices. You get the same tools as the CD version.
However, this tool is not recommended for users with little computer experience. It only diagnoses problems and doesn't repair the operating system. Furthermore, it’s not compatible with more modern systems and hardware.
3. Hiren Boot CD PE
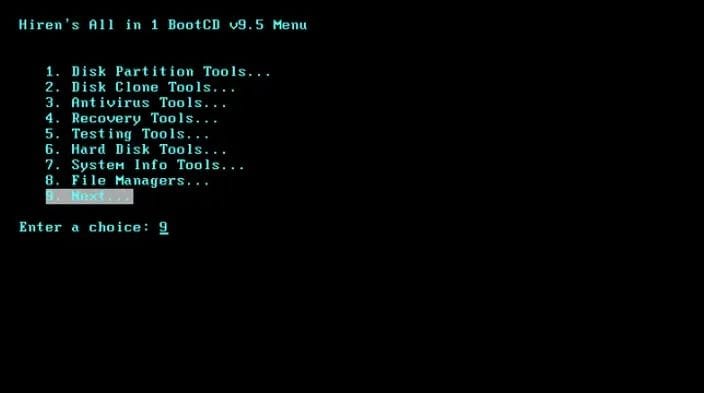
Hiren's BootCD PE (Pre-Installation Environment) provides users various tools to troubleshoot and fix their computers. It has all the necessary tools to get your computer back on track if it's having issues booting Windows 10/11. Using this method, you'll enter a Windows-like visual environment alongside your damaged Windows installation.
Key Features of Hiren Boot CD:
- Designed for modern computers, ensuring compatibility with UEFI and a minimum of 2 GB RAM.
- After installation, it configures sound, wireless, Ethernet, and graphics card drivers based on your hardware.
- Can boot from DVDs and USB flash devices using UEFI.
However, the infrequent updates of this tool may reduce compatibility over time. It is also required to have technical expertise for full utility.
4. PassFab FixUWin
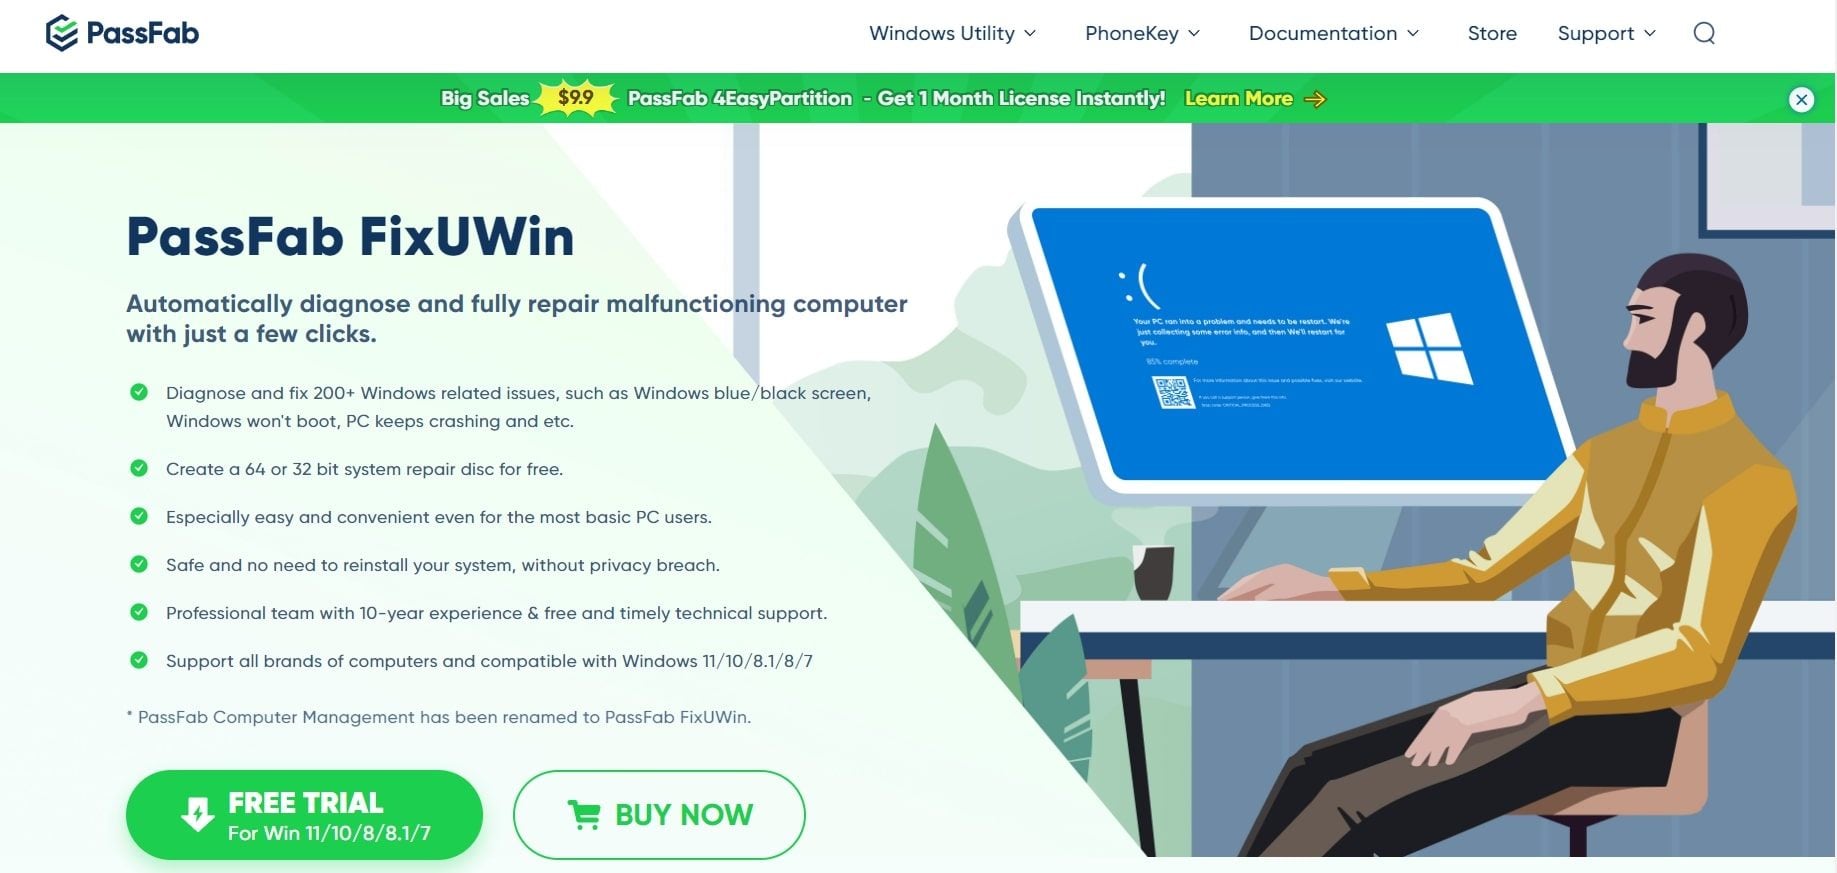
PassFab FixUWin comes highly recommended as a Windows 10/11 boot repair tool that can tackle almost any issue on your Microsoft Windows 10/11. This top-notch diagnostic tool makes it easy to identify and fully resolve most problems on your computer with just a few clicks. PassFab can now automatically fix over 200 Windows problems instantly, ranging from common glitches like being stuck on your Welcome screen to more complex issues requiring a deeper diagnostic to fix Windows problems.
To achieve this, PassFab offers three different levels of repair modes based on the seriousness of your issue:
- Smart System Repair: Quickly and easily fixes common problems, often resolving issues to get your computer running smoothly again.
- System Boot Repair: Dives deeper to solve more complex problems and guarantees successful resolution of Windows problems.
- Ultimate Repair: For the most technical problems, this mode provides access to the most complicated Windows issues, conducting a thorough diagnostic to leave no stone unturned in solving the problem.
PassFab FixUWin uses a boot disk to comprehensively check and resolve system problems, ensuring a thorough fix rather than quick solutions that only cover surface issues.
5. EasyBCD
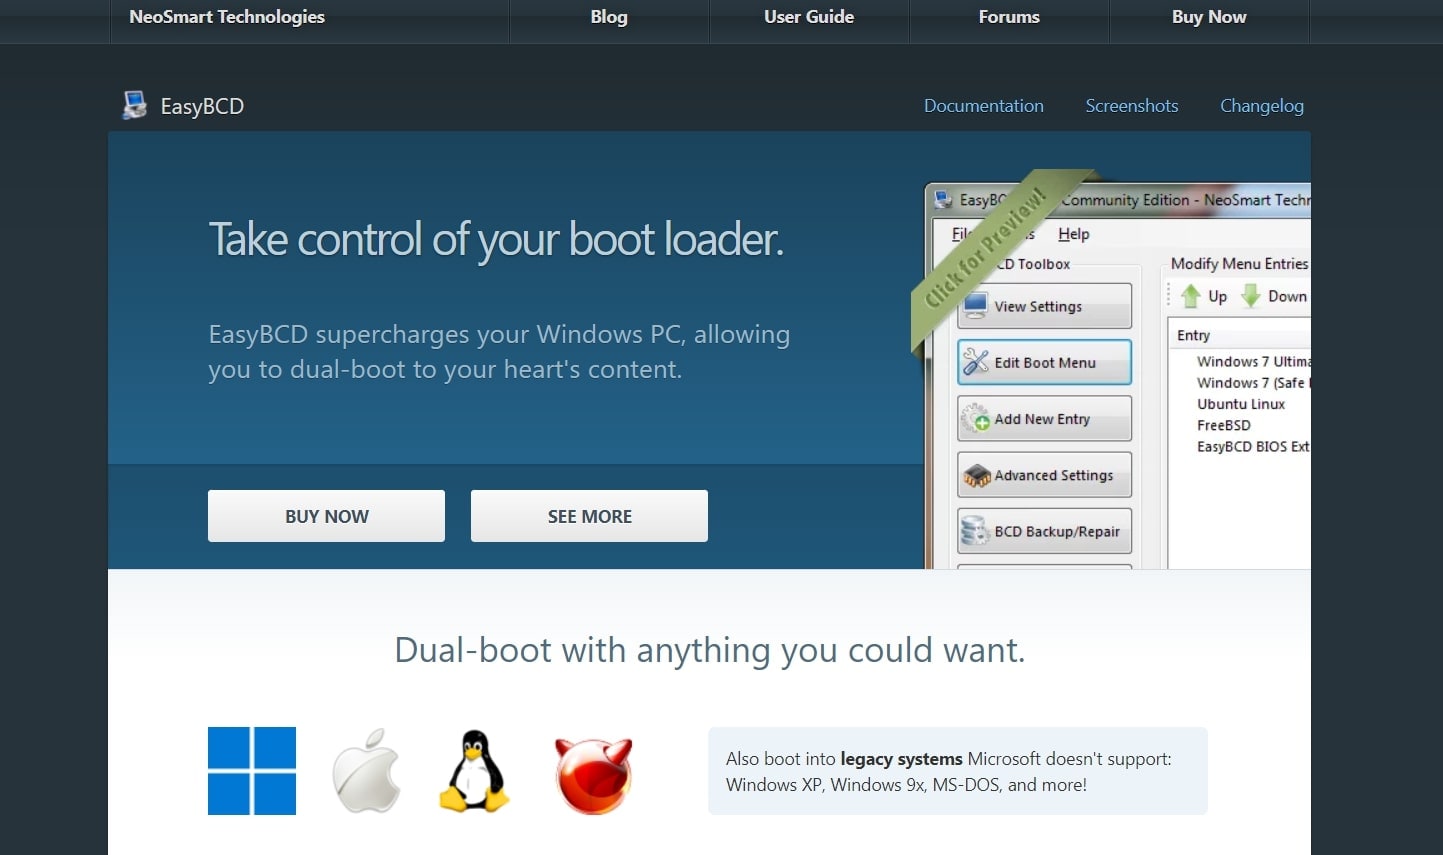
EasyBCD is a solution to fix Windows boot problems. It helps you establish a bootable USB with repair tools, booting from USB drives, ISO images, virtual disks, and more. It also lets you edit and repair the Windows bootloader.
Key Features of EasyBCD:
- Boot from different sources like virtual disks, ISO images, and USB devices on BSD, Linux, Windows, and macOS.
- Use repair tools to make portable bootable USB drives for on-the-go troubleshooting.
- Utilize EasyBCD to fix the bootloader, debug Windows, and more.
This tool supports multiple operating systems and lets you customize the boot menu. However, it requires administrative rights for installation. Furthermore, it occasionally encounters issues saving configurations.
Best Practices
Learn important tips to make sure you use any boot repair tool effectively.
- Get to know the features of the boot repair tool you're using. Understanding how it works will help you make smart decisions during the repair.
- Before you start fixing anything, have a backup of your important files. Even though repair tools aim to solve issues, having a backup is a safety measure in case something unexpected happens.
- Set up a restore point on your computer before you begin the repair. This gives you a snapshot of your system's current state so you can return to a stable version if needed.
- Make sure the boot repair tool you choose works with your operating system. Using a tool that doesn't match your system may cause problems, so it's crucial to match the tool with your system requirements.
- Most repair tools come with easy-to-follow instructions. Stick to these guides carefully, making sure each step is done accurately. Skipping steps or rushing through can lead to errors.
- Make regular checks on your system, like updating software and drivers. This can reduce the chances of boot issues and keep your system stable.
Following these best practices can handle the boot repair process. Hence ensuring an effective process with minimized potential risks.
Conclusion
That’s it. This article highlighted a few popular Windows 10 boot repair solutions. While this is not likely to happen to regular users often, it might occur during riskier tasks such as reinstalling Windows, changing partition sizes, or setting up a dual boot. Even though the steps mentioned can be useful, it's wise to do a complete backup before attempting anything.
Also, you don't need to stress about losing your data on this computer that won't start. Wondershare Recoverit can safely get back your important files.
FAQ
-
Why do I need to repair the boot on Windows 10?
Repairing the boot on Windows 10 is crucial when encountering issues like startup errors, blue screens, or the inability to boot into the operating system. This process ensures your computer starts smoothly. -
What are common signs of Windows 10 boot problems?
Common signs include error messages during startup, an endless boot loop, or a black screen. If your computer takes unusually long to start or shows unexpected errors, it may indicate boot problems. -
How can I repair Windows 11/10 if it won't start?
To repair the Windows 11/10 boot, use the Startup Repair tool. Access the Windows 11/10 recovery environment by having your computer on and off three times.While it's booting, turn off the computer when you see the Windows logo. After the third time, Windows 10 will start in diagnostics mode. Click "Advanced options" when the recovery screen appears. Then, choose "Startup Repair" and follow the on-screen instructions.


 ChatGPT
 Perplexity
 Google AI Mode
 Grok
Grok

