
 TL;DR:
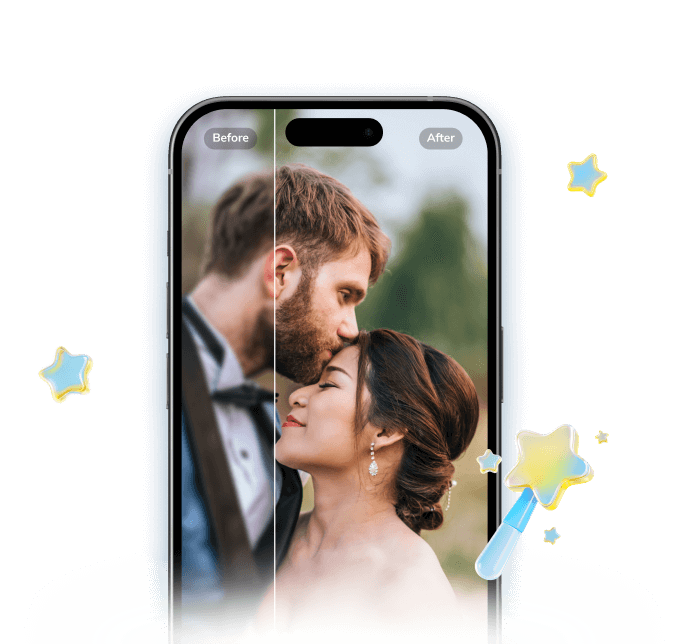
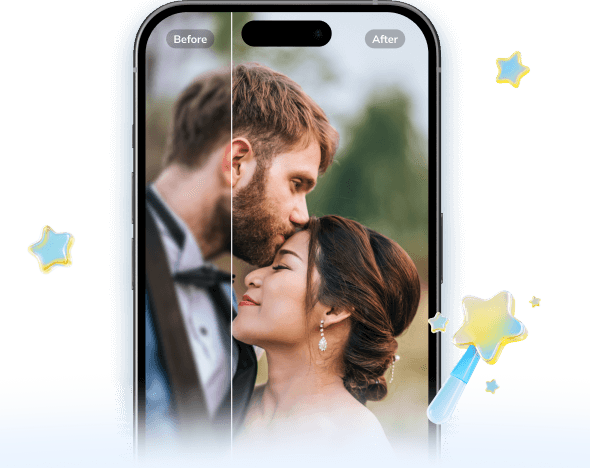
Rescuing an underexposed indoor selfie requires targeted facial relighting rather than flat exposure adjustments, which can be achieved naturally using the Scene Retake feature in the Relumi Photo Lighting Enhancer.
● Fix muddy shadows and dull skin tones by applying Scene Retake, which evaluates shadow direction and scene atmosphere to clarify the face without washing out the background or applying artificial beauty filters.
● This recovery workflow is best suited for casual mirror, bedroom, or café portraits where the expression is usable but weak overhead or window light made the capture look darker and flatter than the actual moment.
● The effectiveness of the correction will be limited if the original image is heavily blurred, strongly compressed, or severely underexposed, as the tool requires existing eye and skin detail to reconstruct a believable result.
Ask AI for a summary
 ChatGPT
 Perplexity
 Gemini
 Claude
 Grok
Grok
Indoor selfies often go wrong in a very specific way. The shot is close enough, the expression is usable, and the moment itself may even feel cozy or flattering in real life. But once the photo is reviewed, the face looks underexposed, the skin tone feels dull, and the whole image seems heavier than the room actually felt. This happens a lot in bedrooms, living rooms, cafés, hallways, elevators, offices, and other everyday spaces where the light is present but not truly working for the camera.
What makes this problem frustrating is that users usually do not want a dramatic makeover. They already like the selfie. They just want it to look more like the moment they remember: a face that reads clearly, shadows that feel less muddy, and an indoor image that looks brighter without turning artificial. Relumi describes its Photo Lighting Enhancer and AI Retake workflow as a way to fix what the camera caught wrong so the moment looks the way it actually felt. That framing matters for underexposed selfies because the real goal is not to create a beauty filter effect. It is to recover a more believable version of the photo the user thought they had already taken. Official references: Photo Lighting Enhancer and Relumi App.
In this article
Part 1. Why indoor selfies often come out underexposed
Indoor selfies are often taken in casual situations where the light feels fine to the eye but not to the camera. A ceiling lamp may brighten the room without helping the face very much. A window may create uneven side light. A café or bedroom may feel warm and comfortable in person, but the camera can record that same scene as dim, gray, or slightly muddy. Because the phone is close to the face, users notice these problems immediately: the eyes look less alive, the skin feels dull, and the selfie loses the natural lift it had in real life.
This is why users often search for help using phrases like rescue underexposed selfie, brighten indoor portrait, or make dim photo clearer. The complaint is usually not that the photo is ruined beyond use. It is that the selfie feels disappointingly less flattering than the real moment. In practice, that means the image needs better facial readability and cleaner light balance, not just a brighter screen.
Part 2. How Relumi helps rescue an underexposed selfie naturally
Relumi Lighting Enhancer
Retake photo lighting naturally with AI-powered scene relighting.
 Balance harsh facial shadows without flattening the portrait
-
Improve hard light, patchy light, and low-visibility street portraits naturally
-
Keep urban mood while making the subject easier to see
-
No editing skills required — upload, relight, preview, and save
Why an underexposed selfie needs more than simple brightening
According to Relumi's official product page, Photo Lighting Enhancer reads face brightness, shadow direction, background contrast, and scene atmosphere, then rebuilds the image so it feels more naturally relit. That matters for selfies because a flat exposure increase often creates a familiar problem: the face gets brighter, but the skin loses dimension, the background turns thin or washed, and the result starts looking processed rather than genuinely improved.
For an underexposed selfie, the real need is more specific. Users usually want the face to feel clearer, the shadows to feel softer, and the image to look more awake without crossing into fake beauty-filter territory. Relumi's retake-style framing is relevant here because it suggests a correction that respects the original scene instead of flattening it.
What a believable rescued selfie should feel like
A believable rescued selfie should look brighter in the right places, not brighter everywhere. The face should read more clearly, but still look like the same person under the same room light. The skin should not become chalky, the background should not disappear, and the photo should not suddenly look as if it was taken under studio lighting. If the result feels too smooth, too white, or too detached from the indoor setting, it has probably gone too far.
For most users, the best outcome is one that simply feels more accurate. The selfie looks more like what they saw in the front camera preview or remembered from the moment, not like a heavily edited replacement image.
Part 3. How to use Brighten Photo in Relumi
Step 1. Add the indoor selfie
Upload the selfie you want to improve. This works best when the expression and framing are already worth keeping, but the face looks too dim, the skin tone feels dull, or the room light makes the whole image feel underexposed.
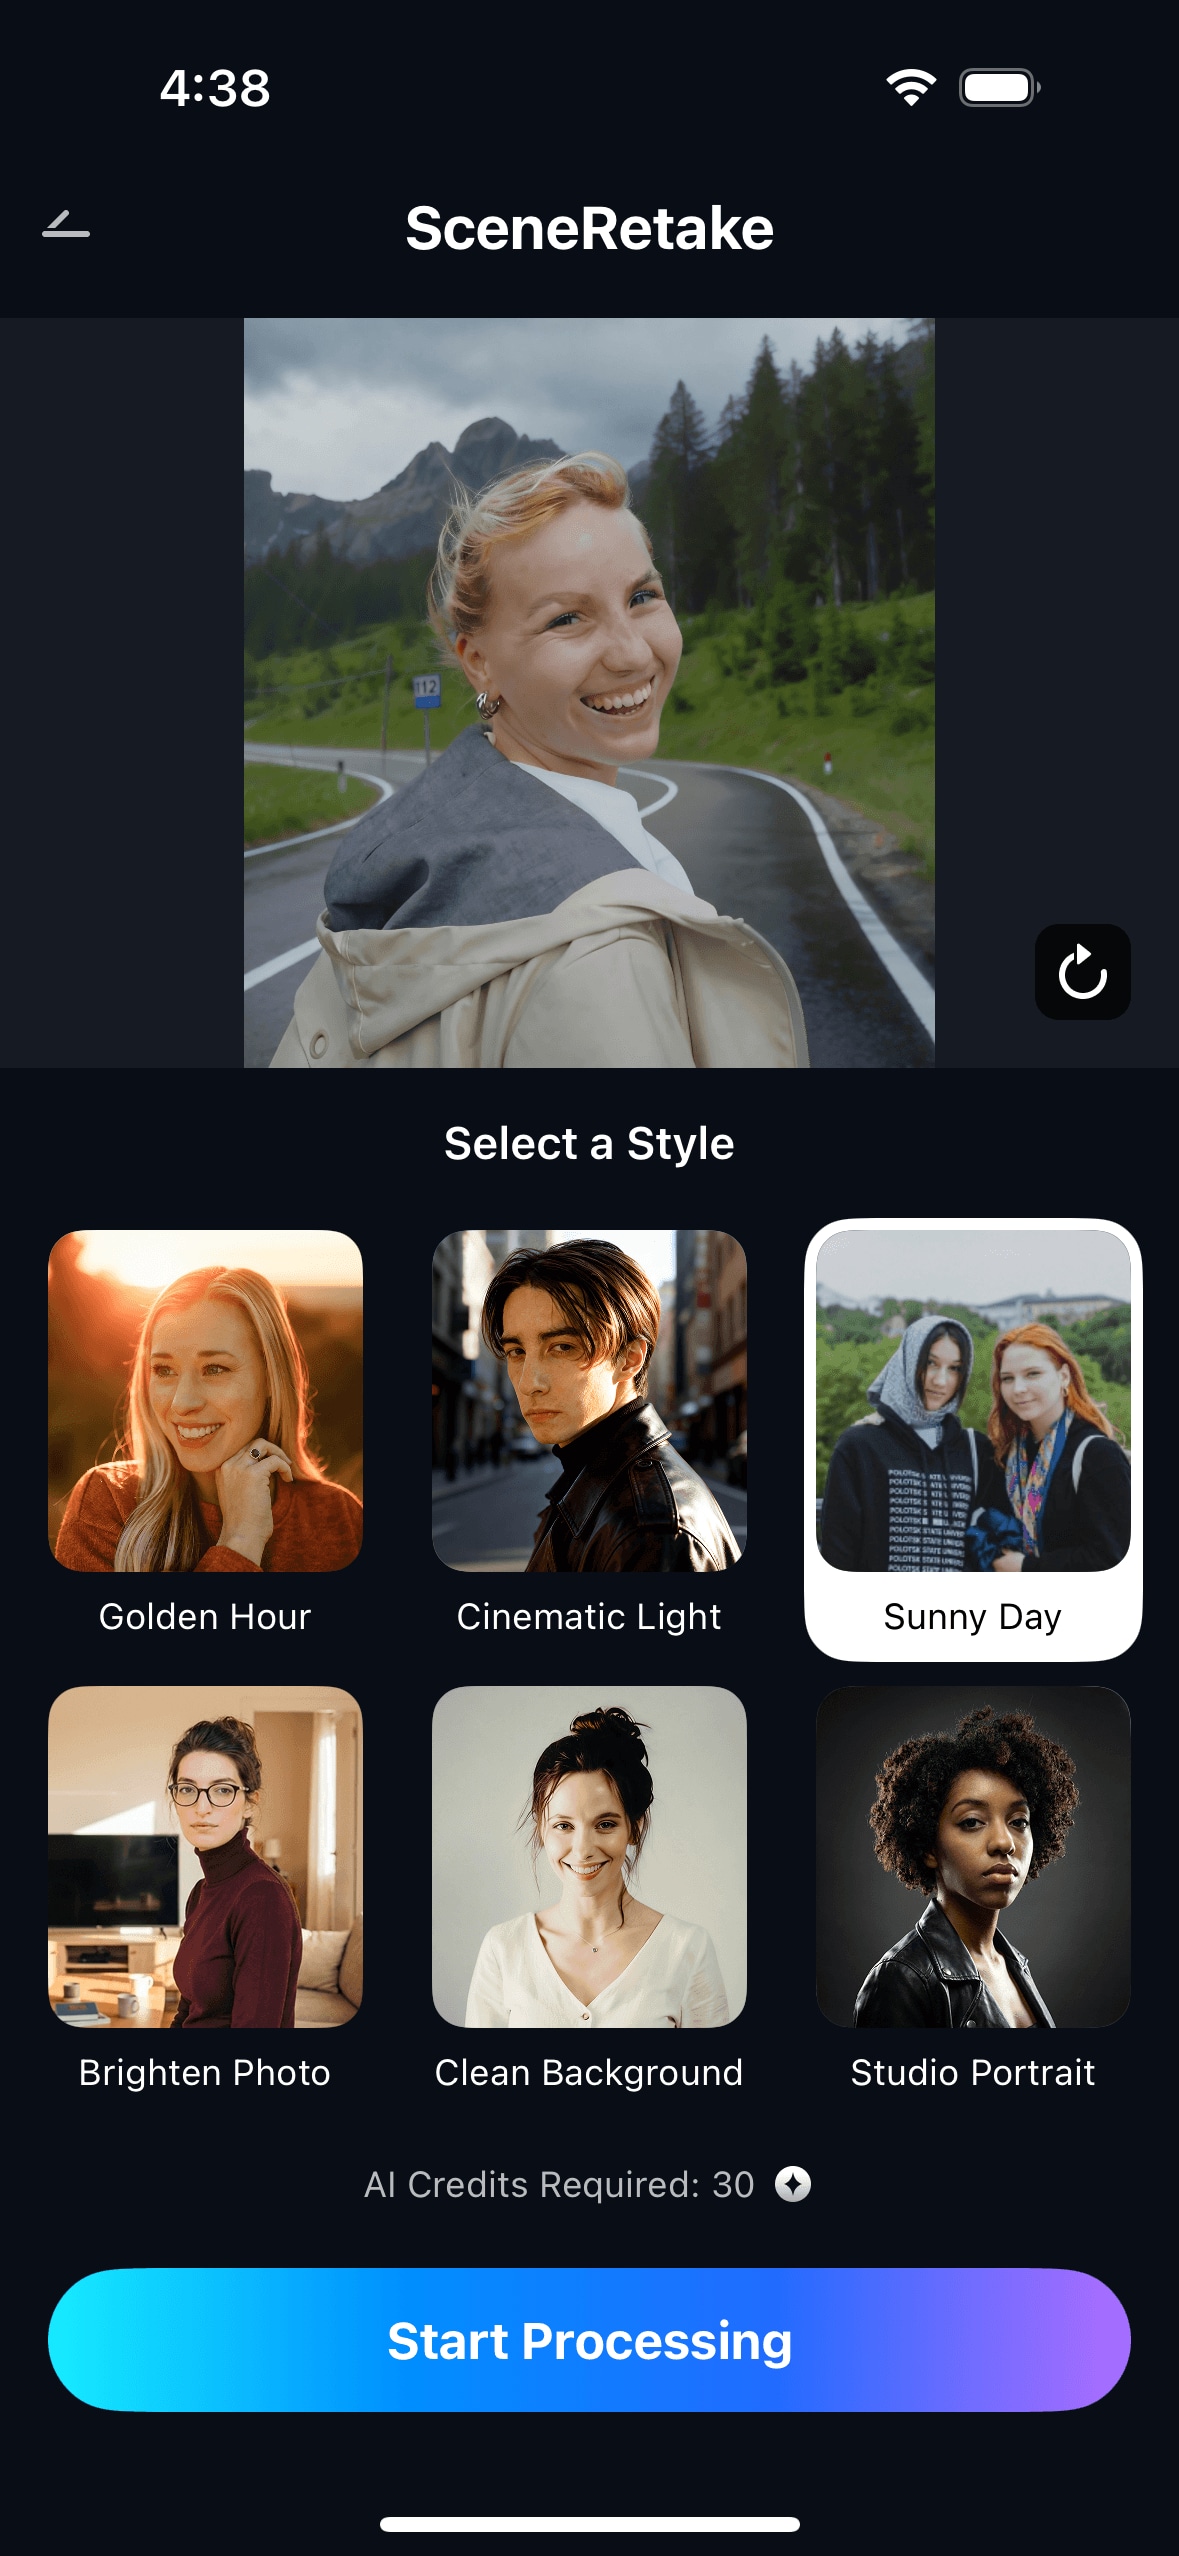
Step 2. Choose Scene Retake to improve the face light
Select Scene Retake and use the brightening-oriented direction that best fits the selfie. This is especially useful when the face needs more presence, the shadows feel too muddy, or the image needs a cleaner indoor look without becoming obviously retouched.
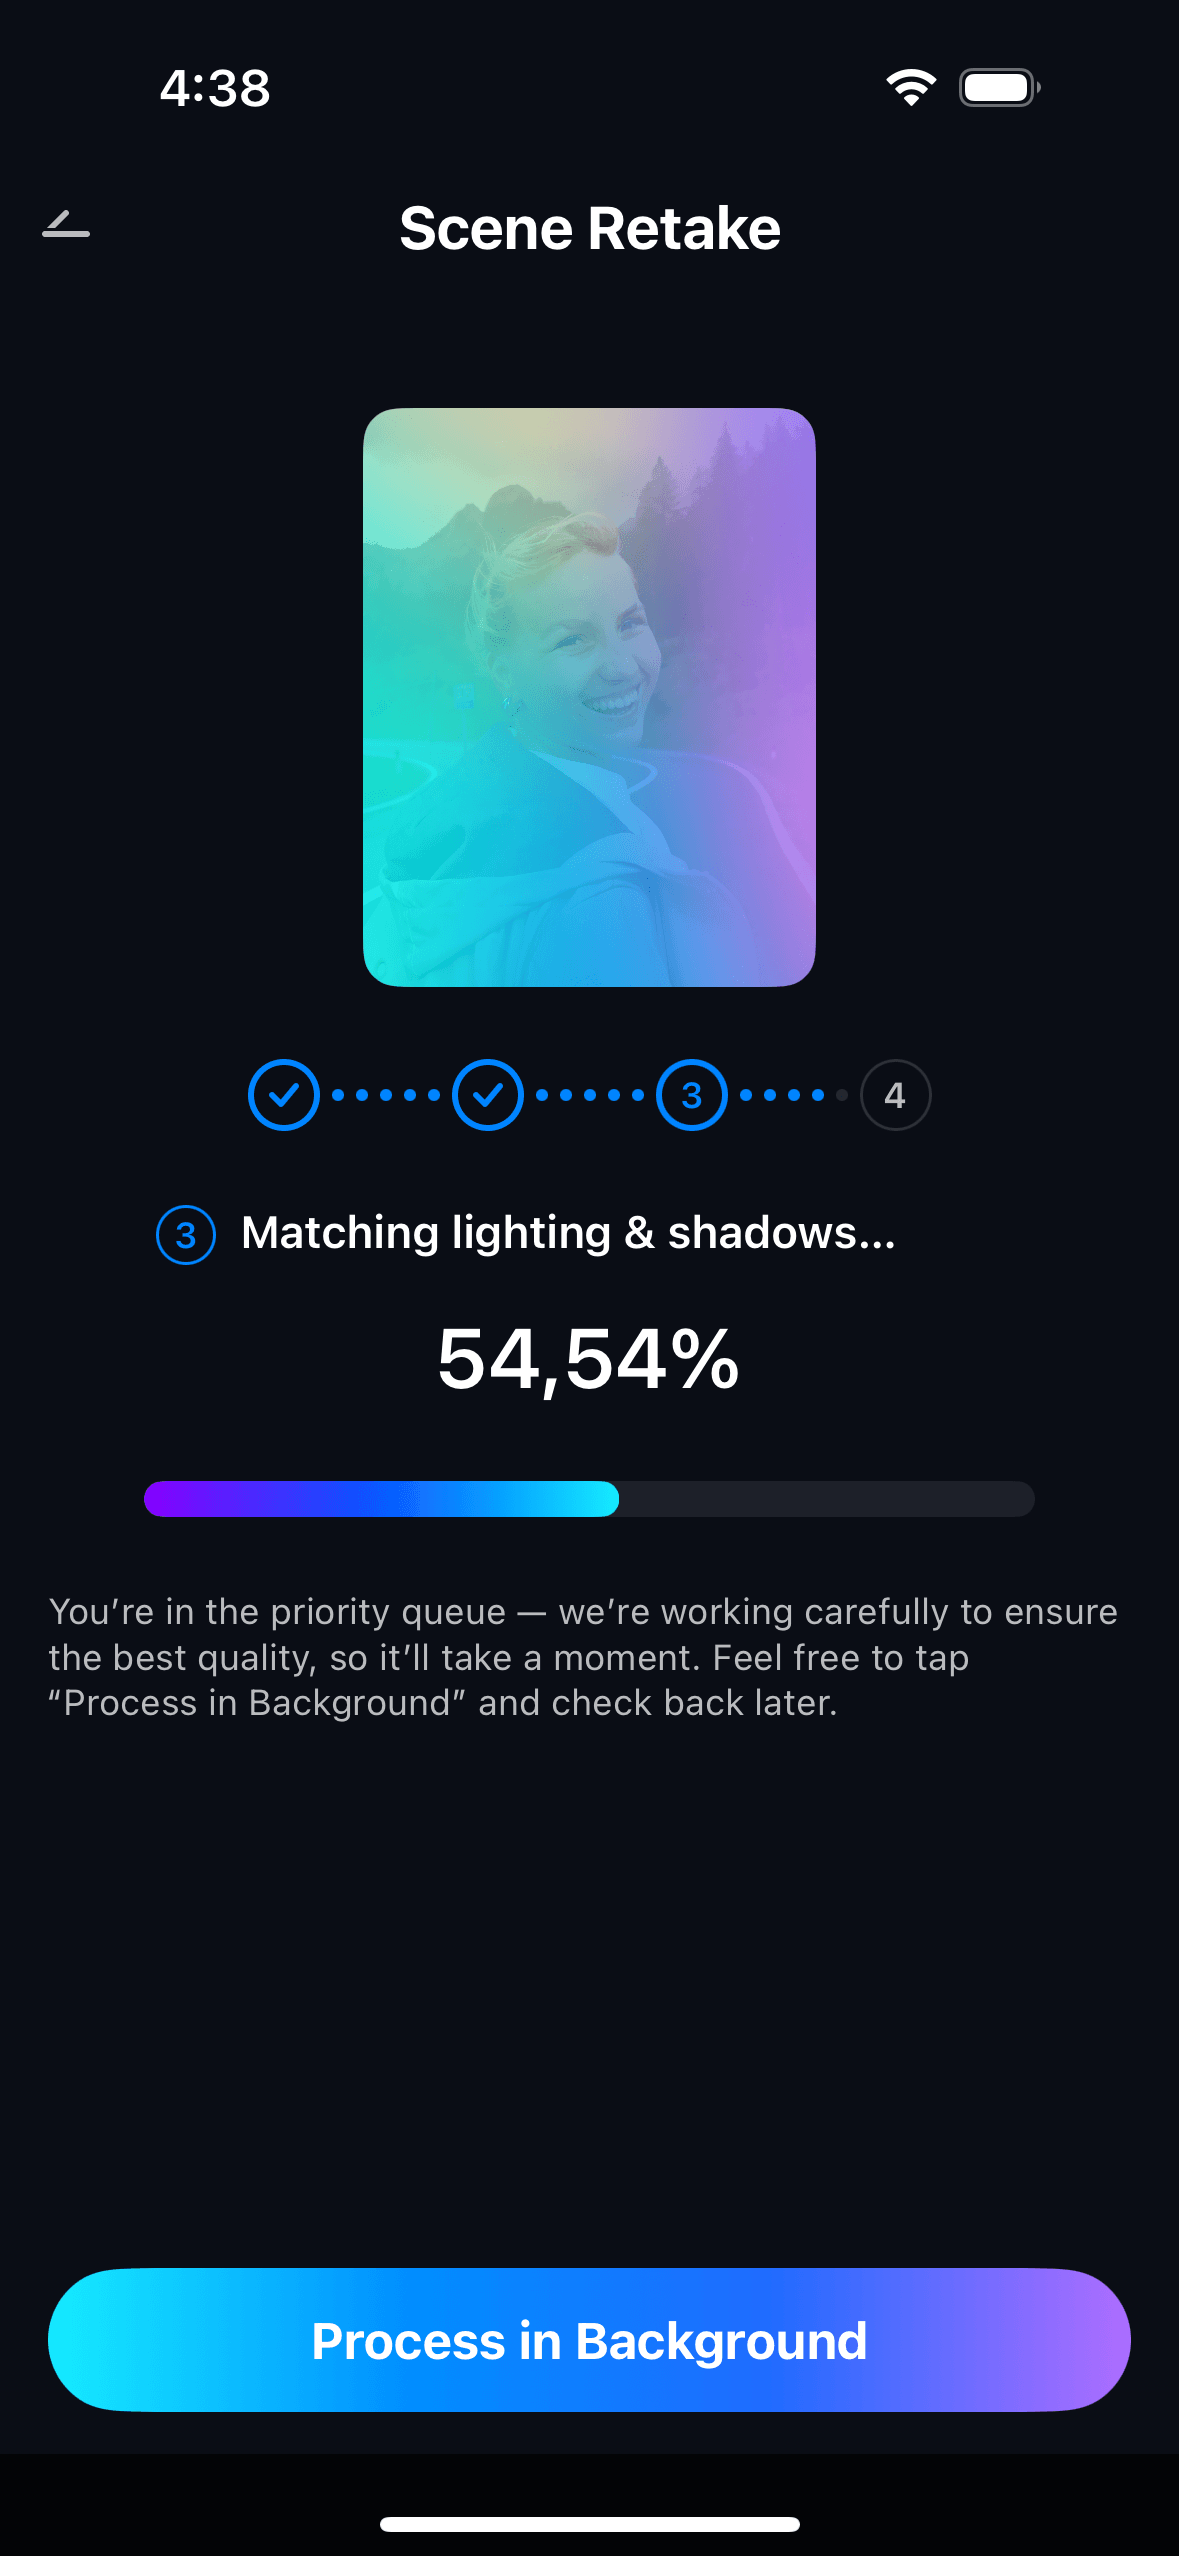
Step 3. Preview and save the version that still looks like you
Before saving, compare the updated version with the original. The strongest result usually makes the selfie easier to read while keeping skin tone believable and room detail intact. If the face starts looking too polished or no longer matches the indoor setting, the edit is probably less natural than it should be.
Part 4. When this works best
Best selfie situations for this correction
This workflow is most useful when the original selfie already has personal value but poor indoor light keeps it from looking good enough to keep or share. Common examples include:
- bedroom or living-room selfies taken under weak ceiling light
- mirror selfies where the room looks okay but the face feels dim
- café or restaurant selfies with warm light but poor facial visibility
- late-evening selfies that look flatter than the real moment felt
- casual indoor selfies where the expression is good but the photo feels underexposed
In these situations, Brighten Photo works best as a realism-first recovery tool. Users usually want a selfie that looks more presentable and more truthful, not one that looks aggressively beautified.
Quick checklist before saving
- Does the face look clearer without becoming too white or too smooth?
- Do the eyes and facial features feel more readable?
- Does the background still feel like the same indoor place?
- Does the selfie look closer to what you remember from the moment?
- Would the image still look natural if you posted it without saying it was edited?
Part 5. When results may be limited
Brighten Photo works best when the source selfie still contains enough facial detail to build from. Results may be limited if the image is heavily blurred, severely underexposed, strongly compressed, or missing too much detail around the eyes and skin. In those cases, the feature may improve the overall impression, but it may not fully rebuild a crisp natural-looking selfie.
It is also important to keep expectations realistic for very poor room light. If the original selfie was captured in extremely dim conditions, the best outcome may be a clearer and more flattering version of the same image rather than a dramatically transformed portrait. Good guidance should say that clearly.
Conclusion
If your indoor selfie looks darker, duller, or less flattering than the real moment felt, the issue is usually not your expression or the framing. It is that the camera did not translate the room light well enough. A useful brighten-photo workflow should make the face easier to read while keeping the result believable and personal. That is where Relumi is most relevant: helping an underexposed selfie feel closer to the version of the photo you thought you had already captured.
FAQ
-
1. Can Brighten Photo help if my selfie looks dark but still usable?
Yes. This is one of the strongest use cases. Many selfies are not completely ruined; they just look dim, flat, or less flattering than expected. A natural correction can make the face clearer and the overall image more readable without turning it into a heavy edit. -
2. Will fixing an underexposed selfie make my skin look fake?
It should not if the result stays believable. A good correction usually improves face light and shadow balance while keeping skin tone and texture realistic. If the image looks too white, too smooth, or too polished, the edit has likely gone too far. -
3. What kinds of indoor selfies work best for this feature?
Bedroom selfies, mirror selfies, café selfies, late-evening room selfies, and casual low-light portraits are all strong candidates when the expression is worth keeping but the lighting makes the face feel underexposed. -
4. What should I check before saving the final version?
Check whether the face is clearer, the room still feels believable, and the image still looks like you. The best version usually feels naturally improved instead of obviously retouched.

