
Travel portraits often fail for a frustrating reason: the place looked bright, open, and memorable in real life, but the final photo feels less sunny than the moment itself. Your face may look a little flat, the sky or background may no longer feel as lively, and the whole image can lose the fresh daylight energy that made the trip feel worth photographing in the first place.
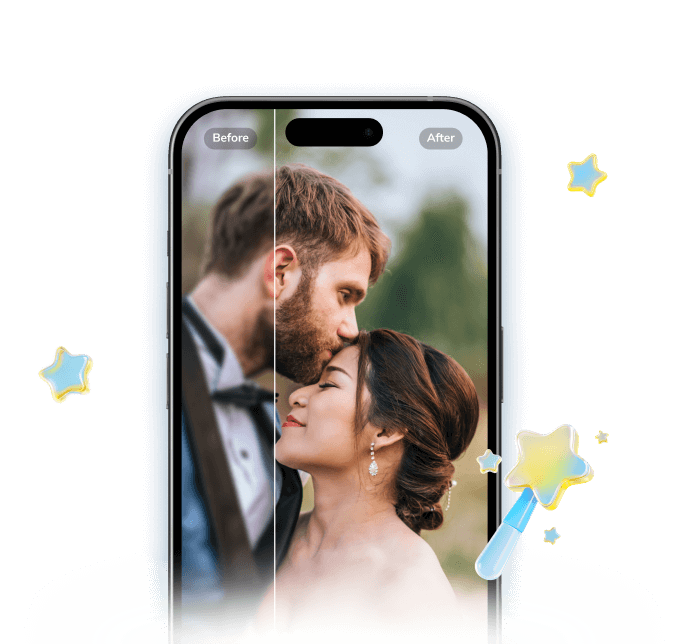
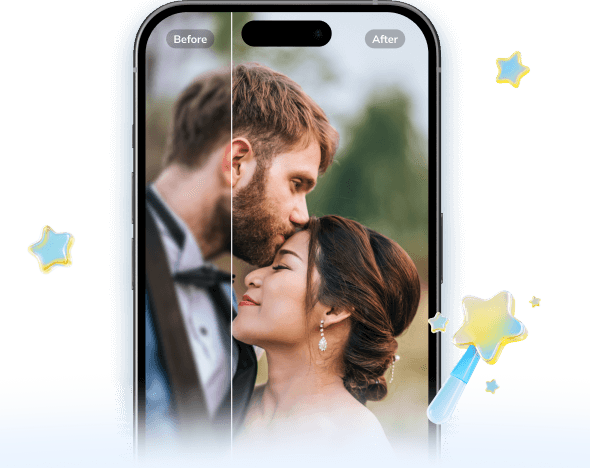
This is a very common outdoor photo problem, especially when the shot was taken quickly while moving between locations, under mixed daylight, or in backlit conditions. In those cases, users are usually not asking for a dramatic style effect. They want the portrait to feel closer to memory: clearer light on the face, a brighter travel atmosphere, and a result that still looks natural. Relumi presents its Photo Lighting Enhancer / AI Retake workflow as a way to fix what the camera captured poorly so the image feels closer to how the moment actually felt, rather than like a heavy filter was added afterward. See the official references here: Photo Lighting Enhancer and Relumi App.
In this article
Part 1. Why travel portraits often lose their sunny feeling
Travel portraits are usually taken in imperfect conditions. You may be walking, changing angles quickly, dealing with bright skies, uneven shade, backlight, or midday contrast. Even when the location feels beautiful, the camera may flatten that atmosphere. The result is a photo where the place still looks recognizable, but the portrait no longer feels as bright, open, or cheerful as the trip actually felt.
That is especially common when the background is strong but the subject does not read clearly enough. The face can seem a little dim, the light direction can feel awkward, or the overall shot can look less fresh than the live scene. In practical terms, the image is usable, but it no longer carries the sunny travel energy people wanted to keep.
Part 2. How Relumi helps a travel portrait look brighter and more natural
Relumi Lighting Enhancer
Retake photo lighting naturally with AI-powered scene relighting.
 Balance harsh facial shadows without flattening the portrait
-
Improve hard light, patchy light, and low-visibility street portraits naturally
-
Keep urban mood while making the subject easier to see
-
No editing skills required — upload, relight, preview, and save


Why travel portraits need more than simple brightening
According to Relumi's official product page, the Photo Lighting Enhancer reads face brightness, shadow direction, background contrast, and scene atmosphere, then rebuilds the portrait to feel as if it were captured under better light. That matters for travel portraits because these photos are not only about exposure. They are also about preserving the relationship between the person and the place. If you brighten the image too aggressively, the location can wash out, the sky can feel flat, or the face can look unnaturally lifted.
That is why Sunny Day works best when it restores a believable daylight impression instead of pushing everything brighter. For travel photos, the best result usually keeps the trip atmosphere intact while making the portrait feel cleaner, fresher, and more worth keeping.
What a good Sunny Day travel result should feel like
A good result should not make the photo look overly edited. It should make the face feel easier to read, the outdoor light feel more present, and the scene feel closer to memory. You should still recognize the original place, time of day, and travel mood. The improvement should feel like the camera got the light more right, not like a new effect was layered on top.
For most travel users, the goal is simple: the portrait should look more open, more cheerful, and more naturally sunlit without losing the authenticity of the trip.
Part 3. How to use Sunny Day in Relumi for travel photos
Step 1. Add the travel portrait
Upload the travel photo you want to improve. This works best when the portrait is already compositionally usable, but the subject looks less bright than the scene, or the whole image feels flatter, grayer, or less fresh than the real moment.
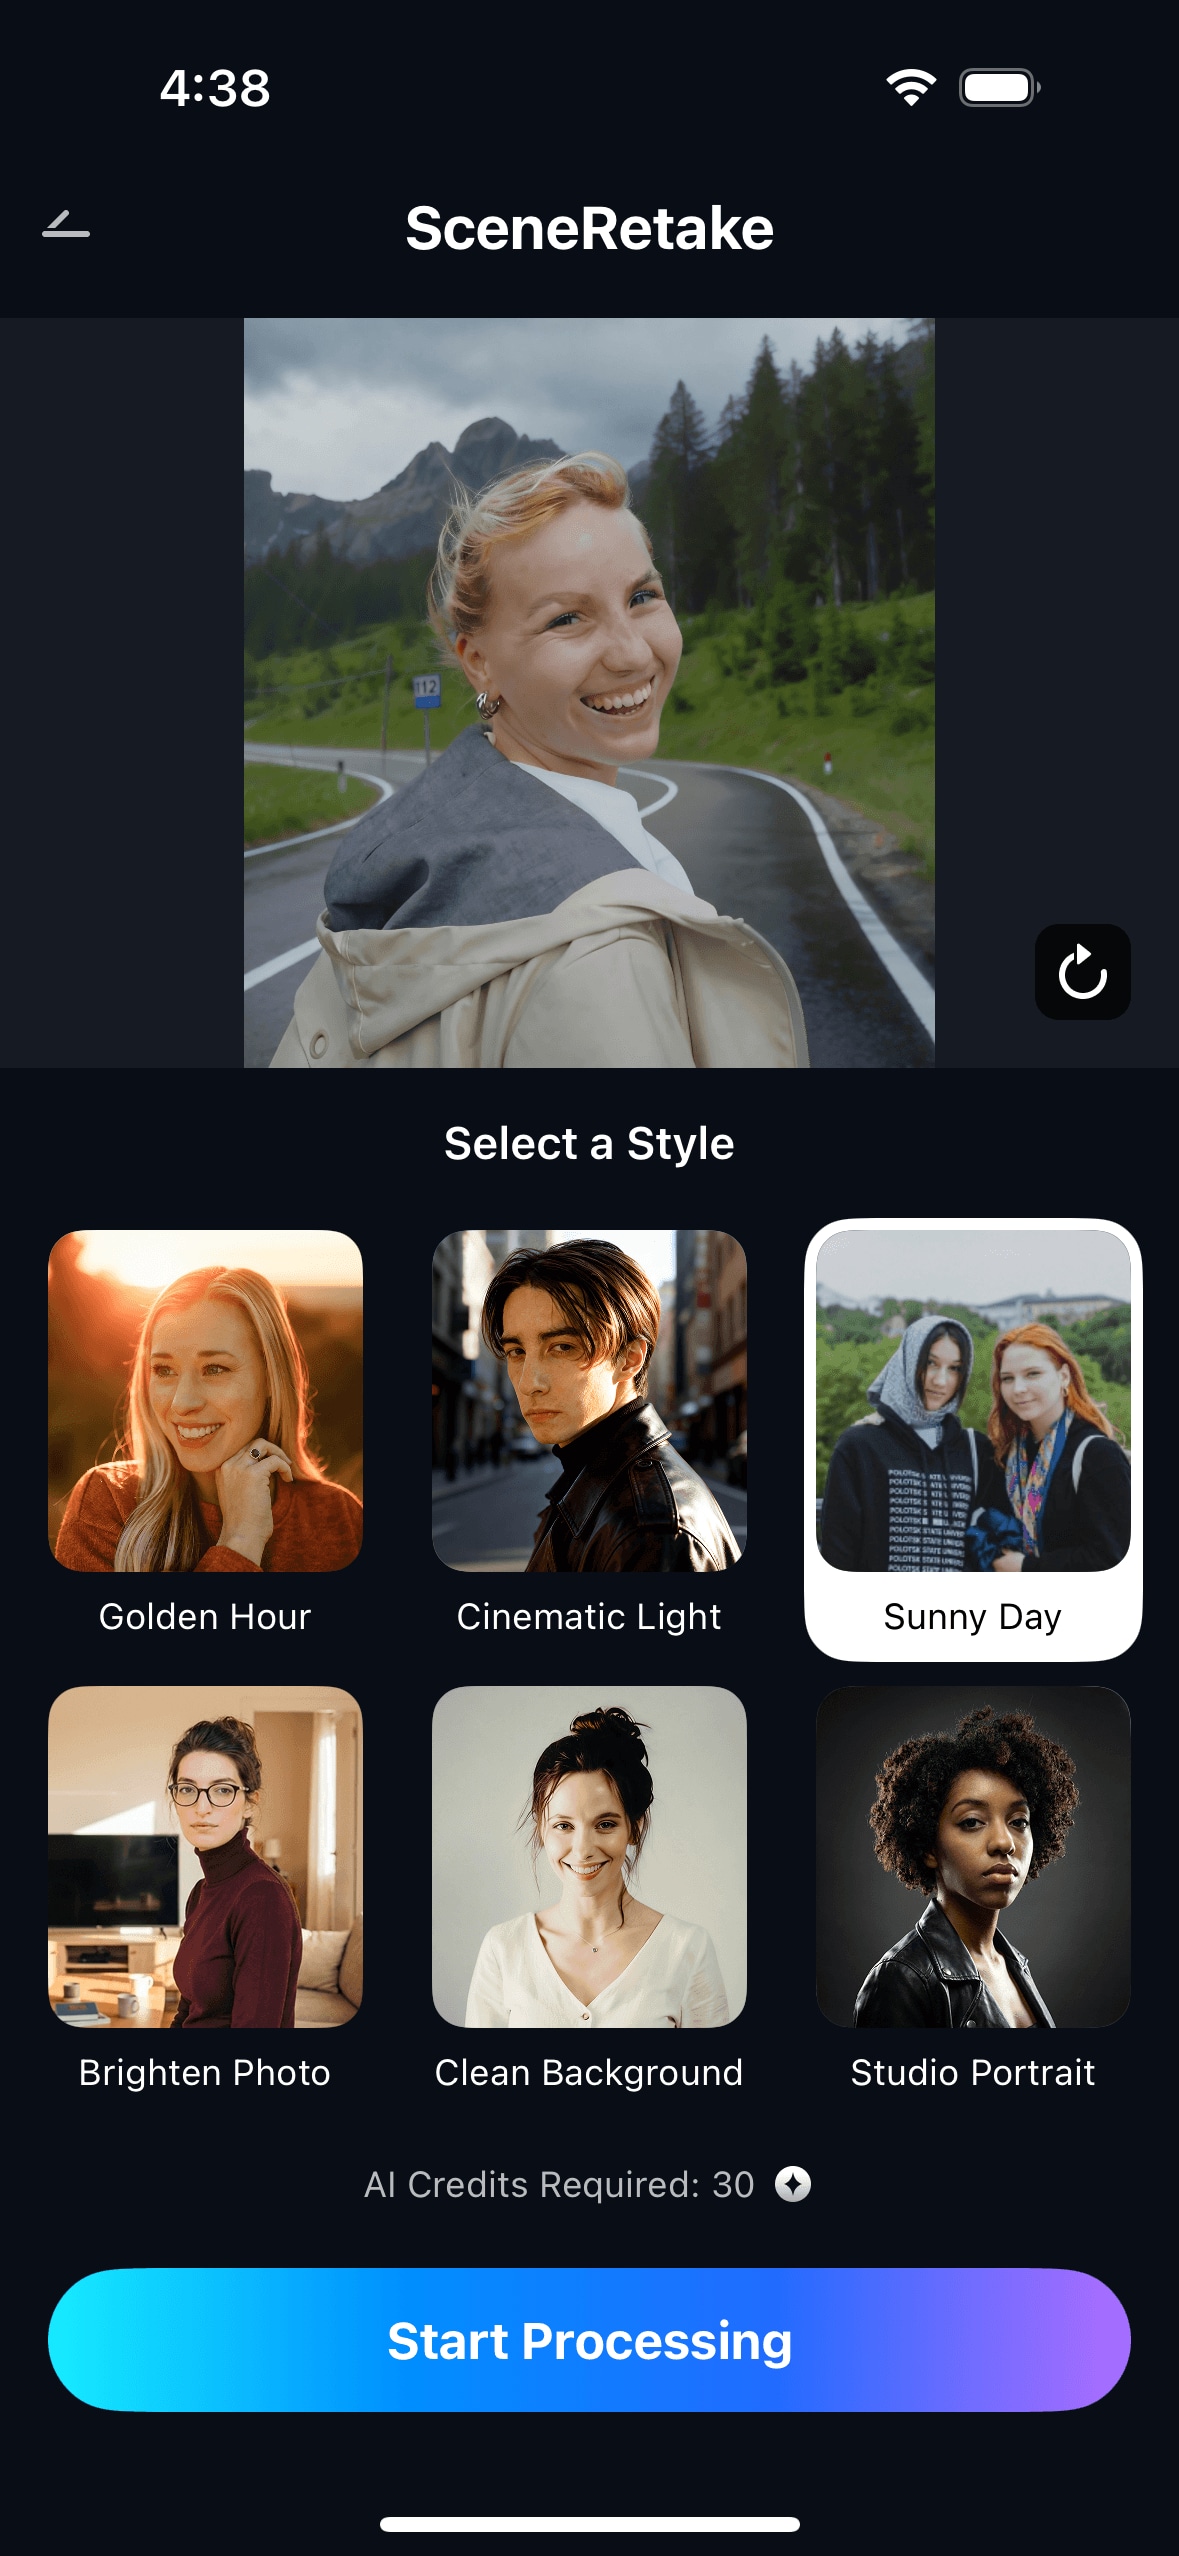
Step 2. Choose Scene Retake and apply Sunny Day
Select Scene Retake and use the Sunny Day direction that best fits the travel image. This is most useful when the photo needs a better daylight feel, clearer face brightness, and stronger outdoor freshness, but still needs to look like the same trip, in the same place, at the same moment.
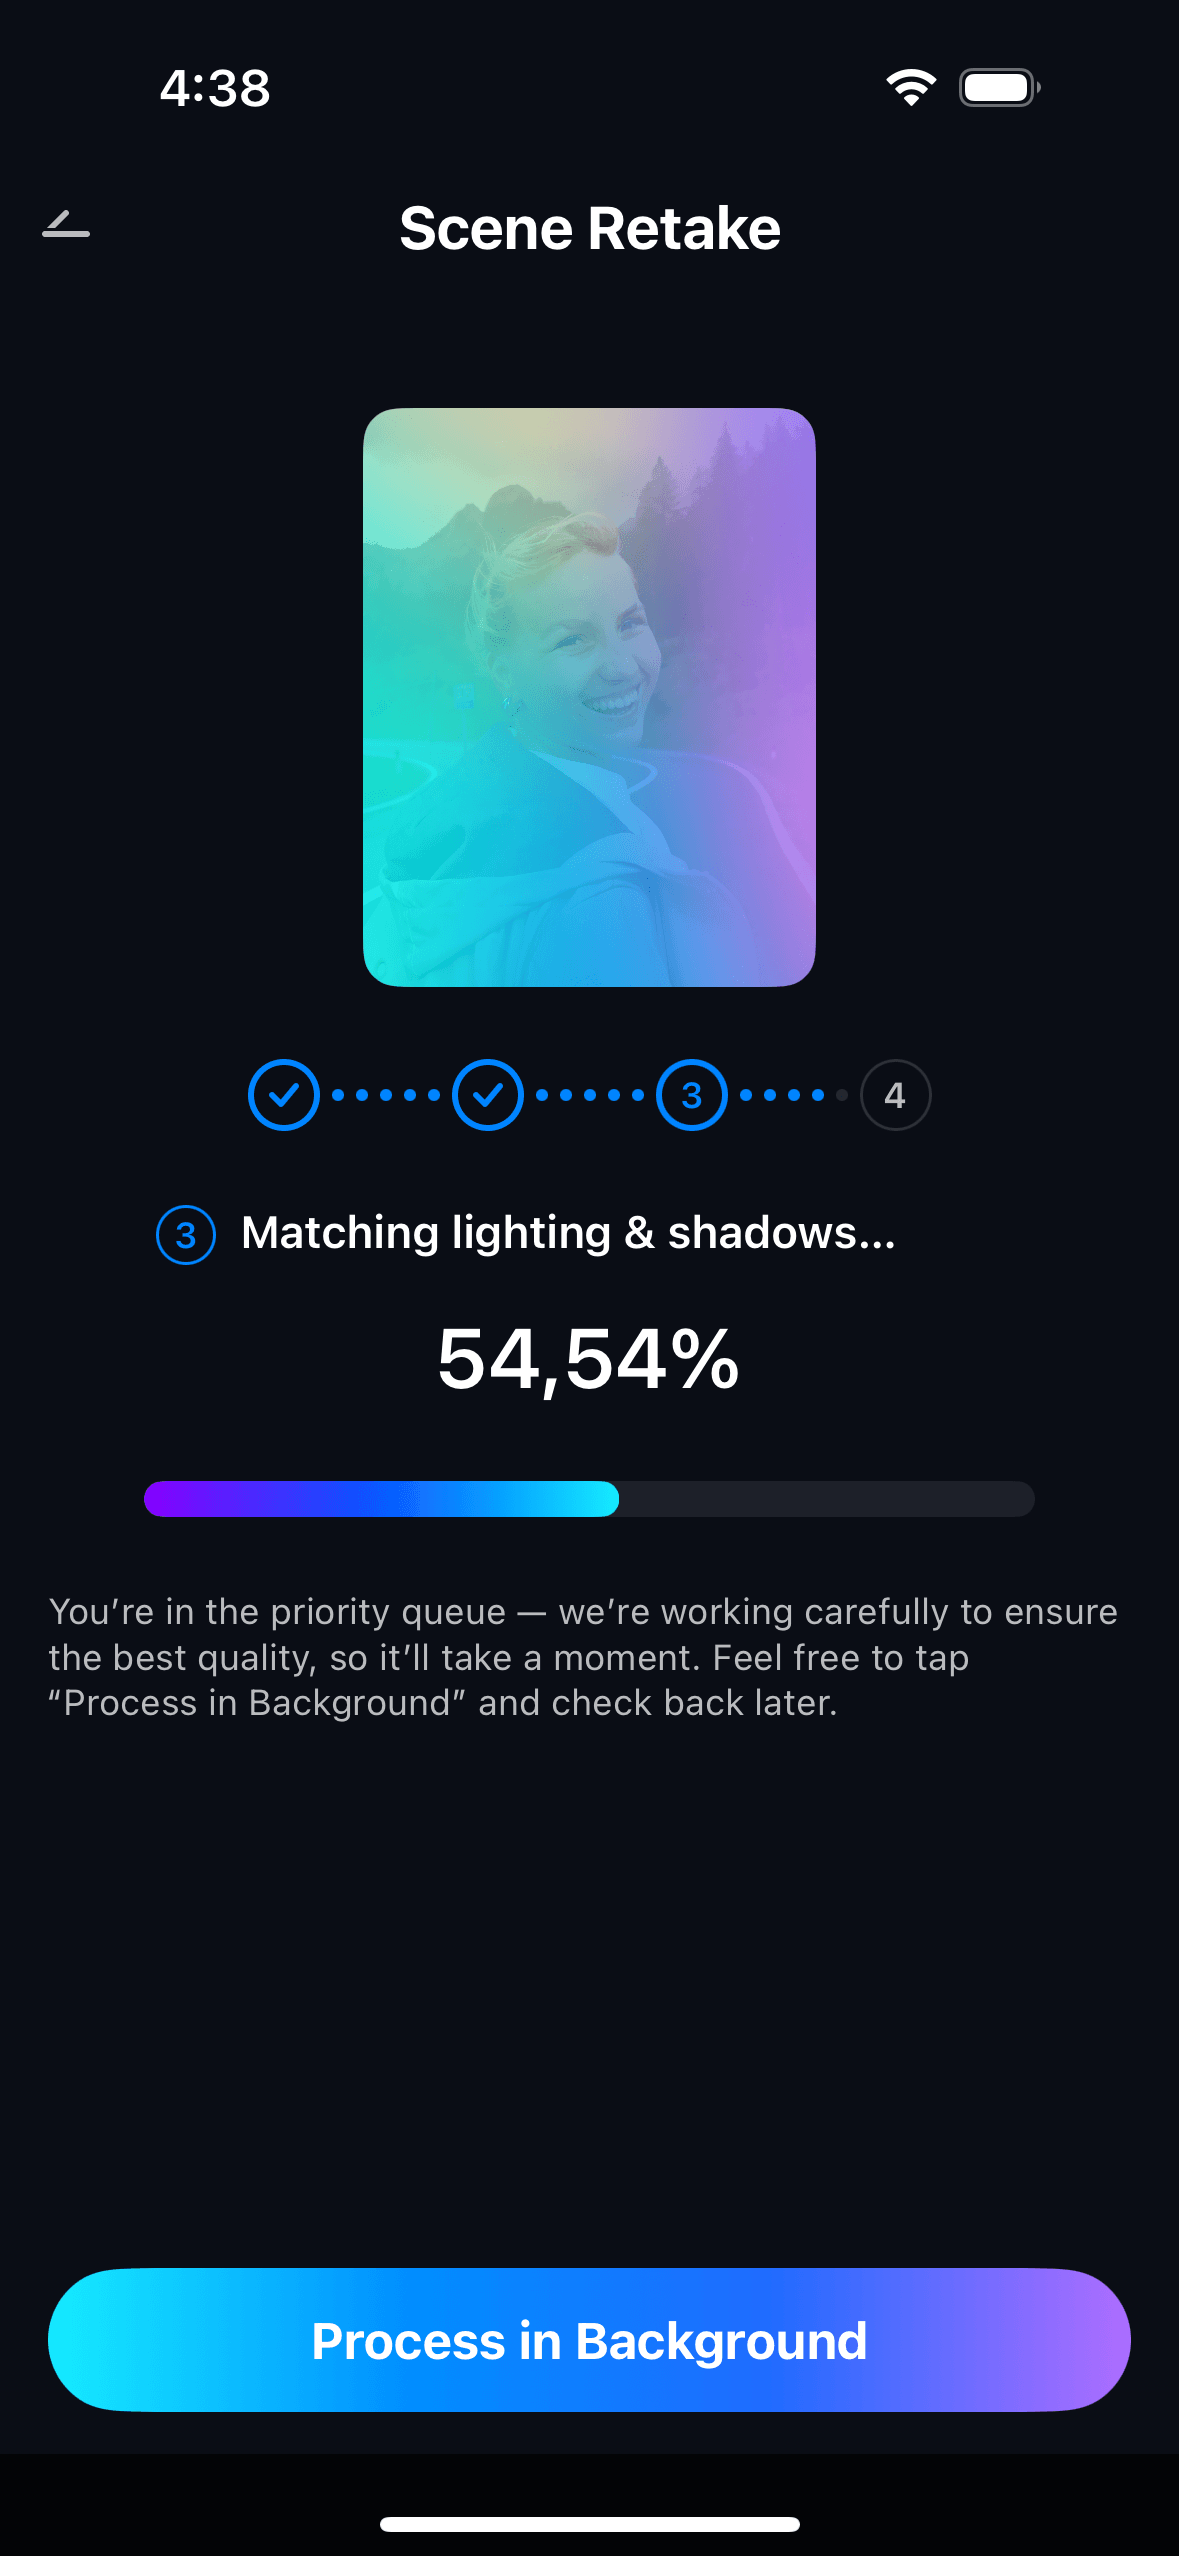
Step 3. Preview and save a version that still looks like the real trip
Before saving, compare the result with the original. The portrait should feel brighter and more pleasant, but not artificially sunny. A good version usually gives the face more life, keeps the background believable, and makes the travel memory feel closer to how it looked in person.
Part 4. When this works best
Best travel scenes for Sunny Day enhancement
This workflow is especially useful in travel situations where the scenery is strong, but the portrait light fell short. Common examples include:
- landmark portraits where the place looks good but the face feels dull
- beach or seaside travel shots where the background is bright but the subject lacks balance
- park, street, or viewpoint portraits taken under mixed daylight
- vacation photos that looked sunnier in real life than they do on screen
- casual trip photos where the mood is right but the light feels muted
It works best when the user wants to recover a brighter outdoor feeling without making the image lose realism or location detail.
Quick checklist before saving
- Does the face look clearer without becoming unnaturally bright?
- Does the place still look believable and detailed?
- Does the image feel closer to the actual travel weather and mood?
- Does the scene feel fresher rather than just edited?
- Would this still look like your real trip if someone else saw it?
Part 5. When results may be limited
Sunny Day works best when the original travel portrait still contains enough usable information. Results may be limited if the face is badly blurred, the sky is severely blown out, the image is heavily compressed, or the photo was taken in lighting conditions that left very little real detail to recover. In those situations, the app may improve the overall feel, but it may not fully recreate a rich natural-sunlight look.
It is also worth keeping expectations realistic for travel photos. Some moments were captured under genuinely difficult lighting, and the best outcome may be a more pleasing version of the same memory, not a complete weather transformation. That kind of realism is important for trustworthy photo guidance.
Conclusion
If a travel portrait looked brighter, fresher, or more sunlit in real life than it does in your gallery, the issue is often not the destination. It is the way the camera interpreted the light. A useful correction should help the photo feel more like the trip you remember, not like a dramatic edit. That is where Relumi Sunny Day fits best: restoring a more believable outdoor feel while keeping the place, the subject, and the travel mood recognizable.
FAQ
-
1. Can Relumi Sunny Day help if my travel portrait looks flat instead of obviously dark?
Yes. Many travel portraits are not severely underexposed. They simply look flatter, grayer, or less sunny than the real scene. Sunny Day is especially useful when the image needs a fresher daylight feeling rather than a basic exposure boost. -
2. Will the location background still look real after using Sunny Day?
A good result should keep the place believable. The point is to make the person and the scene feel better balanced, not to erase the original travel atmosphere. If the output looks overly bright or artificially warm, it is probably less natural than it should be. -
3. What kinds of travel photos are best for this feature?
Landmark portraits, beach and seaside photos, park or city travel shots, and outdoor vacation portraits are all strong candidates when the composition is good but the daylight feeling got lost in the final image. -
4. What should I check before saving the final version?
Make sure the portrait looks brighter and clearer without losing realism. The face should not feel pasted on or overly lit, and the background should still look like the actual place you visited.
 ChatGPT
 Perplexity
 Google AI Mode
 Grok
Grok


