
Some portraits do not fail because the whole image is too dark. They fail because the face is harder to read than the background. The sky may still look fine. The room may still keep its atmosphere. A restaurant, window light, street scene, or travel background may still carry the mood of the moment. But the person in the frame feels too dim, too shadowed, or less present than they should. This is one of the most frustrating lighting problems because the photo already contains something worth keeping. Users do not want to destroy the scene. They just want the face to come back.
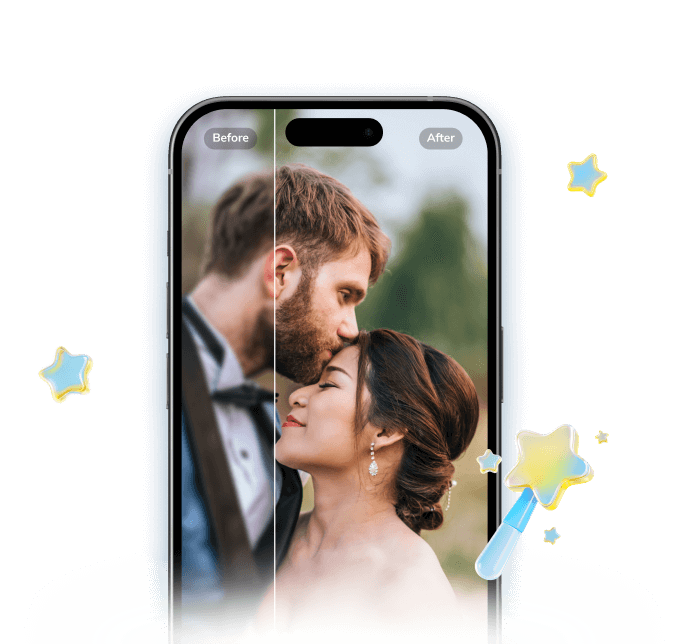
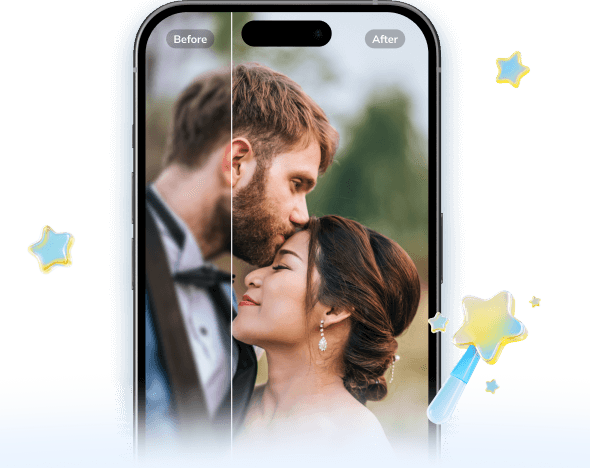
That is why this kind of portrait needs a more careful fix than a simple brightness boost. If you brighten everything equally, the background often turns flat, pale, or washed out before the face looks truly right. What people usually want instead is better balance: clearer facial light, more believable separation from the scene, and a result that still feels like the same photo. Relumi describes its Photo Lighting Enhancer and AI Retake workflow as a way to fix what the camera caught wrong so the moment looks the way it actually felt. That positioning fits this use case well, because the real goal is not to over-edit the picture. It is to make the subject readable without breaking the background that gives the photo its atmosphere. Official references: Photo Lighting Enhancer and Relumi App.
In this article
Part 1. Why the face looks too dark even when the background looks fine
This happens more often than users expect. A background can hold detail surprisingly well while a face loses clarity. Window light, sunset backlight, restaurant ambience, travel scenery, or indoor decorative lighting may remain visible because cameras often protect bright or visually strong areas better than subtle facial tones. The result is a photo where the place still looks recognizable, but the person feels less connected to the scene.
Users usually describe this problem in practical language: the face is too dark, the person does not stand out enough, the background looks okay but the portrait does not, or brightening the image ruins the scene. These are not niche complaints. They are signs that the image needs better subject-to-background balance. The goal is not to replace the atmosphere. It is to make the person readable inside it.
Part 2. How Relumi helps brighten a face without washing out the background
Relumi Lighting Enhancer
Retake photo lighting naturally with AI-powered scene relighting.
 Balance harsh facial shadows without flattening the portrait
-
Improve hard light, patchy light, and low-visibility street portraits naturally
-
Keep urban mood while making the subject easier to see
-
No editing skills required — upload, relight, preview, and save


Why this problem is about balance, not just brightness
According to Relumi's official product page, Photo Lighting Enhancer reads face brightness, shadow direction, background contrast, and scene atmosphere, then rebuilds the image so it feels more naturally relit. That matters because this type of photo problem is rarely solved by a global brightness adjustment. If you brighten the whole frame equally, the sky can flatten, indoor highlights can turn harsh, and scene detail can disappear before the face reaches a believable level of clarity.
Relumi's own examples and descriptions also emphasize keeping the subject and setting usable together, such as brightening faces in travel portraits without washing out the sky, sea, street, or landscape behind them. That is exactly why this kind of workflow is more relevant for face-dark/background-okay images than a one-size-fits-all exposure increase.
What a natural face-brightening result should feel like
A strong result should not make the background feel sacrificed. The face should look clearer and more present, but the scene should still hold its original mood. If the image loses depth, the highlights become pale, or the environment no longer looks believable, the correction has probably gone too far.
For most users, the best outcome is subtle but noticeable. The person becomes easier to connect with, while the background still looks like the place they actually remember. The photo feels better balanced, not re-made from scratch.
Part 3. How to use Brighten Photo in Relumi
Step 1. Add the portrait
Upload the image you want to improve. This works best when the background still looks useful or attractive, but the face feels too shadowed, too dim, or less readable than the setting around it.
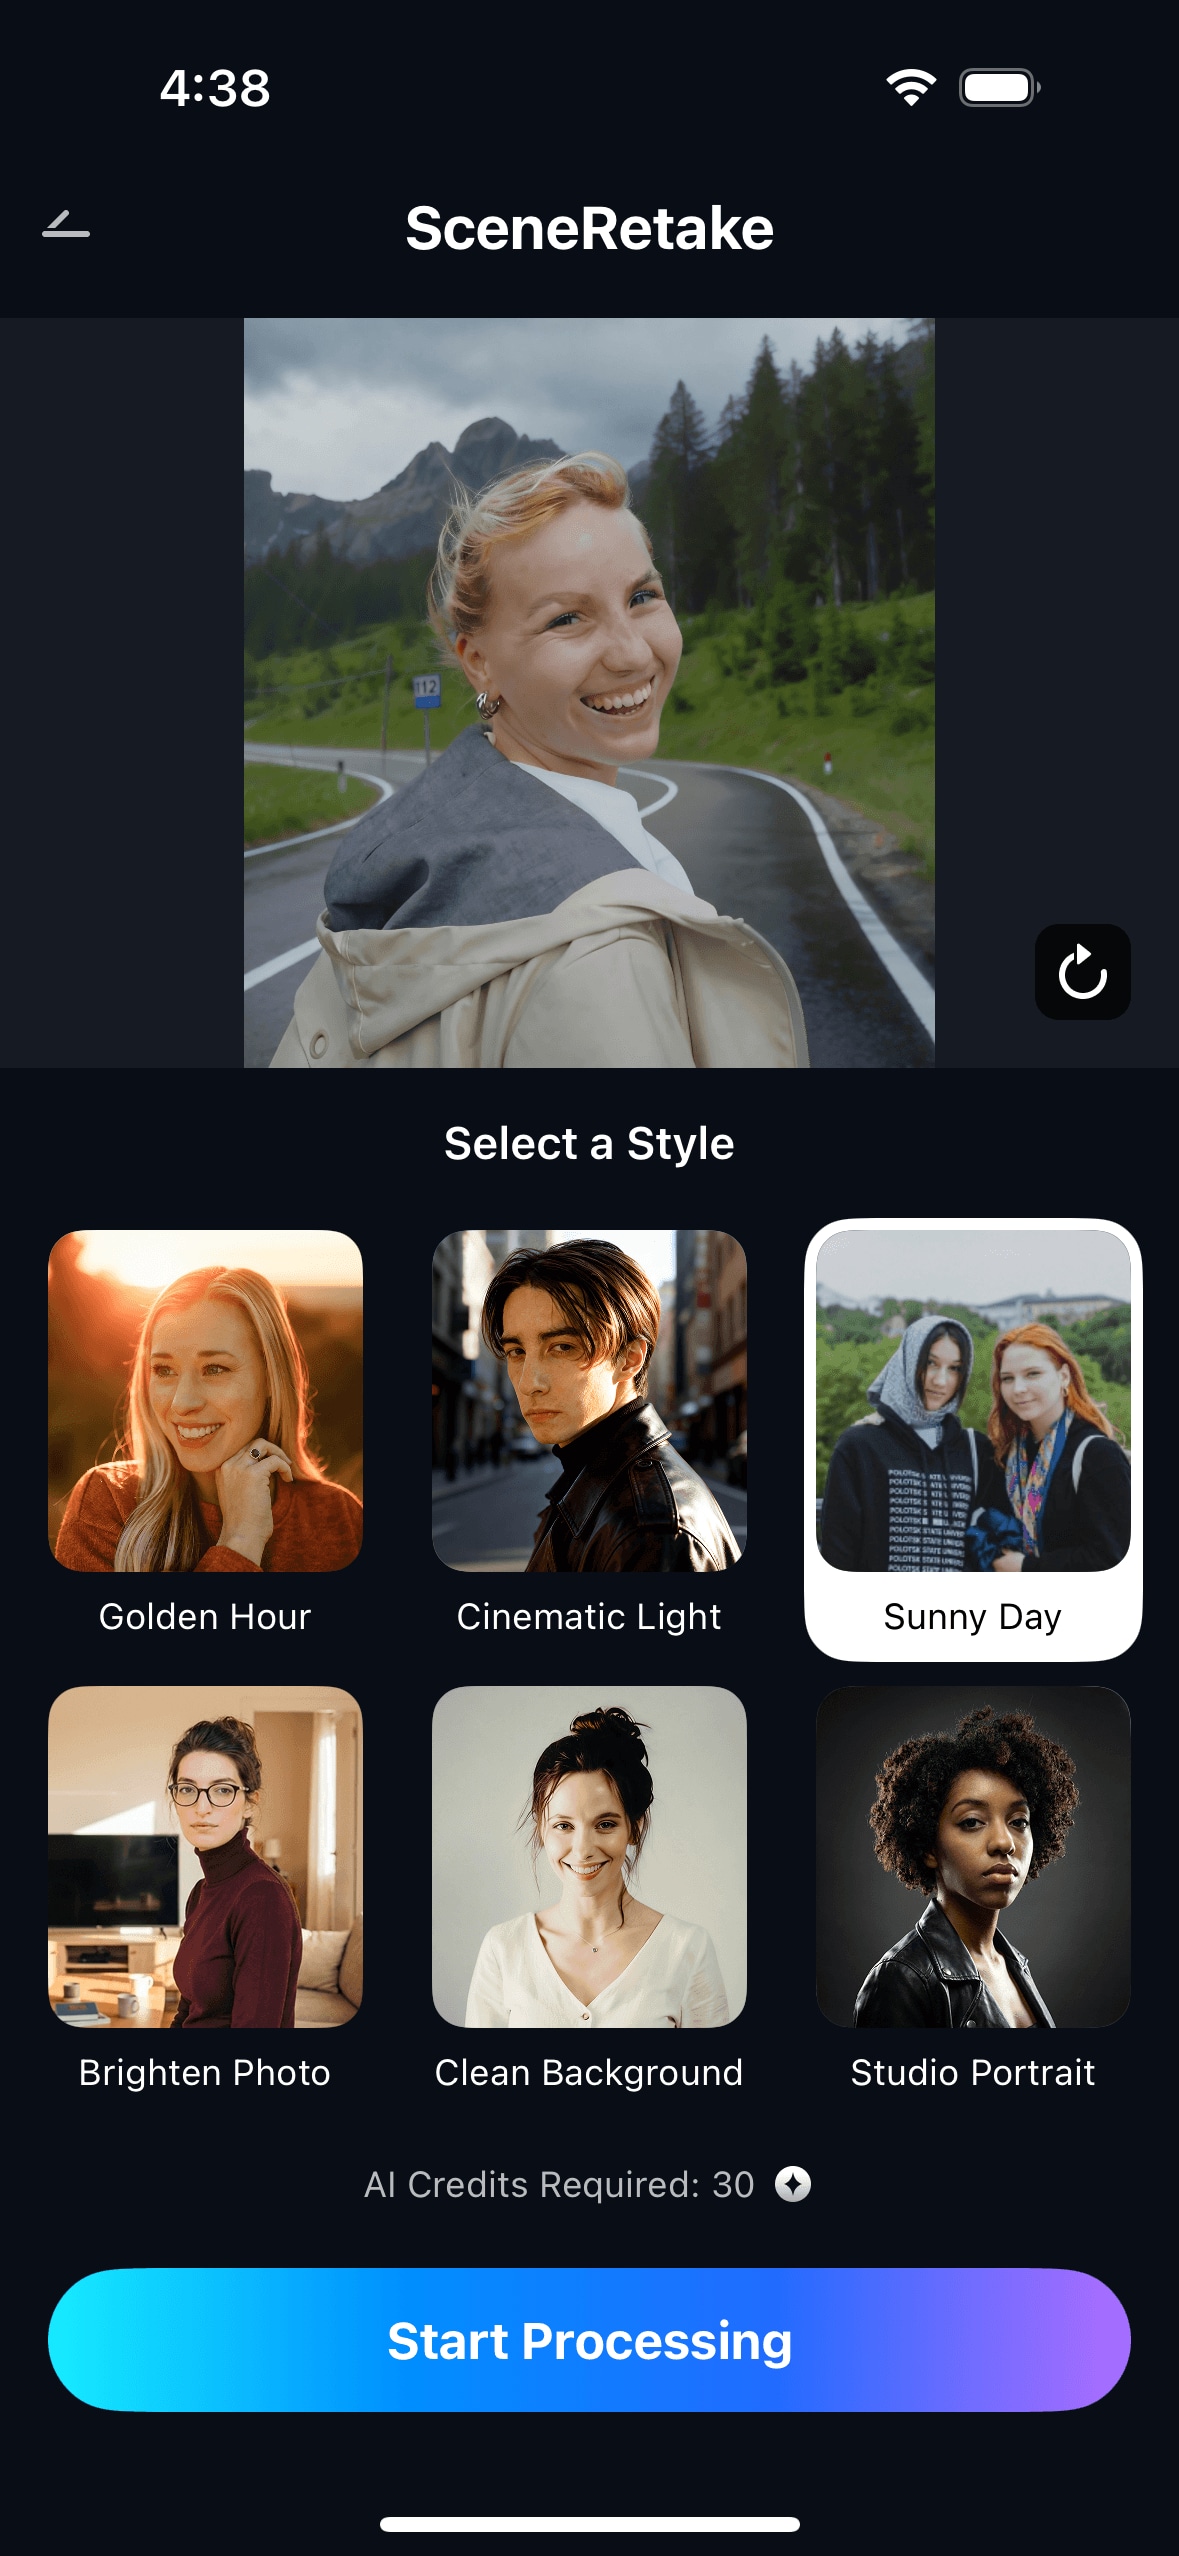
Step 2. Choose Scene Retake to improve facial light
Select Scene Retake and use the brightening-oriented direction that best fits the image. This is especially helpful when the photo needs stronger facial readability and better subject separation while keeping the background atmosphere, highlights, and place detail intact.
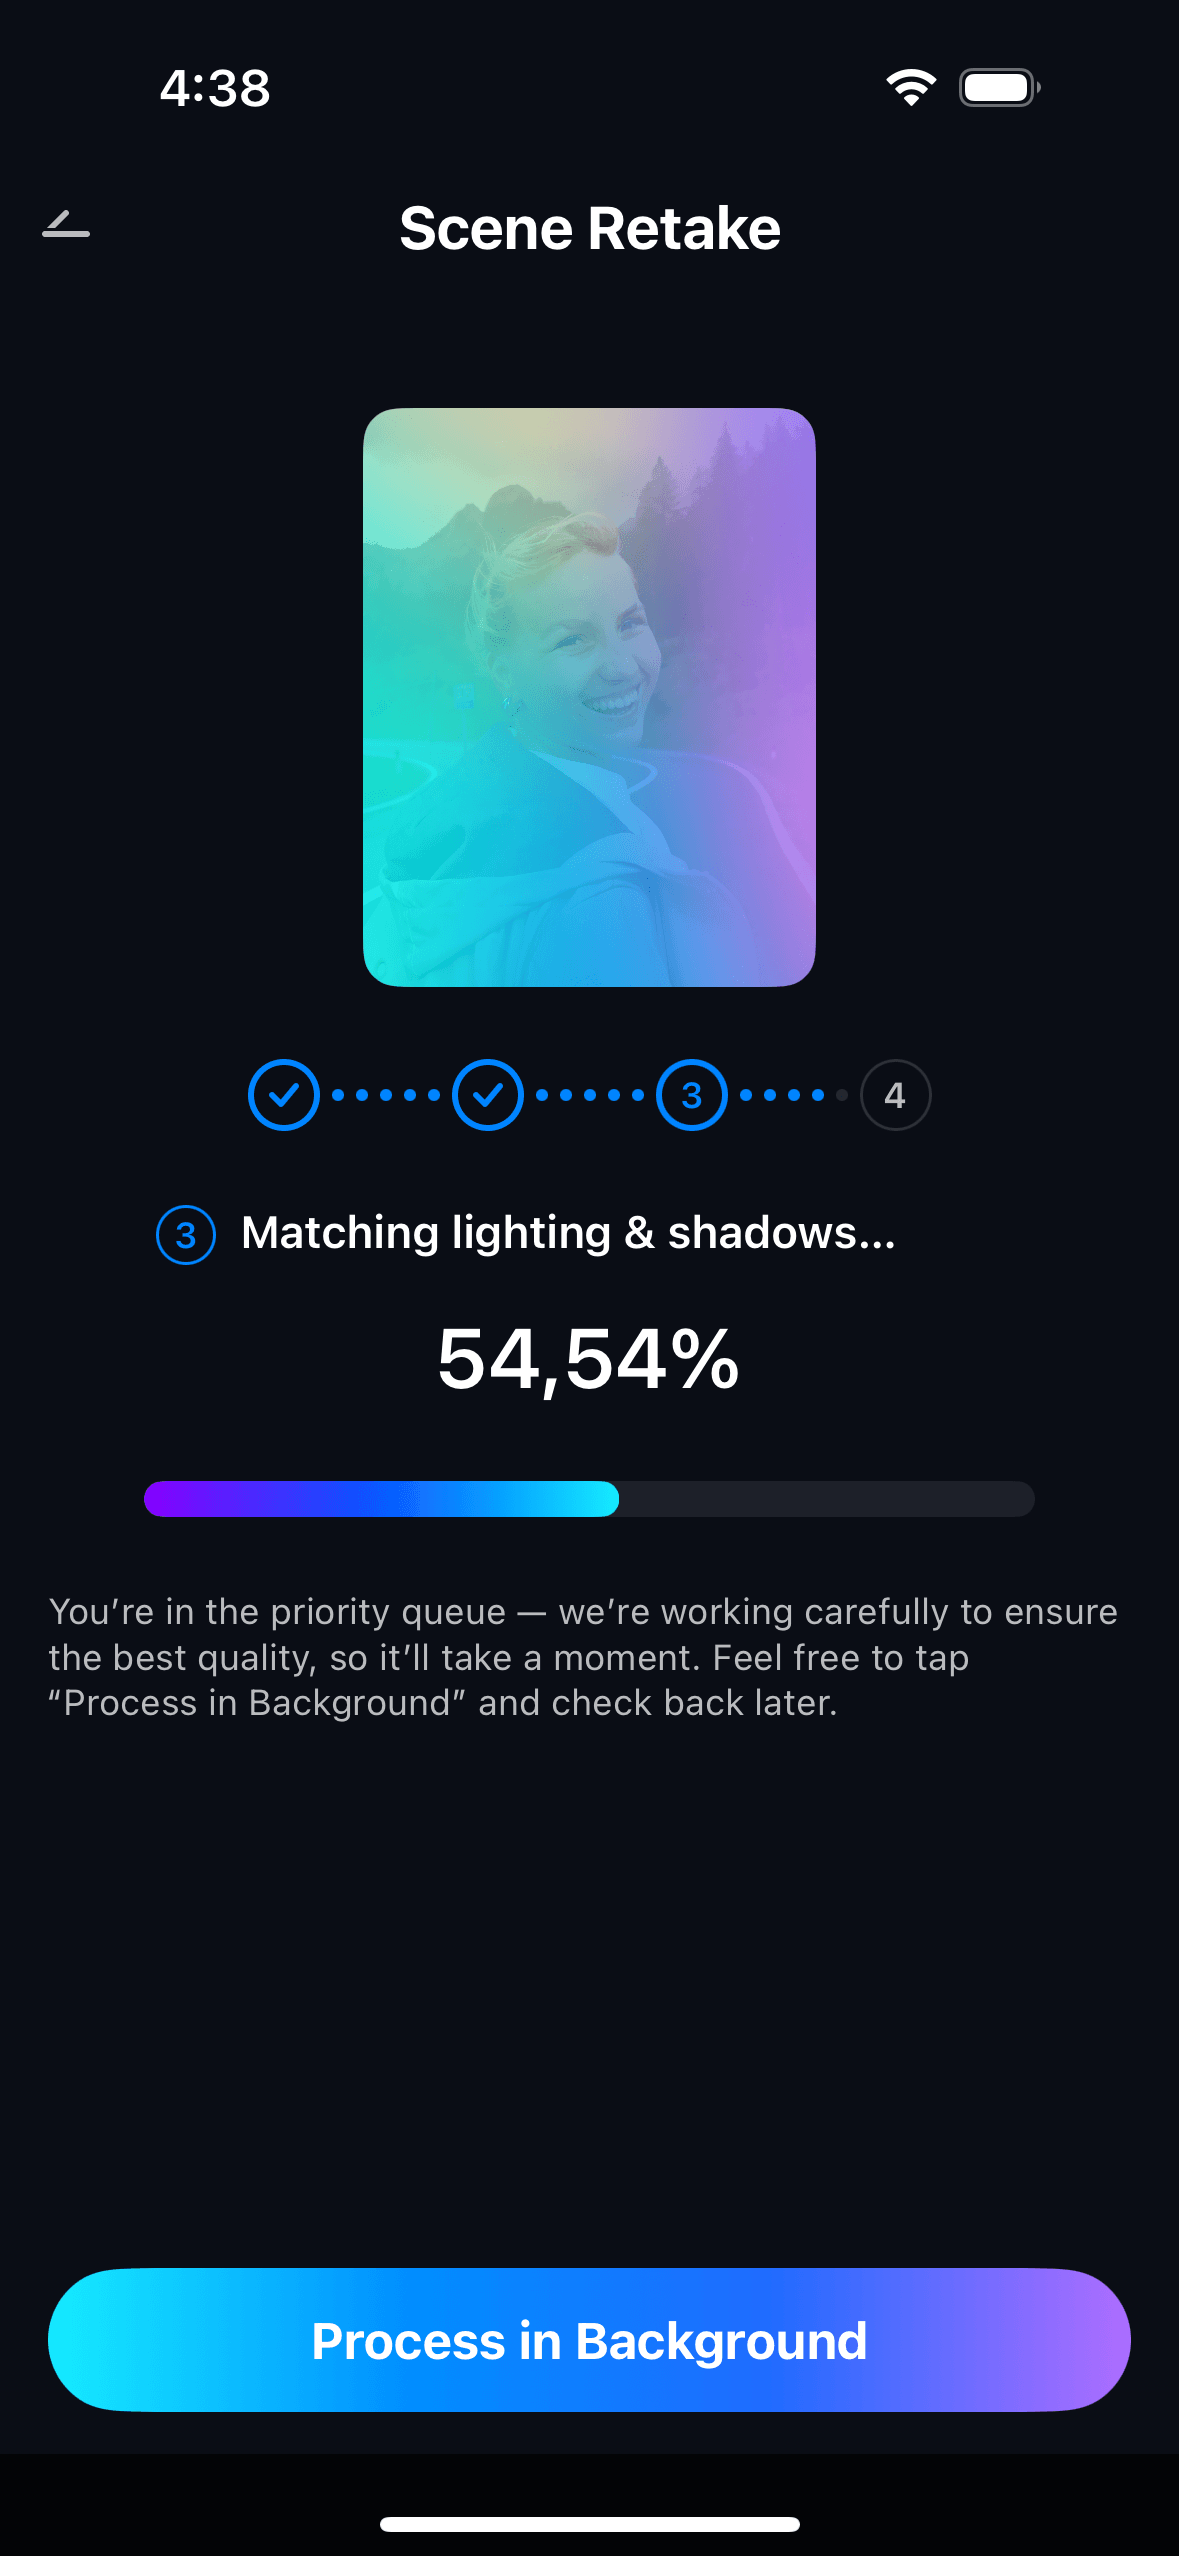
Step 3. Preview and save the version that keeps the background believable
Before saving, compare the updated result with the original. The strongest version usually makes the face easier to see without flattening the rest of the image. Background brightness, color, and atmosphere should still feel consistent with the original scene. If the setting starts looking faded or overexposed, the image is probably less natural than it should be.
Part 4. When this works best
Best photo types for face-first brightening
This workflow is most useful when the scene already has something visually worth preserving, but the subject does not read clearly enough. Common examples include:
- travel portraits where the location looks good but the face falls into shadow
- window-light or indoor portraits where the room feels fine but the subject looks dim
- restaurant and dinner photos where the atmosphere works but facial visibility is weak
- backlit or side-lit portraits where the background holds up better than the person
- low-light lifestyle images where users want to rescue the face without destroying the scene
In these use cases, Brighten Photo works best as a balance-first fix. The goal is not to make the image generically brighter. It is to restore the relationship between the person and the environment.
Quick checklist before saving
- Does the face look clearer without becoming unnaturally bright?
- Does the background still keep its detail and atmosphere?
- Do highlights look believable instead of washed out?
- Does the subject feel more connected to the scene?
- Would the photo still look natural if someone assumed it was unedited?
Part 5. When results may be limited
Brighten Photo works best when the source image still contains enough facial detail to recover. Results may be limited if the face is deeply shadowed, heavily blurred, strongly compressed, or partially blocked. The same is true when bright background areas are already badly blown out. In those cases, the feature may improve the balance, but it may not fully restore a strong face-background relationship.
It is also important to keep expectations realistic. If the original photo captured a major lighting mismatch between subject and scene, the best outcome may be a more usable version of the same image rather than a perfectly balanced portrait. Good guidance should make that clear, because credibility matters more than over-promising.
Conclusion
If the face in your photo looks too dark but the background already feels right, the answer is usually not to brighten everything equally. A better fix is one that restores the subject without sacrificing the scene. That is where Relumi is most relevant: helping the portrait feel more readable and more naturally balanced while preserving the background that made the image worth saving in the first place.
FAQ
-
1. Can Brighten Photo help if only the face is too dark and the background already looks fine?
Yes. This is one of the clearest use cases for a balance-first lighting fix. The goal is to improve facial readability without flattening or washing out the scene that already works. -
2. Will brightening the face ruin the background atmosphere?
It should not if the result stays believable. A strong correction usually keeps the background detail and mood intact while making the subject easier to see. If the environment starts looking pale or overexposed, the edit has likely gone too far. -
3. What kinds of photos benefit most from this feature?
Travel portraits, indoor portraits near windows, restaurant photos, backlit scenes, and low-light lifestyle images are all strong candidates when the setting still looks good but the face does not read clearly enough. -
4. What should I check before saving the final version?
Check whether the face is clearer, the background still feels real, and the image keeps its original mood. The best version usually improves subject visibility without making the rest of the photo look sacrificed.
 ChatGPT
 Perplexity
 Google AI Mode
 Grok
Grok


